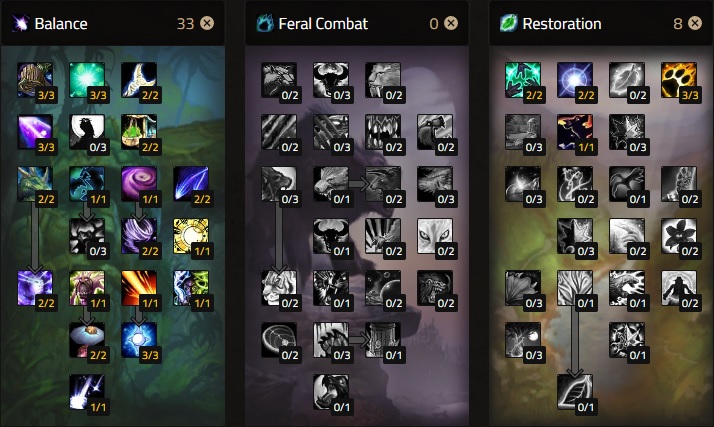
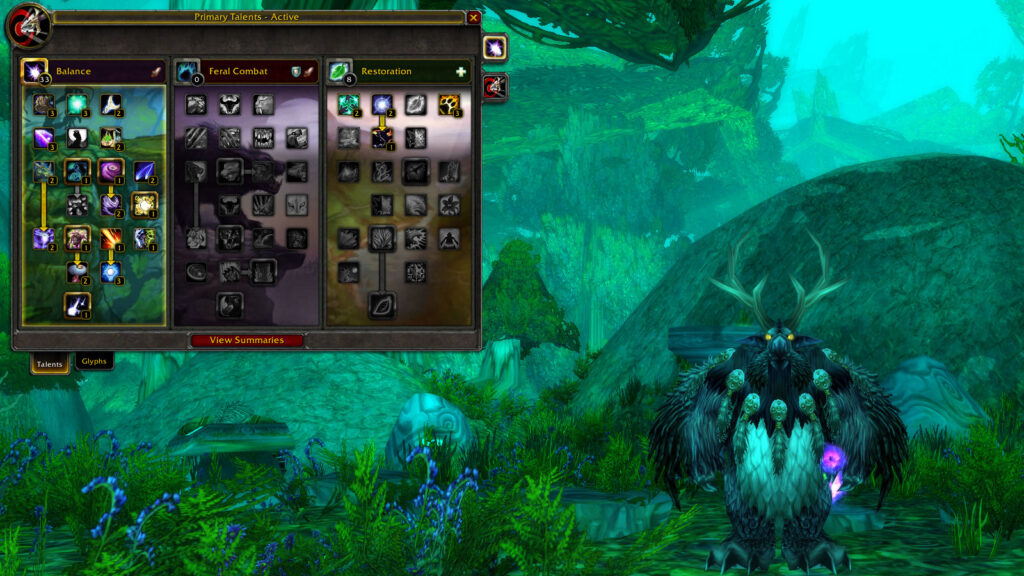
With the arrival of Cataclysm, the talent system received a massive overhaul, changing from the 71 talent points system to a more compact 41 points system. As such, many of the old talents were either completely removed or changed, resulting in fewer possible build variations. One key aspect of the new system is that you must use at least 31 points in your main specialization to use the remaining 10 points in a secondary specialization.
Talent Build

There’s plenty of room for customizing your build as a Balance Druid. The talents laid out above are a good starting point, but most Druids will want to make a few different choices based on your group’s composition, the encounters you’ll be facing, and your own preferences. Here’s a look at your options within the Balance tree itself:
- Moonglow is a powerful mana saver. If you have any trouble with your mana, move a few points here. It will be particularly useful at low gear levels or if you expect to do a lot of AoE.
- Owlkin Frenzy causes you to deal extra damage, but you will need to be getting attacked in order for it to trigger – it does not trigger from AoE. It therefore won’t be very useful in most raid environments where you’re hopefully not going to be tanking any enemies.
- Gale Winds boosts the damage of two of your AoE spells but can be skipped for situations where you will be focused on a single target.
- Solar Beam is an AoE interrupt and silence that can be extremely useful in some encounters, but you can put the point elsewhere if you know you won’t be using it.
- Dreamstate makes your Innervate much more effective when cast on yourself, but should be dropped if you are planning to give it to someone else.
- Fungal Growth gives you another way to slow enemies, if you didn’t have enough crowd control already. If you don’t need the slow, you can use the points elsewhere.
- Lunar Shower makes Moonfire and Sunfire spam a viable option for movement-heavy fights.
There are also a couple of places where you can swap points out in the secondary trees:
- Blessing of the Grove is a boost to your Moonfire damage, most useful paired with Lunar Shower for movement-heavy encounters. It still gives a modest damage increase in any fight, but if you want to use the points elsewhere this is a good option to drop.
- Perseverance offers some increased survivability in raids since most of the AoE damage you’ll be taking will be spell damage.
- Furor increases your maximum mana and is another good option along with Moonglow if you find yourself struggling for mana, especially at low gear levels or if you will be doing a lot of AoE.
Glyphs
Prime Glyphs
- Glyph of Insect Swarm
Insect Swarm is one of your core spells and this glyph makes it deal more damage. This will be one of your default glyphs for any build.
- Glyph of Moonfire
Same as the glyph above except for Moonfire.
- Glyph of Wrath
This glyph makes your Wrath deal more damage and will be your best third option for single-target encounters.
- Glyph of Starsurge
This glyph causes your Starsurge to reduce the cooldown on Starfall. You’ll want to use this in place of the glyph above in any fight with multiple enemies where you hope to use Starfall often.
- Glyph of Starfire
This glyph is not as strong as the four above and can be a bit awkward to use. It’s best to skip it.
Major Glyphs
- Glyph of Starfall
With this glyph, you can cast Starfall more often. You’ll want this even on single-target fights as it’s still a direct increase to your damage.
- Glyph of Rebirth
Look, I know you’re not just a Battle Rez. But Rebirth a big part of your utility, and this glyph makes it a lot better.
- Glyph of Focus
This glyph can make Starfall stronger or weaker, depending on the situation. If you’re confident that you’ll still be able to hit all of your targets with the smaller radius, it’s a solid damage buff. But most of the time, the tradeoff will make this not worth the glyph slot with so many other options to choose from.
- Glyph of Thorns
This glyph will nearly double the uptime of your Thorns, which can be great if your tank is getting hit by a lot of enemies at once, but may be impractical to use in most raid encounters.
- Glyph of Barkskin
With this glyph, your Barkskin will make you a lot tankier, reducing your chance to be critically hit. You can pair this with the Owlkin Frenzy talent and attempt to tank some adds if the situation calls for it, but it’s probably better not to.
- Glyph of Innervate
If you know that you may need to share your Innervate, using this glyph will mean that you still get something out of it. Ideally you’ll use this or the Dreamstate talent, not both.
- Glyph of Solar Beam
This glyph can be useful on fights where your Solar Beam is needed, since it extends its duration. Otherwise you should skip it.
- Glyph of Monsoon
Another situational glyph that will only be useful on fights where Typhoon is used frequently.
- Glyph of Hurricane
You should not need this as you have plenty of other options for crowd control.
Minor Glyphs
- Glyph of Dash
This glyph will let you use Dash more often which can be useful for getting out of a dangerous position.
- Glyph of Unburdened Rebirth
There’s nothing worse than going to cast Rebirth on someone and realizing you ran out of reagents. This glyph ensures that will never happen.
- Glyph of Typhoon
This gives your Typhoon a solid damage and range increase and should be used in any fight where you don’t need the knockback it provides.
- Glyph of Mark of the Wild
If you skip any of the three glyphs above, this one will make your Mark of the Wild cheaper to cast, which is useful if you need to rebuff someone mid-fight, such as after casting Rebirth on them.
- Glyph of Aquatic Form
There are lots of situations in the open world where Aquatic Form will make your life so much easier, and this glyph makes it even better. Nice to have if you don’t need any of the above glyphs for raiding.


