- Author: Luxrah
- Date: March 24, 2025
- Updated: March 27, 2025
- Expansion: Mists of Pandaria
The Mists of Pandaria expansion overhauled the talent options for every class and removed Prime Glyphs, leaving a more streamlined system for building out your character. For Discipline Priests, your choices will have a subtle, but still meaningful impact on your gameplay and performance.
Talents
Talents can now be changed out of combat as long as you have some Tome of the Clear Mind on hand. That means you can easily swap out talents on a fight-by-fight basis. This gives you greater flexibility to take advantage of niche talents when the situation calls for it instead of relying on a one-size-fits-all talent build.
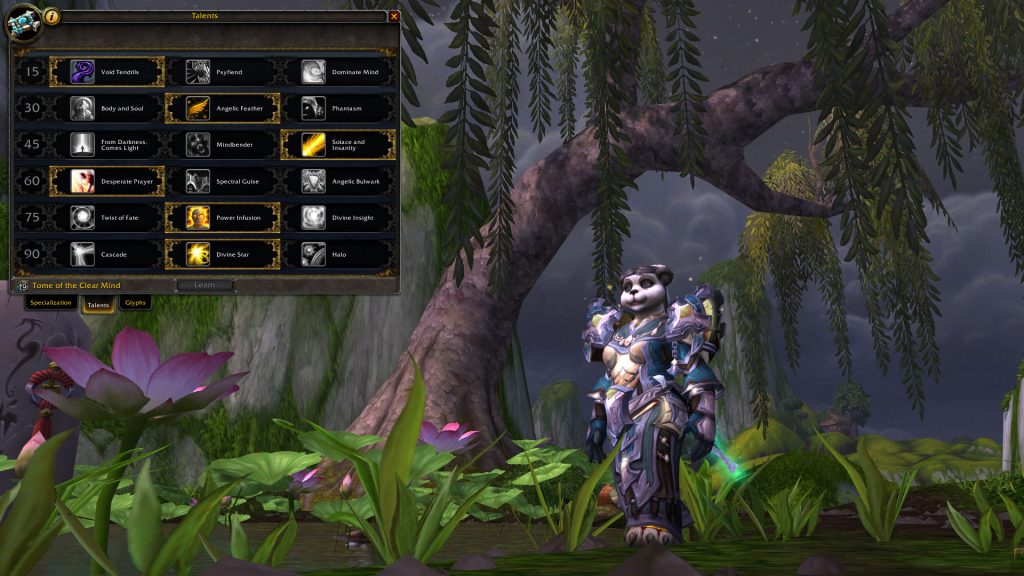
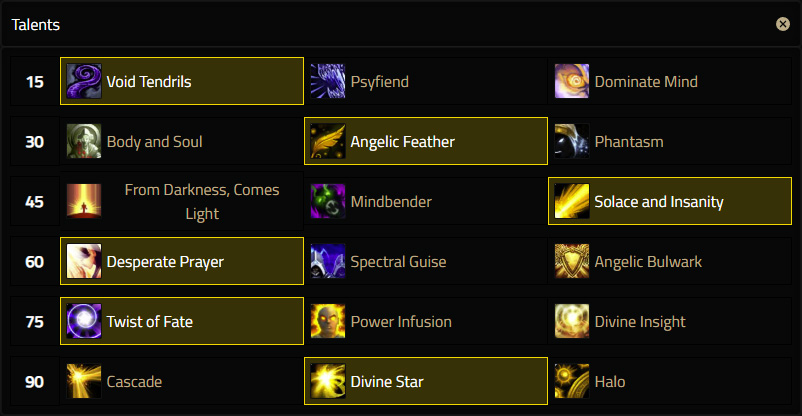
Here is our recommended default talent build for the majority of content. Read on to find out about individual talents and what situations might call for different talent selections.
Level 15 Talents (Tier 1)
 Void Tendrils
This is the most likely to be useful in endgame PvE content out of the three crowd control options in this tier. Its AoE root effect is on a short cooldown and can keep up to 5 mobs locked down for up to 20 seconds. Psyfiend
This fear effect is a little less reliable than the root option. Best used with Glyph of Psychic Scream, but that requires taking up a Major Glyph slot with a glyph that doesn’t improve your healing.- Dominate Mind
Mind control is not useful in endgame group content since you will not be able to continue healing while using it.
Level 30 Talents (Tier 2)
- Body and Soul
Piggybacks off of Power Word: Shield, one of your most used spells. This can be an advantage since it means you can be throwing out speed buffs left and right and you don’t even have to do it as a separate cast from your normal healing rotation. It can also be a disadvantage because it requires casting an expensive spell to get this secondary benefit, and you may not be able to give someone a needed speed boost if they already have Weakened Soul (which is even more likely if there is more than one Disc Priest in the raid). This buff is targeted so you won’t have to worry about the wrong person picking it up, which makes it far more useful than Angelic Feather any time the group is tightly stacked or clustered. - Angelic Feather
This option offers a more powerful movement speed buff than Body and Soul at no mana cost, and it does not run the risk of failing due to the Weakened Soul debuff. You can even chain 3 in a row on yourself to sprint for 18 seconds straight. On the other hand, you can only use 3 feathers before they must recharge, so you won’t be able to blanket the raid in speed buffs. Moreover, the feathers must be placed on the ground, which is awkward to do while healing and can cause them to be used by the wrong person. (From Legion onward, you could use a macro to place the feather right on top of your target and avoid this problem, but that doesn’t work in Mists of Pandaria.) Feathers remain on the ground for 10 minutes or until 3 more have been placed, so you can set them up well in advance for your teammates to use. - Phantasm
This talent isn’t worth taking in most PvE content as it is effectively a PvP trinket.
Level 45 Talents (Tier 3)
- From Darkness Comes Light
Very unpredictable as well as being harder to make use of as Discipline, since it can’t proc off of your absorbs. - Mindbender
Replaces your Shadowfiend with a buffed version that can be summoned every minute instead of every 3 minutes, which can amount to a lot of mana regeneration if used on cooldown. A great option if you won’t be able to find GCDs to use Solace and Insanity. - Solace and Insanity
Replaces your Holy Fire with Power Word: Solace, which works exactly the same but restores mana instead of spending it. This talent loses value on fights where you have to constantly heal and can’t spare a GCD for this ability. But if you can use it often, it’s the strongest of the three.
Level 60 Talents (Tier 4)
- Desperate Prayer
This is a simple and straightforward personal cooldown. It’s instant, costs no mana, and can heal a good chunk of your health every 2 minutes. It can also crit and proc Divine Aegis. It will be the strongest option in most situations, but you have to actually remember to use it (and use it often) for it to have any actual value. This ability is off the global cooldown and is therefore good to use in defensive macros. - Spectral Guise
This talent will almost never be useful in dungeons or raids. Its stealth effect doesn’t let you drop combat or avoid damage. At most it can prevent adds from targeting you when they spawn. - Angelic Bulwark
A bit weaker than Desperate Prayer, but a good alternative if you prefer a passive effect that triggers automatically instead of having to use a cooldown. If the absorption effect benefited from your Mastery this would be a much better talent, but unfortunately that’s not the case.
Level 75 Talents (Tier 5)
- Twist of Fate
A passive effect that gives you 15% increased damage and healing for 10 seconds after you heal or deal damage to a target who has fallen below 35% health. This talent is powerful but also very situational. It does not interact with your absorption effects, so you won’t want to use it in fights where you’re making heavy use of Power Word: Shield. It also requires either your teammates or enemies to drop below 35% health, or you won’t be able to trigger it at all. On the other hand, you can keep very high uptime on the buff in the right circumstances, maybe even 100%. You can also double-dip this buff with Atonement, since it will increase both your damage and your healing. - Power Infusion
A powerful personal cooldown that can massively buff your spell casts for 20 seconds every 2 minutes. That’s a 17% uptime if used on cooldown. The buff increases your casting speed and the damage you deal as well as reducing the mana cost of your spells. Although the bonus damage may make it seem like this is meant for Atonement healing, it’s best used with expensive cast-time spells like Prayer of Healing that can benefit the most from its mana reduction. You can use it for Atonement too, though. Note that unlike previous versions of this spell, this one can only be cast on yourself, so you won’t have to give it away to your team’s most annoying Mage anymore. - Divine Insight
This has some niche potential for fights in which you will be doing heavy healing on a single target, but its effect is not reliable and the other two talents will always be more broadly useful.
Level 90 Talents (Tier 6)
- Cascade
This is the “in-between” option of the three AoEs in this tier, when the group is spread out but you don’t want to risk using Halo or wait for its long cooldown. It’s also the only option that will heal or deal damage, but not both. So as long as you don’t target an enemy with it, you won’t risk pulling more like you would with the other two talents. It’s important to note that this spell has 15 total bounces and can’t bounce to the same target twice, so some of its potential healing will be wasted if it’s used outside of a 25-player raid. - Divine Star
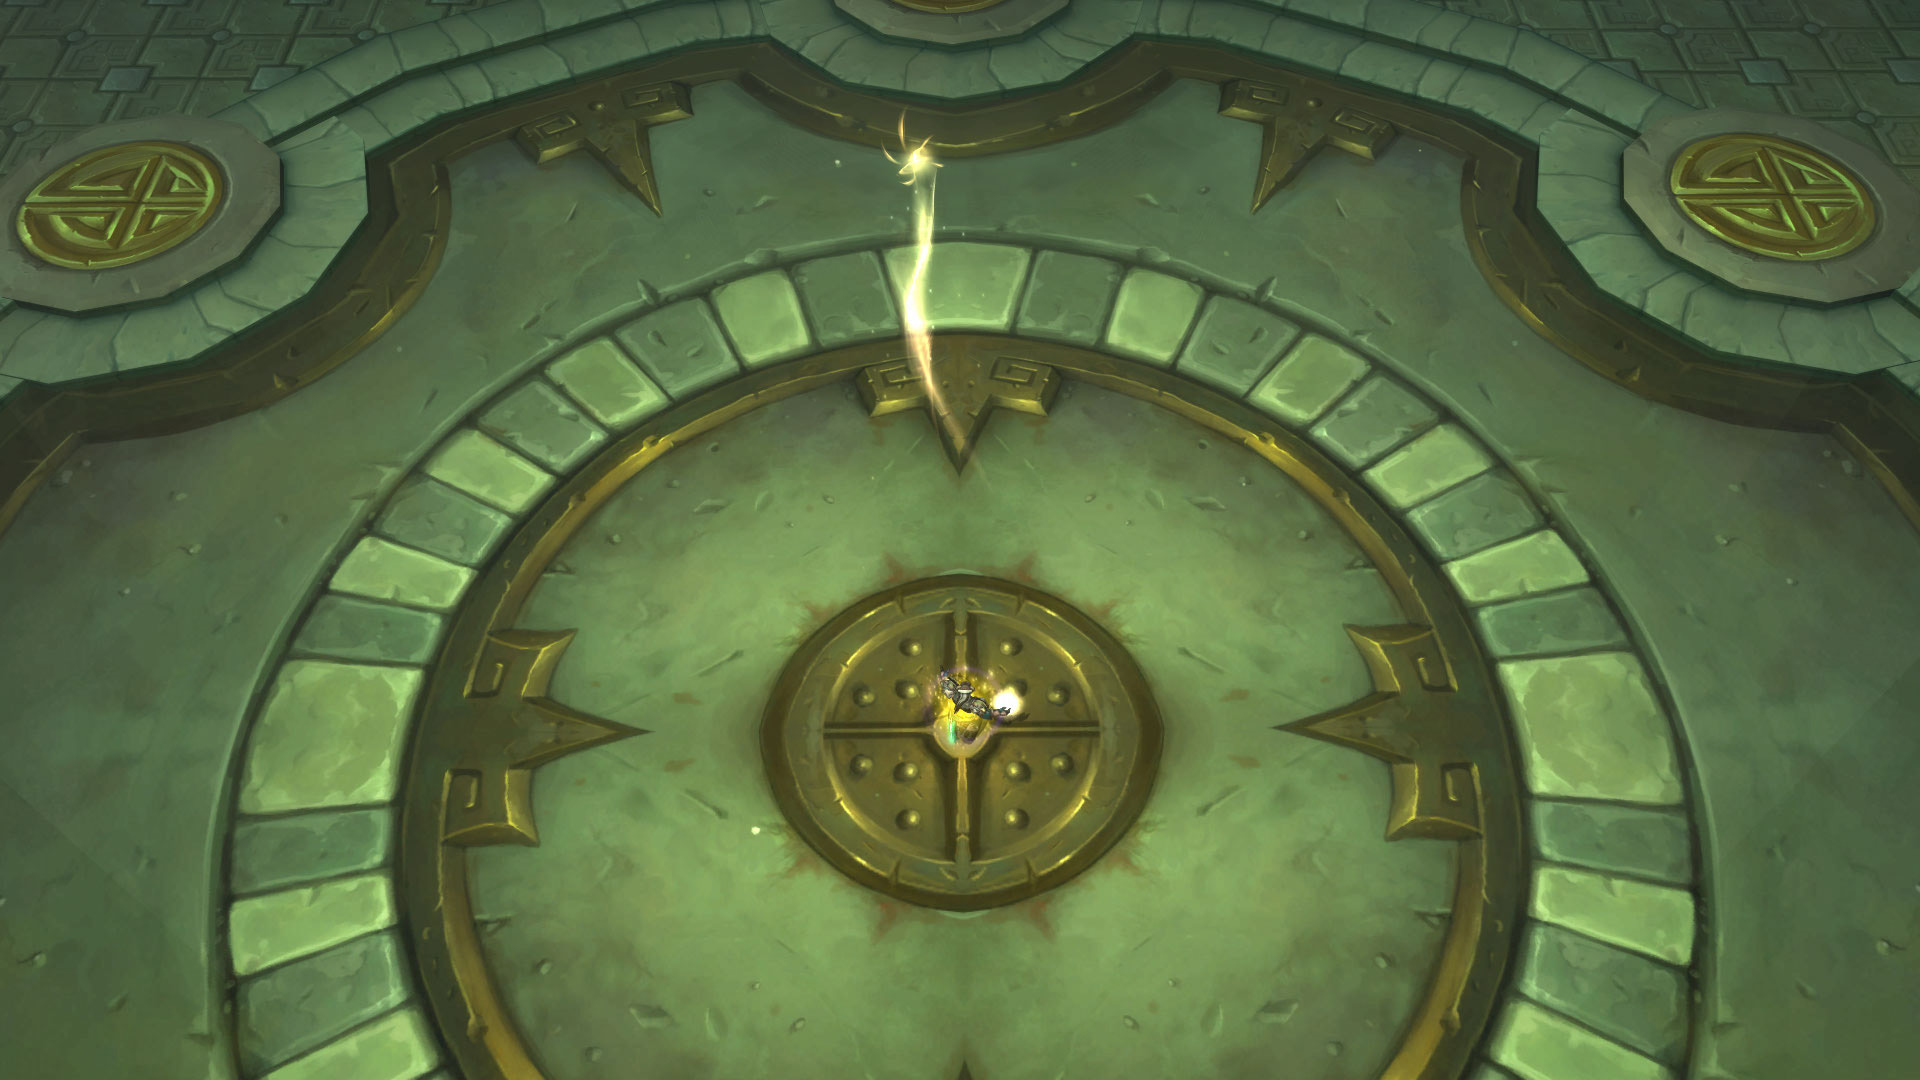
The most broadly useful of these three AoE options and your default choice when you don’t have a reason to take one of the other two. It has the shortest cooldown and the lowest mana cost. It’s less useful if your group is not stacked or you can’t position yourself behind your teammates to line up the ability. - Halo
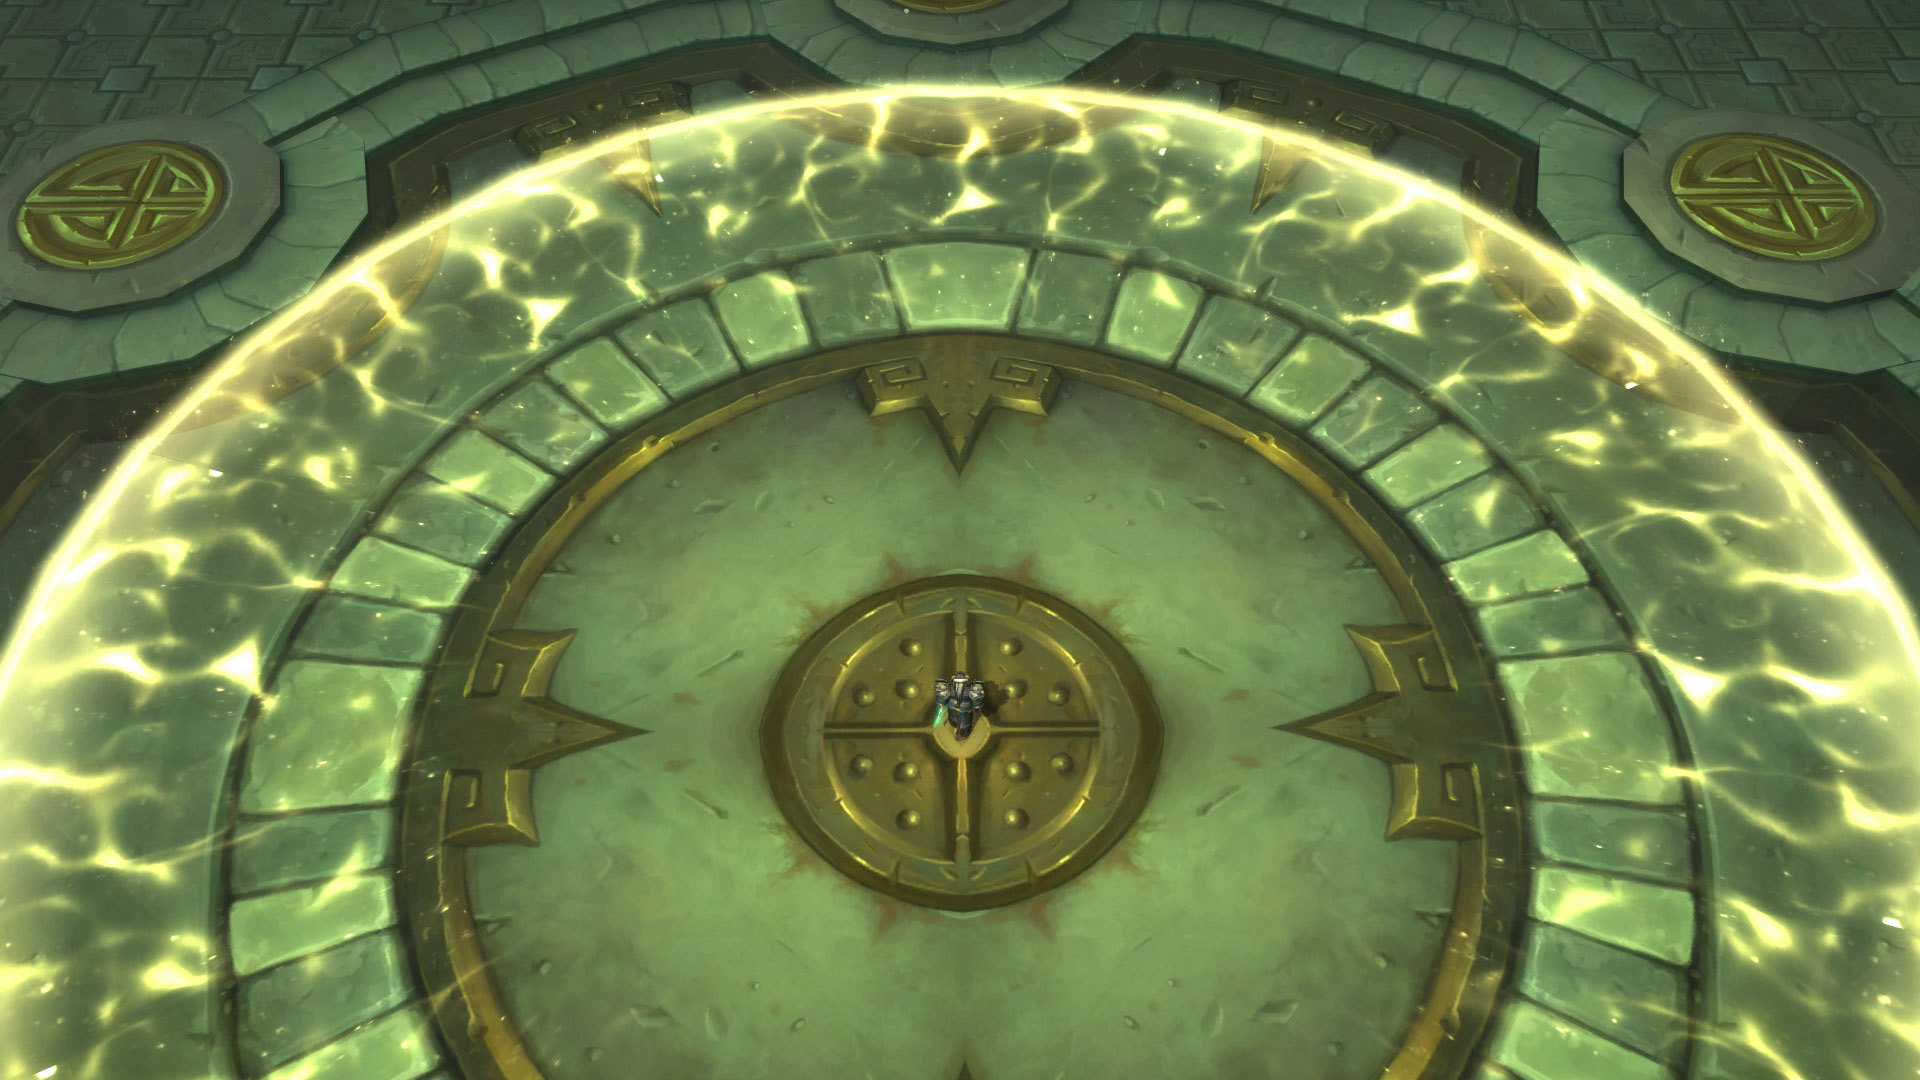
The stronger option when your raid is too spread out for Divine Star. It is also the most expensive and has the longest cooldown, and has potential to pull additional enemies since it hits everything within 30 yards of your character. It’s recommended to use caution when casting this in dungeons or other tight areas for this reason. It offers the biggest bang for your buck if you need heavy burst healing, especially if the group is not stacked, or are stacked away from you (for example, if there’s a big pile of players in melee and you’re at range).
Glyphs
Prime Glyphs are gone in Mists of Pandaria. You will still choose 3 Major Glyphs and 3 Minor Glyphs.
Major Glyphs
There are a few Major Glyphs for Discipline Priests that will be useful in the majority of content, and several alternatives that can be even more useful in the right circumstances.
Default Options
If you’re just looking to grab the 3 most straightforward glyphs for a Discipline Priest, here are your picks.
- Glyph of Penance
Excellent for any fight that requires heavy movement since it lets you cast Penance on the go, but you will need to have the mana pool to support its increased cost. - Glyph of Holy Fire
Extends the range of your most significant damaging spells for Atonement. It can be useful for reducing the amount of moving around you need to do, but on fights where you or your target are going to be more stationary you can use this glyph slot for something else. - Glyph of Inner Sanctum
Provides additional movement speed when your Inner Sanctum is active and additional defense when your Inner Fire is active, a very flexible and useful combination.
Situational Options
These can offer strong alternatives to the glyphs above depending on the content and your approach.
- Glyph of Binding Heal
The main problem with this glyph is that the third target will be whoever happens to be closest to the target you cast Binding Heal on. So you could be spending another 35% mana to heal a full-health pet. But if you have mana to burn, it’s still extra healing for each Binding Heal you cast. - Glyph of Fade
Turns your otherwise not-very-useful Fade spell into a short-cooldown defensive ability. - Glyph of Levitate
Won’t be as useful in a dungeon or raid environment where your Levitate is likely to be quickly broken, although you will still get at least 10 seconds of speed out of it. - Glyph of Mass Dispel
Allows you to dispel Magic effects with your Mass Dispel even if they are normally not dispellable, which can be extremely valuable if such an effect is present in a fight. - Glyph of Prayer of Mending
Reduces your Prayer of Mending from 5 charges to 4, with the tradeoff being that its initial target gets a much bigger heal. You’ll probably want to forgo this in most raids since it will cause your PoM to heal for less overall, but it can be useful in dungeons or on encounters where the bulk of the damage will be on the tank and you won’t benefit much from additional PoM bounces. - Glyph of Purify
Causes your Purify spell to also heal the target for a small amount when it dispels an effect. This is a nice little bonus when you are going to be dispelling a lot anyway. - Glyph of Smite
Does not affect the Atonement healing of your Smite, but it does buff your damage. Dealing extra damage is great if you’re already going to be Smiting a lot and don’t have a need for any of the more healing-oriented glyphs in this list. - Glyph of Weakened Soul
Reduces the duration of Weakened Soul and therefore lets you use Power Word: Shield on the same target(s) more often. This glyph is great if you’re going to be using PW:S a lot, and useless otherwise. It can be particularly beneficial if your group has more than one Discipline Priest so you spend less time tripping over each other’s debuffs.
Options to Avoid
These may seem like strong options for Discipline Priests at first glance, but they’re generally not as good and will only have limited or niche usefulness.
- Glyph of Holy Nova
The only way to get the Holy Nova spell now. It’s not really worth the glyph slot. You already have Mind Sear for AoEing down large groups of weak adds. - Glyph of Power Word: Shield
Converts some of the absorption of your Power Word: Shield into healing. The point of using PW:S instead of a direct heal is to get the absorb, so this glyph feels a little pointless.
Minor Glyphs
All of your Minor Glyphs are cosmetic and do not affect your effectiveness in anyway, but there are a couple that add visual effects that can actually be useful for endgame content.
- Glyph of Borrowed Time
Can give you a visual countdown to remind you to use your Borrowed Time buff. - Glyph of Holy Resurrection
Will highlight your Resurrection targets so that your group can see you are rezzing someone. - Glyph of Inspired Hymns
Adds a big glowy visual to your Hymn of Hope so that your group knows you’re channeling it.

About the Author
