- Author: Passion
- Date: November 26, 2022
- Updated: February 2, 2023
- Expansion: WotLK Classic
Welcome to our strategy guide for the 25-man version of the Ulduar raid in World of Warcraft: Wrath of the Lich King Classic! This raid is available starting with Phase 2 and offers many unique bosses, challenges, and the first Legendary item of the expansion!
Long time players often look back fondly at Ulduar as one of the best raids they ever had the pleasure of clearing. While your mileage may vary in Classic, this raid still has so much to offer, including massive visual spectacle and a fight against an old god.
Players can obtain Tier 8 gear inside of Ulduar, and the 25-man version in particular contains the “Conqueror’s” version of these Tier 8 sets. This raid consists of 14 bosses, with a handful of them being optional. Your path through the raid will be mostly linear, with more areas becoming available as you progress.
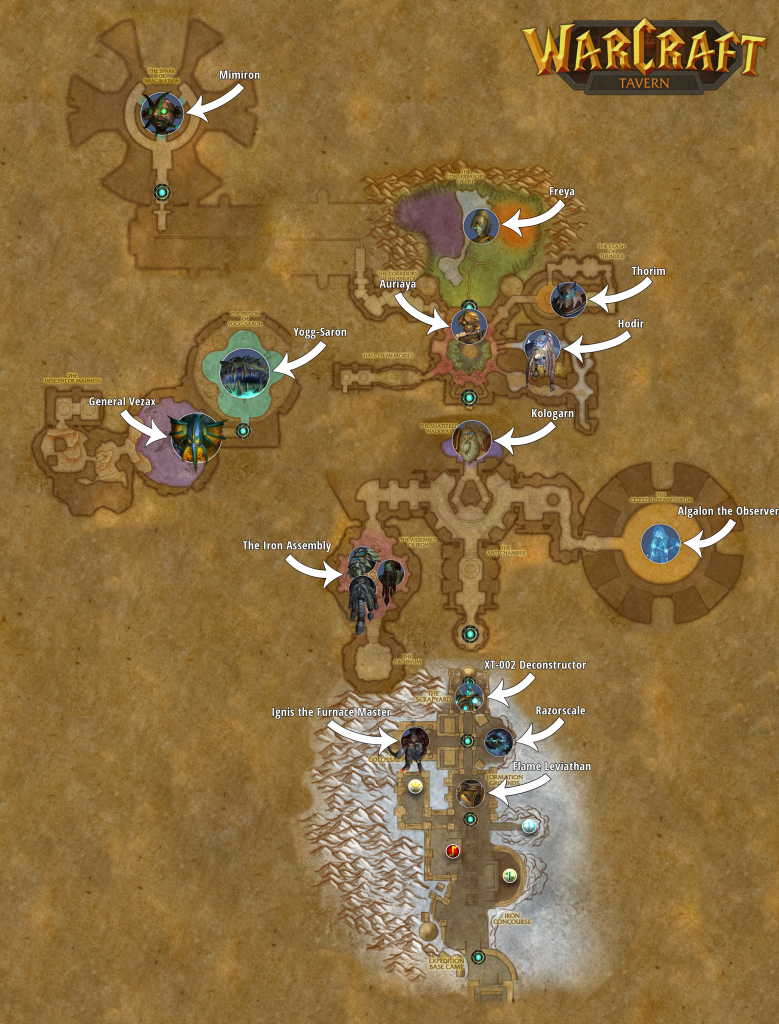
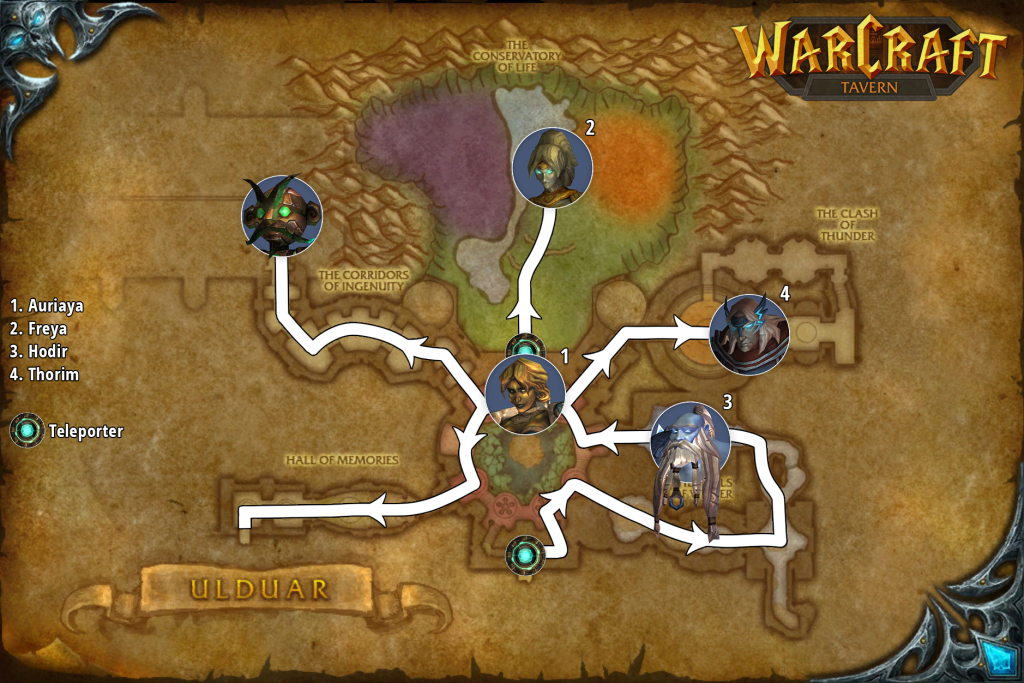
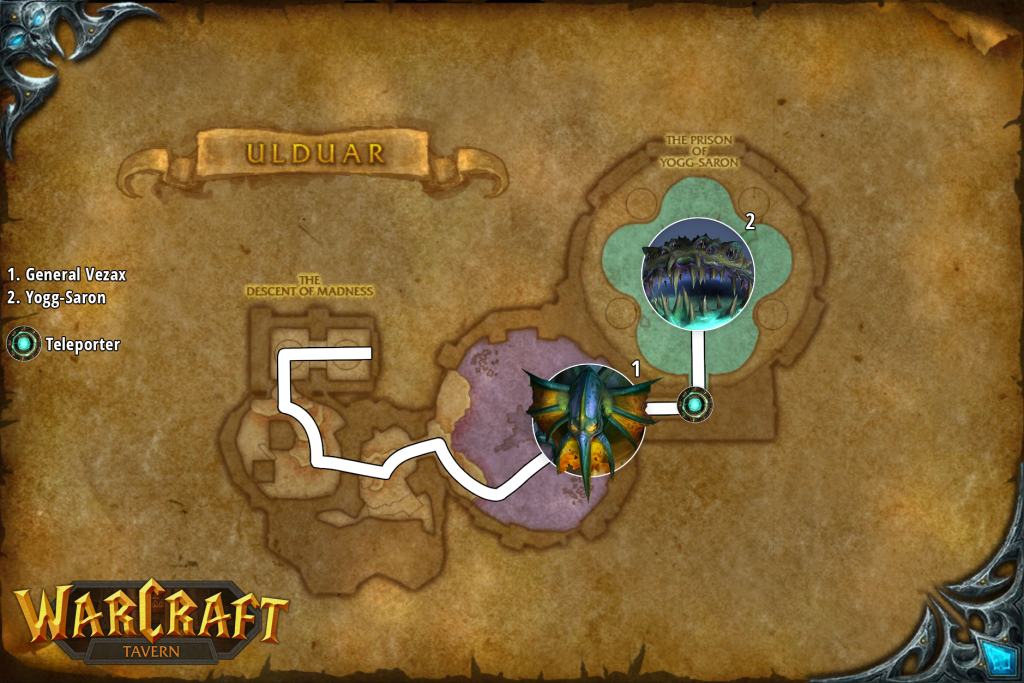
Due to the massive size of Ulduar, the raid has a handful of teleporters scattered around, allowing your raid to quickly teleport from place to place.
Ulduar is also the first raid in World of Warcraft to contain optional hard modes that not only add extra mechanics and challenges to the fights, they also provide additional, better loot if you can beat the challenges.
Last but not least, Ulduar contains a new legendary weapon! Val’anyr is a healer-oriented one-handed mace, created in a method similar to Atiesh, requiring the player to gather 30 Fragments dropped by the bosses in Ulduar. If you’re interested in obtaining this weapon, take a look at our How to Get Val’anyr, Hammer of Ancient Kings Guide!
This guide aims to help you understand how best to prepare yourself and your raid group for Ulduar, by giving you an overview of each encounter, providing an in-depth explanation of each boss, discussing positioning, and how you can set yourself up for success.
You can find a full list of gear that can drop from this raid in the Ulduar (25-man) Loot section.
Attunement Process
Like all Wrath of the Lich King raids, there is no attunement. The only thing that’s required is a flying mount, or a helpful Warlock willing to summon you. Slacker.
Finding the Entrance to Ulduar
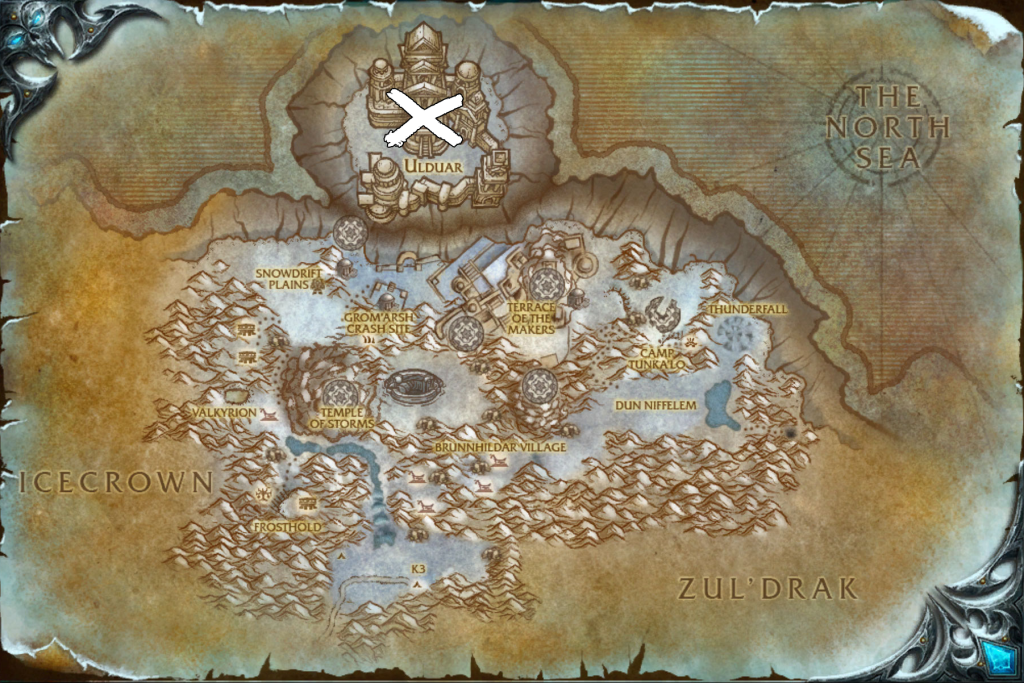
The easiest way to enter Ulduar is by taking a flight path to Storm Peaks; specifically, to the Ulduar flight path that you have likely used to reach Halls of Lightning & Stone. From there, you simply need to fly a short distance to the North-West.
Raid Preparation
Ulduar is a 10-man and 25-man raid in Wrath of the Lich King Classic. The raid is linear, but split into several zones with (sometimes multiple) teleporters found in each area of the raid.
The Formation Grounds
- Flame Leviathan
- Ignis the Furnace Master
- Razorscale
- XT-002 Deconstructor
The Antechamber
- The Iron Assembly
- Kologarn
- Algalon the Observer
The Conservatory
- Auriaya
- Hodir
- Freya
- Thorim
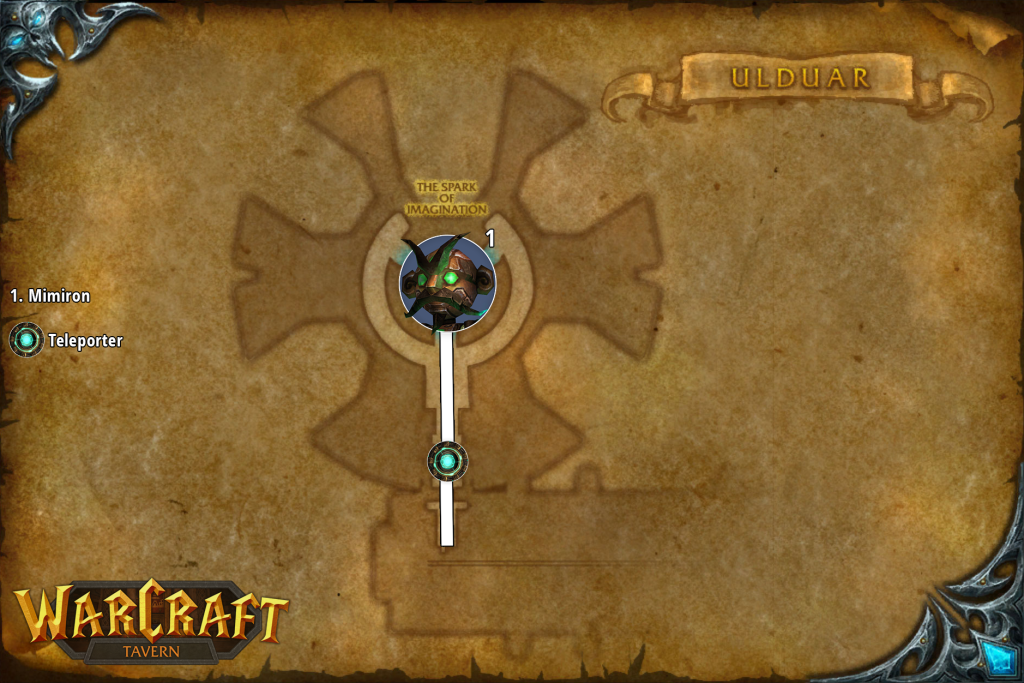
The Spark of Imagination
- Mimiron
The Descent of Madness
- General Vezax
- Yogg-Saron
Trash Mobs
Boss Encounters
Flame Leviathan
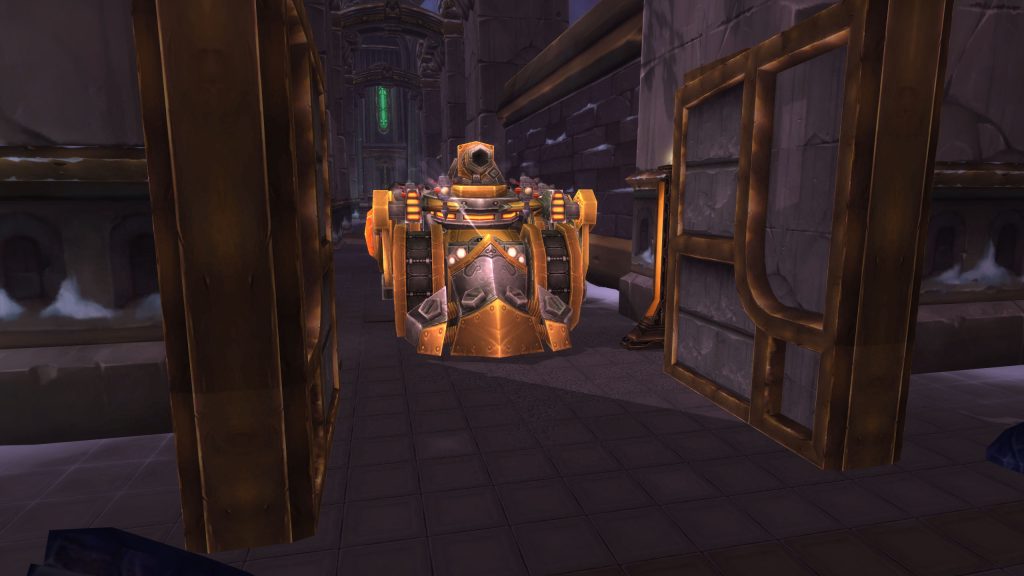
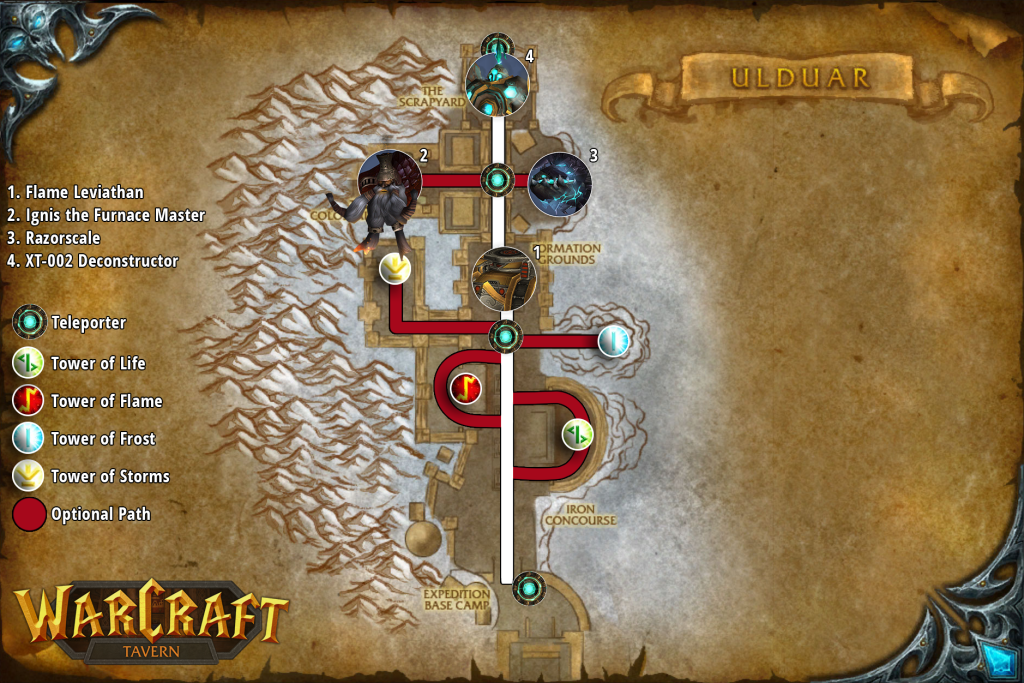
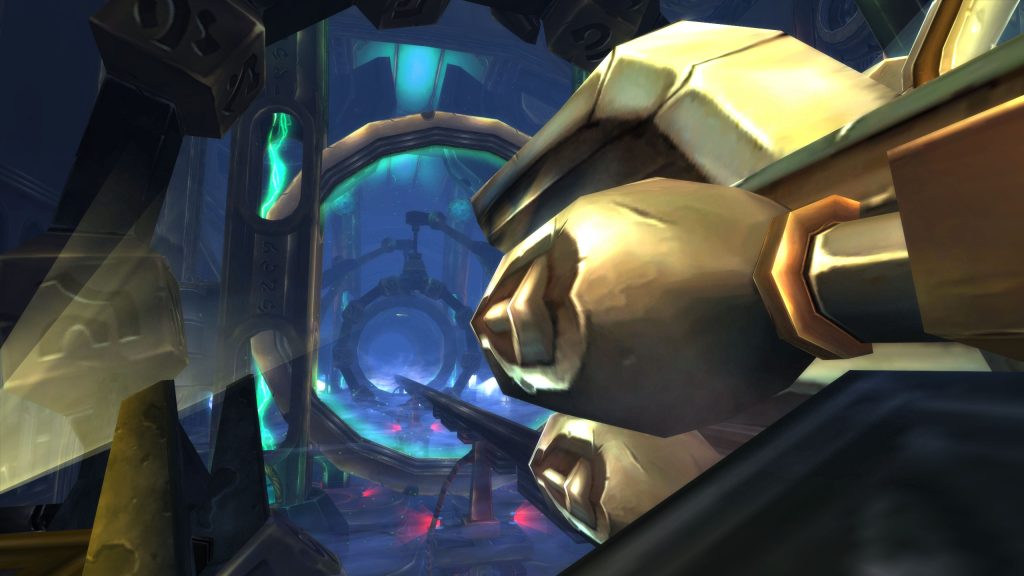
Flame Leviathan is a unique fight, taking place entirely in vehicles. Raid members will pilot Siege Engines, Demolishers, and Choppers to take on the first line of defense for the titan’s fortress.
This boss also offers an optional hard mode with the potential for extra, more powerful loot. To activate hard mode, you will need to destroy all four towers found in the gauntlet before the boss.
Check out an in-depth breakdown in our Flame Leviathan Strategy Guide!
Ignis the Furnace Master
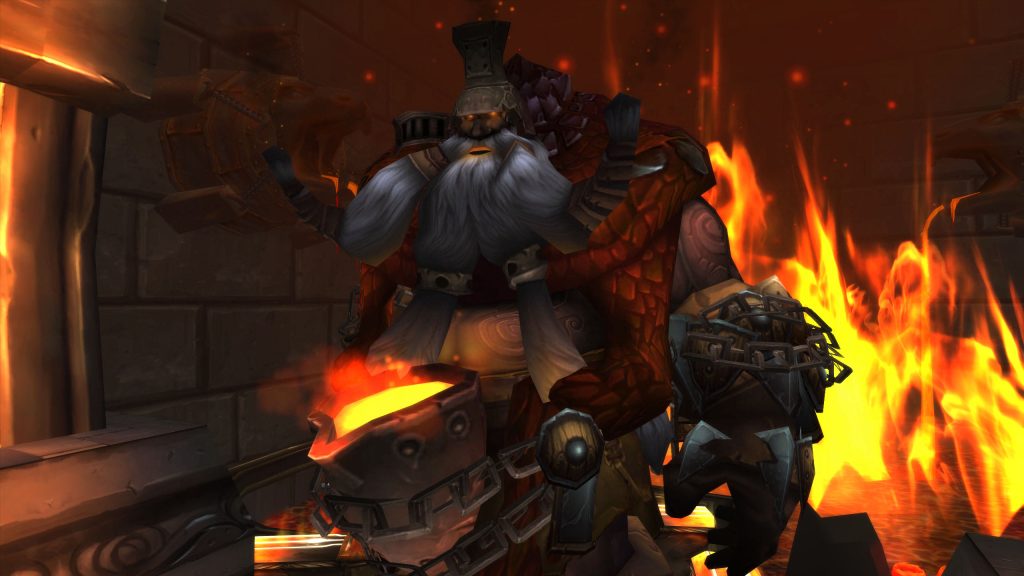
The forge master for the iron armies of Ulduar is an optional boss. Guarding his forges and surrounded by his constructs, this boss is more of a test of your tank’s ingenuity than anything else.
Check out an in-depth breakdown in our Ignis the Furnace Master Strategy Guide!
Razorscale
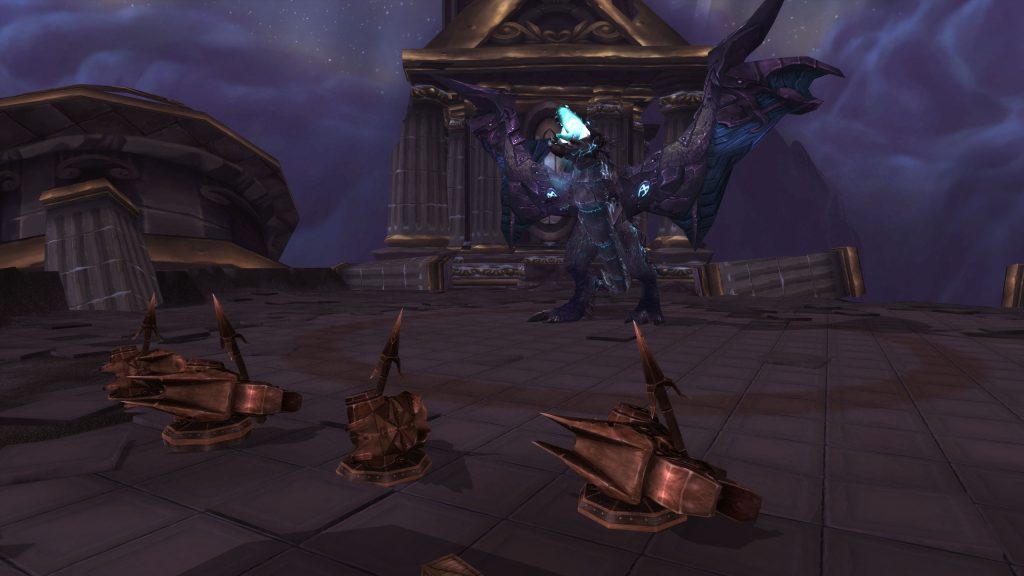
The once proud Blue Proto-Drake, Veranus, mount to Thorim has been corrupted by the titans. Her body fused entirely with iron, this corrupted creature patrols the outer rim of Ulduar.
To even be able to fight this boss you will need to ground her using the harpoons conveniently located right next to her arena.
Check out an in-depth breakdown in our Razorscale Strategy Guide!
XT-002 Deconstructor
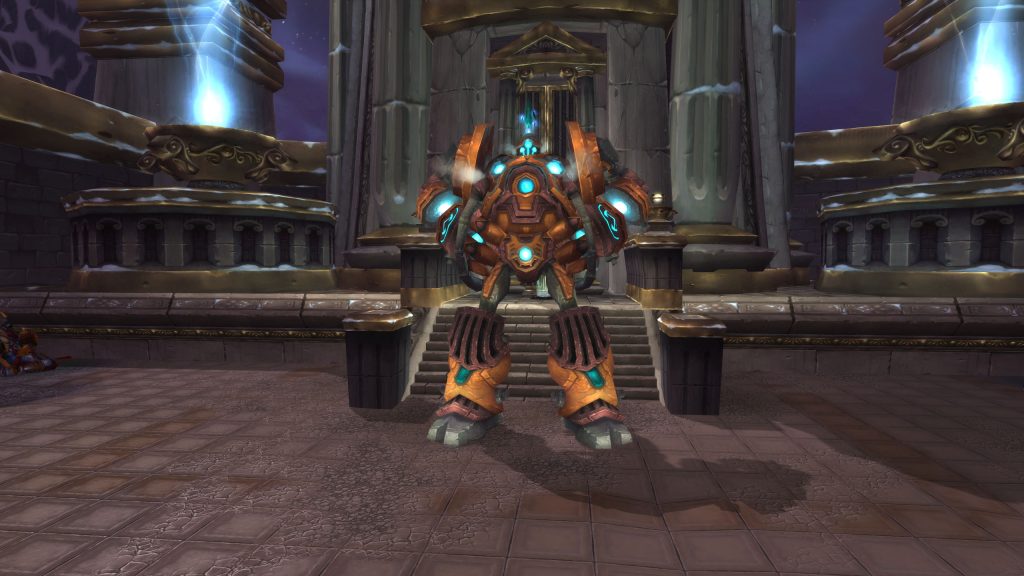
Created and discarded by Mimiron, XT-002 is little more than a lost child, keeping themselves entertained in the scrapyard. Unfortunately, children are prone to tantrums, and these can be earth-shattering.
This boss also offers an optional hard mode with the potential for extra, more powerful loot. To activate hard mode, you will need to break XT-002’s heart, destroying it during Phase 2.
Check out an in-depth breakdown in our XT-002 Deconstructor Strategy Guide!
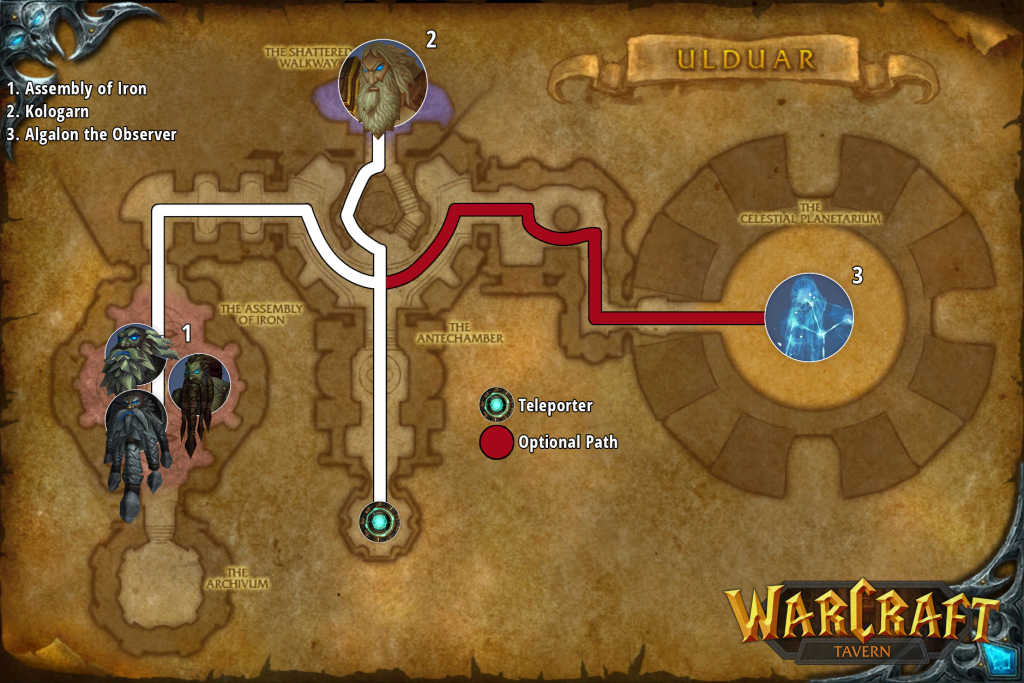
The Assembly of Iron
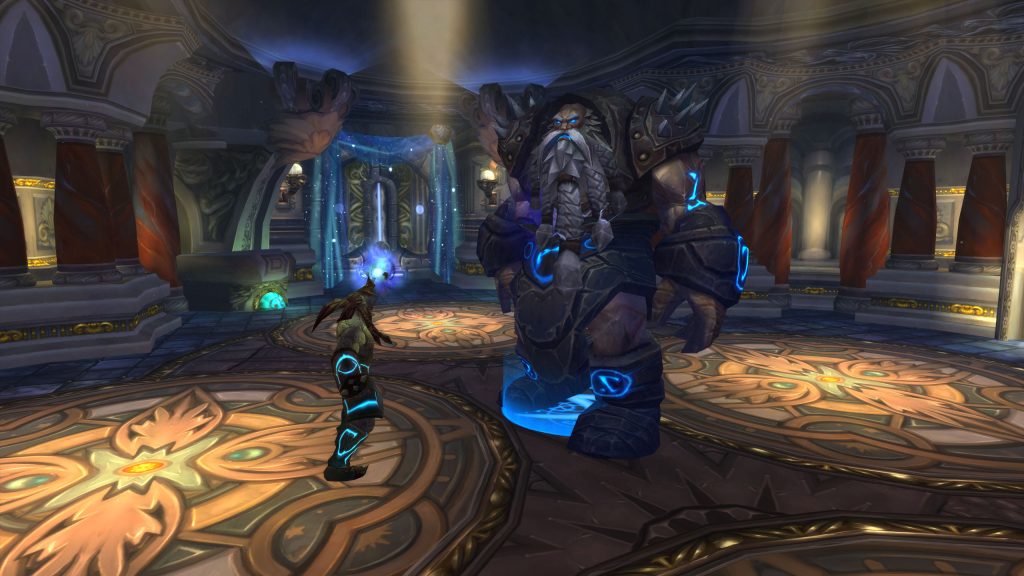
The generals of the armies of Ulduar. Each representing their respective race within the titan-forged armies of Ulduar.
This boss also offers an optional hard mode with the potential for extra, more powerful loot. To activate hard mode, you will need to kill Steelbreaker last, allowing him to increase in power with each General slain.
Check out an in-depth breakdown in our Assembly of Iron Strategy Guide!
Kologarn
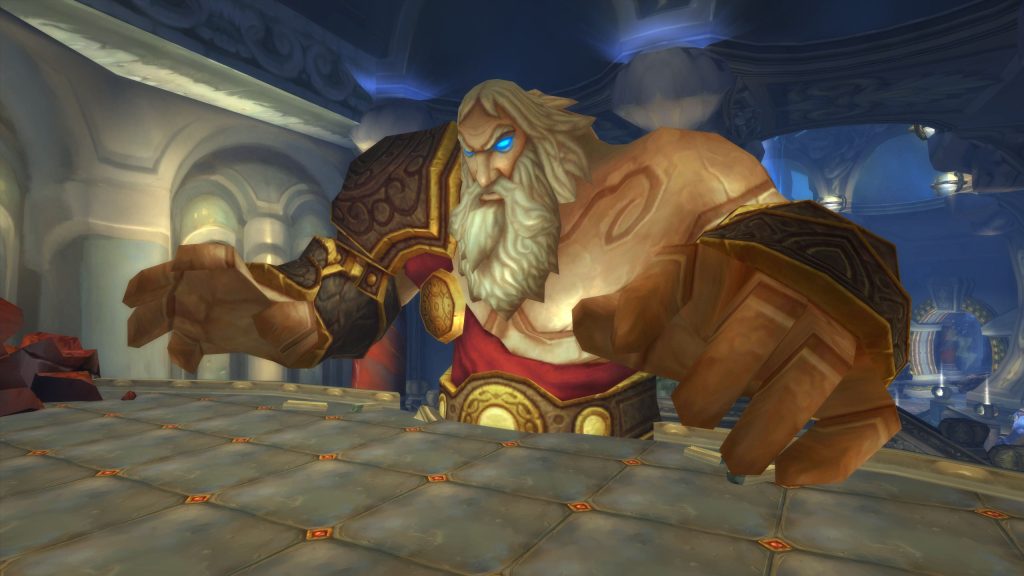
A gargantuan figure, created by Ignis to guard the depths of Ulduar. Kologarn is so large that you will be fighting his arms independently of the boss. When he dies, his colossal corpse falls into place to create a bridge into the Observation Ring.
Check out an in-depth breakdown in our Kologarn Strategy Guide!
Auriaya
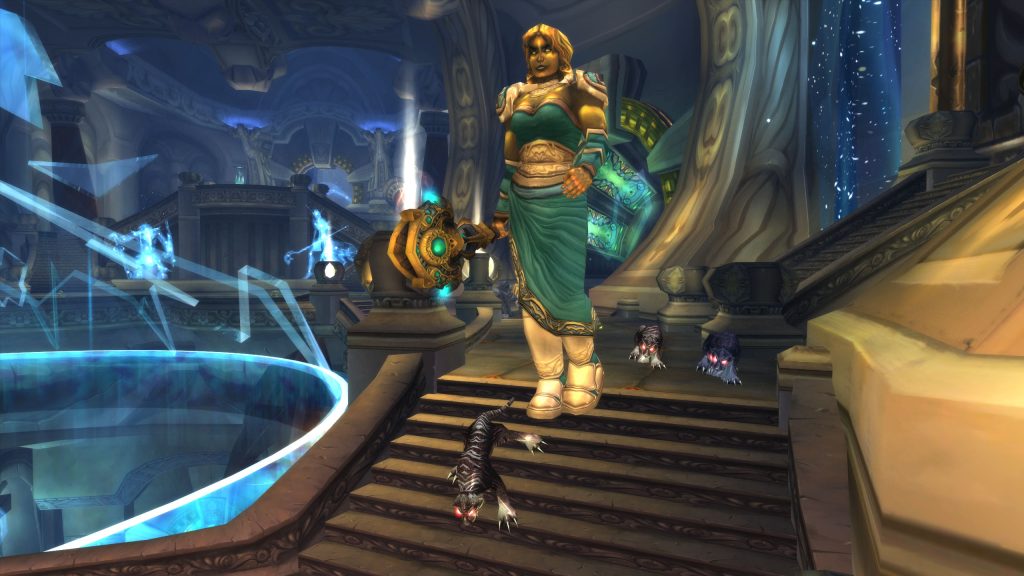
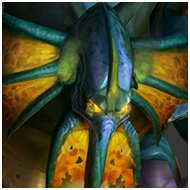
The archivist of Ulduar, her sanity lost over the uncountable years combined with the influence of Yogg-Saron. She is guarded by her only companions, her cats.
Check out an in-depth breakdown in our Auriaya Strategy Guide!
Hodir
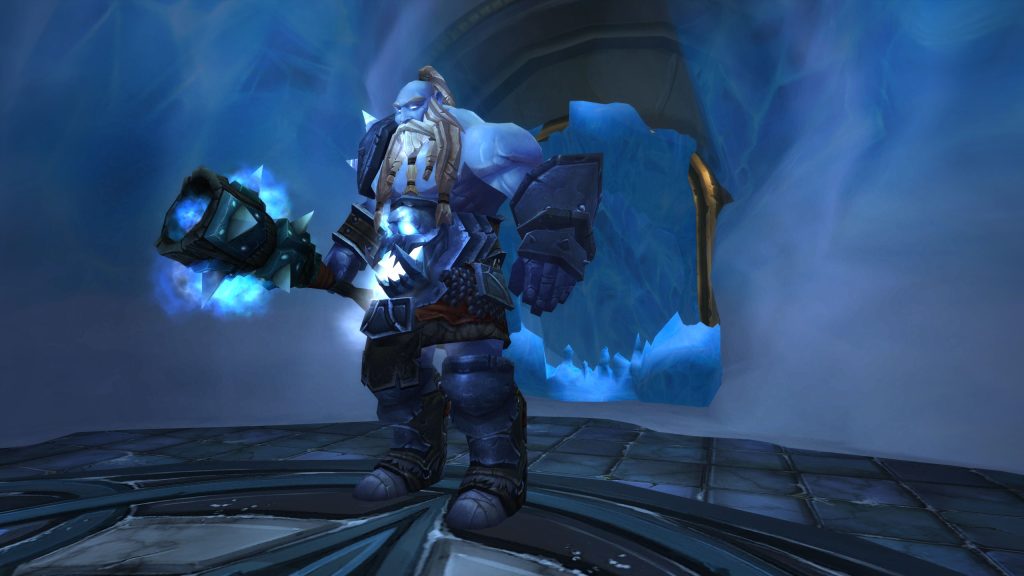
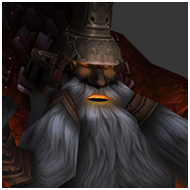
The ruler of the Temple of Winter, guiding the frost giants of Northrend. Now forced to serve Yogg-Sarons whims, eternally stood in the caves of the Halls of Winter.
This boss also offers an optional hard mode with the potential for extra, more powerful loot. To activate hard mode, you will need to kill Hodir within 2-minutes. That’s it, that’s the whole hard mode.
Check out an in-depth breakdown in our Hodir Strategy Guide!
Thorim
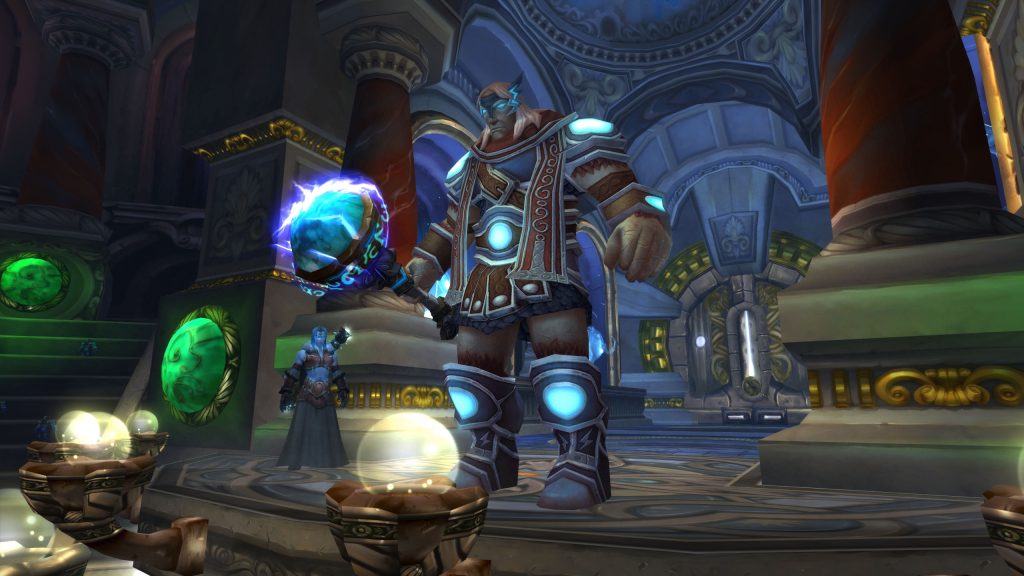
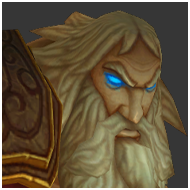
Imprisoned in Ulduar by Loken, Thorim has been warped by Yogg-Sarons influence. This fight requires the raid to split up, with half of the raid going through a gauntlet, making their way to Thorims elevated position. The rest of the raid will have to remain in place, fighting enemies in an arena to keep Thorim distracted.
This boss also offers an optional hard mode with the potential for extra, more powerful loot. To activate hard mode, you will need to reach Thorim within 3-minutes of starting the encounter. This means your gauntlet team will have to hurry!
Check out an in-depth breakdown in our Thorim Strategy Guide!
Freya
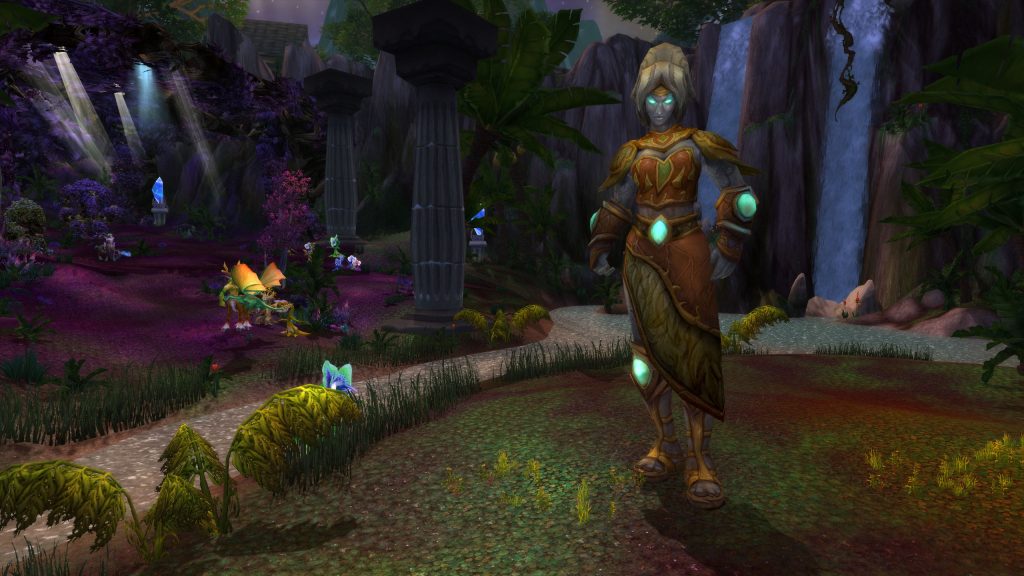
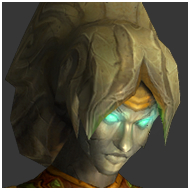
Freya and her three elders dutifully protect everything living—until they succumbed to the will of the old gods. This fight plays out very similarly to Sartharion in the Obsidian Sanctum, with three optional adds to defeat to make the fight easier.
Leaving all of these adds alive will activate hard mode, granting powerful additional loot.
Check out an in-depth breakdown in our Freya Strategy Guide!
Mimiron
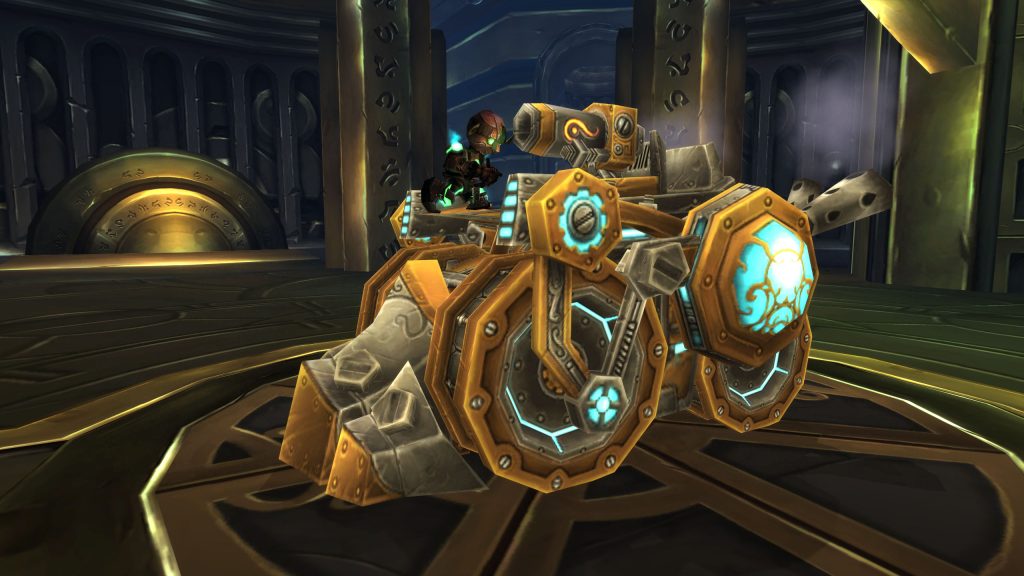
Mimiron was a brilliant inventor, bringing much of Azeroth’s advanced technology to the world we know. Corrupted by Loken and the influence of Yogg-Saron, this once virtuoso inventor now only creates machines of war. Mimirons fight involves defeating more of his death machines, including a newer version of Flame Leviathan.
This boss also offers an optional hard mode with the potential for extra, more powerful loot. To activate hard mode, you will need to push the Big Red Button found behind Mimiron in his arena. Remember, if you don’t want hard mode, don’t push the big red button!
Check out an in-depth breakdown in our Mimiron Strategy Guide!
General Vezax
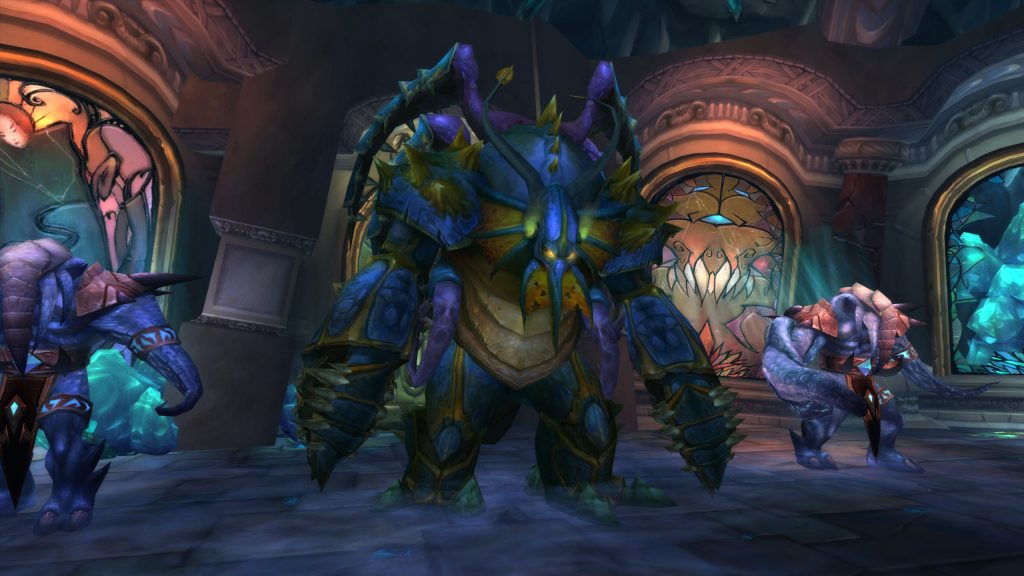
Commander of the faceless ones of the old god’s armies, General Vezax is the final obstacle between you and releasing the titans of Ulduar from the dread old god residing in the next room.
This boss also offers an optional hard mode with the potential for extra, more powerful loot. To activate hard mode, your raid will need to avoid using the saronite vapors found during the fight. After some time, the vapors will coalesce into a Saronite Animus. Defeat this new enemy before defeating Vezax to finish the hard mode encounter.
Check out an in-depth breakdown in our General Vezax Strategy Guide!
Yogg-Saron
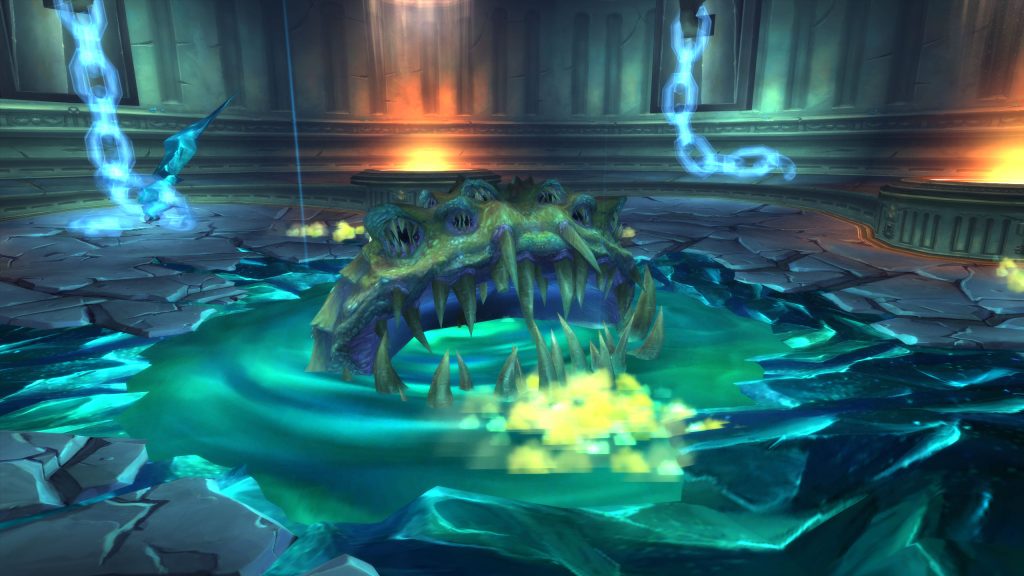
The old god themself, the beast with a thousand maws, the lucid dream. Imprisoned in the depths of Ulduar, Yogg-Saron has plotted and planned its devastating return to Azeroth. Having finally succeeded in corrupting the guards tasked with keeping him imprisoned, the ultimate prison-break has begun.
This boss also offers an optional hard mode with the potential for extra, more powerful loot. Activating hard mode for this fight begins back in the Conservatory. After defeating the watchers of Ulduar, Thorim, Hodir, Auriaya, and Freya, you can ask for their assistance in the fight to come. If you eschew the help, your raid will be alone in the darkness against Yogg-Saron, but the rewards will be worth it, right?
Check out an in-depth breakdown in our Yogg-Saron Strategy Guide!
Algalon the Observer
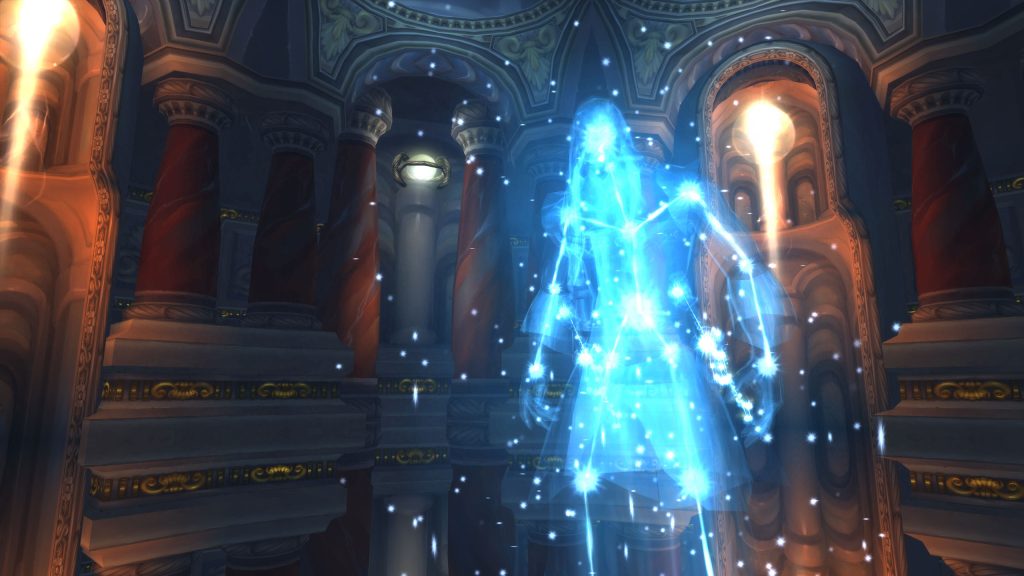
Algalon is a special encounter, found in the Antechamber of Ulduar, he is the final final boss. Called in after Lokens defeat, Algalon is on Azeroth to determine if the corruption of Yogg-Saron is so vast that life itself is no longer salvageable. If allowed to transmit reply-code Omega, all life on Azeroth will cease to be.
This boss has no hard mode, but the encounter itself is a form of hard mode.
Check out an in-depth breakdown in our Algalon the Observer Strategy Guide!



Great start for the guide!
Is it going to be continued soon to include all bosses?
Hey, it’s continually being updated until finished yes!
I’d like to call out one part of the summaries that is incorrect. For Flame Leviathan, to activate Hard Mode, you have to talk to the Lore Keeper of Norgannon to start the gauntlet. Once you do this, the only way to deactivate Hard Mode is to destroy the four buildings controlling the extra abilities.
If you talk to Brann, the gauntlet starts as normal and the buildings do nothing.
Thankyou, Ill correct this as soon as I can.
“To activate hard mode, .you will need to
kill Hodir within 3-minutesThat’s it, that’s the whole hard mode.”Small Correction :
“To activate hard mode, .you will need to kill Hodir within 2-minutes That’s it, that’s the whole hard mode.”
Thank you, this has since been corrected.