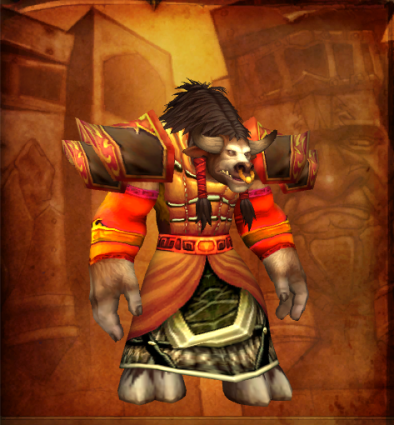
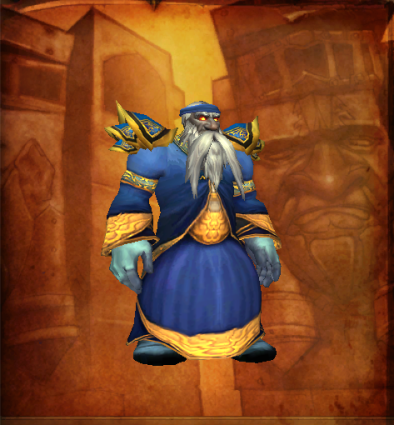
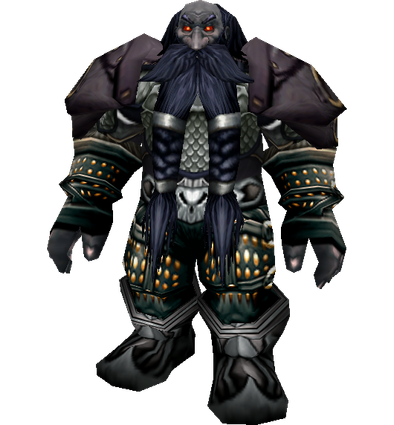
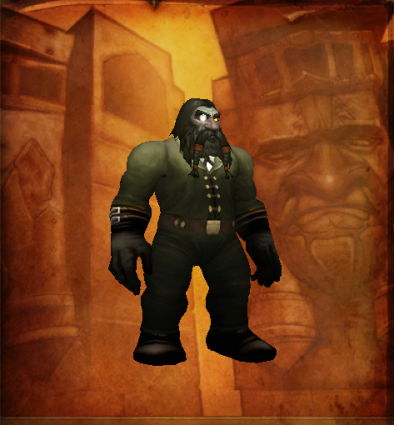
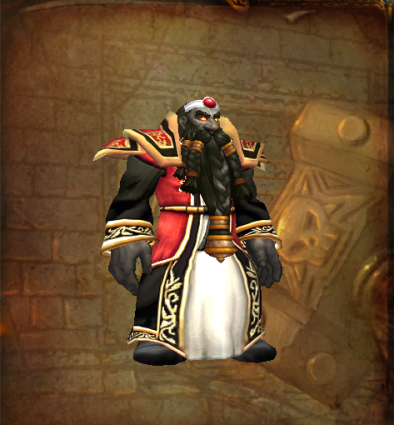
WoW Classic Blackrock Depths Location, Bosses, & Rewards
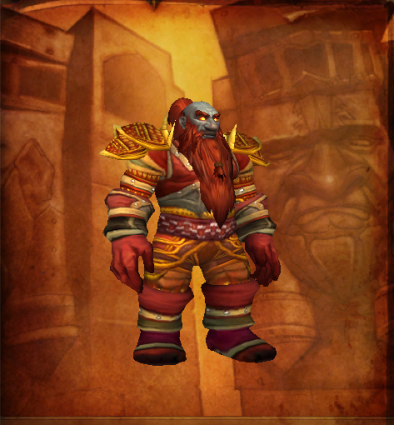
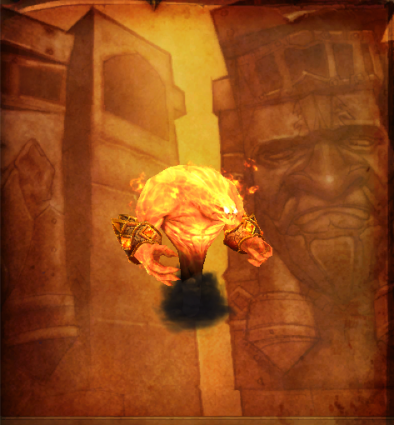
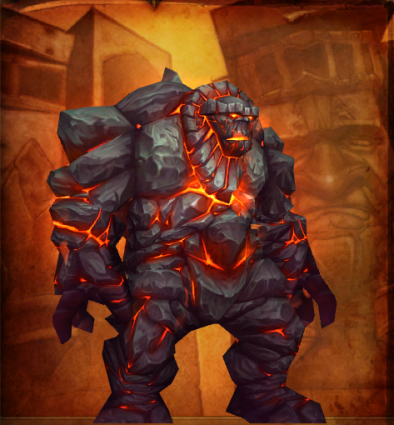
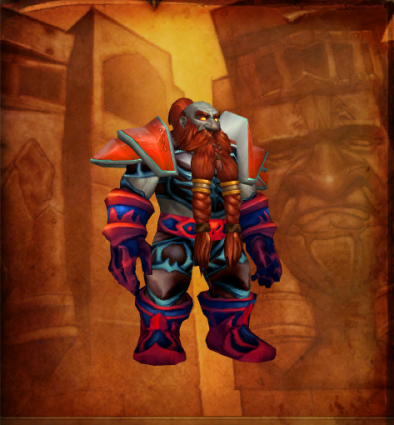
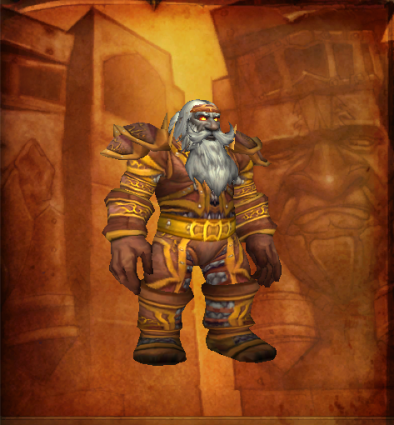
Blackrock Depths is one of the largest dungeons in all of Azeroth, home to dozens of bosses and encounters. It used to be the capital city for the Dark Iron Dwarves, but was since invaded by the Firelord, Ragnaros. From Blackrock Depths, Ragnaros now creates golems and uses his draconic minions to carry out his orders. Prepare to spend several hours in the depths if you intend on doing a full clear.
- Level Requirement: 48
- Recommended Level: 51+
- Location: Searing Gorge
- Boss Encounters: High Interrogator Gerstahn, Houndmaster Grebmar, Lord Roccor, Hedrum the Creeper, Gorosh the Dervish, Anub’shiah, Ok’thor the Breaker, Theldren, Pyromancer Loregrain, Golem Lord Argelmach, Hurley Blackbreath, Phalanx, Lord Incendius, Warder Stilgiss, Watchman Doomgrip, Fineous Darkvire, Bael’gar, General Angerforge, Plugger Spazzring, Ribbly Screwspigot, Ambassador Flamelash, The Seven, Magmus, Emperor Dagran Thaurissan, Panzor the Invincible (rare)
- Loot Drops:
- Ironfoe, Circle of Flame, Kindling Stave, Angerforge’s Battle Axe, Lord General’s Sword, Guiding Stave of Wisdom, he Emperor’s New Cape, Hand of Justice
- Savage Gladiator Set (from Ring of Law): Savage Gladiator Chain, Savage Gladiator Helm, Savage Gladiator Leggings, Savage Gladiator Greaves, Savage Gladiator Grips
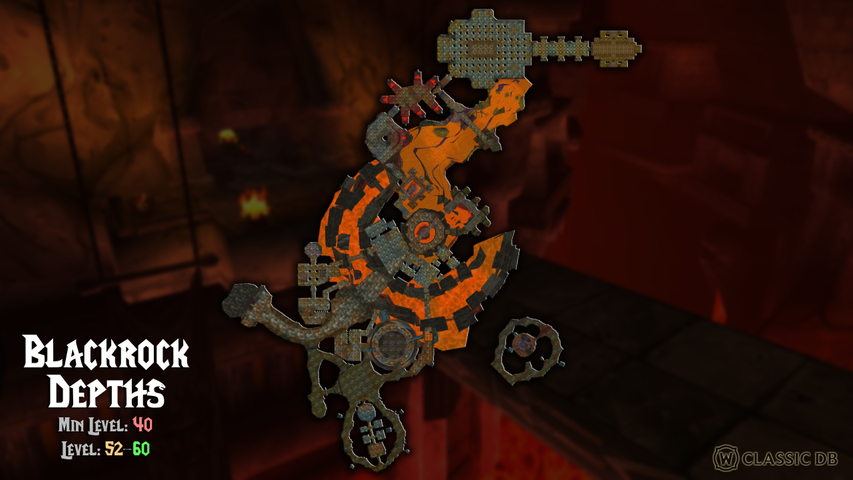
Location & Map
To reach the Blackrock Depths dungeon entrance, enter Blackrock Mountain from either side and climb down the large chain to the central structure. Descend the building through Forgewright’s Tomb and continue down the path and down another chain. Enter the doorway on the platform and pass through into The Grinding Quarry. Go through this room, veering left where it splits, to enter The Masonry. You’ll find the dungeon portal in the far corner of this area.
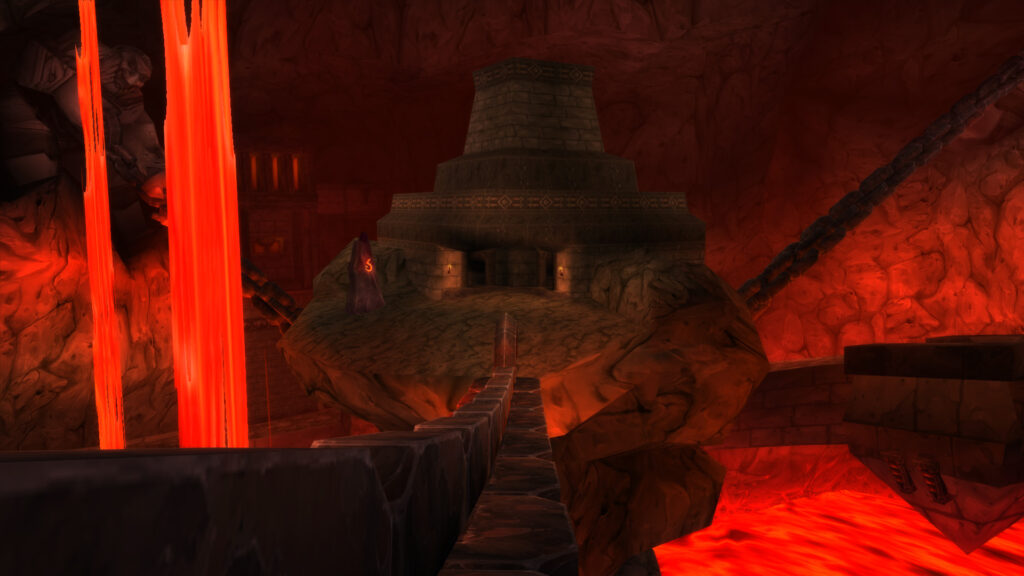
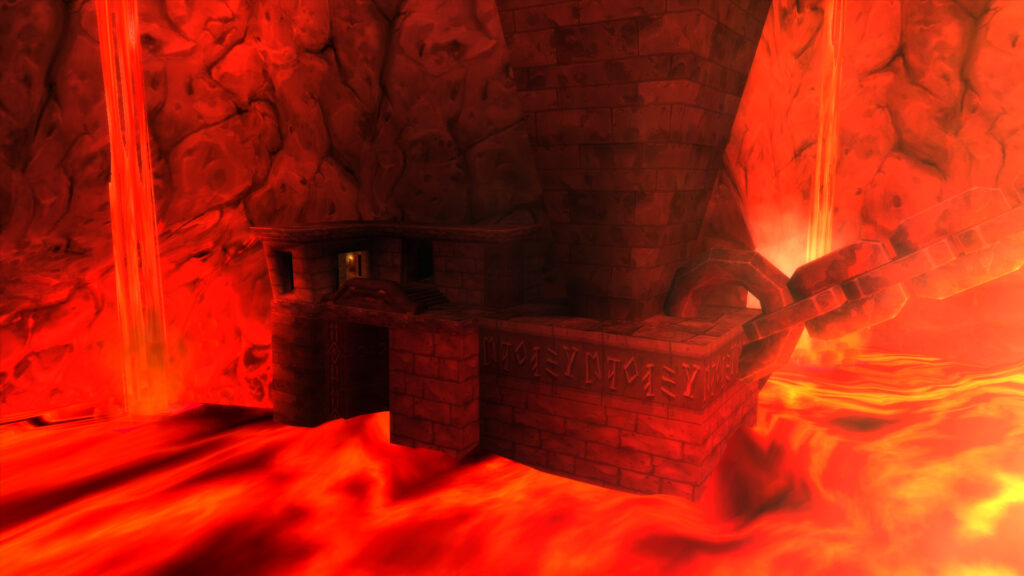
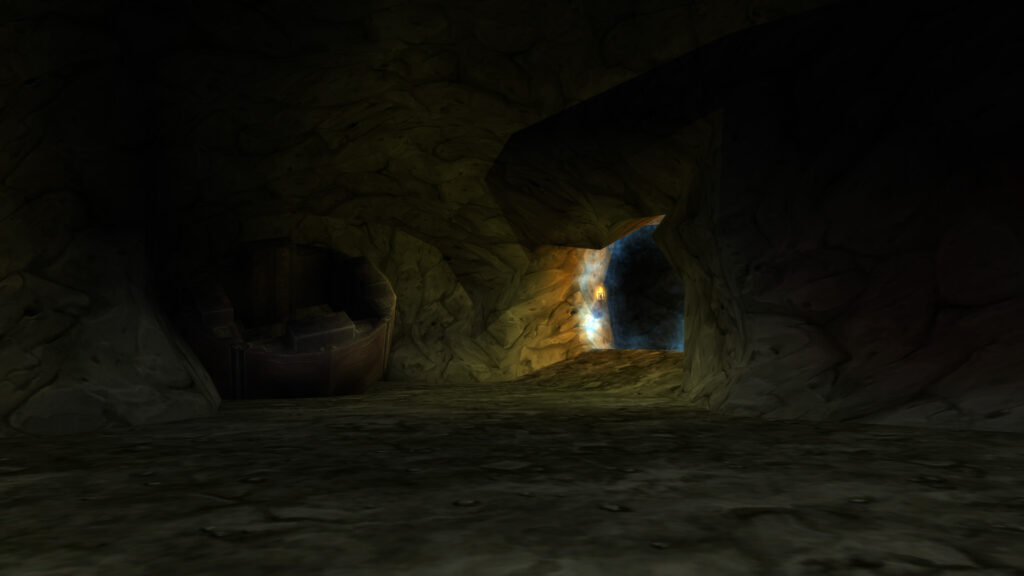
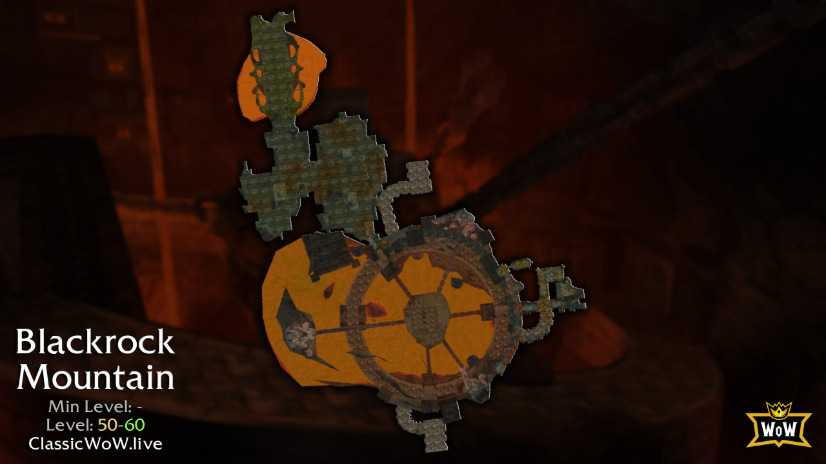
Navigating the dungeon itself can be a challenge due to its size and complexity as well as the presence of a few doors and barriers that require a key or activating a mechanism. To help you find your way, we’ve divided the dungeon into sections.
The two maps below are from the modern version of Blackrock Depths in retail World of Warcraft. That version is very similar, and you may find these maps are easier to use than the satellite view shown above.
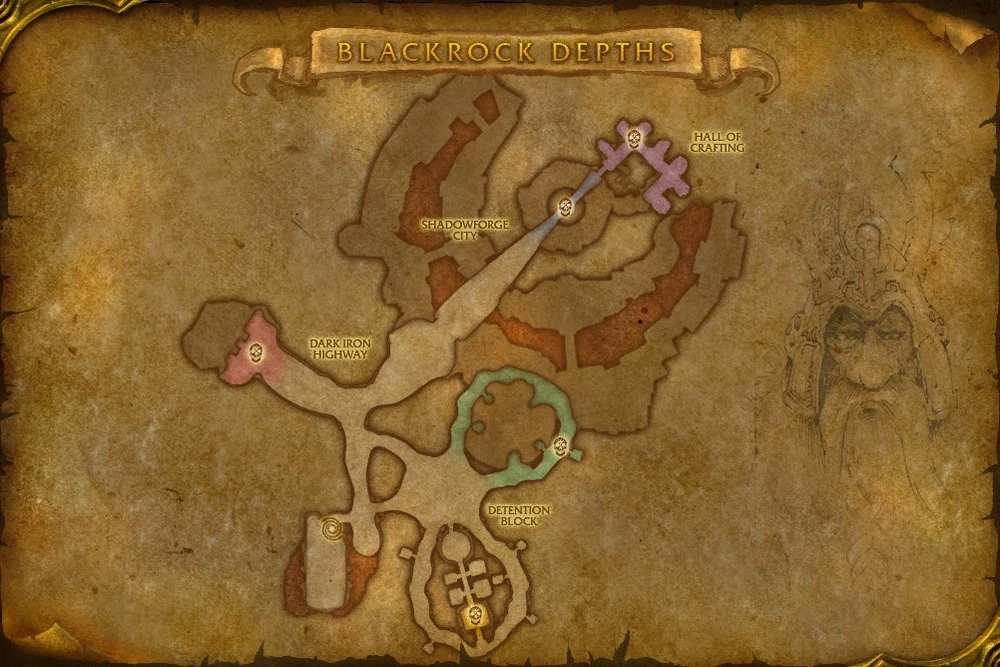
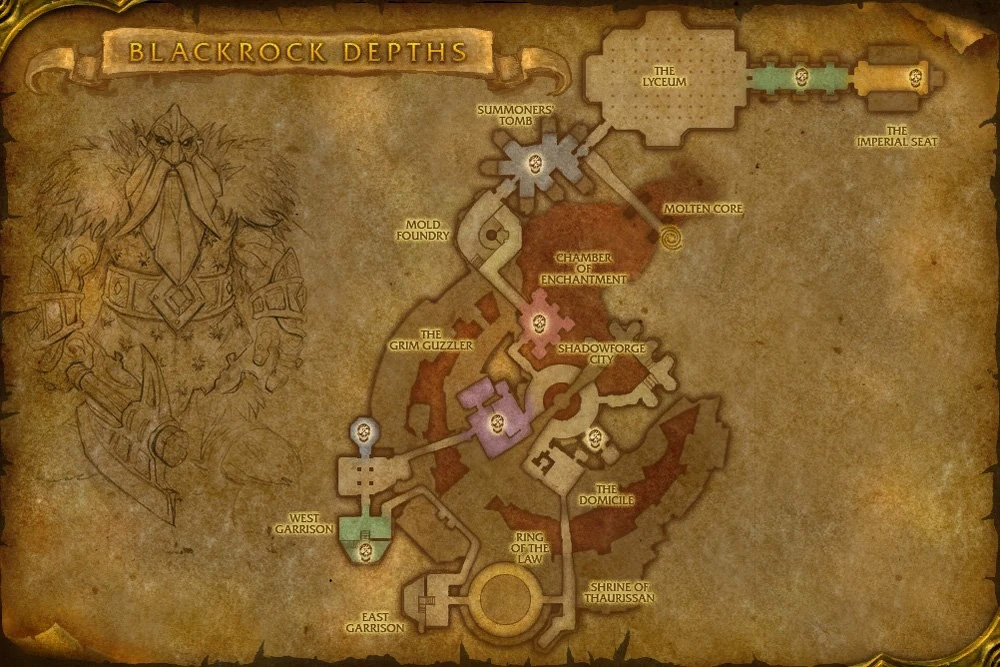
Detention Block
When you enter the dungeon, you will be inside the Detention Block. The Shadowforge Gate will be to your left. Go straight through the open archway to continue into the Detention Block.
There are two looping hallways that connect through the main central room. The one to the south has a third hallway that passes through the center of it housing a dormitory. One of the rooms in this dormitory has some Blacksmithing Plans on a table. The southernmost room houses the boss High Interrogator Gerstahn, who drops the Prison Cell Key that is needed to open many of the doors in the area.
You’ll find some quest NPCs inside the cells along the southeast hallway. Their doors can all be opened with the Prison Cell Key:
Patrolling the northern ring you’ll find the boss Lord Roccor. Follow the hallway around to the lowest point to reach Houndmaster Grebmar. There are more NPCs in the cells along the hallways, but they are not needed for quests and don’t drop any unique items. The open gate on the eastern side leads into the Ring of Law.
There are two locked doors in the northern hallway of the Detention Block. Both require the Shadowforge Key to open. One is a second Shadowforge Gate that leads to the Dark Iron Highway. The East Garrison Door leads, of course, to the East Garrison.
Dark Iron Highway
Reaching the Dark Iron Highway requires passing through one of the Shadowforge Gates in the Detention Block. These doors require either a Shadowforge Key or a Lockpicking skill of 250. The key can be obtained by completing the quest Dark Iron Legacy, which we cover in our Blackrock Depths Quests Guide.
The Highway is crowded with large packs of Dark Iron Dwarves. At the western end you’ll find the boss Bael’Gar. On the eastern end is a giant set of doors that leads to the Shadowforge City. These doors will be closed if you have used The Shadowforge Lock to open the door above in the East Garrison.
Shadowforge City
This area hovers above an open lava pit, so step carefully. The central bridge houses the boss Lord Incendius. He guards The Black Anvil, which is used to craft many Dark Iron items with Blacksmithing, including the Sulfuron Hammer.
On the other side of this bridge is the doorway to the Hall of Crafting.
Hall of Crafting
The boss Fineous Darkvire patrols up and down the winding ramp in this area. The room opens up from the Shadowforge City on the bottom, and leads to a balcony on the top with doorways to The Black Vault and The Domicile.
The Black Vault
You’ll find a set of Blacksmithing Plans on a table in the first room here. In the vault itself, you’ll encounter the boss Warder Stilgiss and his demon pet, Verek.
If you’ve collected some Relic Coffer Keys, you’ll be able to open the Relic Coffer Doors inside the vault. Behind each you’ll find a Relic Coffer, a small chest containing various treasures. If you open all 12 Relic Coffer Doors, the four Warbringer Constructs in the room will activate and the boss Watchman Doomgrip will spawn. The Secret Safe underneath the Dark Coffer at the back of the room will open, revealing the Heart of the Mountain quest item and a box containing one of the following items:
To open the Dark Coffer in the back of the vault, look for the Dark Keeper Portrait next to the doorway. Open it to summon a random named Dark Keeper, who will drop the Dark Keeper Key when defeated. The Dark Coffer contains items that are needed for shoulder enchants:
- Burning Essence is used for Libram of Resilience
- Black Blood of the Tormented is used for Libram of Rumination
- Eye of Kajal is used for Libram of Tenacity
The Domicile
There’s not much here except for a lot of trash mobs. Head upstairs to exit onto a bridge that leads to the Shrine of Thaurissan.
Shrine of Thaurissan
This hallway can be entered either by passing through The Domicile or by going around the ring from the East Garrison.
At the end of the hallway, you’ll find the boss Pyromancer Loregrain. He’s kneeling in front of the Monument of Franclorn Forgewright, which you must interact with to complete the quest that grants the Shadowforge Key.
Ring of Law
Entering the Ring of Law will begin an event, with the gate closing behind you. You will face two waves of monsters followed by a random boss from this list:
Theldren will appear instead of a random boss if the Banner of Provocation is placed.
The randomness of the Ring of Law leads many players to farm it separately in hopes of getting the boss that drops the item they want. These are usually referred to as “arena runs,” and entail running straight to the Ring of Law, completing the event, and then running out to reset the dungeon. The Savage Gladiator Chain that is dropped by Gorosh the Dervish is a particularly coveted and rare item for Warriors and other melee characters, with players often doing hundreds of arena runs in order to acquire it.
When you defeat the boss and conclude the Ring of Law event, the gate you entered through will open along with a second gate that leads into the East Garrison.
East Garrison
The East Garrison can be reached either through the Ring of Law or the East Garrison Door, the latter of which requires the Shadowforge Key to open. There are no bosses in this area. From here you can choose to either head to the West Garrison or the Shrine of Thaurissan.
To reach the Shrine of Thaurissan, head up the stairs beside the entrance to the Ring of Law and go around the ring to the other side. Be careful of the Arena Spectators as they are known to aggro, which pulls the whole group. Most players choose to stay very close to the inner railing for this reason.
To reach the West Garrison, you will need the Shadowforge Key. Go down the stairs and interact with The Shadowforge Lock, the large wheel. This will move the Giant Door that is blocking the doorway in the upper hallway. Head through it to reach the West Garrison.
West Garrison
Follow the hallway through from the East Garrison and you’ll eventually come to two stairways that lead down. The stairs on the left lead to the only boss in this area, General Angerforge. The stairs on the right lead into The Manufactory.
Straight ahead between the two stairways you’ll find a set of Blacksmithing Plans on a table.
The Manufactory
Entering The Manufactory from the West Garrison, you can reach the boss Golem Lord Argelmach by going straight across to the opposite room.
Near the boss you’ll see Schematic: Field Repair Bot 74A on the ground, which teaches the Engineering recipe for Field Repair Bot 74A. On the other side of the crates is a set of Blacksmithing Plans.
Head east through The Manufactory to reach the bridge to The Grim Guzzler.
The Grim Guzzler
The patrons of the bar are too busy drinking and chatting to pay you any mind. You can head upstairs to find Lokhtos Darkbargainer in a small storage room. He sells crafting recipes to characters who have the appropriate Thorium Brotherhood reputation. Standing on the bar nearby you’ll find Plugger Spazzring, who sells a couple of recipes as well as Dark Iron Ale Mug, which is needed to activate a boss and open the Bar Door that leads to the rest of the dungeon.
There are three bosses here that require special interactions to activate:
- Ribbly Screwspigot is friendly until you threaten him through dialogue. Then you’ll be fighting him and his cronies.
- Hurley Blackbreath and his four adds are summoned by smashing the three Thunderbrew Lager Kegs in the room near Ribbly.
- Phalanx will stand dormant in his corner until you purchase Dark Iron Ale Mug from Plugger Spazzring and give them to Private Rocknot. He’ll ask for more a couple of times, and then he’ll walk over and mess with some of the kegs, which will annoy the other patrons. This will activate Phalanx, who will smash open the Bar Door. Most groups choose to fight this boss in his corner so as to avoid having to deal with any of the patrons.
With the Bar Door smashed open, you now have access to the rest of the dungeon. You step out onto a balcony where you can either head through a doorway on the left that leads to the Chamber of Enchantment, or you can jump down into the Shadowforge City.
Chamber of Enchantment
You must pass through this area to get to the rest of the dungeon from The Grim Guzzler. It contains only a single boss, Ambassador Flamelash.
Exiting the room through the other door to your left, you’ll arrive at the Mold Foundry.
Mold Foundry
You’ll find some Blacksmithing Plans tucked against the ramp that leads down into the room. The rare boss Panzor the Invincible sometimes spawns here. You must pass through this area to reach the Summoners’ Tomb and continue deeper into the dungeon.
Summoners’ Tomb
You’ll be blocked from continuing past this room by a closed door until you defeat The Seven, a boss encounter that consists of seven different Iron Dwarves: Anger’rel, Seeth’rel, Dope’rel, Gloome’rel, Vile’rel, Hate’rel, and Doom’rel. Speak to Doom’rel to start the fight and defeat each of the dwarves as they attack you one after the other. When the last one dies, the Chest of the Seven will spawn and the door will open, allowing you to enter The Lyceum.
The Lyceum
If you take a right immediately upon leaving the Summoner’s Tomb, you’ll arrive at The Molten Bridge. Otherwise you’ll enter The Lyceum.
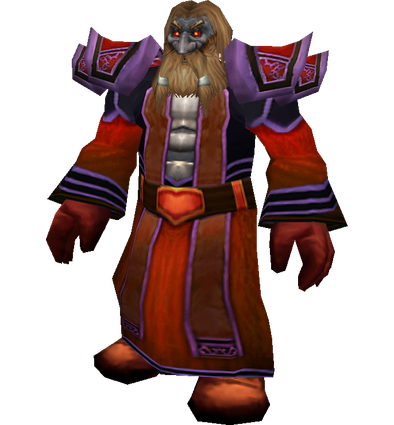
Once again there are some closed doors blocking you from continuing past this room. To open them, look for the Shadowforge Flame Keepers who are patrolling alone among the other dwarves. They are easy to spot by their bright red armor. Kill and loot them to get two Shadowforge Torches. (Note that there are four Keepers in the room and only two will drop the torches.) Then look for the two platforms at the back of the room and have the players who looted the torches interact with the Shadowforge Braziers. When both are lit, the doors will open to The Iron Hall.
The Iron Hall
Ironhand Guardians stand in the alcoves along either side of this room, spraying fire toward the middle. Avoid these cones as you make your way across. The boss Magmus waits near the back. When he’s dead, you can pass through the doors behind him to The Imperial Seat.
The Imperial Seat
This room houses the final boss, Emperor Dagran Thaurissan, as well as his captive, Princess Moira Bronzebeard, who is herself an optional boss. She drops some unique loot when killed, but if the Emperor is killed first she will stop attacking. There are some quests that require keeping her alive, so it’s good to discuss with your group whether you plan to kill her or not.
The Molten Bridge
This area can be reached either by passing through most of the dungeon to reach The Lyceum, or by doing what is known as a “lava run.” Lava runs are covered in our Molten Core Attunement Guide. There are two special features of this location that lead players to do lava runs, specifically avoiding the rest of the dungeon to reach The Molten Bridge.
The Black Forge is a special forge where characters with the appropriate Mining skill can smelt Dark Iron Ore into Dark Iron Bars. It is the only place in the game where this can be done. The Black Forge is at the end of the lower metal bridge, built into the side where the lava comes down.
Across the larger, stone bridge you will find the entrance to the Molten Core raid. Players wishing to enter the raid must either do so here, or must reach this point in order to loot the Core Fragment beside the portal for the attunement quest. Then they’ll be able to enter the raid by speaking to Lothos Riftwaker outside in Blackrock Mountain.
Quests
There are quite a lot of quests inside the Blackrock Depths dungeon, as it is the largest single dungeon in the game. Walkthroughs for all of these quests can be found in our separate Blackrock Depths Quests Guide.
Bosses
There are 30 bosses in the Blackrock Depths, including one that is Rare.
- High Interrogator Gerstahn
- Lord Roccor
- Houndmaster Grebmar
- Hedrum the Creeper
- Gorosh the Dervish
- Anub’shiah
- Ok’thor the Breaker
- Grizzle
- Eviscerator
- Theldren
- Pyromancer Loregrain
- Warder Stilgiss
- Watchman Doomgrip
- Fineous Darkvire
- Lord Incendius
- Bael’gar
- General Angerforge
- Golem Lord Argelmach
- Ribbly Screwspigot
- Hurley Blackbreath
- Plugger Spazzring
- Phalanx
- Ambassador Flamelash
- Panzor the Invincible (rare)
- The Seven
- Magmus
- Emperor Dagran Thaurissan
High Interrogator Gerstahn
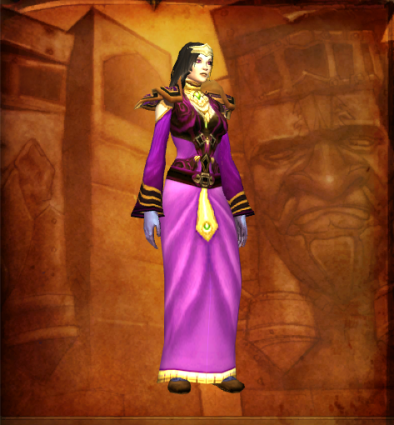
High Interrogator Gerstahn is a level 52 elite Priest. She drops the Prison Cell Key, a key used by the Alliance to talk with Marshall Windsor for the Onyxia’s Lair attunement. Be sure to clear the hallway of surrounding adds and patrolling mobs. It can be easy to pull her out of her room and into the hallway for the fight.
Strategy
- Tank: Use a ranged pull with line of sight in the doorway. Get High Interrogator Gerstahn to come out to the hallway that was cleared for the encounter. Help maintain interrupts for Mana Burn while keeping a good threat lead.
- Healer: DPS classes should focus output on the boss, while interrupting her Mana Burn. Use Tremor Totem, Fear Ward, and Berserker Rage to mitigate the effects of Psychic Scream. Be mindful of positioning when you do get feared.
- Damage Dealers: Keep all members of the group topped off as best as you can. Use Tremor Totem and Fear Ward to keep your tank from being feared during Psychic Scream. Shadow Word: Pain can be dispelled.
Loot
Lord Roccor
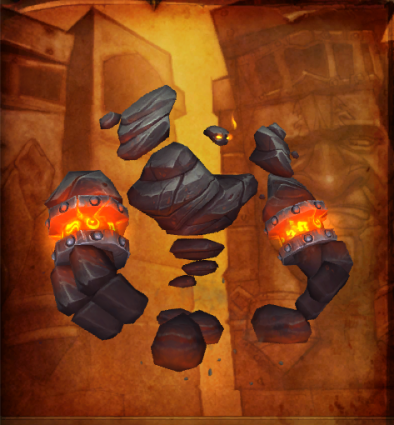
Lord Roccor is a level 51 elite elemental type. the boss patrols the northeastern ring which wraps around the Ring of Law.
Strategy
- Tank: Lord Roccor is a level 51 elite elemental type. the boss patrols the northeastern ring which wraps around the Ring of Law.
- Healer: The boss should only be dealing damage to the tank during the encounter. Be aware that Ground Tremor may interrupt your casts and silence you for 2 seconds.
- Damage Dealers: The boss has high armor, but should simply be focused down by all DPS classes.
Loot
- Earthslag Shoulders
- Formula: Smoking Heart of the Mountain
- Idol of Ferocity
- Mantle of Lost Hope
- Stoneshell Guard
Houndmaster Grebmar
Houndmaster Grebmar is a level 52 elite. He patrols between two groups of dogs, which should be handled before engaging the boss.
Strategy
- Tank: This boss is essentially a tank and spank.
- Healer: Maintain a focus on your tank, looking out for when he increases his attack speed with Bloodlust.
- Damage Dealers: Focus down the wolf adds before turning your attention to the boss. Ideally, they should be dead already before the pull.
Loot
Hedrum the Creeper
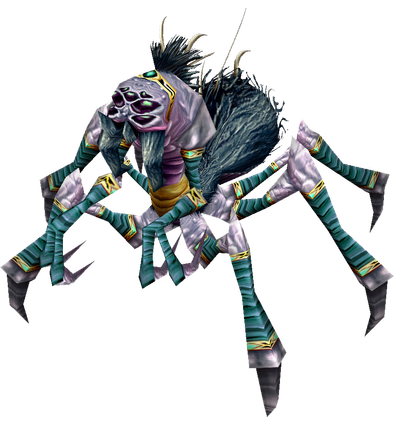
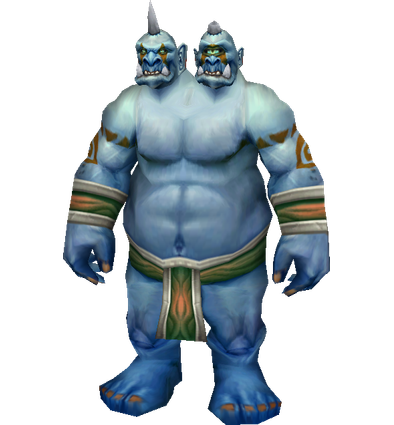
Hedrum the Creeper is a Spider boss that is one of the potential encounters for the Ring of Law or “Arena” event in Blackrock Depths.
Strategy
- Tank: Engage the boss as it skitters out to the arena floor, and maintain threat on the boss throughout the encounter.
- Healer: Be aware that the group may require healing through the effects of Baneful Poison, but otherwise you should focus your healing on the tank. The poisons can and should be cleansed, and Web Explosion can be dispelled.
- Damage Dealers: Allow for the tank to establish and maintain threat, then begin your DPS rotation. If your class can cleanse poisons or dispel the Web Explosion movement impairing effect, do so to help out your healer.
Loot
Gorosh the Dervish
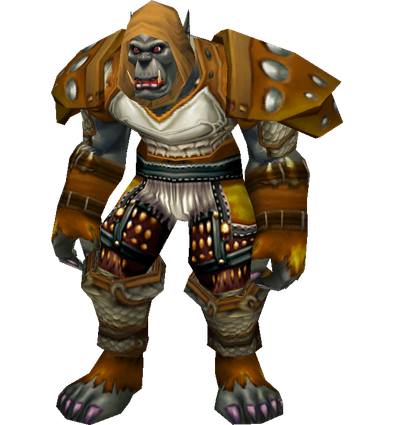
Gorosh the Dervish is the probably the most sought after boss in the Ring of Law or “Arena” event in Blackrock Depth. The reason being that he drops the Savage Gladiator Chain, often referred to as SGC, which is a mail chestpiece desired by DPS Warriors, Hunters, Shamans, Ret Paladins, and some Prot Warriors.
Strategy
- Tank: Tanking this fight is hardly more than maintaining threat and allowing DPS to burn the boss down. Use defensive cooldowns when you are affected by Mortal Strike to help reduce the damage you take and the need for healing spells. Be especially aware of when the boss uses Bloodlust, as a combination of this and Mortal Strike will result in you taking significantly more damage.
- Healer: Allow for your tank to establish threat, and then begin your DPS rotation. Melee DPS should be aware of the Whirlwind ability, which will deal damage to targets in melee range. Ranged DPS should ensure they are out of Whirlwind range always.
- Damage Dealers: The challenge to healing through this fight is the Mortal Strike, which will reduce the healing taken by the tank. When this debuff comes up, use whatever abilities or cooldowns you can to increase your healing output.
Loot
Anub’shiah
Anub’Shiah is one of the potential bosses for the Ring of Law or “Arena” event. This boss is a level 54 elite, who has a few familiar Warlock abilities and a spidery enveloping web.
Strategy
- Tank: Engage the boss in the center of the room. Tank and spank.
- Healer: Healing this encounter is not overly challenging, but be sure to top everyone off as often as possible in case you get hit with Enveloping Web. If possible, decurse Curse of Tongues from yourself or your caster party mates.
- Damage Dealers: During the fight spread out and allow the tank to establish and maintain threat, then maximize your damage output. Mages and Druids should prioritize decursing Curse of Tongues.
Loot
Ok’thor the Breaker
Ok’thor is an Arcane specialized Mage, and is one of the options for the boss summoned in the Ring of Law or “Arena” event in Blackrock Depths. The boss is desired by many casters in hopes of claiming his Ban’thok Sash, a belt with valuable 1% hit for many pre-raid BiS set lists.
Strategy
- Tank: Tanking this boss does not require any unfamiliar techniques or positioning. Establish and maintain threat while your DPS burn him down.
- Healer: Melee DPS, the tank, and anyone standing too close to Ok’Thor will be hit by Arcane Explosion. Top everyone off after this goes out to avoid unnecessary deaths. Be aware of who is affected by Polymorph, and if your class can, be quick to dispel the target.
- Damage Dealers: Once your tank has established threat and you begin your DPS rotation, keep distance from the boss to avoid being hit by Arcane Explosion. Be aware of who has been targeted by Polymorph, and dispel it if your class can do so.
Loot
Grizzle
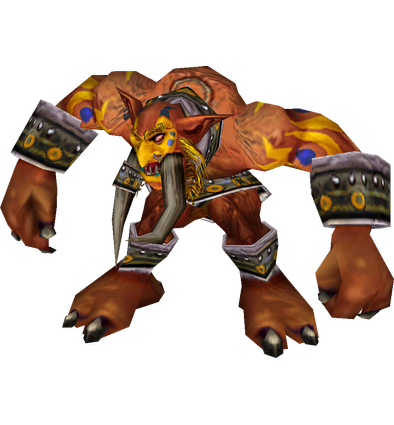
Grizzle is another potential boss in the Ring of Law or “Arena” event, similar to a Berserker found in troll communities like Sunken Temple and Zul’gurub.
Strategy
- Tank: This is essentially a tank and spank.
- Healer: While healing, focus your casts on the tank. Stay at maximum distance to outrange the effects of Ground Tremor.
- Damage Dealers: Allow for your tank to establish threat before you open up on DPS. Ranged DPS should stand at maximum range to avoid the effects of Ground Tremor.
Loot
- Dregmetal Spaulders
- Entrenching Boots
- Grizzle’s Skinner
- Plans: Dark Iron Pulverizer
- Stonewall Girdle
Eviscerator
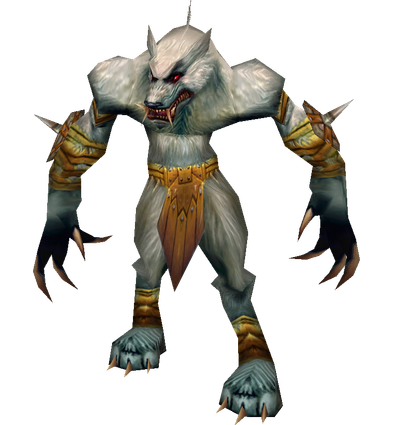
Eviscerator is a level 54 elite Worgen who is among the potential options for the Ring of Law or “Arena” event.
Strategy
- Tank: This fight is essentially a tank and spank. Focus on maintaining threat.
- Healer: During the encounter, focus your healing on the tank who will be affected by Vicious Rend from time to time. Priest Healers should buff the group with Shadow Protection to reduce the effects of Shadow Bolt Volley.
- Damage Dealers: When the boss uses Anti-Magic Shield, caster DPS should hold off from casting to not waste mana. Priests should buff the group with Shadow Protection, and Warlocks should use their Shadow Ward to mitigate damage from Shadow Bolt Volley.
Loot
Theldren
Theldren and his gladiator group will be summoned instead of the other Ring of Law bosses if the player places the Banner of Provocation. He along with four other random gladiators will appear, among them: Lefty, Rotfang, Malgen Longspear, Va’jashni, Volida, Snokh Blackspine, Korv, or Rezznik. Defeating them will leave behind the Arena Spoils.
Strategy
- Tank: Theldren and his four group members can be a challenge. If you are leading the party, make sure to quickly mark a kill order and get threat on those mobs so that the DPS can focus and quickly kill adds. Make sure that all mobs are tagged and engaging you so the healer doesn’t pull aggro. If you get hit with Mortal Strike especially early in the fight, use defensive cooldowns to help the healer react to the situation.
- Healer: With Theldren spawning with four other adds the fight can become chaotic. Make sure to keep everyone up especially initially as the fight will become easier with more adds being killed. Watch the tank during the fight as Theldren can hit them with Mortal Strike. If the tank dies in this fight it very well could be a wipe.
- Damage Dealers: The boss spawns with 4 adds. The party leader will need to mark the best target to kill and work through the party members to lessen their numbers as quickly as possible. Focus on the marked adds and end with Theldren himself. If you have crowd control abilities try to get one of the adds temporarily out of the fight.
Loot
Pyromancer Loregrain
Pyromancer Loregrain spawns next to the Shrine of Thaurissan, which can be approached from either the opposite side of the Ring of Law, from Argelmach, or by walking down the hallway beyond the coffer room. The boss drops the enchanting recipe for Enchanting: Fiery Weapon alongside the Pyric Caduceus. This is pre-raid BiS for Fire Mages. His other loot is all Fire Resistance gear.
Strategy
- Tank: Tank the boss where he stands, facing away from the group. Maintain threat and allow for your DPS to burn him down. If you are a Paladin, use your Fire Resistance Aura here.
- Healer: Focus the tank who should be the only one taking primary damage. Group damage may spike from 15038 and how long it stays alive. So try and keep everyone topped off. If you are a Paladin, use your Fire Resistance Aura here.
- Damage Dealers: The DPS while maximizing their damage should focus swap to the Scorching Totem when it is summoned. Fire Mages and Warlocks should avoid using Fire spells when the boss has his Fire Ward up. If you are a Paladin, use your Fire Resistance Aura here.
Loot
- Flamestrider Robes
- Formula: Enchant Weapon – Fiery Weapon
- Kindling Stave
- Pyric Caduceus
- Searingscale Leggings
Warder Stilgiss
Warder Stilgiss spawns with Verek, the hound. Focus on dealing with Stilgiss first, then move on the Verek.
Strategy
- Tank: Maintain threat on both Verek and Stilgiss during this encounter. Warder Stigiss will be priority threat at the start. Interrupt Frostbolt as possible.
- Healer: Maintain healing on the tank while aware of which other party members are taking damage. Dispel Frost Nova from the tank if positioning is an issue.
- Damage Dealers: Damage Warder Stigiss first, then move on to Verek. Interrupt Frostbolt if possible. Do not use Frost damaging spells against Stilgiss, as he will absorb the damage using Frost Ward.
Loot
- Arbiter’s Blade
- Boreal Mantle
- Chillsteel Girdle
- Dark Warder’s Pauldrons
- Verek’s Collar
- Verek’s Leash
Watchman Doomgrip
Watchman Doomgrip spawns in The Vault of Blackrock Depths after opening all of the coffers in the room. First, the three stone adds in the room will come to life. Once defeated, Doomgrip will enter.
Strategy
- Tank: Establish threat on all three of the adds when they engage, and protect your healer/DPS. When Doomgrip spawns, the encounter is essentially a tank and spank.
- Healer: Healing will be high when the three adds first come to life. Maintain healing on the tank, who should have threat on all three of the mobs.
- Damage Dealers: Focus down the adds one at a time, to lighten up the damage being taken by the Tank. When Doomgrip spawns, treat the encounter as a tank and spank.
Loot
Fineous Darkvire
Fineous Darkvire can be found patrolling the Halls of Crafting. Many groups will seek him out to try and obtain his Senior Designer’s Pantaloons, which are pre-raid BiS for healing classes. Be sure to clear all of the adds in the area before engaging him to avoid bringing additional mobs into the boss encounter.
Strategy
- Tank: Pull the boss down the ramps to an area you have cleared of additional mobs. Use any interrupt abilities to prevent him from healing with Holy Light. Make good use of defensive CDs to help your healer.
- Healer: Tank damage can be high during the encounter. This makes keeping the tank at full HP important. Some overhealing is fine if it helps avoid accidental deaths.
- Damage Dealers: Make it a priority to interrupt the boss’ Holy Light in order to keep the fight nice and short. Allow for the tank to maintain threat – Darkvire hits pretty hard and you don’t want to take unnecessary damage.
Loot
- Chief Architect’s Monocle
- Foreman’s Head Protector
- Lead Surveyor’s Mantle
- Master Builder’s Shirt
- Senior Designer’s Pantaloons
Lord Incendius
Lord Incendius is a level 55 elite fire elemental located at the Black Anvil on a platform surrounded by Lava. Incendius can be approached from the Hall of Crafting, or from across the bridge from Bael’gar’s region of the instance. Be extremely careful not to get knocked off the platform by Mighty Blow as there is not another way back up.
Strategy
- Tank: Tank the boss in the middle of the platform, keeping distance from the edges. Beyond that, this fight does not require more from you than to hold threat.
- Healer: All members of the party will take damage throughout the fight, so be aware of who needs healing at what time. The tank should remain your main focus throughout the encounter. Position yourself somewhere away from the edge of the platform to avoid being knocked off by Mighty Blow. Try your best to avoid the boss’ AoE effects, but they won’t kill you if you get hit by one every now and then. If you can decurse then make sure that the tank especially and DPS if you can afford it are getting Curse of the Elemental Lord removed off of them before too many stacks are applied.
- Damage Dealers: Focus your DPS output on the boss once the tank has established threat. Position yourself somewhere away from the edge of the platform to avoid being knocked off by Mighty Blow. Try your best to avoid the boss’ AoE effects, but they won’t kill you if you get hit by one every now and then. If you can decurse then make sure that the tank and DPS are getting Curse of the Elemental Lord removed off of them before too many stacks are applied.
Loot
- Cinderhide Armsplints
- Emberplate Armguards
- Flameweave Cuffs
- Incendic Bracers
- Pyremail Wristguards
- Ace of Elementals
Bael’Gar
Bael’gar is a giant boss off to the left from the entrance. The groups of trash before him are known to be pesky, as they come in packs of 4 or 5, some of which are patrolling the area.
Strategy
- Tank: The boss needs to be tanked facing away from the group. It is recommended to run in and tank the boss where he stands, but turn him to face the wall he stands in front of. Bael’gar will summon some spawns throughout the fight, which need to be defeated. Try to Taunt them off your DPS, who should be prioiritizing them over the boss.
- Healer: Maintain focus on the tank throughout the fight, as they should be the only one taking significant damage.
- Damage Dealers: All DPS should stay behind the boss at all times to avoid taking unnecessary damage from Magma Splash. When Bael’gar spawns his adds, make killing them a priority before switching back to the boss.
Loot
General Angerforge
General Angerforge hits moderately hard and summons many low health adds to assist him during the fight. The boss used to be popular to farm when he dropped Hand of Justice (HoJ), a highly sought after melee DPS trinket. However, that piece of gear now drops off of Emperor Thaurissan, the final boss of the instance. His abilities are limited, but he does use a stacking Sunder Armor. The adds he summons are low health, and can be easily AoE’d by your casters, or cleaved down by physical DPS. The most challenging part of the encounter is actually the pull; most groups will choose to use a ranged pull to get him to come into the higher level platform you entered from. The reason for this technique is to give some time between the spawning of adds and when they actually meet up with the group.
Strategy
- Tank: Use a ranged ability from the top of the ramp to pull General Angerforge. The boss should run up to meet you on the platform (alone). Walk him back to the corner of the room you entered from, so as to not risk any probability of engaging the mobs in the next room. Actually tanking of the boss does not require anything beyond maintaining threat. At low health, the boss will summon adds. Try your best to keep threat on everyone while your group members burn them down. The adds have low health, so it may not be necessary, but implementing an AoE taunt like Challenging Shout can ensure that your DPS and Healer stay alive throughout this part of the encounter.
- Healer: Healing this encounter should not be too incredibly challenging. Keep the Tank in range and line of sight while they pull, and then stack up with ranged DPS for the rest of the encounter.
- Damage Dealers: Allow for your Tank to use a ranged ability to pull the boss up to the room above where Angerforge stands. Once the tank has established threat on the boss, begin your DPS rotation. Once the adds spawn, use AoE or multi target damaging abilities to burn them down quickly. If the boss is already at low health, focus Angerforge down and clean up the adds afterwards.
Loot
Golem Lord Argelmach
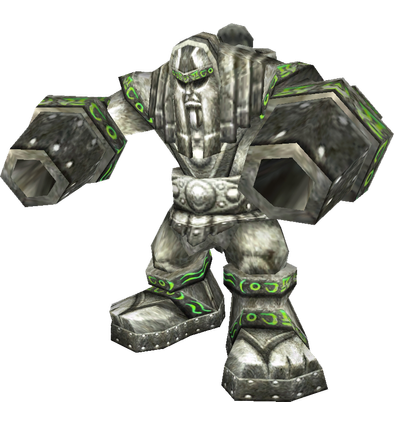
Golem Lord Argelmach is located in the Machine Workshop of Blackrock Depths. The boss is accompanied by two constructs who are to be defeated before moving on to Argelmach. In the room that the boss is found in, there can also be found some valuable Engineering Schematics on the ground.
Strategy
- Tank: Hold threat on the adds while DPS finish them off and then focus on Arcelmach.
- Healer: Healing is more intensive intially with the adds. Keep everyone alive but conserve mana so you aren’t out by the end of the fight. Argelmach can do extra damage to DPS with his Lightning Shield.
- Damage Dealers: Make sure to focus the adds before attacking Argelmach.
Loot
Ribbly Screwspigot
Ribbly is an optional boss located in the Grim Guzzler in Blackrock Depths. He is encountered with three cronies.
Strategy
- Tank: Maintain threat on Ribbly and his Cronies using AoE effects. Your DPS should focus down Ribbly, then move on to the adds.
- Healer: Focus your DPS output on Ribbly, then move on to the adds.
- Damage Dealers: Focus your healing on the tank, as they will be taking damage from Ribbly as well as the Cronies.
Loot
Hurley Blackbreath
Hurley Blackbreath is an optional boss located in the Grim Guzzler, and is the objective of unique Alliance and Horde quests which request you to kill him in order to obtain the lost Thunderbrew Recipe, returning it to either Kharanos or Kargath accordingly. To summon the boss, begin breaking kegs of Thunderbrew in the storage room of the bar (on the lower level). The boss is not challenging, but might give your group some trouble if you do not utilize any crowd control effects on the adds he comes out with. The majority of the mobs in the Grim Guzzler are Neutral – and you do NOT want to engage them. Keep this in mind with the use of AoE abilities or Multi-Shot.
Strategy
- Tank: Tank the boss in a corner of the room away from the door in attempts to not engage any of the neutral mobs in the other room by accident. As the adds come in the room, your DPS classes should implement CC on them. For those adds who run free, establish threat and keep their attention while your DPS focus down the boss. Your priority is truly to keep any unmanaged adds off of your healer.
- Healer: Healing this fight should not require you to work too incredibly hard, assuming your group has utilized CC abilities in an organized way. Focus you healing on the tank, and be aware that other group members may pick up threat on the adds and take some damage. Keep everyone topped off as much as possible.
- Damage Dealers: Utilize CC abilities on the adds, like Fear, Blind, Polymorph, etc. and focus down Hurley. Once he is defeated, bring the adds down in a methodical fashion (one at a time). The majority of the mobs in the Grim Guzzler are Neutral – and you do NOT want to engage them. Keep this in mind with the use of AoE abilities or Multi Shot.
Loot
Plugger Spazzring
Plugger Spazzring is an optional encounter located in the Grim Guzzler. The boss uses Warlock type abilities which can not be interrupted or slowed, and he is immune to stun. Engaging him will cause the entire bar to switch from neutral to hostile, so engage him at your own risk or clear bar patrons around him first.
Strategy
- Tank: Tank the boss away from any other mobs in the Grim Guzzler who could be hit with any AoE effects the group is using.
- Healer: Maintain healing on your tank, as they are the ones who should be taking damage from the boss. Dispel the DoT effect from Immolate. Druids should remove any Curse of Tongues from party members.
- Damage Dealers: Focus your DPS on the boss and burn him down. Unfortunately, you can not interrupt any of his abilities. Mages and Druids need to decurse party members affected by Curse of Tongues.
Loot
Phalanx
Phalanx guards the exit to the Grim Guzzler, opposite the Bar on the top level. To engage him, buy some Dark Iron Ale Mugs from the vendor Plugger Spazzring, and turn them in to Private Rocknot. Once you have completed three turn ins (requiring six Dark Iron Ale), Rocknot will enrage and our construct bouncer Phalanx will attempt to quell Rocknot’s rage. The door is broken open, and our fight with Phalanx begins. The majority of the mobs in the Grim Guzzler are Neutral – and you do NOT want to engage them. Keep this in mind with the use of AoE abilities or Multi-Shot.
Strategy
- Tank: Tanking the boss involves positioning him near the door, mostly to avoid the off chance that any patrons will become involved. From the tanking perspective, you should only need to focus on maintaining threat, and prepare any damage mitigation cooldowns for Mighty Blow.
- Healer: Focus your DPS on the boss while being careful not to overthrow your tank’s position on the threat table. Stay out of melee range if you are a ranged DPS to avoid Thunderclap damage, and use mitigation abilities like Fire Ward to keep you from taking too much damage from Fireball Volley. The majority of the mobs in the Grim Guzzler are Neutral – and you do NOT want to engage them. Keep this in mind with the use of AoE abilities or Multi Shot.
- Damage Dealers: Phalanx hits pretty hard, especially with his Mighty Blow. This ability should only be used on the Tank, so you can focus your healing spells on them during the encounter. The entire group will take some damage from Fireball Volley, and melee will take damage from Thunderclap. Be aware of everyone’s health levels, and do your best to keep everyone at 100% throughout the fight.
Loot
Ambassador Flamelash
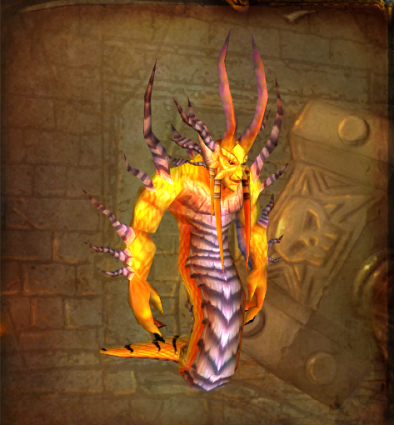
Ambassador Flamelash is a level 57 elite, and the next mandatory boss in the instance. As the only Flame Salamander-esque Naga in the instance, he is a preview to the more powerful enemies we encounter below, in the Molten Core. The encounter is essentially a DPS race – Flamelash summons adds throughout the fight who spawn at the corners of the room. They slowly make their way towards their master and when they reach him, they will give him a damage increasing buff. The boss drops some Fire Resistance gear, and a powerful trinket for caster DPS, Burst of Knowledge.
Strategy
- Tank: Engage the boss where he stands, and get a strong lead on threat. Beyond this, tanking the fight does not require you do to anything more than maintaining your position on threat table. The boss will deal more damage as the fight goes on, as he becomes more powerful when adds reach him. Save your damage mitigation cooldowns for the end of the fight, when he is dealing the most damage.
- Healer: Healing this fight becomes more difficult as time goes on; when adds reach the boss he deals more and more damage. To deal with this, try to conserve mana and encourage your DPS to focus the adds down.
- Damage Dealers: As you engage the boss, allow for the tank to initiate threat and gain a healthy lead on the rest of the group. Begin your DPS rotation until the adds begin to spawn. The adds do not have very much health, and should be focused down before they manage to reach to boss (and grant him a buff). Some groups may ask all DPS to be aware of when/where the adds are and make them a priority, while others may assign a ranged DPS like a Hunter to focusing on the adds while the rest of group burns (or extinguishes) down the boss.
Loot
Panzor the Invincible
Panzor the Invincible is a rare spawn that can show up in the Mold Foundry. This is a straightforward fight that can only be complicated by pulling the boss and the other adds in this room as some can do heavy damage rapidly, and could easily down team members.
Strategy
- Tank: Tank the boss after being sure to clear any adds that may patrol nearby.
- Healer: As long as you focus your healing on the tank and keep an eye on yourself and DPS this should be an easy fight. Group members other than the tank should not be taking much damage at all.
- Damage Dealers: Allow for the tank to establish threat, then begin DPS on the boss. Caster DPS need to be aware of when Spell Reflection is active and avoid casting during that time.
Loot
The Seven
Within the Summoner’s Tomb you engage with 7 dwarven spirits. Each of the NPC’s reflects a different class and has abilities unique to that class. The Seven in order of appearance are named: Anger’rel Seeth’rel Dope’rel Gloome’rel Vile’rel Hate’rel Doom’rel During the encounter you will fight each of the spirits one at a time. They are not particularly challenging but the encounter can last a long time. If your group’s DPS is low, you may have one dwarf spawn before the previous is already down. If you kill the spirits quickly, you may have enough time to exit combat to use food and water. The Chest of the Seven is unlocked after all Seven Dwarves are defeated, and holds some valuable loot. In particular, the Hammer of Grace is a commonly sought after Pre-raid BiS healing mace.
Strategy
- Tank: Pull each dwarf as they spawn from different parts of the room and bring them in to the middle. Utilize interrupts and stuns when possible.
- Healer: The fight should not be too healing intensive at any time, but you may run out of mana due to the length of the encounter. Try to drink in between each Dwarf, or use an early mana potion in hopes to get another off by the last spawn. There are some stairs in the middle of the room, but they don’t typically present line of sight issues.
- Damage Dealers: Allow the Tank to engage whichever spirit spawns, then begin damaging the target without generating more threat than the tank. Use abilities like interrupts and stuns whenever possible to help make the encounter easy. Your shorter cooldowns should be available again during the fight. Doom’rel is the Warlock type Dwarf and summons some demon adds. Focus down the boss then switch to the adds. Warlocks can utilize Banish in an emergency.
Loot
- Blood-etched Blade
- Deathdealer Breastplate
- Ghostshroud
- Haunting Specter Leggings
- Impervious Giant
- Legplates of the Eternal Guardian
- The Hammer of Grace
- Wraith Scythe
Magmus
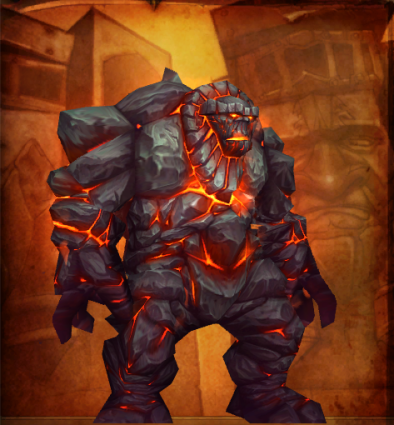
Magmus is a Fire Giant who stands at the end of a flame-blasting hallway after the Lyceum. Avoid the fires that fill the room, looking to the sides to see where they are coming from. The trick during the encounter is all in the positioning. If the group can avoid the flames in a nice stack behind the boss while the tank sits in the corner you should find success.
Strategy
- Tank: This fight is all about positioning. Run up to Magmus and pull him to to the right. Tuck yourself into a corner to avoid the flames, leaving room for your party members to find a safe place on the other side of the boss.
- Healer: Your main focus during the fight with Magmus is the tank, who will be taking consistent damage. The reason that other members of your group will take damage is from being in the path of the fire that sweeps across the room. Hopefully everyone is positioned well, but if a group member gets hit by the fire try to keep them up. The flames deal an incredible amount of damage. Be aware that War Stomp will stun you if you are in range, and interrupt you if you are mid-cast.
- Damage Dealers: Stack up on the back or side of the boss and maintain steady damage output while avoiding the rows of fire behind you. Be aware of the stun from War Stomp, and use any self healing capabilities you have to take stress off of your healer.
Loot
Emperor Dagran Thaurissan
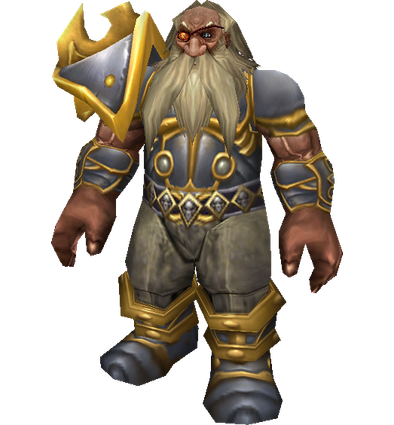
Emperor Dagran Thaurissan is the final boss in Blackrock Depths. He holds captive at his side the Princess Moira Bronzebeard. You can approach the fight in two ways, by killing them both or by saving the princess. Saving the princess is more difficult due to the healing that she will cast during the fight. You also receive no loot from her by saving her so usually the only time people save her is for quest completion. Physical DPS and Warrior Tanks will become very familiar with this fight while farming for Hand of Justice and Ironfoe.
Strategy
- Tank: Allow a physical DPS to off tank to pick up Princess Moira Bronzebeard if you intend to save her. A Rogue or DPS Warrior are a good choice, and can use their interrupts to keep her from healing too much or using her other abilities. These two classes also have some defensive abilities they can employ. If you are off tanking the Princess, you can kite her up the ramp to the throne and back off the ledge a few times to try and keep her running around and not using her abilities. This can give you a little reprieve from taking as much damage too. Tanking the Emperor is not too challenging. Just pull him away from the rest of the group (and the princess). Let DPS burn him down after the princess is dead if you are killing her, otherwise DPS should already be focusing the Emperor. Tanking both the Emperor and the princess at the same time is challenging, but assigning someone to interrupt her casts will make it significantly easier.
- Healer: If you are saving the Princess, healing this fight will be strenuous as both the tank and off tank will need your attention. If your group is killing the princess, use all healing cooldowns at the beginning of the fight in order to keep your tank up while DPS burn her down.
- Damage Dealers: If your group chooses to save the princess, then one DPS will off tank her. It is important to interrupt her casting abilities, so a Rogue or DPS Warrior are optimal. If you are killing the princess, then make her the focus for all DPS, then switch over to the Emperor when she is dead.
Loot
- Dreadforge Retaliator
- Emperor’s Seal
- Guiding Stave of Wisdom
- Hand of Justice
- Imperial Jewel
- Ironfoe
- Robes of the Royal Crown
- Sash of the Grand Hunt
- Thaurissan’s Royal Scepter
- The Emperor’s New Cape
- Wristguards of Renown
The following loot drops from Princess Moira Bronzebeard if you opt to kill her too:
Quest Rewards & Loot
Quest Rewards
 Incendius!
 The Princess’s Surprise
 Hurley Blackbreath
 Lost Thunderbrew Recipe
 Disharmony of Flame
 The Last Element
 The Princess Saved?
 Operation: Death to Angerforge
 The Rise of the Machines
- Dark Iron Legacy
- Attunement to the Core
- The Love Potion
- Ribbly Screwspigot
- A Taste of Flame
Boss Drops
- High Interrogator Gerstahn
- Lord Roccor
- Houndmaster Grebmar
- Hedrum the Creeper
- Gorosh the Dervish
- Anub’shiah
- Ok’thor the Breaker
- Grizzle
- Eviscerator
- Theldren
- Pyromancer Loregrain
- Warder Stilgiss
- Watchman Doomgrip
- Fineous Darkvire
- Lord Incendius
- Bael’gar
- General Angerforge
- Golem Lord Argelmach
- Ribbly Screwspigot
- Hurley Blackbreath
- Plugger Spazzring
- Phalanx
- Ambassador Flamelash
- Panzor the Invincible (rare)
- The Seven
- Magmus
- Emperor Dagran Thaurissan
- Dreadforge Retaliator
- Ebonsteel Spaulders
- Emperor’s Seal
- Guiding Stave of Wisdom
- Hand of Justice
- Hands of the Exalted Herald
- High Priestess Boots
- Imperial Jewel
- Ironfoe
- Robes of the Royal Crown
- Sash of the Grand Hunt
- Swiftwalker Boots
- Thaurissan’s Royal Scepter
- The Emperor’s New Cape
- Wristguards of Renown
Author
I've been playing World of Warcraft on and off since vanilla, usually as a healer or caster and often as a guild leader. I play both retail and classic. I also love RPGs, sandboxes, and sims.
