- Author: Luxrah
- Date: January 6, 2025
- Updated: January 6, 2025
- Expansion: WoW Classic
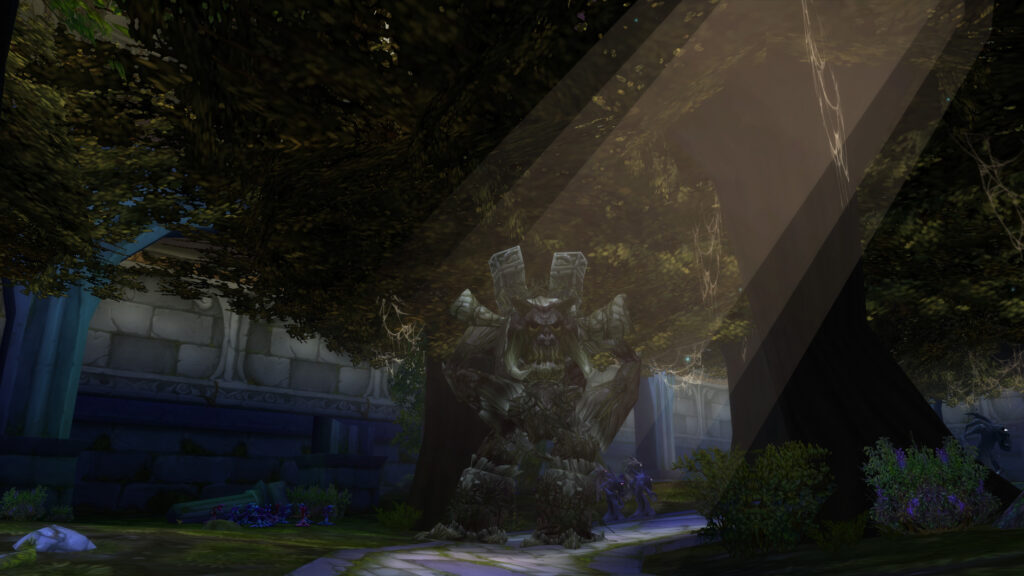
Dire Maul is the remains of Eldre’Thalas, the Highborne city that held all of Queen Azshara’s most valuable secrets on the arcane arts. The massive dungeon is split into three wings, with the key to the other two wings being found inside Dire Maul East, making it a necessary first stop for most players. The East wing is also known as The Warpwood Quarter, and is a popular site for so farming in the form of “Jump Runs.”
The Dire Maul instances are the only dungeons that are not available in WoW Classic at launch. They are added in Phase 2.
- Level Requirement: 48
- Recommended Level: 55+
- Location: Feralas
- Boss Encounters: Pusillin, Zevrim Thornhoof, Hydrospawn, Lethtendris, Alzzin the Wildshaper, Isalien (Quest)
- Loot Drops: Quel’dorai Channeling Rod, Fiendish Machete, Helm of Awareness, Tempest Talisman, Ring of Demonic Guile, Ring of Demonic Potency, Clever Hat
Location & Map
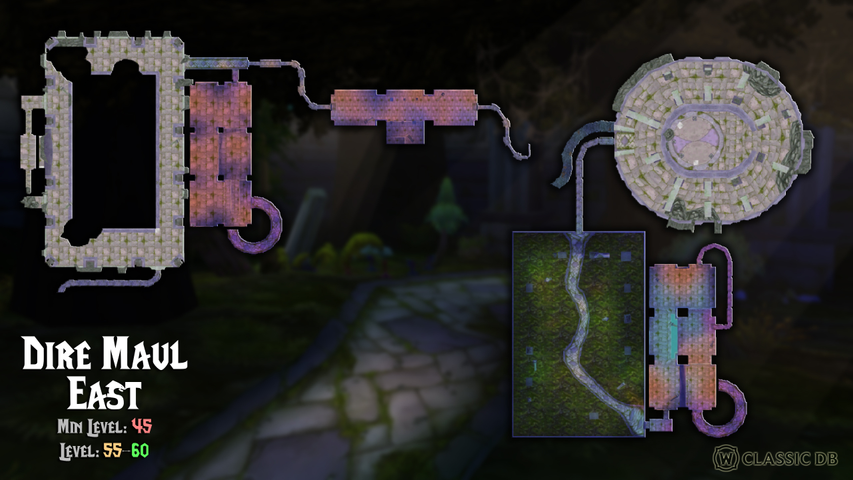
There are three entrances to Dire Maul East. One is on the east wall of the central courtyard in Dire Maul. Another is entered from Eldreth Row at the entrance to Dire Maul. These both lead into the upper level of the Warpwood Quarter.
The third entrance is found slightly northeast of Camp Mojache at Lariss Pavillion, but the Crescent Key is required to enter that door. This door leads to the other end of the instance.
To open the Conservatory Door inside the instance and reach the last room with Alzzin the Wildshaper, you’ll need to kill Zevrim Thornhoof and speak to Old Ironbark.
Farming & “Jump Runs”
Dire Maul East is a popular dungeon for solo farming. This is often referred to as a “Jump Run” because it usually entails jumping down from the entrance into the bottom level of the Warpwood Quarter to skip much of the tougher trash at the top. After making the jump, players must navigate carefully in order to avoid the larger packs that are too strong for one player alone. Different classes may be able to take on different mobs alone, including some bosses, sometimes with the help of a ledge or reset spot.
There are a number of items that can be farmed solo here, depending on your class and professions:
- Warpwood Pods: These are curled up pods on the ground that can be looted for:
- Runn Tum Tuber (used to make Runn Tum Tuber Surprise, the only Intellect food in the game)
- Thornling Seed (a useful bind-on-pickup item, particularly for classes that don’t have a pet)
- There are Herbalism nodes throughout the instance that can be picked for Dreamfoil, Ghost Mushroom, and Gromsblood
- There are always 2-3 Rich Thorium Veins to be found behind Alzzin the Wildshaper for characters with Mining, which can contain Arcane Crystals as well as Thorium Ore, Dense Stone, Elemental Earth, Elemental Fire, or various gems
- Characters with Enchanting can Disenchant boss drops and other loot for high level Enchanting materials
- Dusty Tomes can spawn on the ground around the dungeon, and may contain class books that can be turned in for trinkets or the book for Quel’Serrar
- Lashers are often farmed in the Conservatory since they can be killed in large numbers with AoE and drop a decent amount of junk that can be sold to a vendor for gold
- Satyrs can drop Demonic Runes and Felcloth
Quests
There are a few different quests in Dire Maul East, including one that is only available to Mages.
Quest Name | Acquired From | Shareable |
|---|---|---|
Latronicus Moonspear (Feralas) | Yes | |
Talo Thornhoof (Feralas) | Yes | |
Azj’Tordin (Feralas) | Yes | |
Rabine Saturna (Moonglade) | No | |
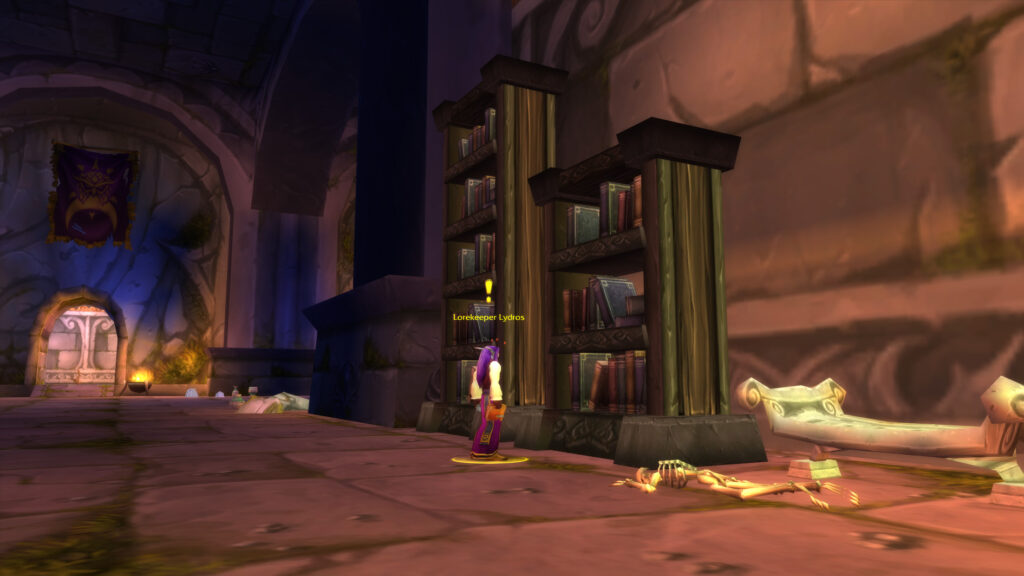
Lorekeeper Lydros (Dire Maul) | No |
 Alliance Quests
Lethtendris’s Web
- Shareable: Yes
- Level Required: 54
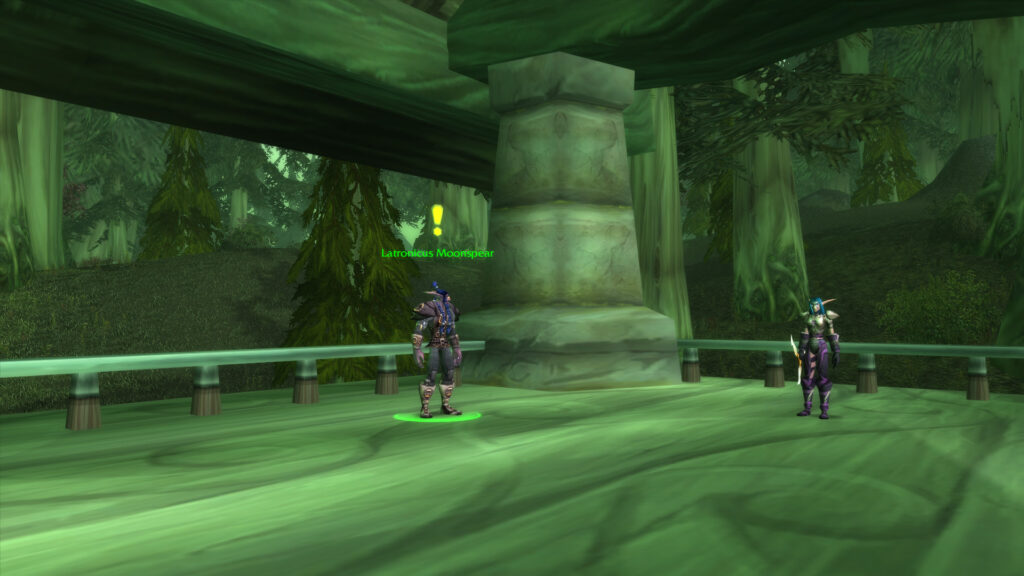
- Start: Latronicus Moonspear at Feathermoon Stronghold in Feralas
- Finish: Latronicus Moonspear at Feathermoon Stronghold in Feralas
- Objectives: Obtain Lethtendris’s Web from Lethtendris in Dire Maul East
- Rewards:
- 7550 experience
- 1 gold 70 silver
- 350 reputation with Darnassus
- 350 reputation with Gnomeregan Exiles
- 350 reputation with Ironforge
- 350 reputation with Stormwind
- Lorespinner
There’s a breadcrumb quest that leads you here, Feathermoon Stronghold that rewards 1500 exp, from Courier Hammerfall in Ironforge. To reach Latronicus Moonspear at Feathermoon Stronghold you’ll need to board the boat that docks at The Forgotten Coast on the western shore of Feralas. To complete the quest, defeat Lethtendris inside Dire Maul East and loot Lethtendris’s Web from her.
 Horde Quests
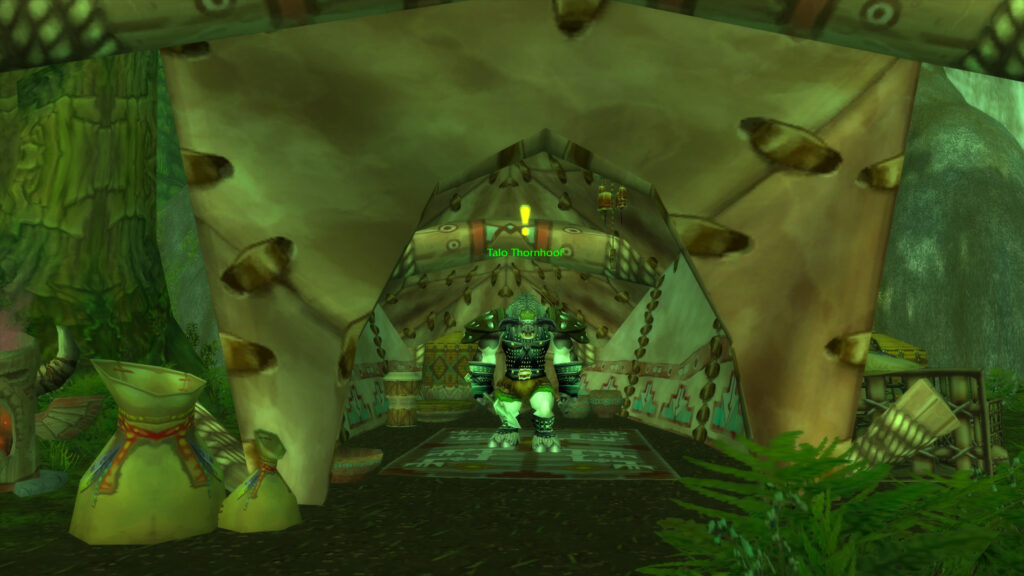
Lethtendris’s Web
- Shareable: Yes
- Level Required: 54
- Start: Talo Thornhoof at Camp Mojache in Feralas
- Finish: Talo Thornhoof at Camp Mojache in Feralas
- Objectives: Obtain Lethtendris’s Web from Lethtendris in Dire Maul East
- Rewards:
- 7550 experience
- 1 gold 70 silver
- 350 reputation with Darkspear Trolls
- 350 reputation with Orgrimmar
- 350 reputation with Thunder Bluff
- 350 reputation with Undercity
- Lorespinner
There’s a breadcrumb quest that leads you here, Camp Mojache that rewards 1500 exp, from Warcaller Gorlach in Orgrimmar. To complete the quest, defeat Lethtendris inside Dire Maul East and loot Lethtendris’s Web from her.

Neutral Quests
Pusillin and the Elder Azj’Tordin
- Shareable: Yes
- Level Required: 54
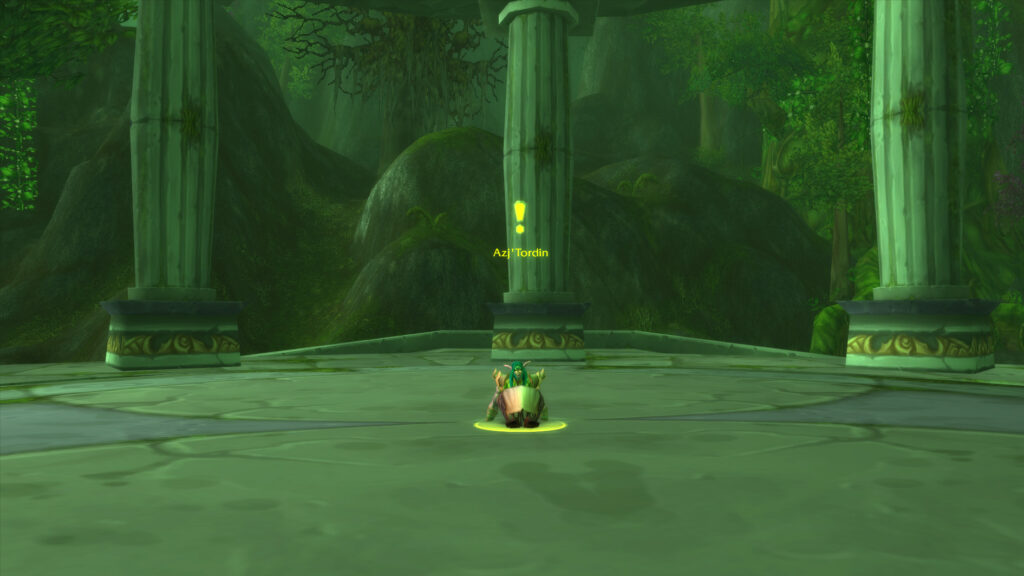
- Start: Azj’Tordin at Lariss Pavillion in Feralas
- Finish: Azj’Tordin at Lariss Pavillion in Feralas
- Objectives: Obtain the Book of Incantations from Pusillin inside Dire Maul East
- Rewards:
- 7750 experience
- 1 gold 75 silver
- 500 reputation with Shen’dralar
- Pick one of:
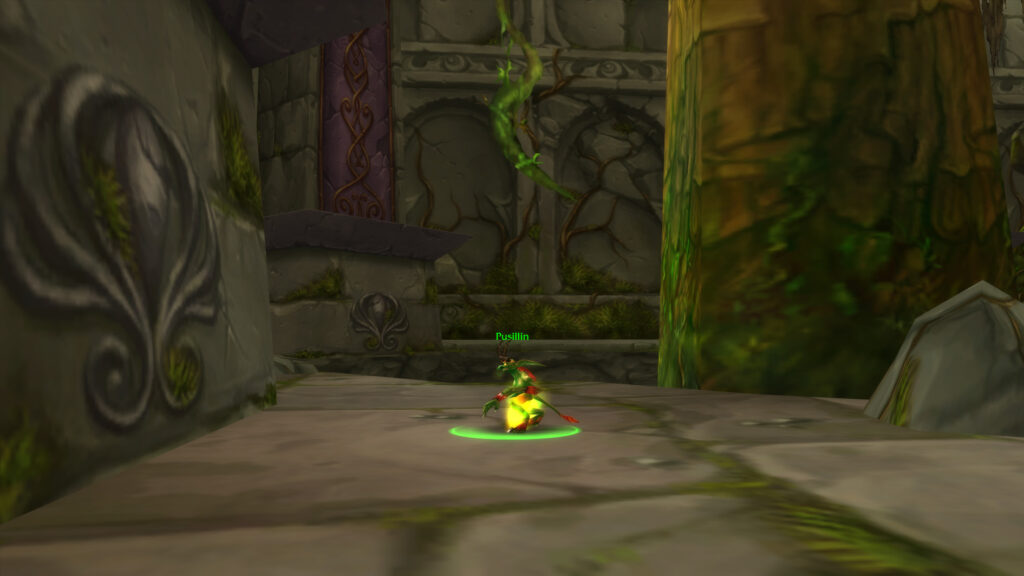
If you have the Crescent Key, you can enter Dire Maul East through the door right behind Azj’Tordin, but this will put you on the opposite end of the instance from Pusillin, who is right beside the main entrance to the dungeon in the Warpwood Quarter. You must speak with him, and then chase him around the dungeon, speaking with him again each time he stops. Finally he’ll run toward the back entrance of the dungeon and up a ramp onto a platform, where you will be able to fight him. Defeat him to loot the Book of Incantations as well as the Crescent Key, which gives you access to the back door and the other two wings of Dire Maul. Use the exit at the back of this room to quickly reach Azj’Tordin at Lariss Pavillion and turn in the quest.
Shards of the Felvine
- Shareable: No
- Level Required: 56
- Start: Rabine Saturna at Nighthaven in Moonglade
- Finish: Rabine Saturna at Nighthaven in Moonglade
- Objectives: Obtain a Felvine Shard inside Dire Maul and secure it inside a Sealed Reliquary of Purity
- Rewards:
- 8300 experience
- 150 reputation with Cenarion Circle
- Pick one of:
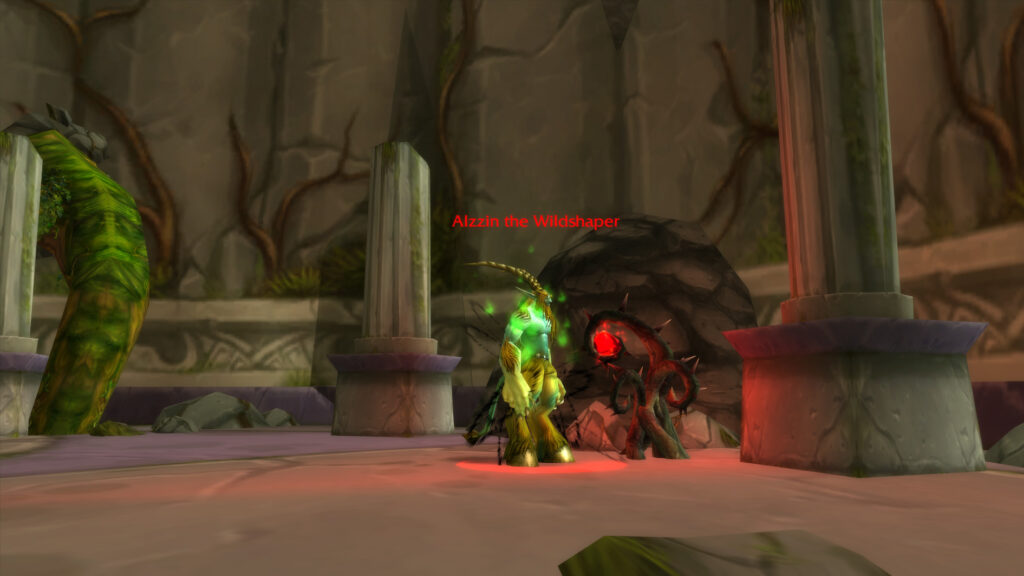
You must complete A Reliquary of Purity from the same NPC to get this quest. To do so, head to Southwind Village on the east side of Silithus and look for a Dusty Reliquary inside one of the buildings. Loot it to get a Reliquary of Purity. Then return to Rabine Saturna in Moonglade to pick up this quest. The Felvine you need is right behind the boss Alzzinn the Wildshaper, who must be killed in order for it to drop its shards on the ground. Once he’s dead, loot one of the small red Felvine Shards and use the Reliquary of Purity to get a Sealed Reliquary of Purity and complete the quest.

Class Quests
Arcane Refreshment ( Mage Only)
- Shareable: No
- Level Required: 60
- Start: Lorekeeper Lydros inside Dire Maul
- Finish: Lorekeeper Lydros inside Dire Maul
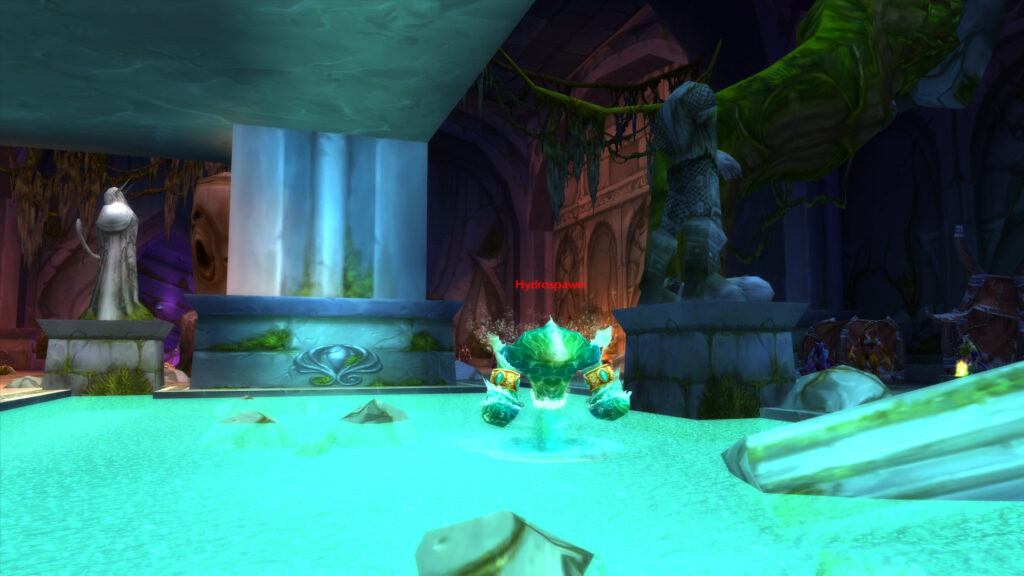
- Objectives: Obtain a Hydrospawn Essence from Hydrospawn in Dire Maul East
- Rewards:
- 6600 experience
- 200 reputation with Shen’dralar
- Conjure Water Rank 7
To pick up this quest, you must have access to The Athenaeum inside Dire Maul. To complete it, you must defeat Hydrospawn inside Dire Maul East to loot Hydrospawn Essence. You’ll then be able to conjure the highest rank of water in the game.
Bosses
There are six bosses in Dire Maul East, one of which can be summoned as part of a quest.
Pusillin
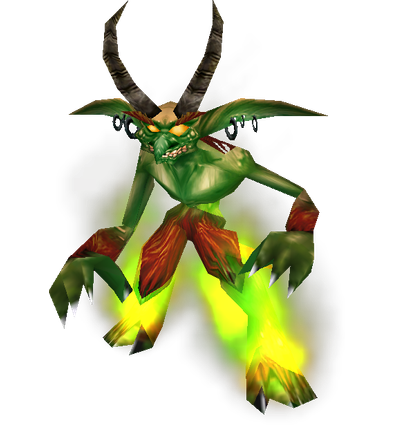
Pusillin is a small imp boss who you will chase around the first section of Dire Maul East while talking to him. The level 56-57 elite imp drops the Crescent Key, which should be attained at some point by all players in order to access the rest of Dire Maul. Make it easy for your group to see the small NPC and mark him.
Strategy
- Tank: Engage the boss and generate aggro on Pusillin and his Wildspawn Imps as best you can at the very beginning of the fight. Your DPS may pull one or more of the smaller imps off of you, but in general focus on managing Pusillin.
- Healer: Healing this fight may be challenging in the beginning as DPS may get aggro on one or more of the Wildspawn Imps. Luckily they won’t live long, but use any HoTs or healing increasing abilities at the beginning of the fight.
- Damage Dealers: Melee and Ranged DPS should focus on killing the four Wildspawn Imps that Pusillin will cast when engaged. Use any interrupts available to keep Pusillin from using his Fireball and Blast Wave abilities. Caster DPS be aware that while buffed with Pusillin’s Spirit of Runn Tum, he has a 50% chance to reflect spells back at the caster. Warlocks can enslave the adds that are summoned during the fight.
Loot
Lethtendris
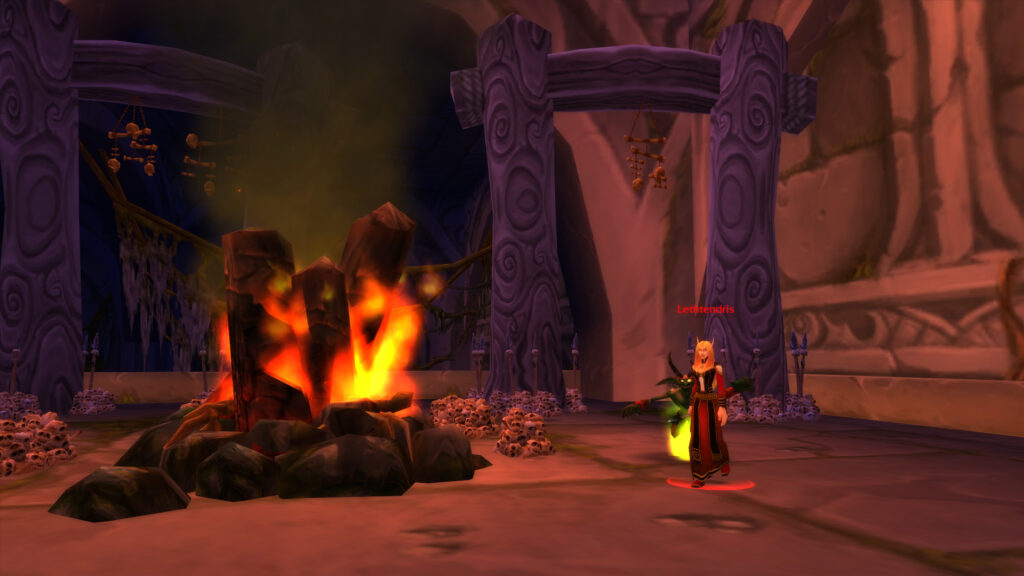
Lethendris is a Blood Elf Warlock who is joined by her demon imp minion, Plimgib. The boss’s spells can be interrupted so pay close attention to your party members and she will not be much of an issue.

Strategy
- Tank: Engage the boss and focus on establishing threat on Lethendris. Use a Taunt ability to keep Plimgib off of your Healer or DPS, but the imp will not live for very long.
- Healer: Use any heal over time effects on your party members and rotate through healing them while focusing the Tank. All members of the group will be taking some damage from Shadow Bolt Volley, since Void Bolt is the primary concern to interrupt. Dispel the DoT effect from Immolate. Decurse Curse of Tongues and Curse of Thorns if you are a Resto Druid.
- Damage Dealers: Focus on killing Pimgib first, then switch the Lethendris. Use any interrupts available on her Void Bolt, Shadow Bolt Volley, and Immolate spells in that priority. Mages and Druids decurse her Curse of Tongues and Curse of Thorns.
Loot
Hydrospawn
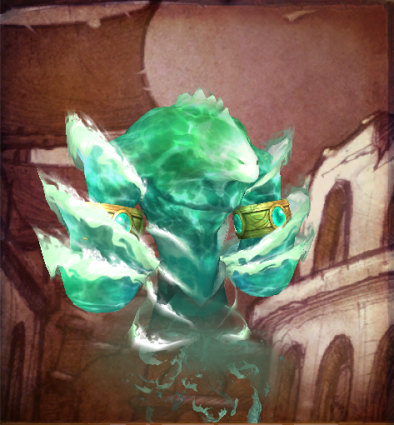
Hydrospawn is a water elemental who is found in the next lowest level of Dire Maul East from the previous bosses. The elemental patrols a pool and fountain surrounded by adds which you should clear before engaging him. The boss spawns Hydroling adds which deal a surprising amount of damage for their size and need to be managed efficiently in order to defeat the boss.
Mages seek to defeat Hydrospawn to obtain the elemental’s essence for their level 55 water quest, Arcane Refreshment. It is not unheard of for experienced level 60 players (especially Warlocks and Hunters) to solo this boss as a service for their Mage friends.
Strategy
- Tank: Agree on a strategy with your DPS for handling the Hydroling adds as they are summoned; either focus them down as they spawn or focus on Hydrospawn and handle the adds after. It is generally recommended to focus the adds if your group has a strong AoE abilities, and to focus down Hydrospawn if you have strong single target burst damage in your DPS group.
- Healer: The Hydroling adds deal a considerable amount of damage while they are alive. Focus on spreading your healing throughout the group while focusing the Tank when they spawn.
- Damage Dealers: Agree on a strategy with the Tank for handling the Hydroling adds as they are summoned; either focus them down as they spawn or focus on Hydrospawn and handle the adds after. It is generally recommended to focus the adds if your group has a strong AoE abilities, and to focus down Hydrospawn if you have strong single target burst damage in your DPS group.
Loot
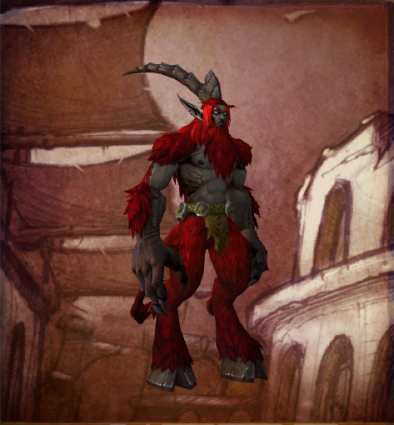
Zevrin Thornhoof
Zevrim Thornhoof is a sadistic satyr boss who will attempt to Sacrifice your party members on his alter.
Strategy
- Tank: Maintain the primary threat position during the fight.
- Healer: Whoever is sent to the sacrificial alter will mandate some significant healing attention. Use whatever abilities you have to ensure that your party members survive. Dispel the Intense Pain debuff from you party members if possible.
- Damage Dealers: Focus your DPS output on the boss while making sure not to overtake the primary threat position. You may be teleported to the sacrificial alter during the fight. If you are a Paladin or a Mage you can use Divine Shield or Ice Block to get out of this. Ranged DPS. Should stand at maximum distance to get out of range from Intense Pain. Warlocks can enslave one of the Wildspawn Hellcaller or Wildspawn Shadowstalker to fight against Zevrim, these mobs are considerably stronger than your minions. If you can, Dispel the multi-target Intense Pain debuff.
Loot
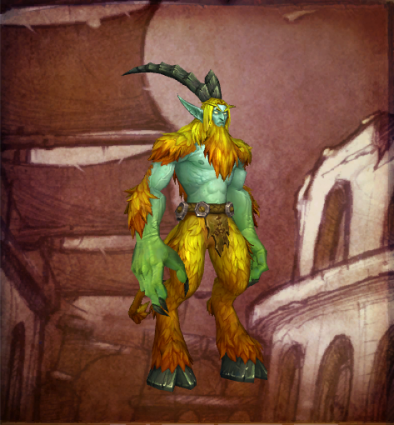
Alzzin the Wildshaper
Alzzin the Wildshaper is the shapeshifting final boss of Dire Maul East, taking on the forms of a Satyr, a Dire Wolf, and a Treant throughout the fight. If you do not clear all of the Warpwood Crushers from the ramp on the way down to fight Alzzin, they will engage along with the boss and come make your encounter a lot more difficult. Do not exit the instance without entering the tunnel behind Alzzin and mining the Rich Thorium Veins, which are consistently located here.
Strategy
- Tank: Alzzin drops threat every time he changes form, so use threat generating abilities to reestablish yourself at the top of the threat meter.
- Healer: Your Tank is going to take the most damage when the boss is in Dire Wolf form, so try to keep them topped off at all times.
- Damage Dealers: Alzzin drops threat every time he shape shifts, so allow your tank generate enough threat to stay in the primary threat position. At 35% the boss will have adds joining the encounter – utilize AoE effects to burn them down before returning to Alzzin. Use Sunder Armor or Expose Armor, especially when the boss is in Treant form.
Loot
- Energetic Rod
- Energized Chestplate
- Fiendish Machete
- Gloves of Restoration
- Merciful Greaves
- Razor Gauntlets
- Ring of Demonic Guile
- Ring of Demonic Potency
- Shadewood Cloak
- Whipvine Cord
Isalien
Isalien can be summoned using the Brazier of Beckoning for the Tier 0.5 questline in the space where Alzzin lies defeated. The boss is essentially a tank and spank, among the easiest of the questline.

Strategy
- Tank: Maintain threat on the boss, and pick up her Hippogryph pet when it spawns.
- Healer: Keep your Tank topped off while being aware of any damage being taken by other players.
- Damage Dealers: When Isalien summons her Hippogryph, focus on damaging the add first then switch back to the boss. Interrupt her healing abilities as best as possible.
Loot
- Boots of Ferocity
- Hammer of Revitalization
- Huntsman’s Harpoon
- Ironweave Gloves
- Libram of Hope
- Totem of Rebirth
Quest Rewards & Loot
Quest Rewards
Boss Drops
- Pusilin
- Lethtendris
- Hydrospawn
- Zevrin Thornhoof
- Alzzin the Wildshaper
- Isalien

