- Author: Luxrah
- Date: January 6, 2025
- Updated: January 23, 2025
- Expansion: WoW Classic
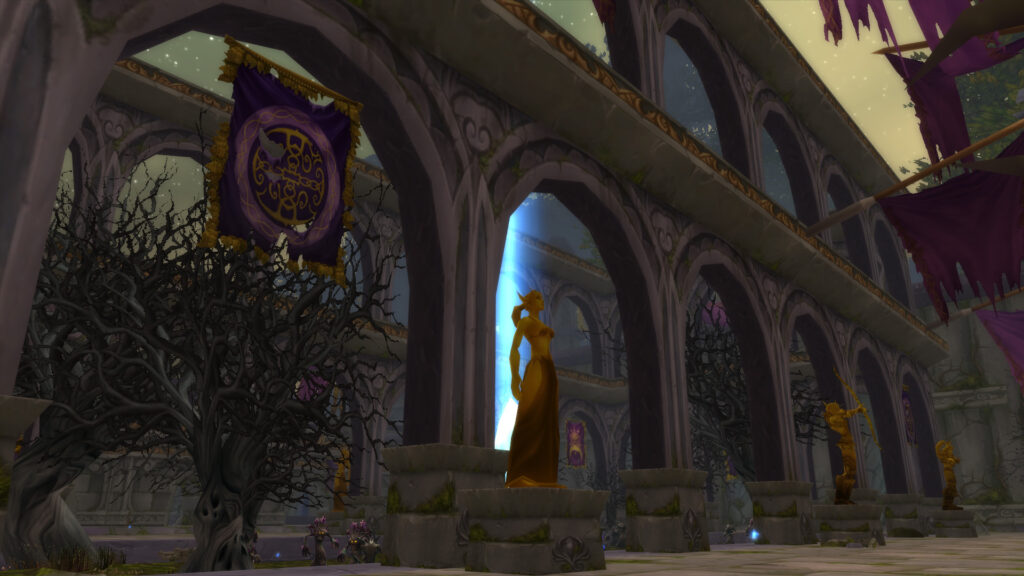
Dire Maul is the remains of Eldre’Thalas, the Highborne city that held all of Queen Azshara’s most valuable secrets on the arcane arts. The massive dungeon is split into three wings, although only the East Wing is accessible without a key. Once acquiring a key you can access the West dungeon, also known as the Capital Gardens, which is filled with undead and arcane elementals. Deactivate all pylons to proceed forward toward the chamber holding Immol’thar and eventually end in the ancient library and confront Prince Tortheldrin.
The Dire Maul instances are the only dungeons that are not available in WoW Classic at launch. They are added in Phase 2.
- Level Requirement: 48
- Recommended Level: 55+
- Location: Feralas
- Boss Encounters: Tendris Warpwood, Illyanna Ravenoak, Magister Kalendris, Immol’thar, Prince Tortheldrin, Tsu’zee (Rare) Lord Hel’nurath (Quest), Revanchion (Scourge Invasion)
- Loot Drops: Timeworn Mace, Blade of the New Moon, Silvermoon Leggings, Force Imbued Gauntlets, Vigilance Charm, Mindtap Talisman, Petrified Bark Shield
Location & Map
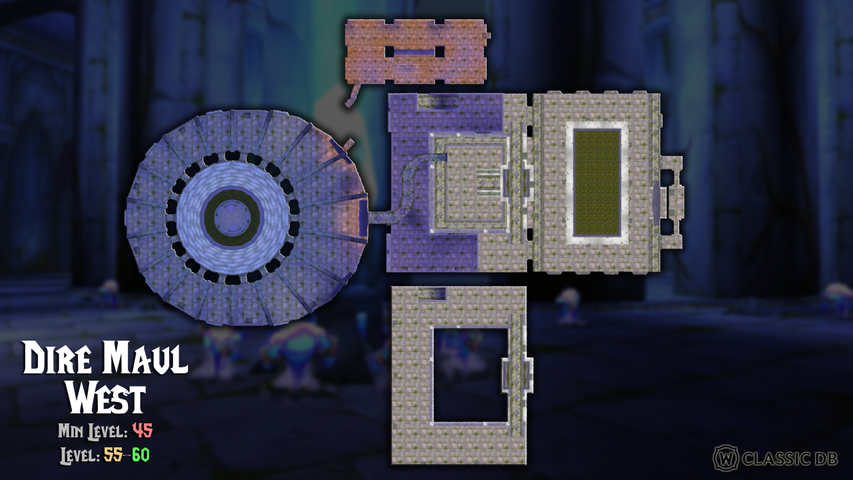
The entrance to Dire Maul West is on the western wall of the central courtyard in Dire Maul. The Crescent Key is required to open the door; it can be looted from Pusillin in Dire Maul East. There are two entrances, but they are very close together, so it doesn’t really matter which one you enter through.
There are five large crystals scattered around the instance which must be deactivated to access Immol’thar and Prince Tortheldrin. The first crystal is in the middle of the Capital Gardens right in front of where you enter. There are two more upstairs in the Court of the Highborne. The final two are on either side of the doorway as you enter the Prison of Immol’thar. To deactivate each, you will need to kill all of the Arcane Aberrations and Mana Remnants that surround it.
Technically, Dire Maul West and Dire Maul North are part of the same instance, connected by The Athenaeum with no portals in between. Our guides consider The Athenaeum to be part of Dire Maul West since it houses the final boss of that wing. However, most of the time when players access The Athenaeum, it will be from the Dire Maul North side, which can be done without fighting any mobs.
Quests
There are only a few quests inside Dire Maul West, but the quest ![]() Elven Legends/
Elven Legends/![]() Elven Legends is significant as it unlocks access to the Athenaeum and the NPCs inside.
Elven Legends is significant as it unlocks access to the Athenaeum and the NPCs inside.
Quest Name | Acquired From | Shareable |
|---|---|---|
Scholar Runethorn (Feralas) | Yes | |
Sage Korolusk (Feralas) | Yes | |
Shen’dralar Ancient (Dire Maul West) | Yes | |
Shen’dralar Ancient (Dire Maul West) | No |
 Alliance Quests
Elven Legends
- Shareable: Yes
- Level Required: 54
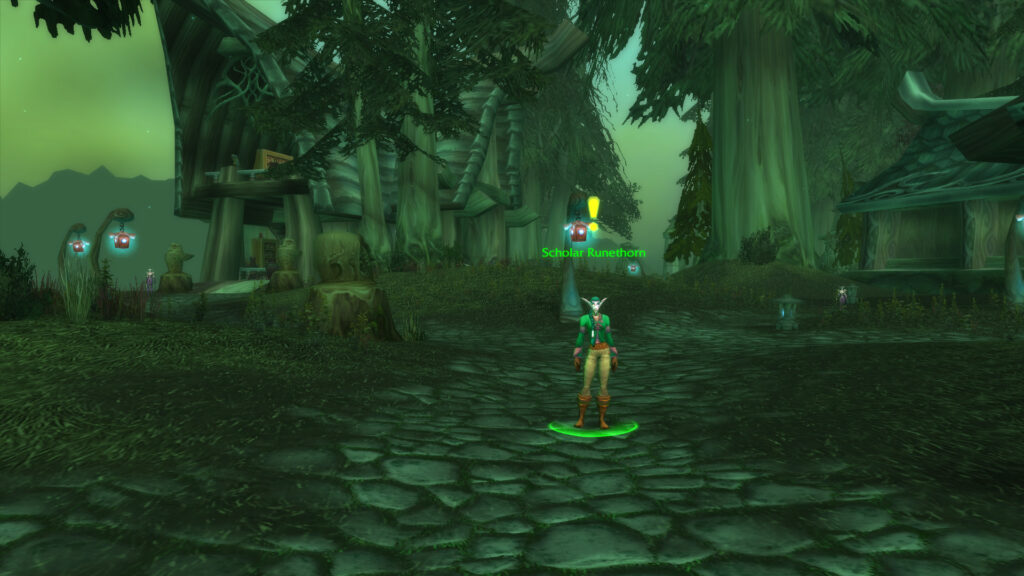
- Start: Scholar Runethorn at Feathermoon Stronghold in Feralas
- Finish: Scholar Runethorn at Feathermoon Stronghold in Feralas
- Objectives: Locate Kariel Winthalus inside Dire Maul
- Rewards:
- 8550 experience
- 1 gold 80 silver
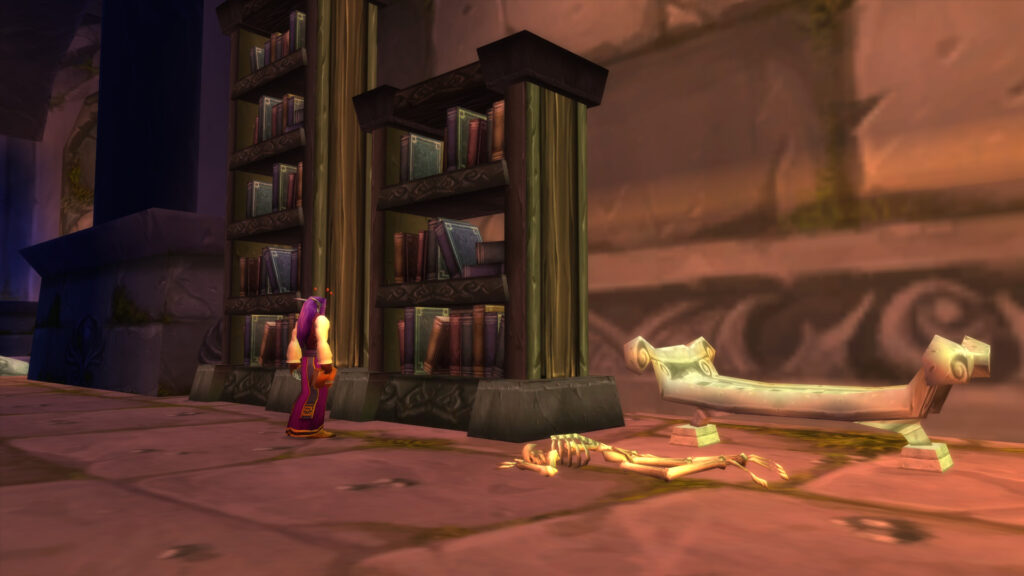
To reach Scholar Runethorn at Feathermoon Stronghold you’ll need to board the boat that docks at The Forgotten Coast on the western shore of Feralas. She patrols the road, so you may have to look around a bit to find her. To complete the quest, click on the Skeletal Remains of Kariel Winthalus which are lying on the floor beside Lorekeeper Lydros in The Athenaeum and choose Mourn the great loss.
Completing this quest will unlock the quests Libram of Focus, Libram of Protection, and Libram of Rapidity for their matching Arcanum enchantments for the Head and Leg slots.
 Horde Quests
Elven Legends
- Shareable: Yes
- Level Required: 54
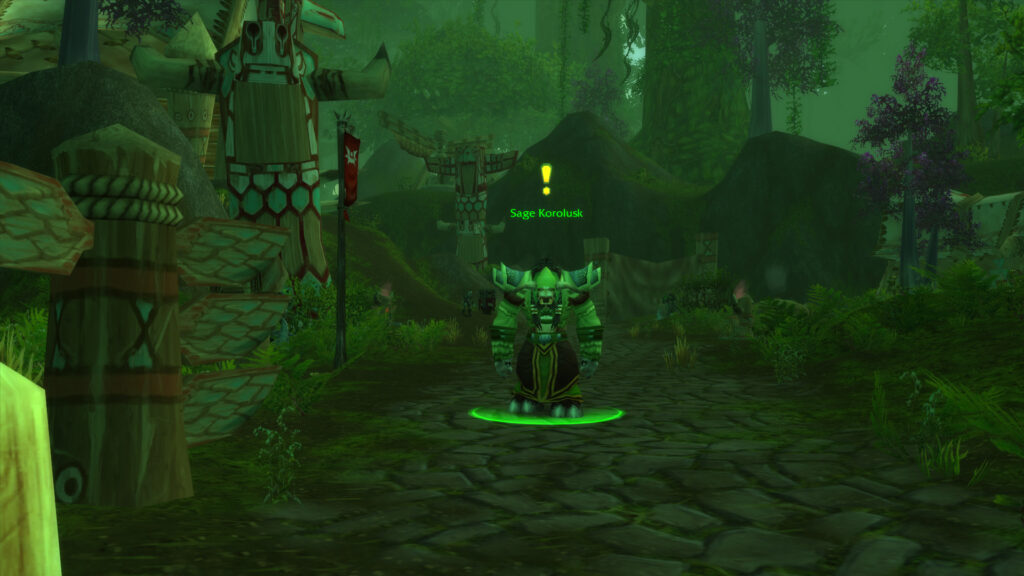
- Start: Sage Korolusk at Camp Mojache in Feralas
- Finish: Sage Korolusk at Camp Mojache in Feralas
- Objectives: Locate Kariel Winthalus inside Dire Maul
- Rewards:
- 8550 experience
- 1 gold 80 silver
Sage Korolusk patrols the road through town, so you may have to look around a bit to find him. To complete the quest, click on the Skeletal Remains of Kariel Winthalus which are lying on the floor beside Lorekeeper Lydros in The Athenaeum and choose Mourn the great loss.
Completing this quest will unlock the quests Libram of Focus, Libram of Protection, and Libram of Rapidity for their matching Arcanum enchantments for the Head and Leg slots.

Neutral Quests
The Madness Within
- Shareable: Yes
- Level Required: 56
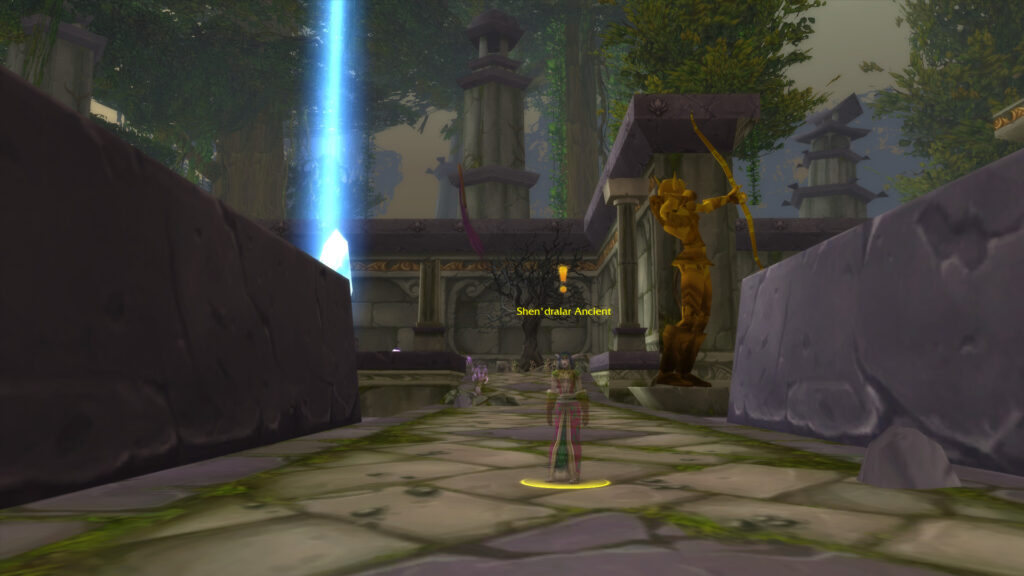
- Start: Shen’dralar Ancient inside Dire Maul West
- Finish: Shen’dralar Ancient inside Dire Maul West
- Objectives: Defeat Immol’thar and Prince Tortheldrin inside Dire Maul West
- Rewards:
- 10250 experience
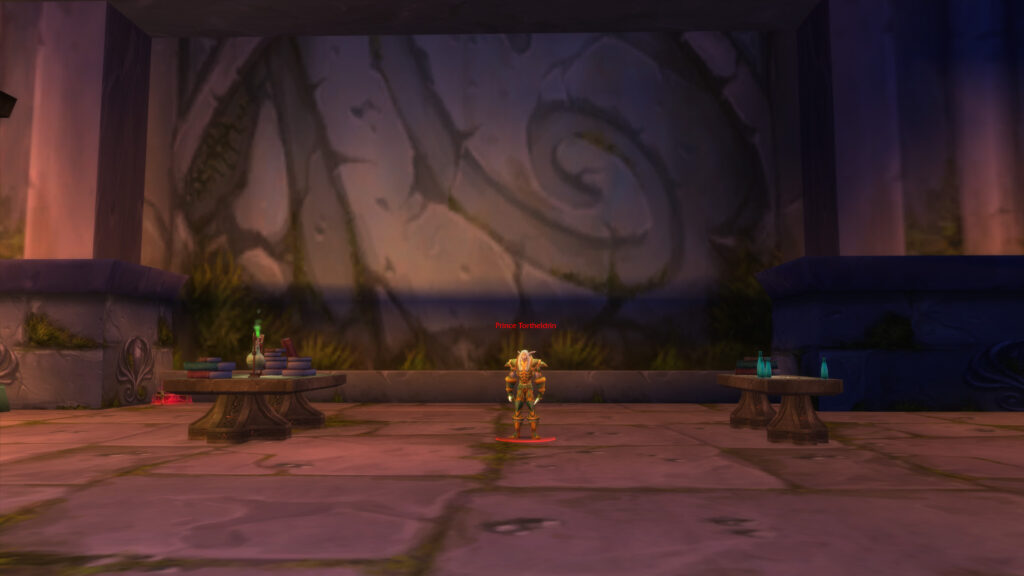
This quest can be picked up from Shen’dralar Ancient, who is standing on the bridge in the upper level of the Court of the Highborne. To complete the quest, you’ll need to kill Immol’thar and Prince Tortheldrin. Return to the Ancient afterward to pick up the follow-up quest below.
The Treasure of the Shen’dralar
- Shareable: No
- Level Required: 56
- Chain Start: Shen’dralar Ancient inside Dire Maul West
- Quest Start: Shen’dralar Ancient inside Dire Maul West
- Finish: Treasure of the Shen’dralar inside Dire Maul
- Objectives: Claim your reward from the chest in the Athenaeum
- Rewards:
- 675 experience
- 2 gold 70 silver
- Pick one of:
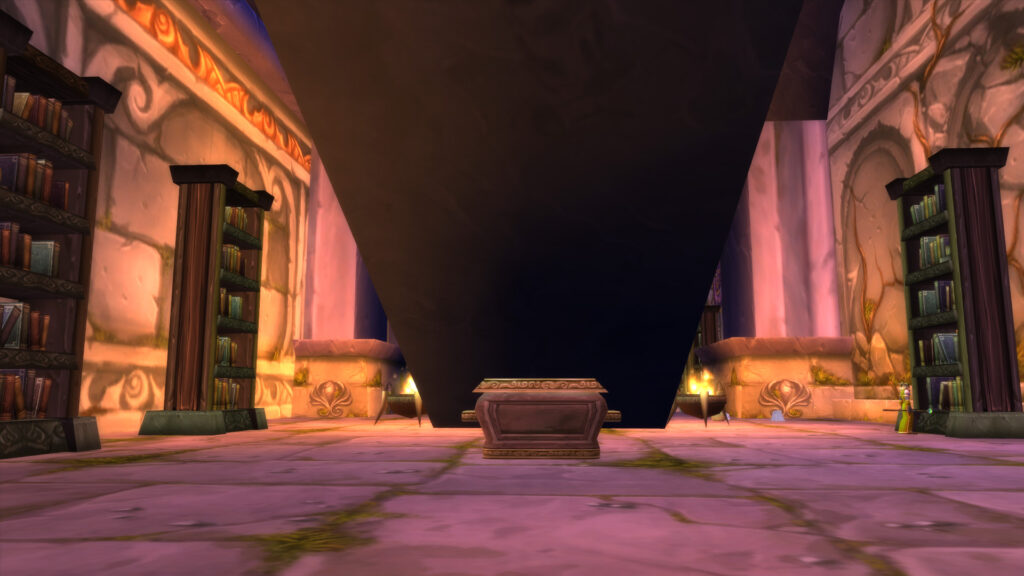
This quest follows the one above. All you need to do is return to The Athenaeum and loot the chest underneath the ramp.
Bosses
There are eight bosses in Dire Maul West, including one Rare boss that does not always spawn, one boss that spawns as part of a quest, and one boss which is part of the Scourge Invasion.
- Tendris Warpwood
- Magister Kalendris
- Tsu’zee (Rare)
- Illyanna Ravenoak
- Immol’thar
- Prince Tortheldrin
- Lord Hel’nurath (Quest)
- Revanchion (Scourge Invasion)
Tendris Warpwood
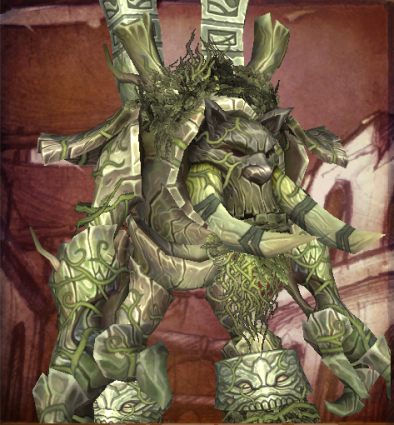
Tendris Warpwood is the first boss you encounter in Dire Maul West. Be sure that you have defeated all of the wandering Ancients who patrol the main courtyard before engaging Tendris, as he will summon them all to his aid upon engagement.
Strategy
- Tank: Initiate the encounter and establish threat. Keep the boss away from your ranged DPS and healer.
- Healer: Trample is an AoE Melee knockdown and will affect all players in melee range. Entangle cannot be dispelled.
- Damage Dealers: Trample is an AoE Melee knockdown and will affect all players in melee range. Entangle cannot be dispelled.
Loot
Magister Kalendris
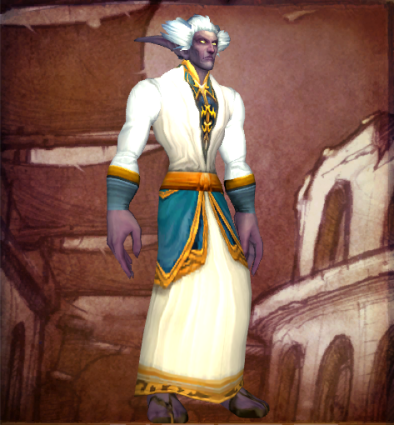
Magister Kalendris is a ghostly Shadow Priest. Utilize Prayer of Shadow Protection and interrupt his Mind Blast and Mind Flay. Dominate Mind will affect one player at a time.
Strategy
- Tank: Engage Kalendris and pull him away from the group. Interrupt Mind Blast and Mind Flay as much as possible. Maintain the primary threat position throughout the fight. If you are effected by Dominate Mind, quickly taunt the boss back to your attention when you get control back.
- Healer: Utilize Prayer of Shadow Protection or Shadow Resistance Aura to reduce damage taken by the party. The only player who should be taking immediate damage from the boss is the tank, but keep all players topped off. When the player affected by Dominate Mind returns to control of their character, make sure to bring them back to full health. Dispel [Shadow Word: Pain].
- Damage Dealers: Allow your Tank to establish threat on the boss before beginning your DPS rotation. Interrupt Mind Blast and Mind Flay as much as possible. Utilize CC on whichever player is affected by Dominate Mind.
Loot
- Amplifying Cloak
- Elder Magus Pendant
- Flamescarred Shoulders
- Magically Sealed Bracers
- Mindtap Talisman
- Pattern: Big Bag of Enchantment
Tsu’zee (Rare)
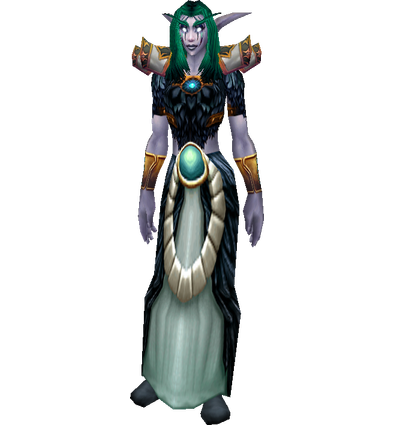
Tsu’zee is a rare boss who spawns near Magister Kalendris’ area at the bottom of the ramps.
Strategy
- Tank: Establish threat on the boss and keep her in front of you to avoid being hit by Backstab. You will likely be affected by Gouge. When the incapacitation effect wears off, taunt the boss back into position.
- Healer: Tsu’zee deals considerable damage, so make sure your tank is topped off. Dispel Blind, and be aware that the boss may Gouge the tank and switch to a secondary threat target.
- Damage Dealers: Make sure your tank has threat before you begin maximizing your damage output on Tsu’zee. Dispel Blind, and be aware of who is affected by Gouge. If it is the tank, you may be getting threat from the boss until they are able to pick her back up.
Loot
Illyanna Ravenoak
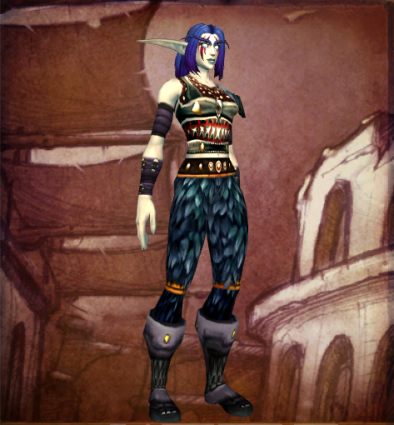
Illyanna Ravenoak is located above Tendris Warpwood’s area and accessed from the ramps in the Court of the Highborne. The boss is accompanied by her pet bear, Ferra. The bosses ranged abilities can be nullified simply by standing in melee range. Watch out for Immolation Trap.
Strategy
- Tank: Pull Ferra onto the top of Illyanna and fight them stacked up. Maintain threat on Illyanna primarily as this is DPS’ main target. Once she is dead, switch to Ferra.
- Healer: If possible, use Hibernate to sleep Ferra. Stack up in melee range to avoid being targeted by the boss’ ranged abilities. Focus your healing on the tank, who will be taking damage from both Illyanna and her pet Ferra until the boss is down. All members of the group will take some damage from Immolation Trap and/or Volley during the encounter, so be prepared to switch your healing target to keep all party members topped off.
- Damage Dealers: Use Hibernate, if available, on Ferra and focus your damage output on Illyanna. All DPS should stand in Melee range to avoid letting the boss use her ranged abilities. Watch out for Immolation Trap. Focus on Illyanna first, then switch to Ferra.
Loot
Immol’thar
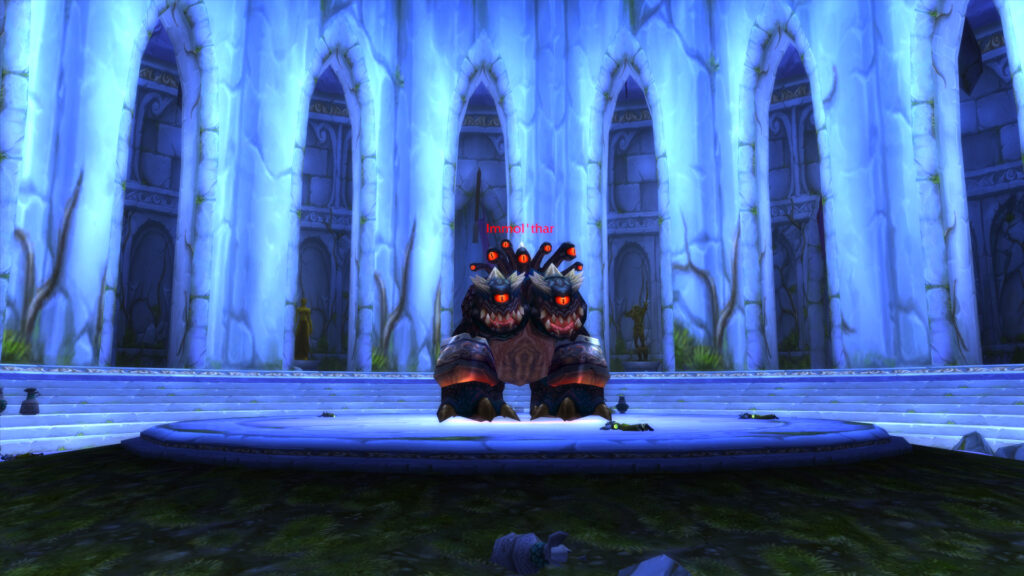
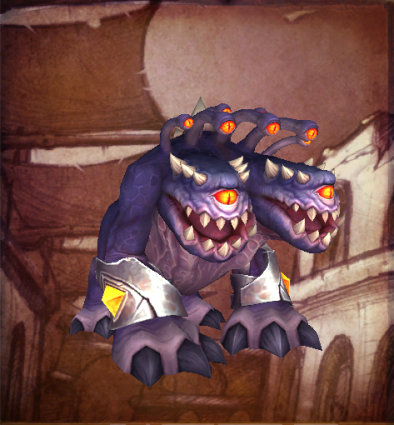
Immol’thar is a beast trapped beneath the West wing of Dire Maul. The boss has a few abilities, but the most important to be aware of are the adds that will be summoned around the room which need to be handled. The boss will also teleport players to the middle of the room, causing a threat drop on that player. If this is the tank, stop all DPS until threat is reestablished. Immol’thar has an early enrage at 50%, so prepare cooldowns for the second half of the fight.
Strategy
- Tank: Tank the boss just off the middle of the room where he stands. If you are teleported to the middle of the room, the boss will engage with whoever is the second threat position. Regain Immol’thar’s attention and continue the fight. Save defensive cooldowns for when you are affected by Infected Bite and when the boss is Enrage – this is when you will be taking the most damage.
- Healer: Keep all members of the group topped off as best you can. Save your cooldowns for when the boss’ Enrage at 50% health. The tank will be occasionally affected by Infected Bite and require additional healing. You may be teleported to the middle of the room – just return to your position.
- Damage Dealers: Allow for the tank to establish threat before opening up on the boss. Assign a DPS, like a Hunter, to focus on destroying the Eyes that are summoned around the room. You may be teleported to the middle of the room – just return to your position.
Loot
- Bile-Etched Spaulders
- Blade of the New Moon
- Cloak of the Cosmos
- Demon Howl Wristguards
- Evil Eye Pendant
- Eyestalk Cord
- Odious Greaves
- Quickdraw Gloves
- Robe of Everlasting Night
- Vigilance Charm
Prince Tortheldrin
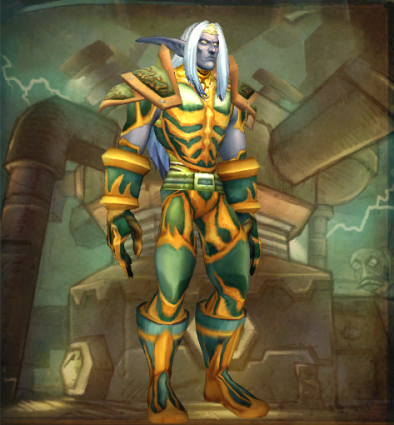
Prince Tortheldrin is the final boss of Dire Maul West and is located in the Athenaeum, through a small tunnel from Immol’thar’s prison. Note that if you enter from Dire Maul North and do not depose the crystal pylons throughout West, Prince Tortheldrin will not be present in the Southwest corner of the Athenaeum.
Strategy
- Tank: Position the boss in a corner so that you are not knocked around by Arcane Blast too much. When Prince Tortheldrin uses Arcane Blast, all threat will be reset. Reestablish yourself atop the threat meter so that your DPS can safely burn the boss down.
- Healer: The tank and other melee players will take some damage from Whirlwind and Arcane Blast, so try to keep everyone topped off. The boss may target you with Counterspell.
- Damage Dealers: Prince Tortheldrin uses his Arcane Blast as a knockback which also drops threat. Be sure your tank has established threat after this ability before you continue with DPS. All players in melee range will be hit with Arcane Blast and Whirlwind.
Loot
- Bracers of the Eclipse
- Chestplate of Tranquility
- Distracting Dagger
- Eldritch Reinforced Legplates
- Emerald Flame Ring
- Fluctuating Cloak
- Mind Carver
- Silvermoon Leggings
- Stoneshatter
- Timeworn Mace
Lord Hel’nurath
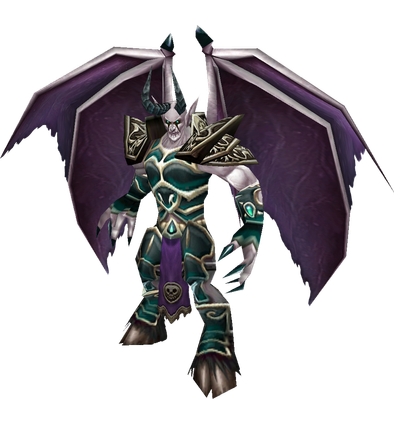
Lord Hel’nurath is a Summoned boss in Dire Maul West which is the final part of the Warlock Epic Mount questline. The ritual leading up to Hel’nurath’s spawning takes place where Immol’thar is fought. The beginning of the ritual mandates the raid kill waves of demon adds which spawn while the Warlock in the group uses their J’eevee’s Jar, Black Lodestone, and Xorothian Glyphs at the correct times. Lord Hel’nurath himself is not complex, but the event itself can be slightly overwhelming.
Strategy
- Tank: Pick up adds as they spawn using AoE threat generating effects. When Hel’nurath spawns, hold threat off of the DPS who are damaging him. Move to the Xorothian Dreadsteed afterwards.
- Healer: This event is long, so conserve mana as best as you can. Keep your tank topped off, but ensure your Warlock lives as well or else you will have to run the encounter again.
- Damage Dealers: The Warlock in the group needs to utilize their summoning reagents as well as Banish and Enslave Demon. The Dread Guard adds deal significant damage and can be Enslaved to help defeat adds. Other DPS classes need to focus on using AoE effects to damage the adds as they spawn. Once Hel’nurath is present, focus on damaging him and not the Xorothian Dreadsteed. Move to the horse after Hel’nurath is dead.
Loot
Revanchion (Scourge Invasion)
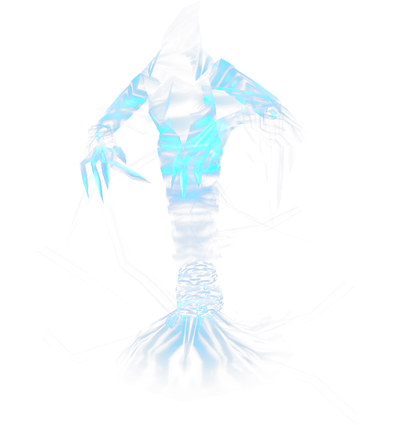
Revanchion is a limited time boss that only shows up during the Scourge Invasion. Make sure to get any loot off of him before the event ends.
Strategy
- Tank: Maximize threat so that the DPS can do as much damage as possible.
- Healer: This is a straight forward fight. Keep the tank up as a priority.
- Damage Dealers: This is a straight forward fight. Make sure to stay under the tank for aggro.
Loot
Quest Rewards & Loot
Quest Rewards
Boss Drops
- Tendris Warpwood
- Magister Kalendris
- Tsu’zee (Rare)
- Illyanna Ravenoak
- Immol’thar
- Prince Tortheldrin
- Lord Hel’nurath (Quest)
- Revanchion (Scourge Invasion)

