- Author: Luxrah
- Date: January 16, 2025
- Updated: January 30, 2025
- Expansion: WoW Classic
Karazhan Crypts is an endgame 5-man dungeon in WoW Classic Season of Discovery. The dungeon released with Phase 7 on January 28, 2025. The instance has a 24-hour lockout and requires level 60. There is a new mechanic added for the dungeon involving a magical darkness that requires the party to stay closely grouped together.
Spoilers ahead! You may find that it’s more fun to explore the dungeon once or twice without following a guide. This is the Season of Discovery, after all. However, be prepared to spend several hours in the dungeon if you do so. There is a lot more complexity and challenge here than in most vanilla dungeons.
Attunement
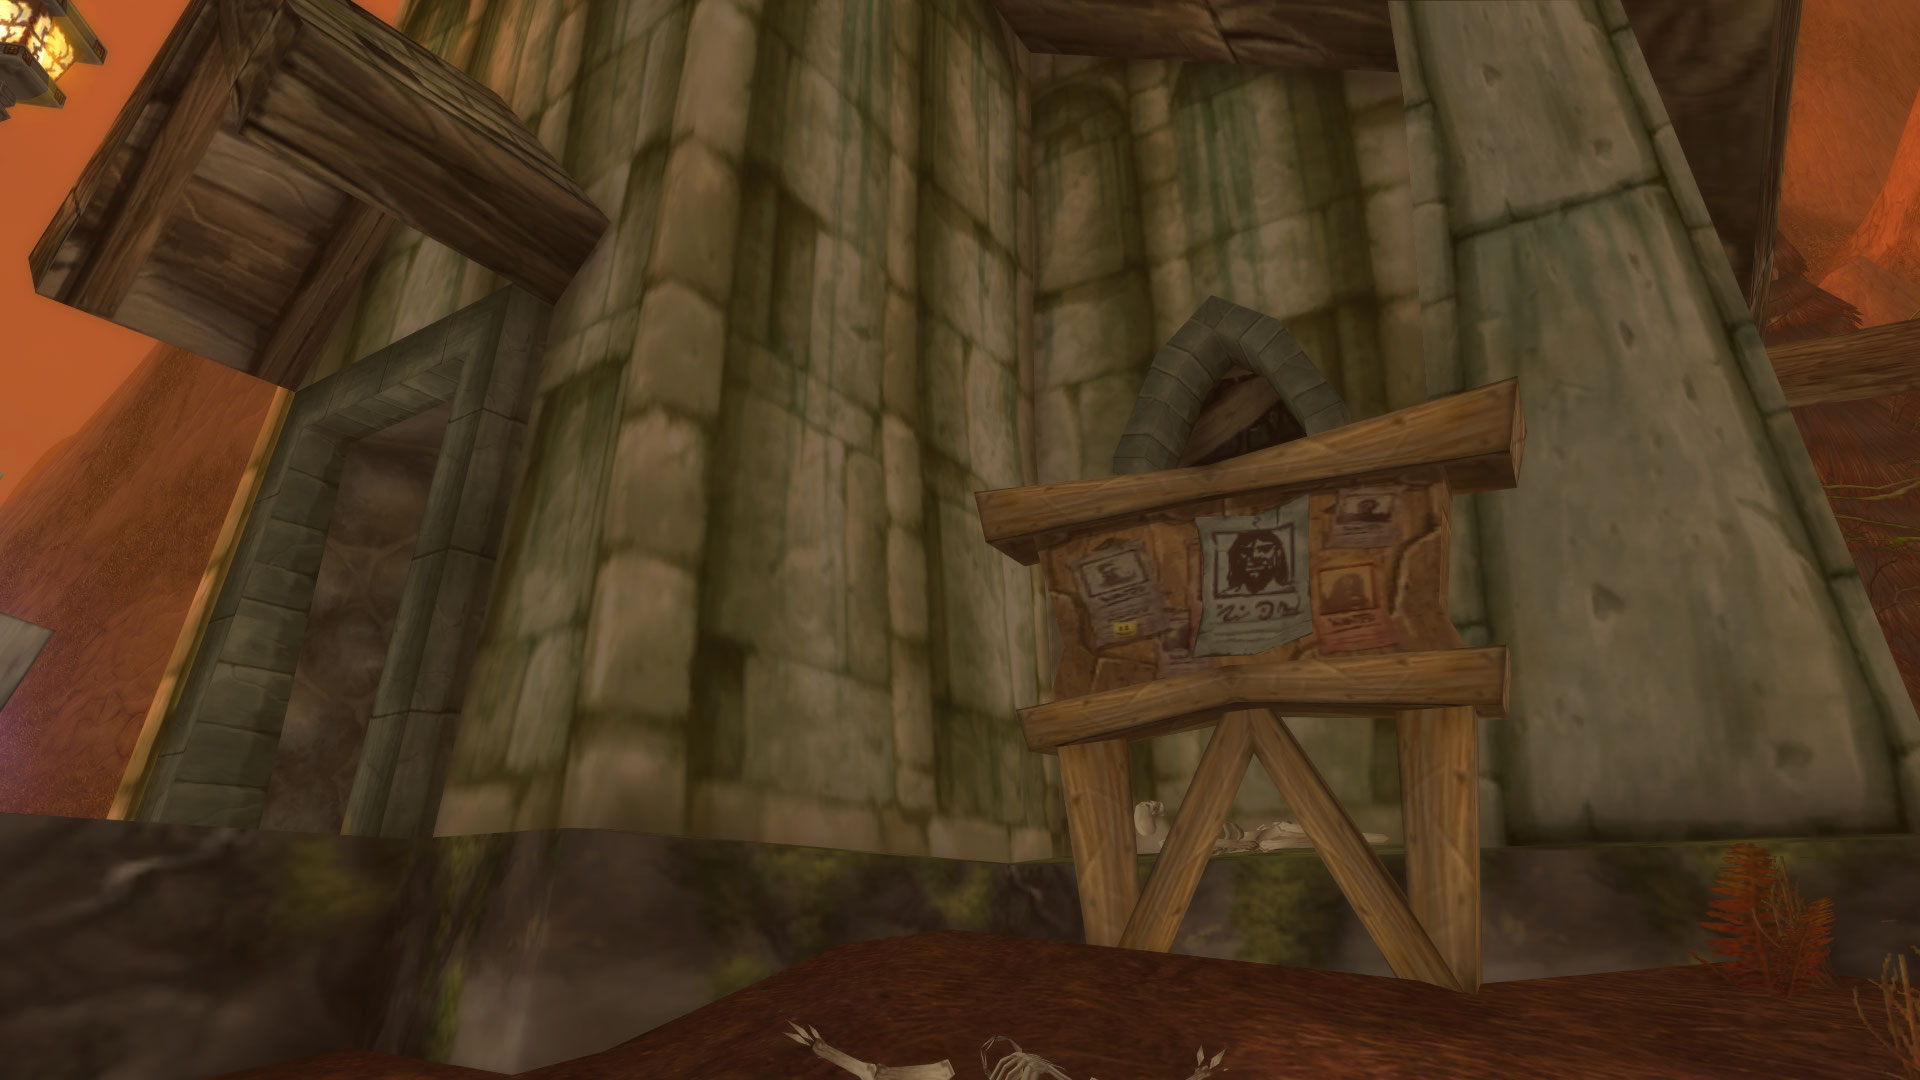
The Karazhan Crypts dungeon requires an attunement that can be started with the quest For Gold and Glory! offered by the Seeking Seasoned Adventurers! sign at Light’s Hope Chapel in Eastern Plaguelands.
For a complete walkthrough of the attunement quests, see our Karazhan Crypts Attunement Guide.
Location
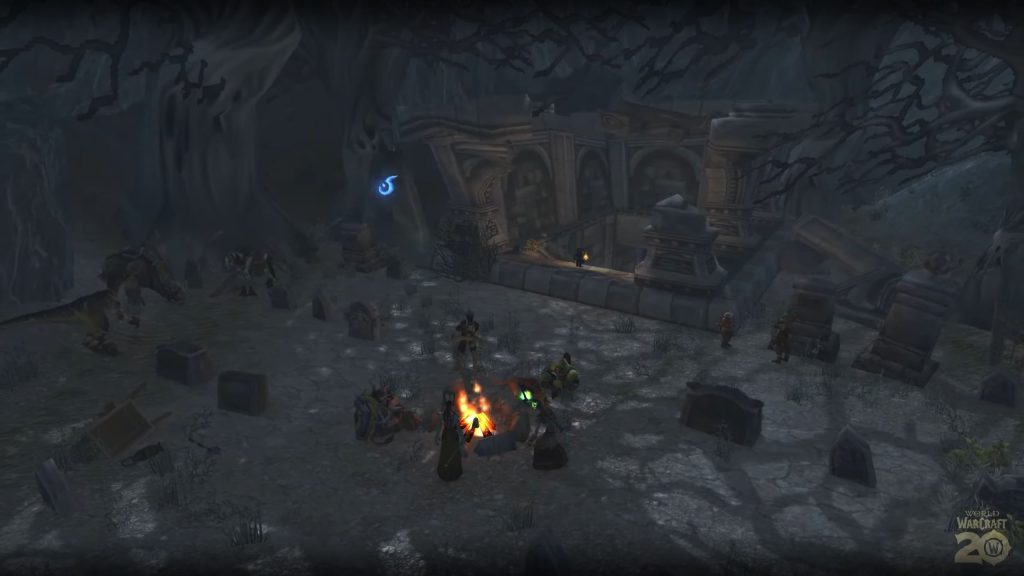
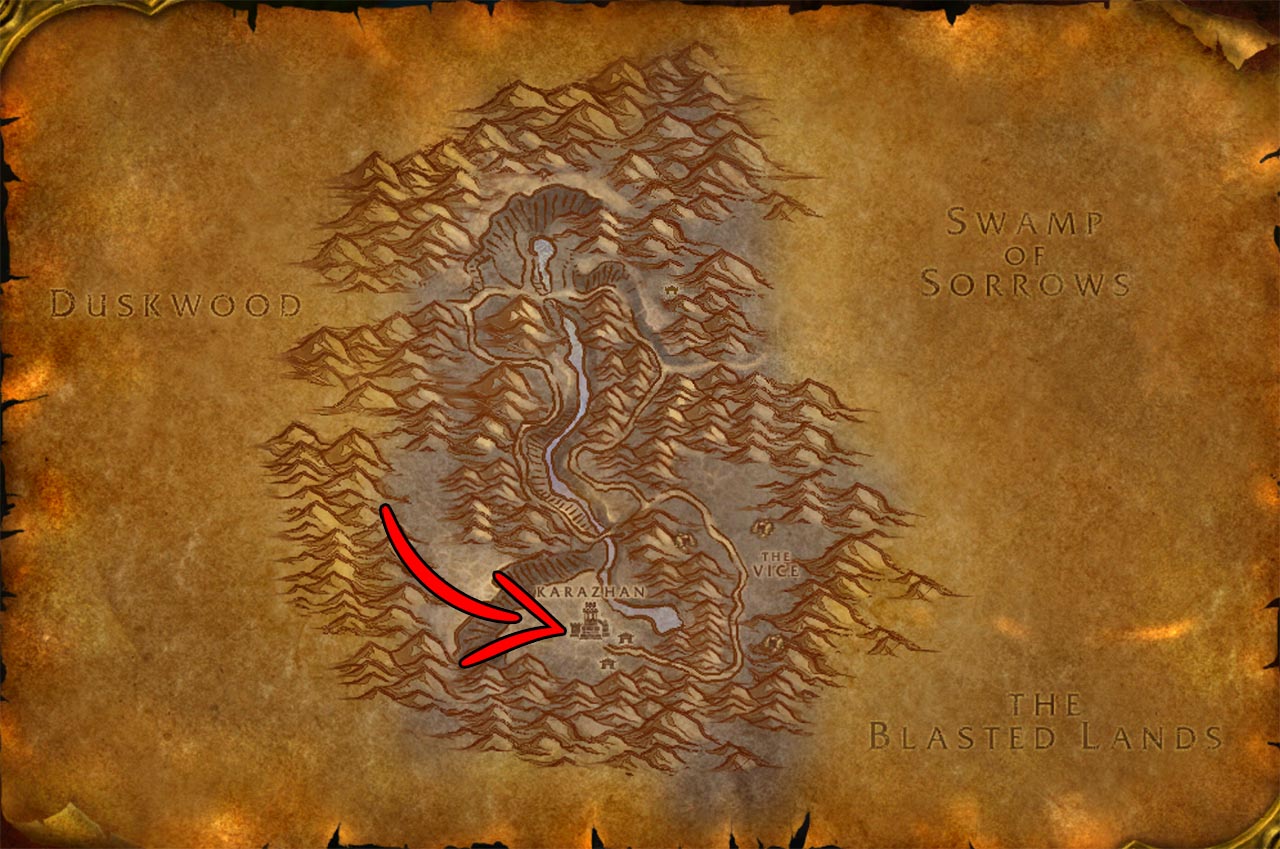
Karazhan is located in the Deadwind Pass zone on the Eastern Kingdoms continent. The entrance to the crypt is at Morgan’s Plot, a graveyard on a hill behind the main castle.
Players lucky enough to obtain the legendary staff Atiesh, Greatstaff of the Guardian will be able to teleport their group to Karazhan, saving a lot of travel time. For everyone else, you’ll have to travel there from a flight point in a neighboring zone. For Alliance this will be Duskwood, and for Horde this will be Swamp of Sorrows.
The Darkness Mechanic
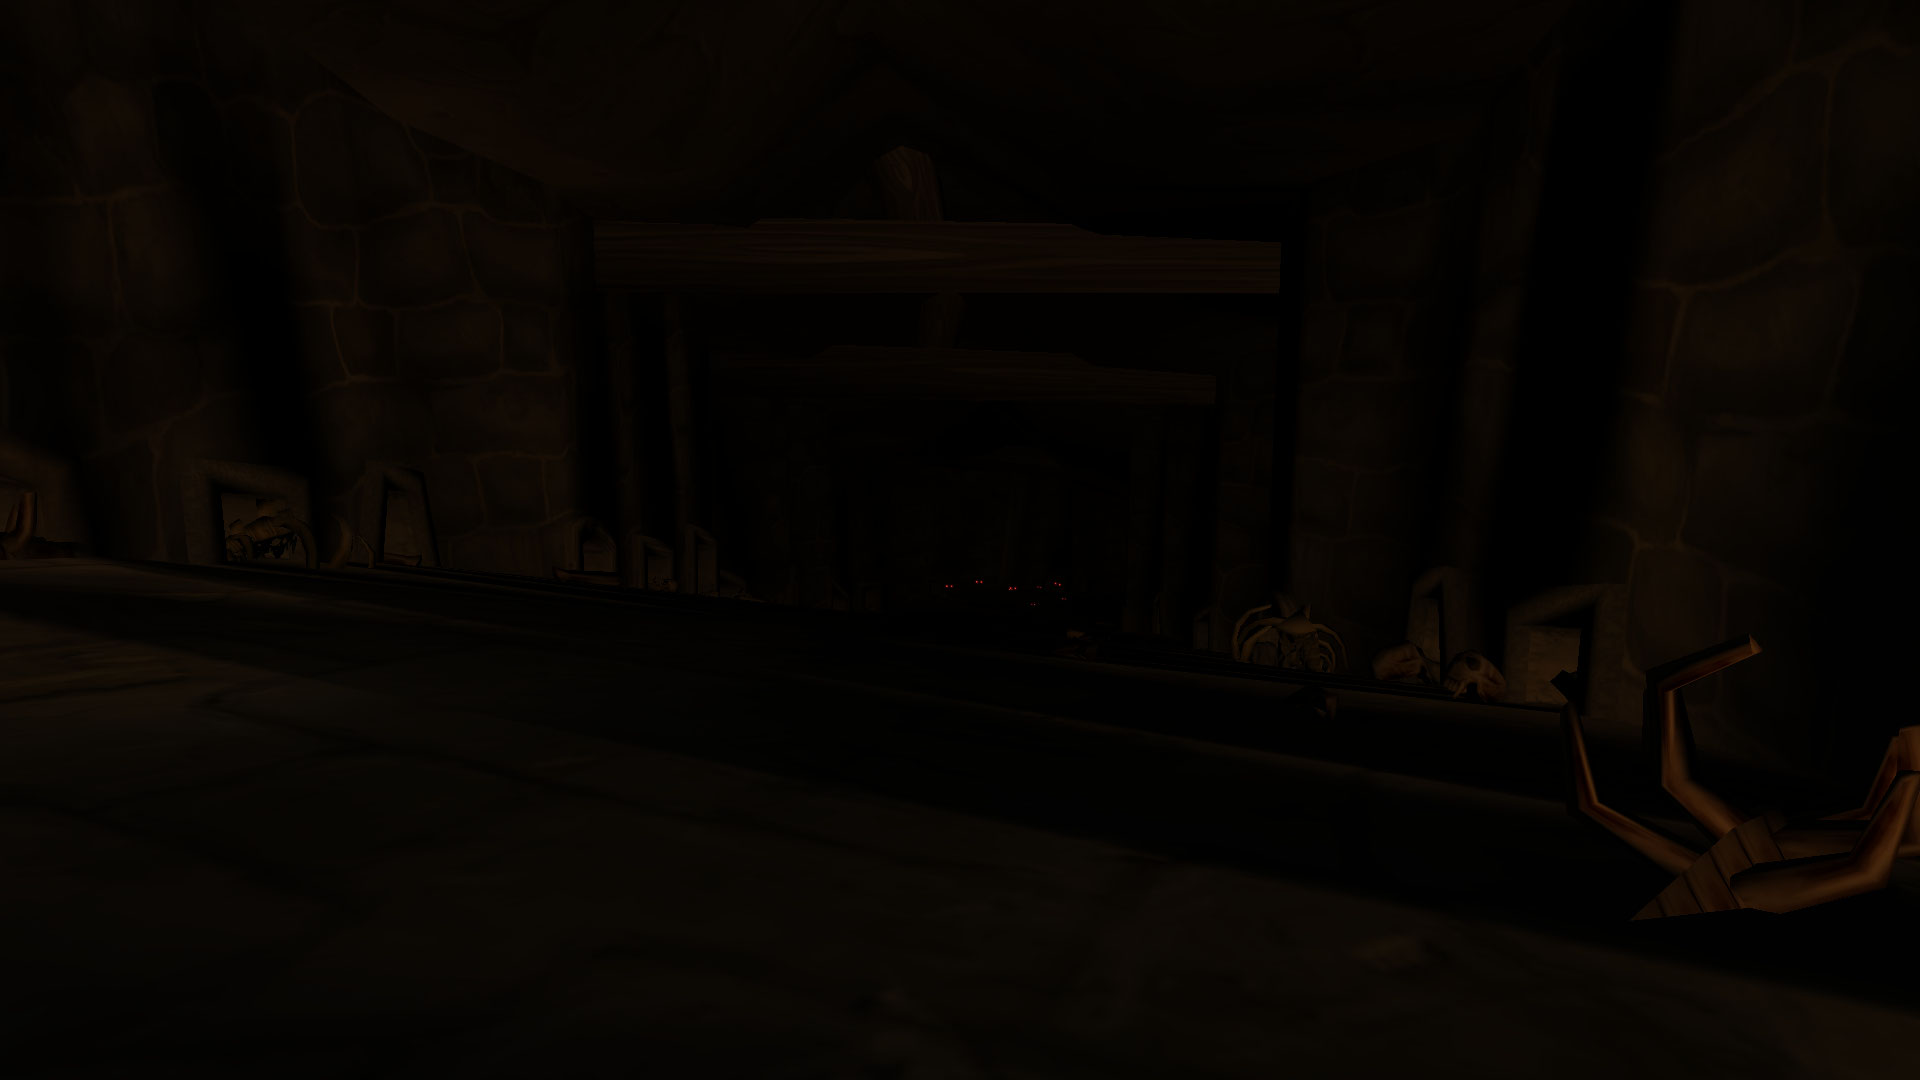
The Karazhan Crypts dungeon features a new mechanic in the form of the Oppressive Darkness debuff. You won’t be able to see or target anything in the darkness and you’ll steadily lose health if you stand in it. The minimap won’t help you either: it’s completely blank inside this dungeon.
To guide your way, you’ll have access to a Floating Firebrand which grants the Guiding Torchlight buff and the Within Light debuff buff to everyone inside its radius. The Firebrand will follow the first member of your party that interacts with it. Everyone else will need to stick close together. If the person carrying the torch dies, you will have a brief window during which someone else can pick it up. After that, it will respawn in its original place at the dungeon entrance.

Map & Layout
The map for the Karazhan Crypts dungeon is similar to the original area that existed in the open world in vanilla WoW. This is a non-linear dungeon where there are a few different routes you can take as well as some hidden areas that can be uncovered by certain actions.
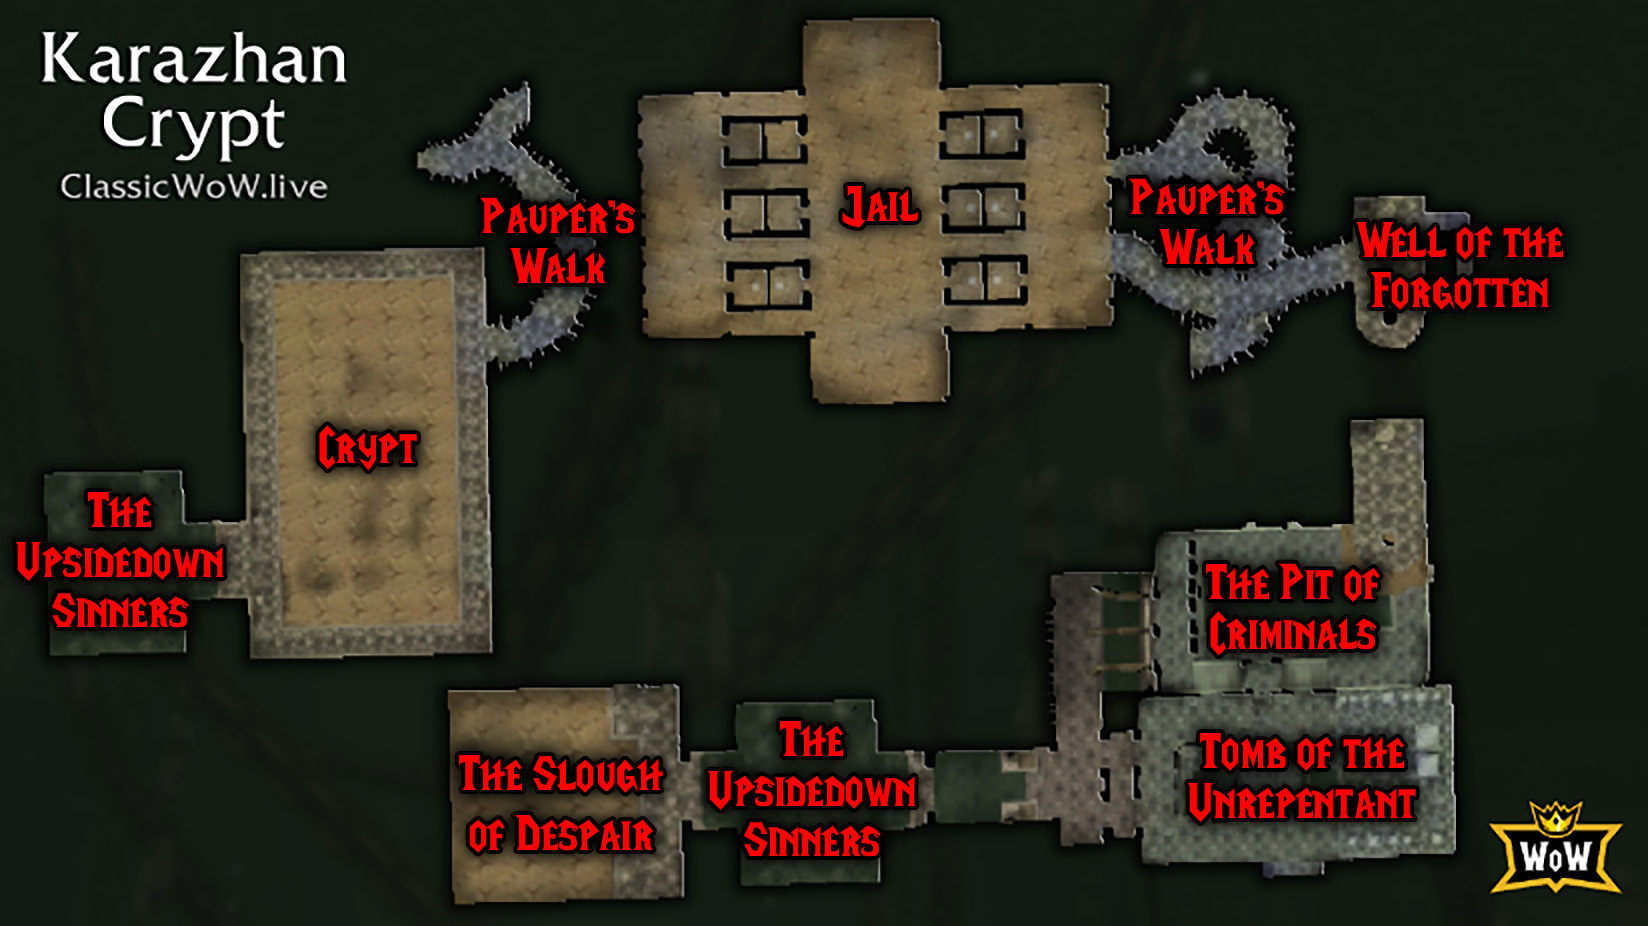
The first room you enter is the Well of the Forgotten, where you’ll find the Floating Firebrand torch waiting to be picked up. From this room you can either descend the stairs through the Pauper’s Walk or jump down into the well, which leads to The Pit of Criminals (be ready for combat if you make this jump).
The Pauper’s Walk goes straight down to the jail area with an offshoot path that goes further down to the large crypt room.
The jail area doesn’t have a name on the minimap. You’ll find The Warden here, a large skeleton mob who drops the Portcullis Key. This key can only be used once, so you can only open one of the gates in the jail per run. Opening one of these gates will allow the Failed Apprentice inside to escape, and they’ll turn hostile shortly after. You’ll also find a couple of chests inside the cells here, one of which is a mimic and will try to eat you when opened. You can recognize it because it has a name above it like a mob (Treasure Chest). Finally, there’s a Diseased Corpse in a half-buried coffin at one end of the central room that can be cleansed of its disease, which will cause the Blighted Apparition standing nearby to cast the Last Rites buff on your party.
Traveling down the other path in the Pauper’s Walk leads to a large crypt. This is where you’ll find the Crypt Dweller who drops the Opera Ticket that is required to start the Opera of Malediction encounter as well as the Violet Satchel and Scrap of Parchment.
The big crypt room connects to an underwater room called The Upside-down Sinners. Swimming across this room leads to The Slough of Despair, where you’ll find the Harbinger of Sin boss. Swimming down leads to the Tomb of the Unrepentant.
The Tomb of the Unrepentant has two levels. The upper level contains the Opera of Malediction event and the library while the lower level houses the Creeping Malison boss. The library contains a secret room that can be accessed by clicking on a Torch on the wall, which opens a bookcase. Inside this hidden room you’ll find three NPCs you can talk to. The male human, Alfwhit Grigdert, can be made to leave the room if a Warlock talks to him. Later on you can talk to him again in the jail area to activate the boss Unk’omon. The male gnome, “Tableknife” Finkelbat, has a similar interaction with characters who have Engineering.
The Pit of Criminals can be entered by jumping down through the well, in which case you’ll land on top of a pile of bones surrounded by mobs, or through the Tomb of the Unrepentant. On the altar you’ll find the book Dialogues of the Dead, which summons the boss Kharon.
Special Items
There are some objects in Karazhan Crypts that can only be interacted with by characters of the appropriate class or profession.
Encrypted Texts look like scrolls and can be found lying on the ground, tables, and shelves. They can be activated either by a character with Enchanting or by a Mage with Comprehension Charms. These can contain any of the following Phase 7 Enchanting recipes:
- Formula: Enchant 2H Weapon – Spellblasting
- Formula: Enchant Bracer – Greater Spellpower
- Formula: Enchant Cloak – Agility
- Formula: Enchant Gloves – Superior Strength
- Formula: Enchant Off-Hand – Excellent Spirit
- Formula: Enchant Off-Hand – Superior Intellect
- Formula: Enchant Off-Hand – Wisdom
- Formula: Enchant Shield – Critical Strike
- Formula: Enchant Shield – Excellent Stamina
Withering Irises are large flowers on the ground. These can be interacted with by a Druid or a character with Herbalism. When activated, they provide a stationary pool of light that provides safety from the darkness without a torch.
Mysterious Scroll can be found on a table in one of the gated cells in the jail area. It can be looted for the Tome of Enchanted Flare, which teaches the Enchanted Flare spell for Hunters. This is a special ability that allows Hunters to place a temporary pool of light on the ground that provides safety from the darkness inside Karazhan Crypts. This is a particularly useful ability for ranged Hunters due to their minimum range requirement and the limited radius of the torch.
Immense Rock blocks one of the cells in the jail and is marked as Indestructible. You can charge or blink through this rock.
Quest Items
Karazhan Curio quest item drops randomly from trash for the Curious Karazhan Curios! quest that concludes the attunement quest chain.
Violet Satchel drops from the Crypt Dweller in the large open crypt room. This item starts the quest The Violet Satchel.
Scrap of Parchment drops from the same Crypt Dweller who drops the Opera Ticket and Violet Satchel.
Items to Summon Bosses
Portcullis Key drops from The Warden, a large skeleton mob who appears in the jail area. This key can be used to open one of the 3 cell doors that contain the Failed Apprentices.
Opera Ticket drops from either the same Crypt Dweller who drops the Violet Satchel and Scrap of Parchment in the large crypt room, or The Gravekeeper who appears near a grave in the same room. This ticket is required to start the Opera of Malediction encounter.
There are 3 Mysterious Relics that must be collected in order to summon the Dark Rider. These items are weapons that are found lying around in random places throughout the dungeon or sometimes looted from mobs. They will need to be placed in the appropriate places in the jail area. Just look for a floating shadowy weapon shape that you can interact with (Mysterious Eidolon for the sword).
Bosses
There are several boss encounters in the Karazhan Crypts dungeon.
- Harbinger of Sin
- Creeping Malison
- The Failed Apprentice
- Opera of Malediction
- Kharon
- Unk’omon
- Dark Rider
Harbinger of Sin
This boss is located in The Slough of Despair after passing through The Upside-down Sinners (the underwater room). It does not require any special activation.
- Health: 781.3K
- Abilities:
- Flame Whirl: fire AoE, don’t stand in it
- Pull of the damned: makes it hard to run away, but you need to start running as soon as it’s cast for the next spell
- Inferno: a big AoE that gets cast after Pull of the damned. Keep running until you see the border and then make sure you’re outside of it when it goes off
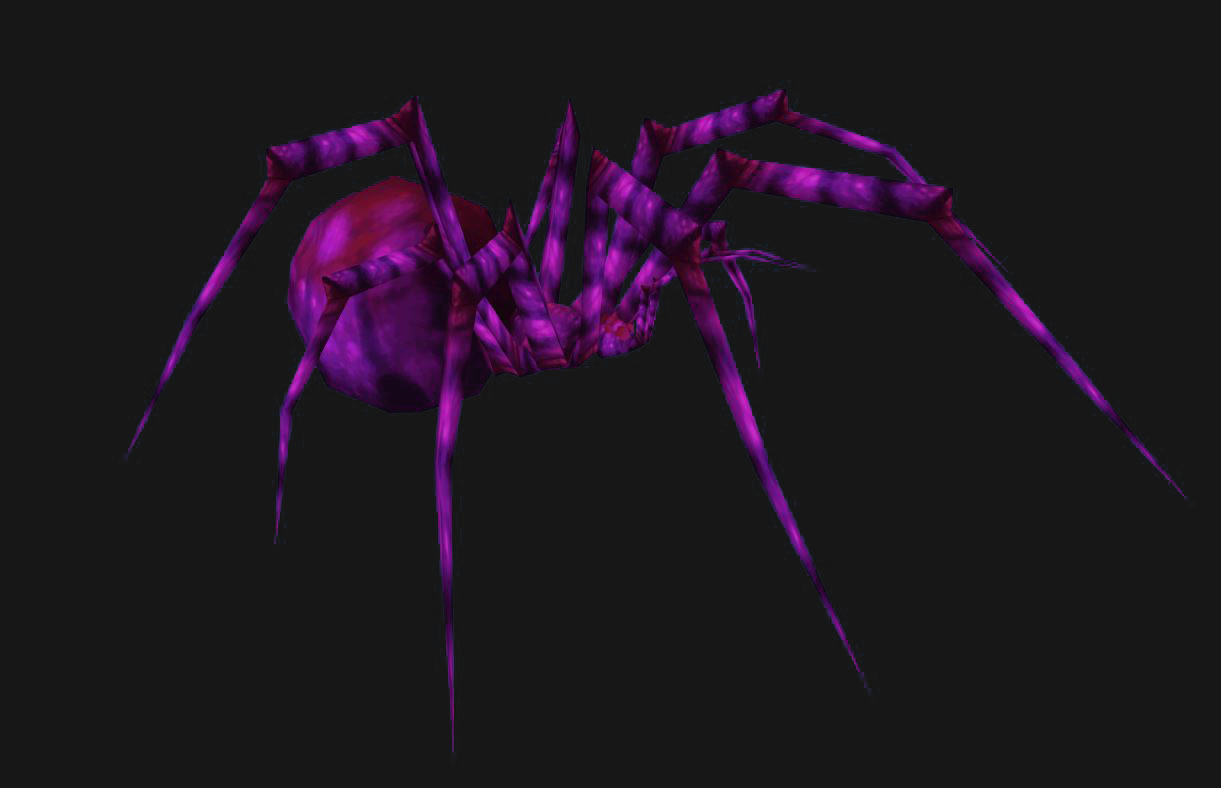
Creeping Malison
This giant spider pops out when you approach the back of the lower level of the Tomb of the Unrepentant. It does not require any special activation.
- Health: 875.8K
- Abilities:
- Burning Webs: fire AoE, don’t stand in it
- Cursed Webbing: the boss will face a player before throwing this at them. It will wrap them in webbing, stunning them for several seconds. It may be avoidable if you get out of the way fast enough. Especially dangerous if you wind up stunned inside Burning Webs
- You can click on the Spider Nests around the room to prevent massive numbers of Cursed Spiderlings from spawning. A few will still spawn, but they will be much more manageable.
- Adds:
- Cursed Spiderling: many of these will be summoned by the boss, but they don’t do much and die as soon as the boss does, so it’s best to focus the boss
The Failed Apprentice
There are three NPCs who are trapped in cells inside the jail area. Each one is held by a Gate that can be unlocked with the Portcullis Key that drops from The Warden in that area. The key can only be used once, so you can only release one of these three apprentices per run. When the gate is opened, the freed apprentice will walk across the main room and say a few things and then turn hostile. They use different spells, but drop the same loot.
Kaigy Maryla
- Health: 626.5K
- Abilities:
- Fireball
- Incendiary Boulder: a big ball of fire that rolls in a line in front of him
Sairuh Maryla
- Health: 522.1K
- Abilities:
- Frostbolt
- Blizzard
- Frostbolt Volley: essentially a large Blizzard
- Frost Nova: roots players in place
- Freezing Field
Barian Maryla
- Health:
- Abilities:
Opera of Malediction
This event is similar to the opera event inside the Karazhan raid from The Burning Crusade. You start the event by speaking with Edgar, the Stage Manager in the Tomb of the Unrepentant. You will need the Opera Ticket that drops from the Crypt Dweller in the large open crypt room. Give it to Edgar to start the “show,” which changes from day to day. Each version of the event features a different boss or group of bosses. When defeated, the loot for the encounter can be obtained from a chest nearby.
The Ugly Goblin
This encounter features a gang of 5 goblins, each of which has different abiliites. They each have about 100K health.
- Bosses:
- Geenkle
- Jank
- Gold Rutboot
- Beengis
- Weeshald Rustboot
Trizivast
This big bad quilboar is burning down the wolves’ houses in a little twist on the Big Bad Wolf story.
- Health: 368K
- Be sure you don’t burn him down before he has a chance to burn down the last house
Kharon
This boss can be summoned in The Pit of Criminals by interacting with the book on the altar, Dialogues of the Dead. The boss will spawn a few seconds later and knock everyone back when he appears.
- Health:1.12M
- Abilities:
- The Red Death: this is a big red AoE that looks like Death & Decay from Wrath of the Lich King; don’t stand in it
- Glacial Fetters: this abilities is like Chains of Ice from Wrath of the Lich King; it freezes a character in place and must be broken with damage
- He also does an AoE fear and a mind control
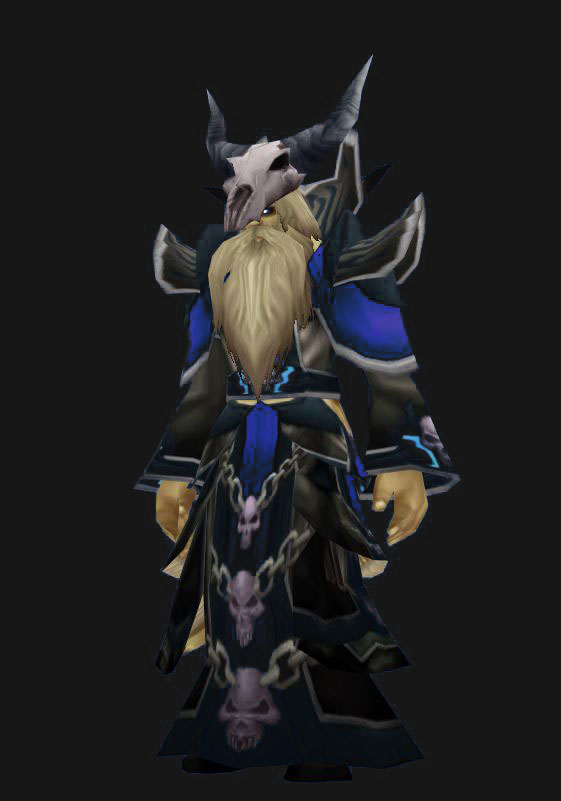
Unk’omon
To activate this boss, you will need to have a Warlock speak with Alfwhit Grigdert inside the secret room in the library, and then speak with him again in the jail area. He will then transform into this boss. He drops random uncommon loot (befitting his name) as well as sacks of gems, crafting recipes, and several Demonic Runes.
- Health:
- Abilities:
- Doom: you’ll want to decurse this debuff
- Shadow Bolt Volley: this can and should be interrupted
- This boss can currently be banished and stunned
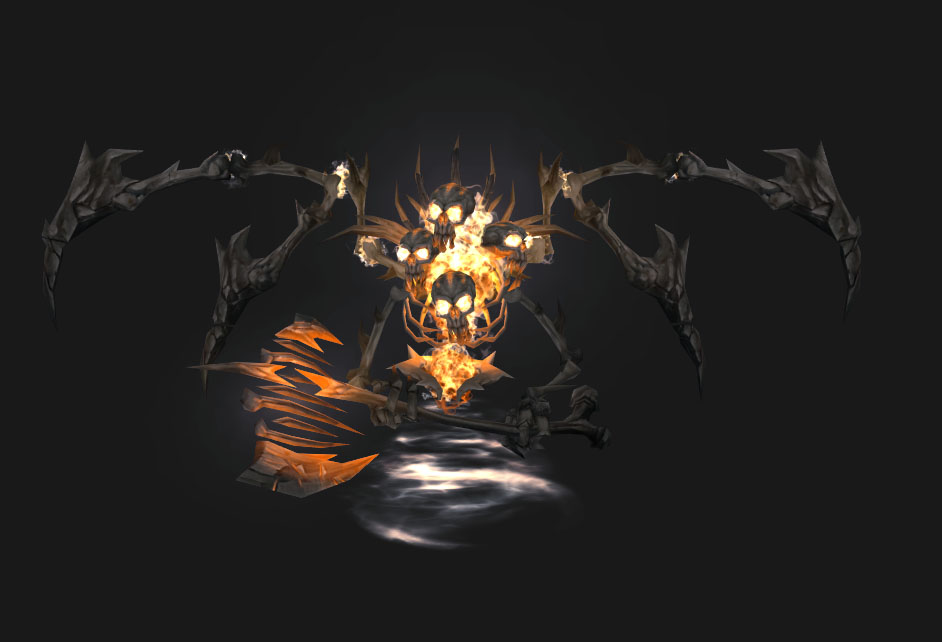
Dark Rider
This boss is summoned in the jail area after collecting three weapon items that can be found lying around in random locations throughout the dungeon.
- Health: 1.03M
- Abilities:
- Grasping Spirits: large green runes on the ground; don’t stand in them
- Torment’s Illusion: an illusory clone of one of your party members will attack someone. Only that person will be able to see them and they will need to kill it
- Fading Hope: he throws your Floating Firebrand torch, and you have to go pick it up again
- Ethereal Charge: he summons a wall of riders that slowly move across the room, dealing fire damage if they reach you. You’ll need to kill one of them in order to leave a safe spot for your group and successfully transition back to the main phase
Loot
Al of the dungeon’s boss drops and significant loot is covered in our Karazhan Crypts Loot Guide.
About the Author

Thanks, a very good guide
Dark rider fight also has red path appearing, and a spirit charges and hits very hard. You must not stand on that.
During Creeping Malison fight, if the player with the torch approaches one of the spider webs around the room (4 in total), little spiderlings run away. You can use this mechanic to get rid of them.