- Author: Luxrah
- Date: February 8, 2025
- Updated: February 8, 2025
- Expansion: WoW Classic
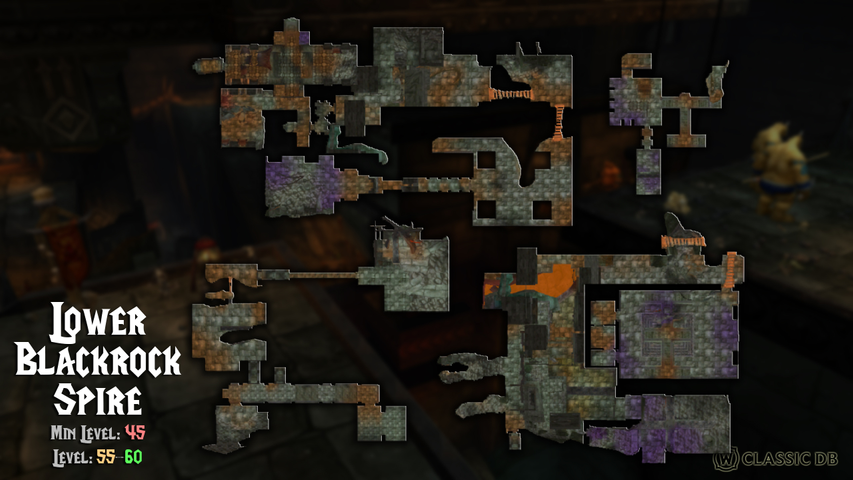
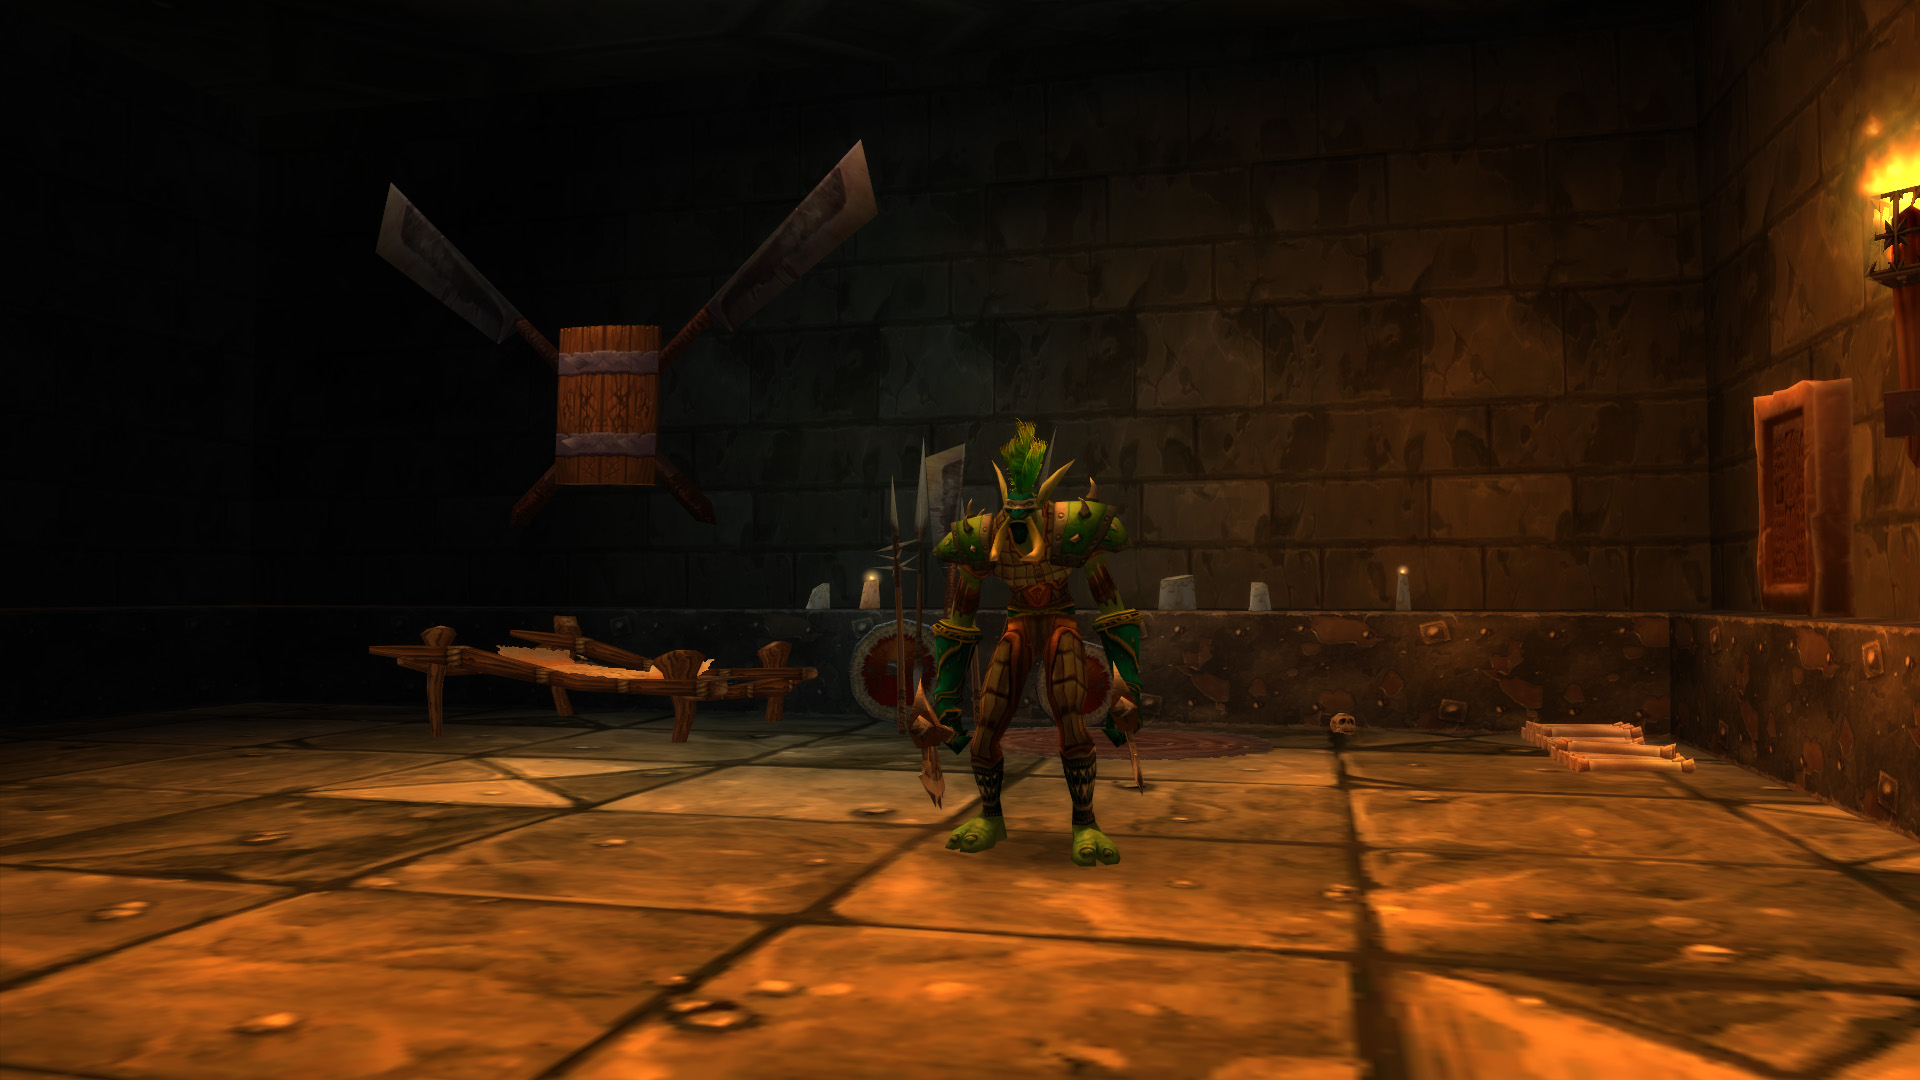
Lower Blackrock Spire is the lower portion of the Blackrock Spire instance, primarily serving as the living quarters of Warchief Rend Blackhand’s Dark Horde. This massive city is also home to ogres, trolls, and even some venomous spiders in the ruins of the city. You’ll need to explore a majority of the barracks and kill countless dark orcs on your way to finding Overlord Wyrmthalak.
- Level Requirement: 48
- Recommended Level: 55+
- Location: Searing Gorge
- Boss Encounters: Highlord Omokk, Shadow Hunter Vosh’gajin, Urok Doomhowl, Quartermaster Zigris, Halycon, Gizrul the Slavener, War Master Voone, Mother Smolderweb, Overlord Wyrmthalak, Burning Felguard (Rare), Spirestone Battle Lord (Rare), Spirestone Lord Magus (Rare), Bannok Grimaxe (Rare), Crystal Fang (Rare), Ghok Bashguud (Rare), Spirestone Butcher (Rare), Mor Grayhoof (Quest)
- Loot Drops:
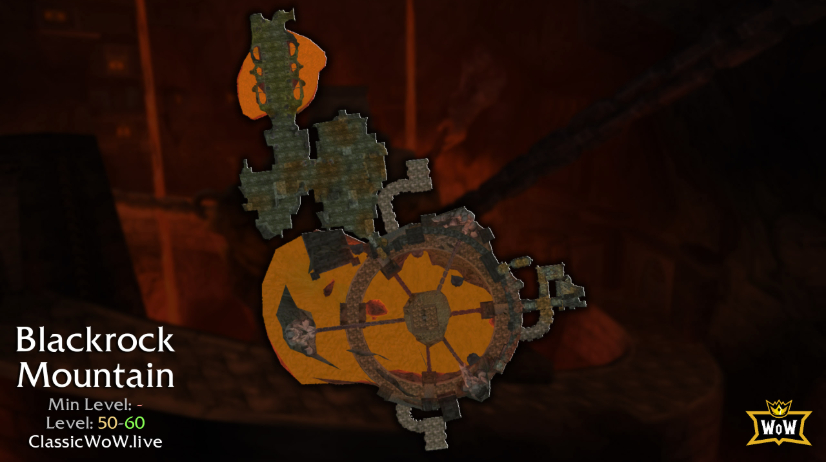
Location & Map
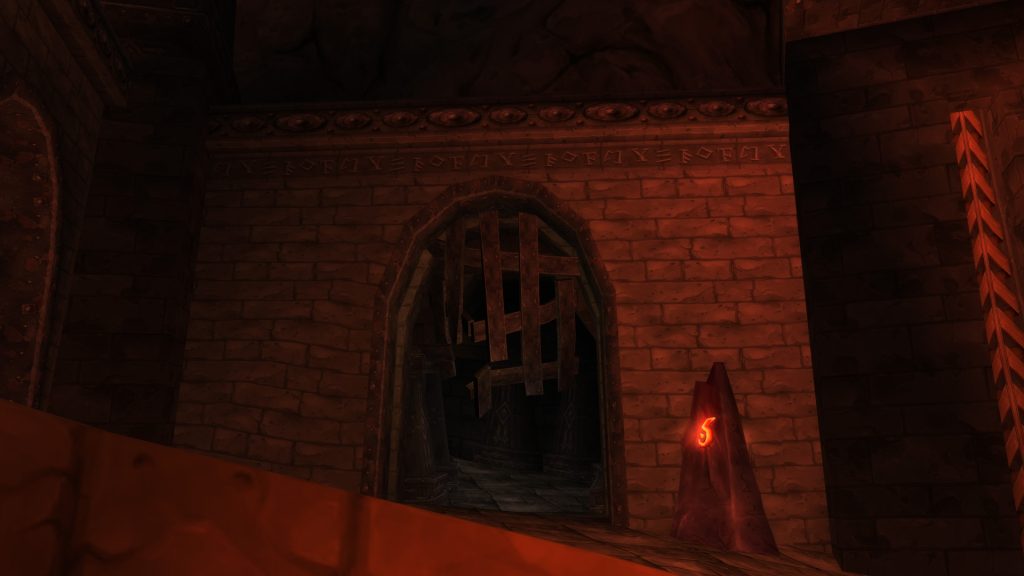
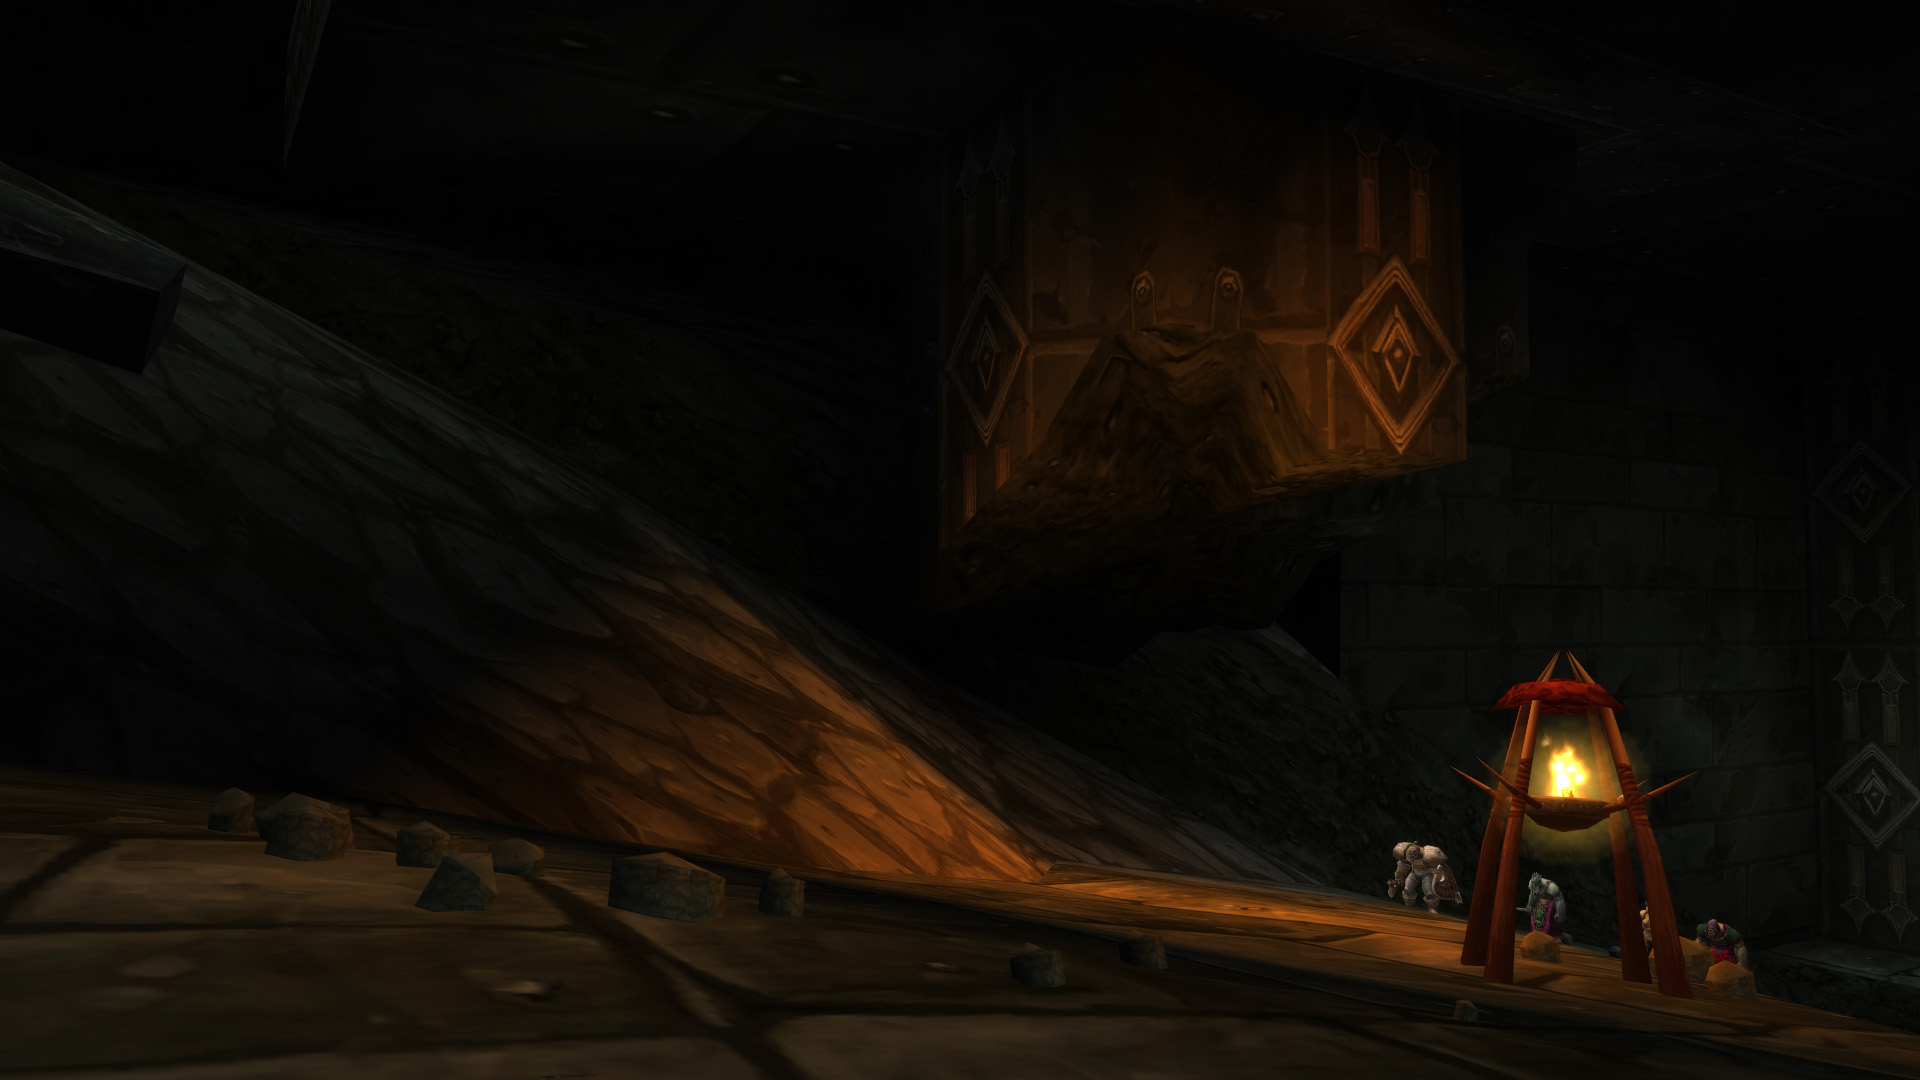
There are two ways to reach the dungeon portal from the main path through the mountain. One way is by entering the door that is next to the Blackrock Spire meeting stone and following the path upward. You’ll have to deal with some elite enemies via this route. The alternative is to climb the large chain and follow the wall toward the balcony where the gnome NPC Bodley is standing and jump onto it. This will put you directly in front of the dungeon portal without needing to deal with any mobs.
When you enter the portal, you’ll be inside Lower Blackrock Spire. Don’t go through the door that is upstairs to the left from the entrance unless you want to enter Upper Blackrock Spire.
Quests
There are numerous quests inside Lower Blackrock Spire for both factions.
Quest Name | Acquired From | Shareable |
|---|---|---|
Helendis Riverhorn (Burning Steppes) | Yes | |
Bijou (Lower Blackrock Spire) | Yes | |
Bijou (Lower Blackrock Spire) | No | |
Marshal Maxwell (Burning Steppes) | No | |
Overlord Wyrmthalak (Blackrock Spire) | No | |
Warlord Goretooth (Badlands) | No | |
Lexlort (Badlands) | Yes | |
Bijou (Lower Blackrock Spire) | No | |
Galamav the Marksman (Badlands) | Yes | |
Kibler (Burning Steppes) | No | |
Kibler (Burning Steppes) | Yes | |
Ragged John (Burning Steppes) | Yes | |
Warosh (Lower Blackrock Spire) | No | |
Vaelan (Lower Blackrock Spire) | No | |
Prospector Ironboot (Tanaris) | No |
 Alliance Quests
Put Her Down
- Shareable: Yes
- Level Required: 55
- Start: Helendis Riverhorn at Morgan’s Vigil in Burning Steppes
- Finish: Helendis Riverhorn at Morgan’s Vigil in Burning Steppes
- Objectives: Defeat Halycon inside Lower Blackrock Spire
- Rewards:
- 6400 experience
- 1 gold 80 silver
- 100 reputation with Darnassus
- Pick one of:
This quest simply requires killing the wolf boss, Halycon, inside Lower Blackrock Spire.

Bijou’s Belongings
- Shareable: Yes
- Level Required: 55
- Start: Bijou inside Lower Blackrock Spire
- Finish: Bijou inside Lower Blackrock Spire
- Objectives: Retrieve Bijou’s Belongings from Lower Blackrock Spire
- Rewards:
- 6400 experience
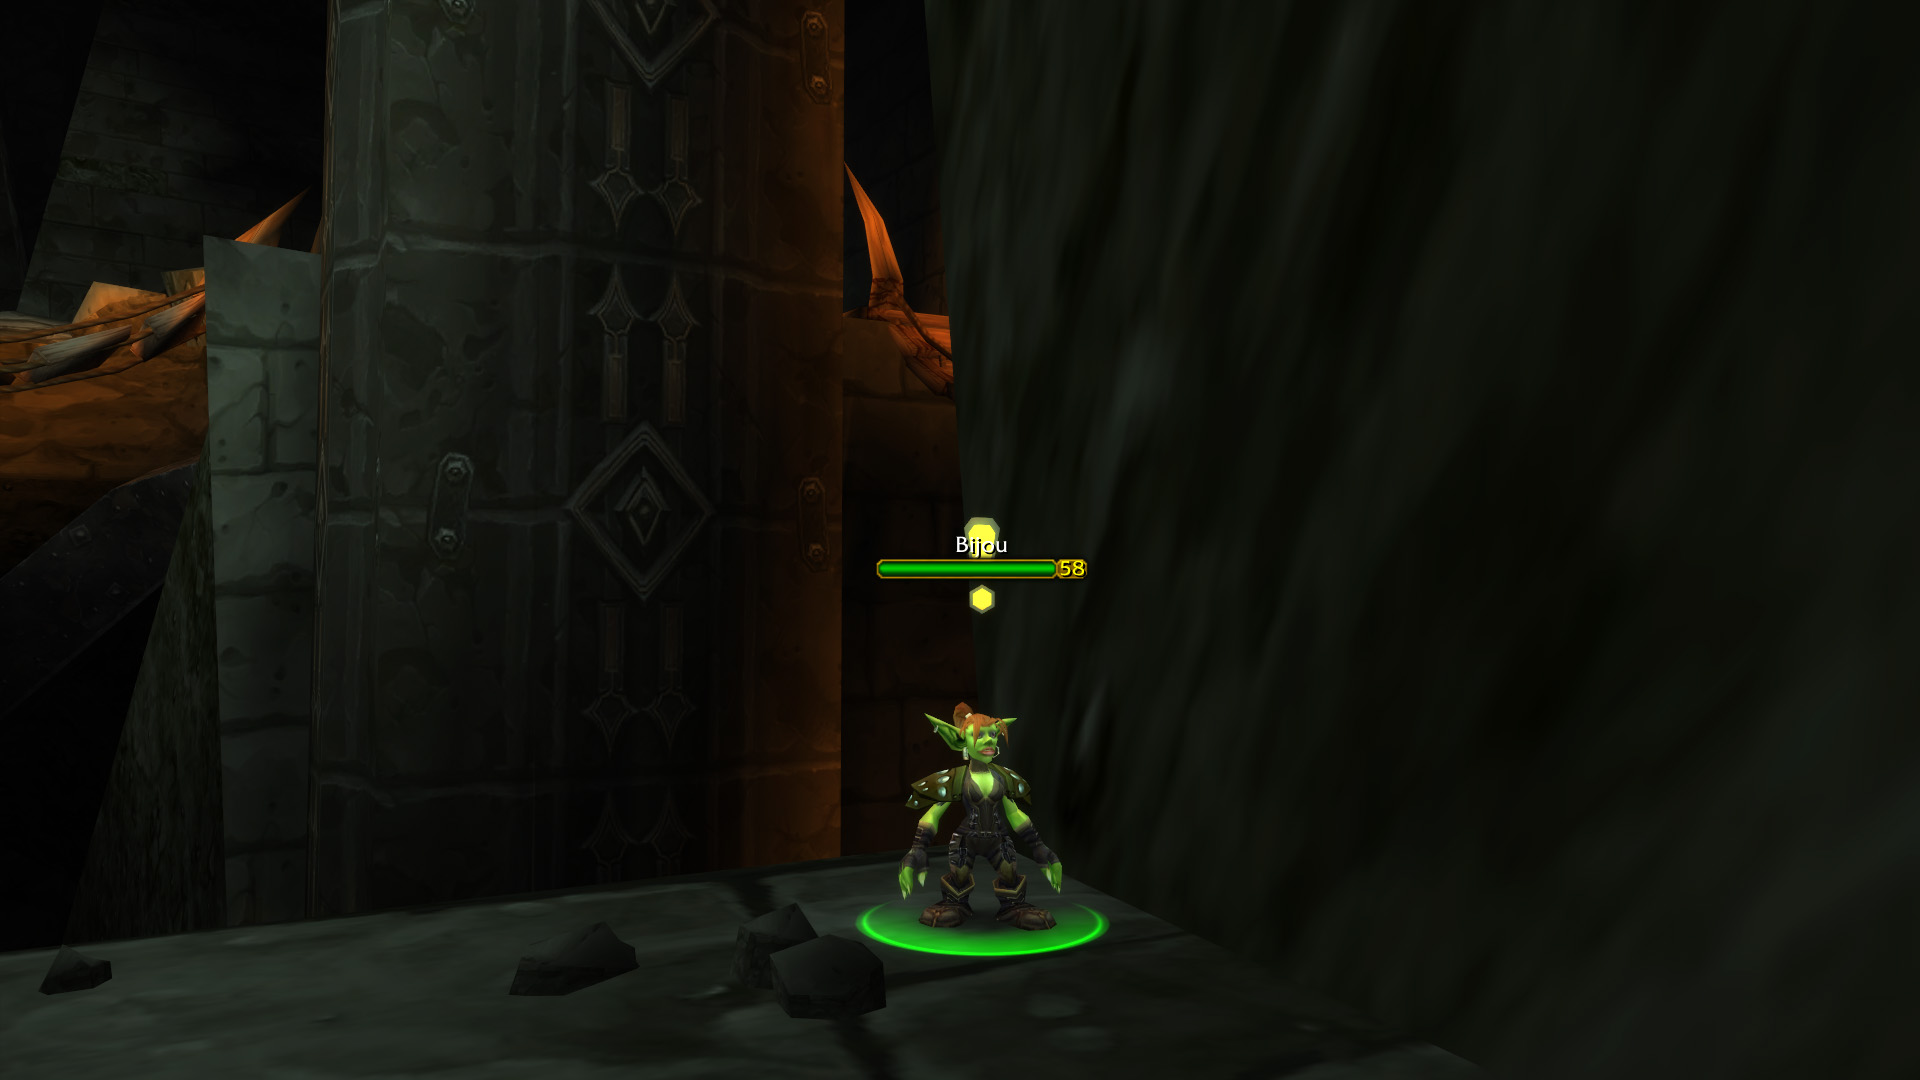
This quest is offered by Bijou, who is found inside the dungeon on a ledge overlooking Hordemar City. On the ramps that lead down into Tazz’Alaor (the big room with the purple lighting), one of the ramps leads up to her ledge.
To complete the quest, head down to Hordemar City at the bottom of Lower Blackrock Spire and look for a treasure box that is tucked into a corner. There are a few different places where it can spawn, so you may have to look around a bit. Loot it to get Bijou’s Belongings and bring them back to her. She’ll give you the next quest below.
Don’t kill War Master Voone, Highlord Omokk, or Overlord Wyrmthalak if you wish to complete this quest chain in a single run. You’ll get a quest to kill these three bosses when you visit the next quest giver.
Message to Maxwell
- Shareable: No
- Level Required: 55
- Start: Bijou inside Lower Blackrock Spire
- Finish: Marshal Maxwell at Morgan’s Vigil in Burning Steppes
- Objectives: Speak with Marshal Maxwell in Burning Steppes
- Rewards:
- 6400 experience
- 1 gold 80 silver
- 1000 reputation with Stormwind
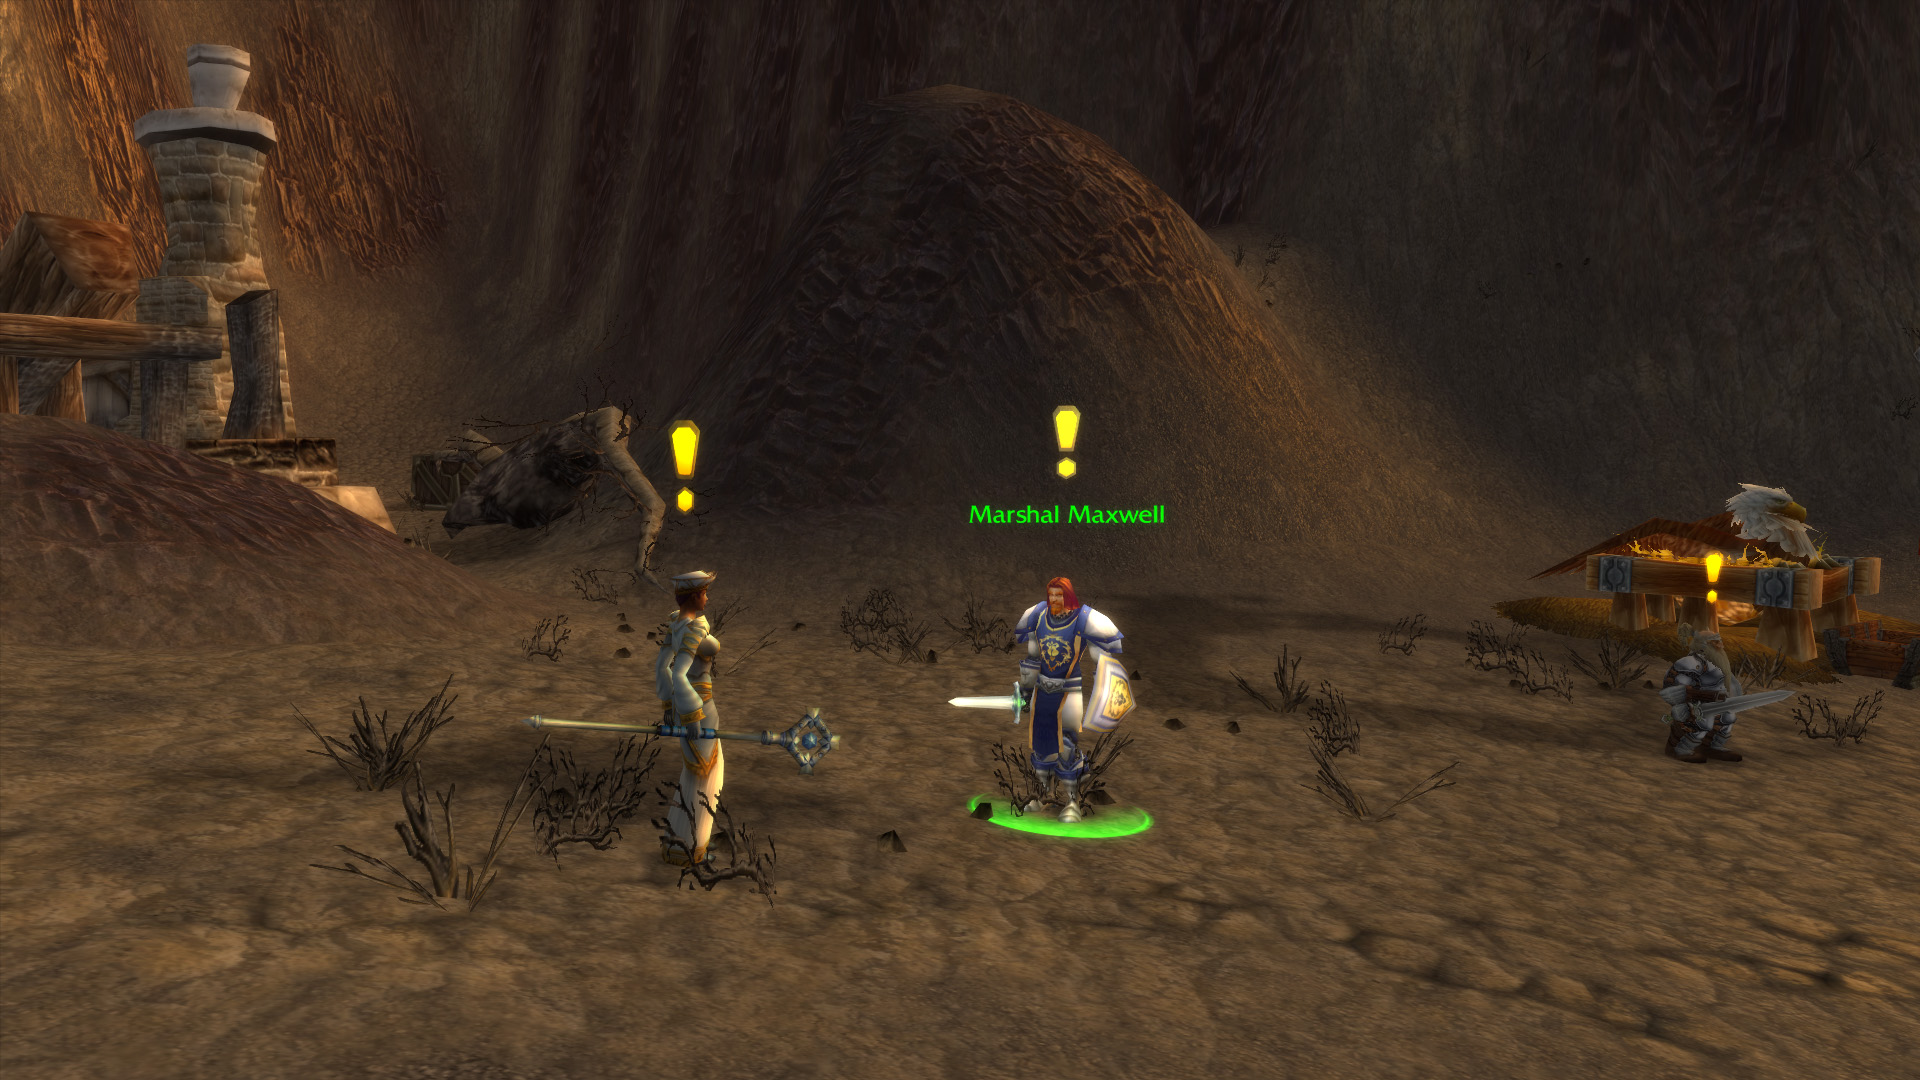
After completing the quest above inside the dungeon, head to Morgan’s Vigil in Burning Steppes to turn in this quest to Marshal Maxwell, who will give you the next quest below.
Maxwell’s Mission
- Shareable: No
- Level Required: 55
- Start: Marshal Maxwell at Morgan’s Vigil in Burning Steppes
- Finish: Marshal Maxwell at Morgan’s Vigil in Burning Steppes
- Objectives: Defeat War Master Voone, Highlord Omokk, and Overlord Wyrmthalak inside Lower Blackrock Spire
- Rewards:
- 8300 experience
- 1 gold 80 silver
- 150 reputation with Stormwind
- Pick one of:
After completing the two quests above, Marshal Maxwell will send you back inside Lower Blackrock Spire to defeat the bosses War Master Voone, Highlord Omokk, and Overlord Wyrmthalak.
General Drakkisath’s Command
- Shareable: No
- Level Required: 55
- Start: General Drakkisath’s Command, which is looted from Overlord Wyrmthalak in Lower Blackrock Spire
- Finish: Marshal Maxwell at Morgan’s Vigil in Burning Steppes
- Objectives: Bring General Drakkisath’s Command to Marshal Maxwell in Burning Steppes
- Rewards:
- 6600 experience
- 3 gold 96 silver
- 100 reputation with Stormwind
This quest can be started by killing the last boss of Lower Blackrock Spire, Overlord Wyrmthalak, and looting General Drakkisath’s Command from him. Right-click it in your bags to start the quest, and hand it in to Marshal Maxwell at Morgan’s Vigil in Burning Steppes. This leads to another quest for Upper Blackrock Spire.
 Horde Quests
Warlord’s Command
- Shareable: No
- Level Required: 55
- Start: Warlord Goretooth at Kargath in Badlands
- Finish: Warlord Goretooth at Kargath in Badlands
- Objectives: Defeat War Master Voone, Highlord Omokk, and Overlord Wyrmthalak, and acquire Important Blackrock Documents inside Lower Blackrock Spire
- Rewards:
- 8300 experience
- 1 gold 80 silver
- 150 reputation with Orgrimmar
- Pick one of:
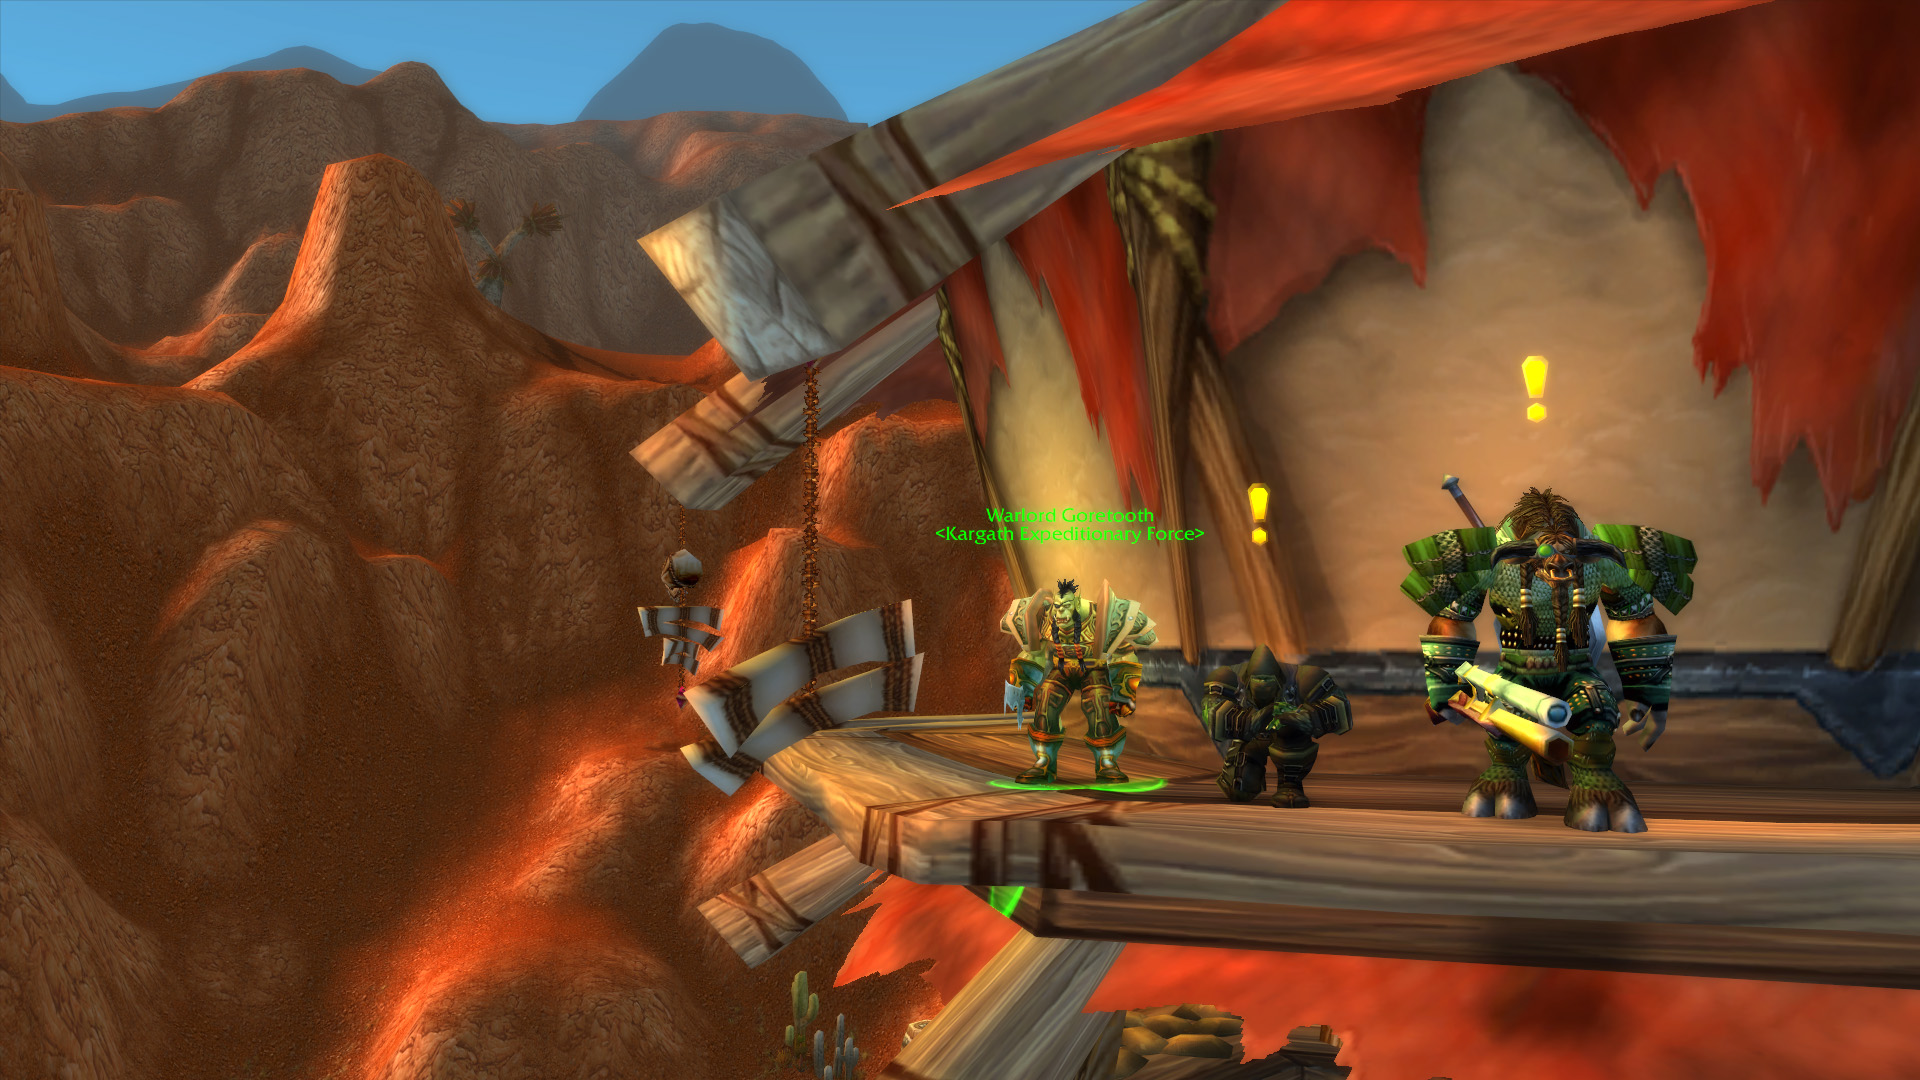
To start this quest, climb the watchtower at Kargath in Badlands. If Warlord Goretooth is not there, you’ll have to wait for him to walk back from his other spot beside the inn. He won’t talk to you until he’s in position at the top of the tower beside Lexlort. He does not give you the quest directly. Exhaust his dialogue and he’ll put an item in your bags, Warlord Goretooth’s Command, which will start the quest when you right-click it.
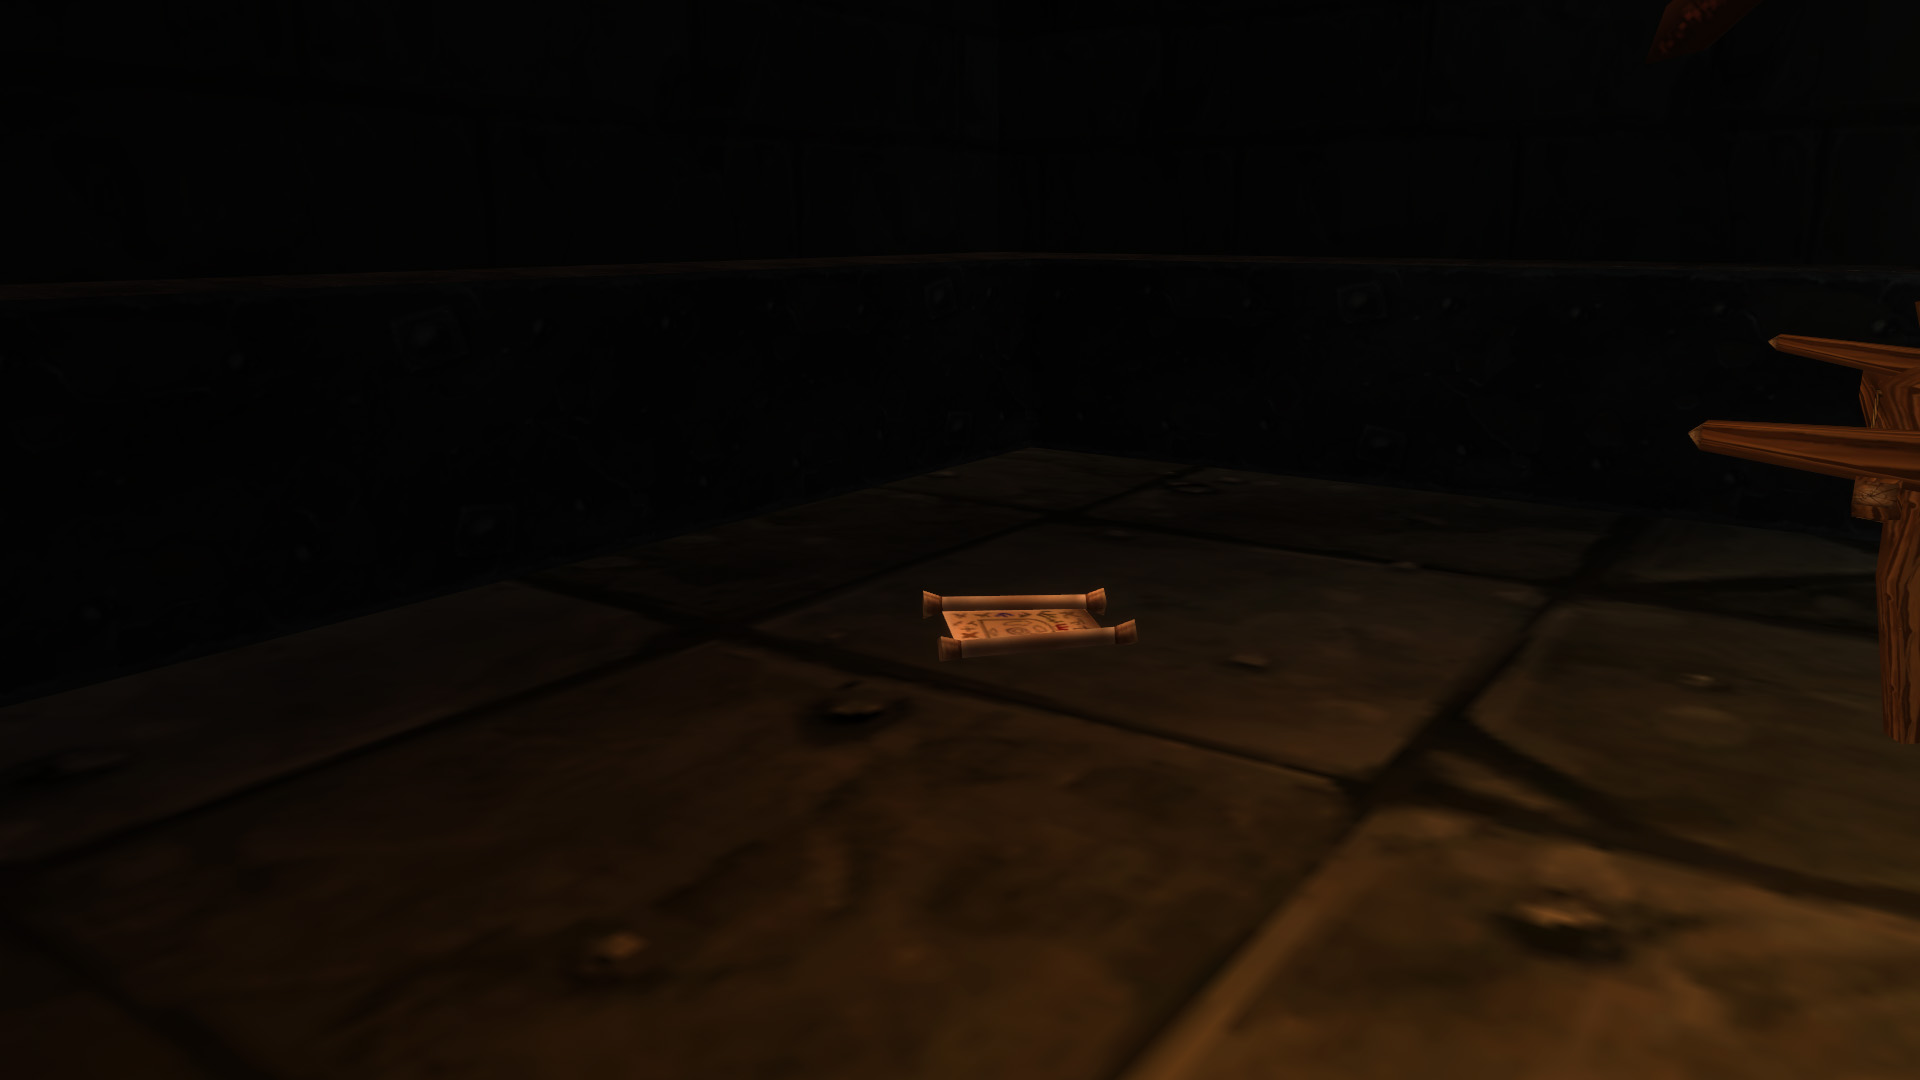
To complete the quest, head inside Lower Blackrock Spire to defeat the bosses War Master Voone, Highlord Omokk, and Overlord Wyrmthalak. You’ll also need to loot a scroll on the ground called Inconspicuous Documents to get the Important Blackrock Documents. This can be found in one of four places inside the dungeon: either next to Urok’s Tribute Pile, or near one of the three bosses you must kill.
This is the first quest in a chain that leads to Onyxia Attunement for Horde.
Operative Bijou
- Shareable: Yes
- Level Required: 55
- Start: Lexlort at Kargath in Badlands
- Finish: Bijou inside Lower Blackrock Spire
- Objectives: Locate Bijou inside Lower Blackrock Spire
- Rewards:
- 6400 experience
- +100 reputation with Booty Bay
- -500 reputation with Bloodsail Buccaneers
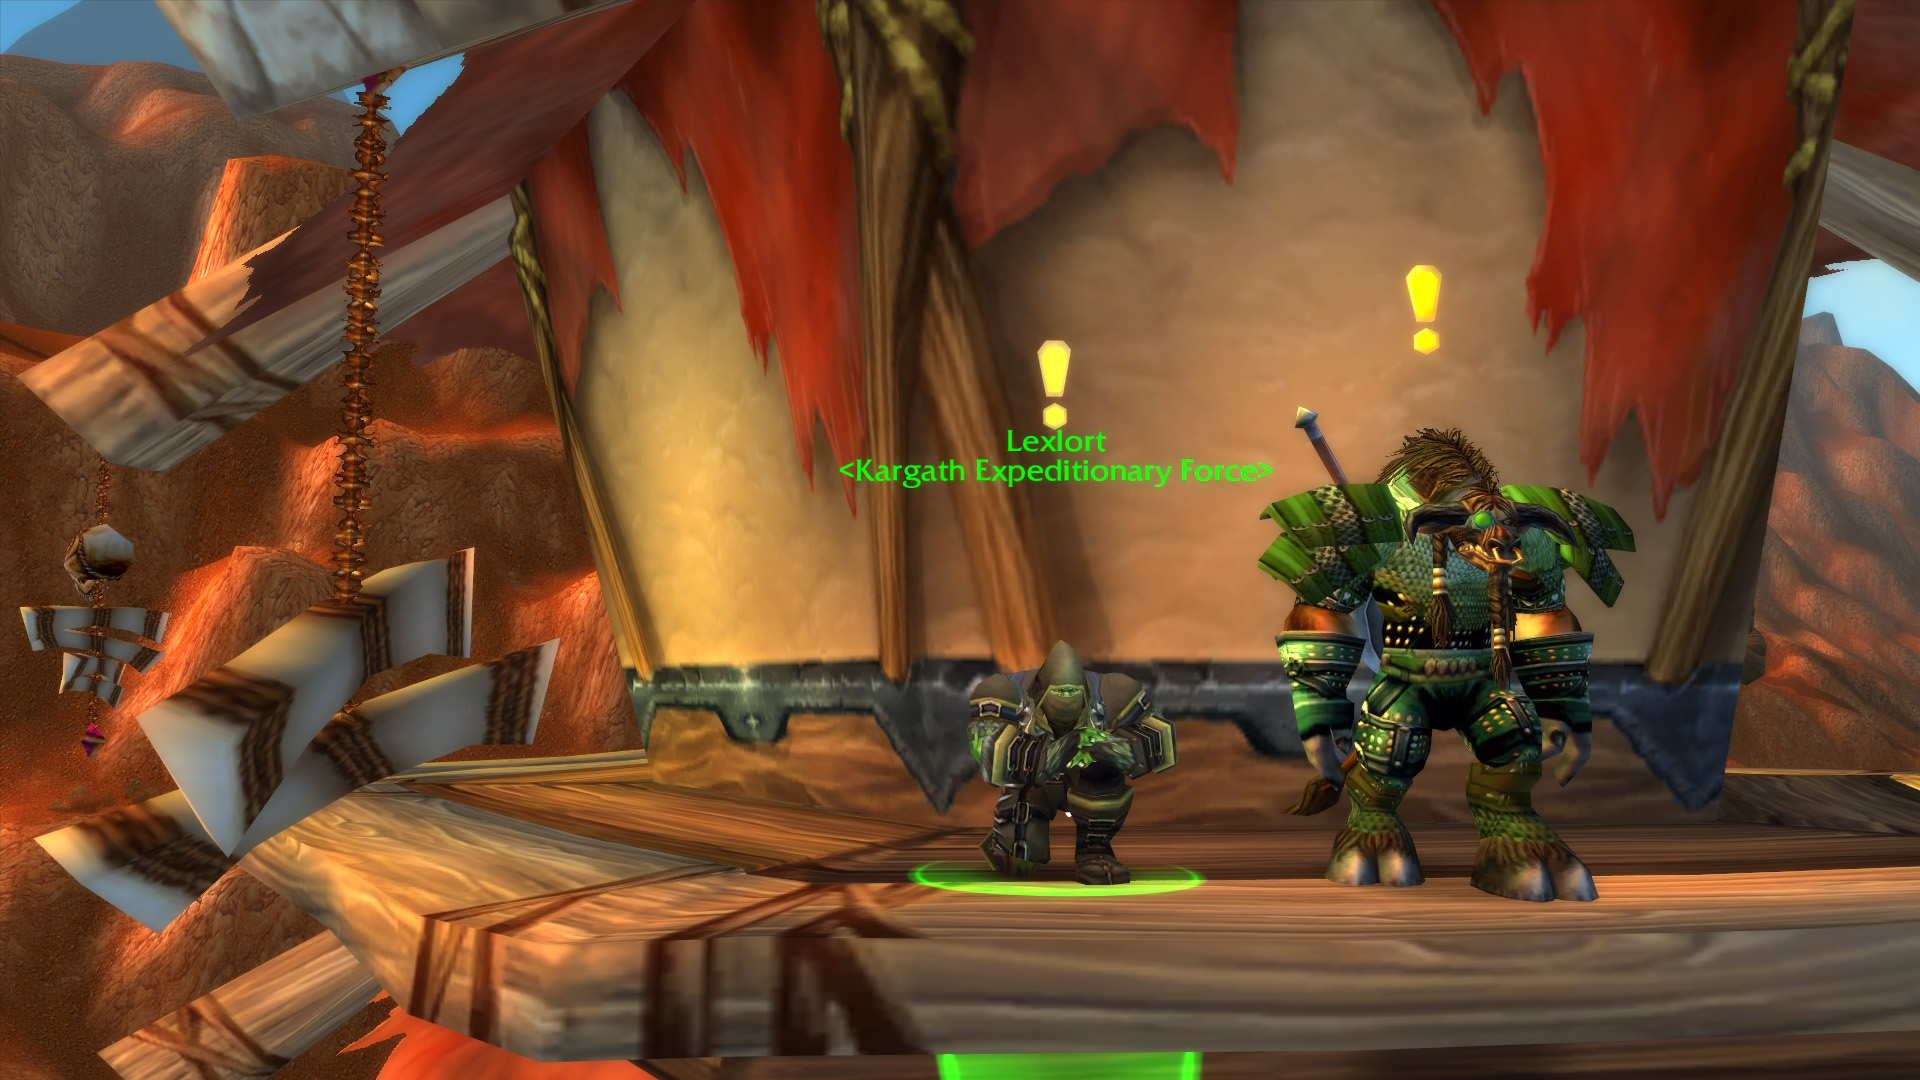
This quest is picked up from Lexlort at the watchtower at Kargath in the Badlands. It continues with the next quest below inside Lower Blackrock Spire.
Bijou’s Belongings
- Shareable: No
- Level Required: 55
- Start: Bijou inside Lower Blackrock Spire
- Finish: Bijou inside Lower Blackrock Spire
- Objectives: Retrieve Bijou’s Belongings inside Lower Blackrock Spire
- Rewards:
- 6400 experience
This quest follows the one above. Bijou can be found inside the dungeon on a ledge overlooking Hordemar City. On the ramps that lead down into Tazz’Alaor (the big room with the purple lighting), one of the ramps leads up to her ledge.
To complete the quest, head down to Hordemar City at the bottom of Lower Blackrock Spire and look for a treasure box that is tucked into a corner. There are a few different places where it can spawn, so you may have to look around a bit. Loot it to get Bijou’s Belongings and bring them back to her. She’ll then give you the quest Bijou’s Reconnaissance Report, which you can turn in to Lexlort back at Kargath for Freewind Gloves or Seapost Girdle.
The Pack Mistress
- Shareable: Yes
- Level Required: 55
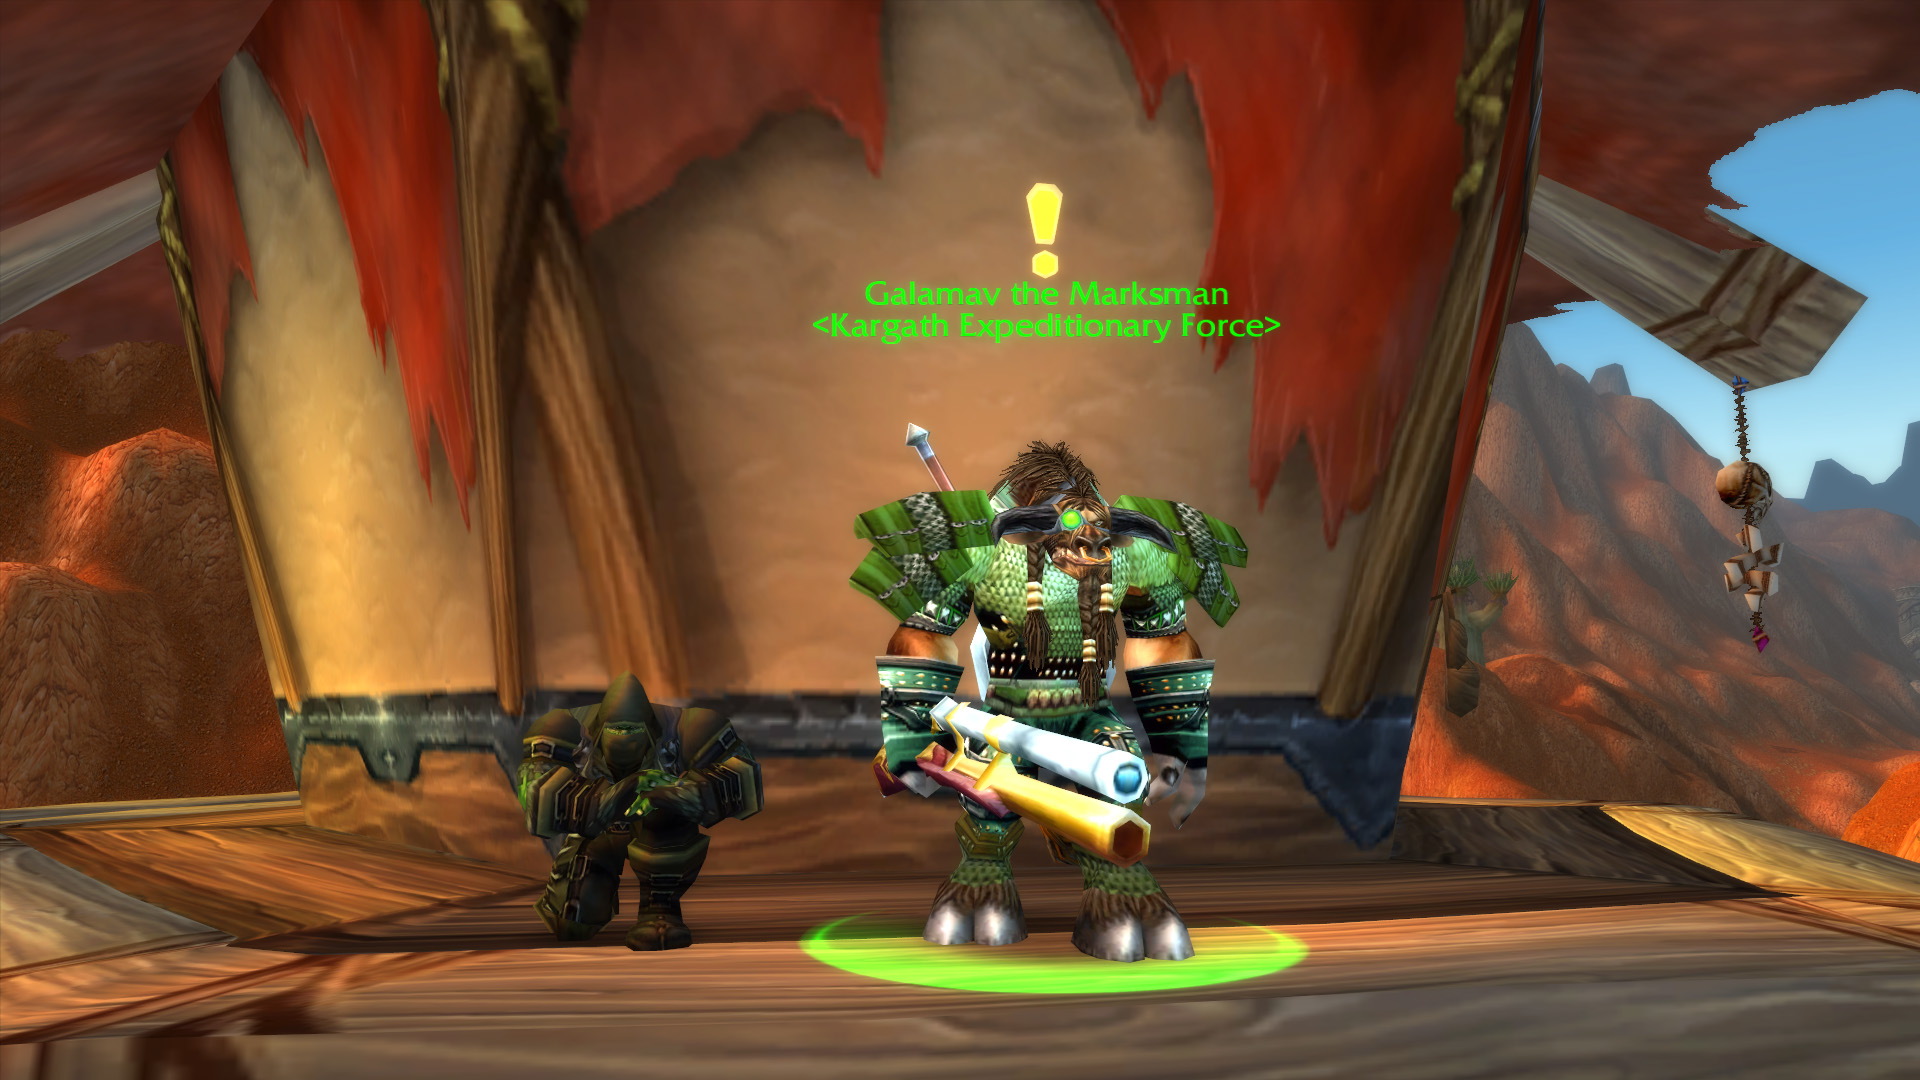
- Start: Galamav the Marksman at Kargath in Badlands
- Finish: Galamav the Marksman at Kargath in Badlands
- Objectives: Defeat Haylcon inside Lower Blackrock Spire
- Rewards:
- 6400 experience
- 1 gold 80 silver
- 100 reputation with Orgrimmar
- Pick one of:
This quest simply requires killing the wolf boss, Halycon, inside Lower Blackrock Spire.
Neutral Quests
Kibler’s Exotic Pets
- Shareable: No
- Level Required: 55
- Start: Kibler at Flame Crest in Burning Steppes
- Finish: Kibler at Flame Crest in Burning Steppes
- Objectives: Cage a Bloodaxe Worg Pup inside Lower Blackrock Spire
- Rewards:
- 6400 experience
- 90 silver
- Worg Carrier
Kibler is found inside the cave at Flame Crest in Burning Steppes, a location that only has a Horde flight master but where the other NPCs are neutral and offer quests to both factions. You can pick up the quest below from him at the same time.
You’ll find a group of Bloodaxe Worg Pups in Hordemar City and several of them in Halycon’s Lair. Target one of them and use the Empty Worg Pup Cage in your inventory to capture it. You don’t need to escort it through the instance or anything like that; just return the Caged Worg Pup to Kibler for your reward.
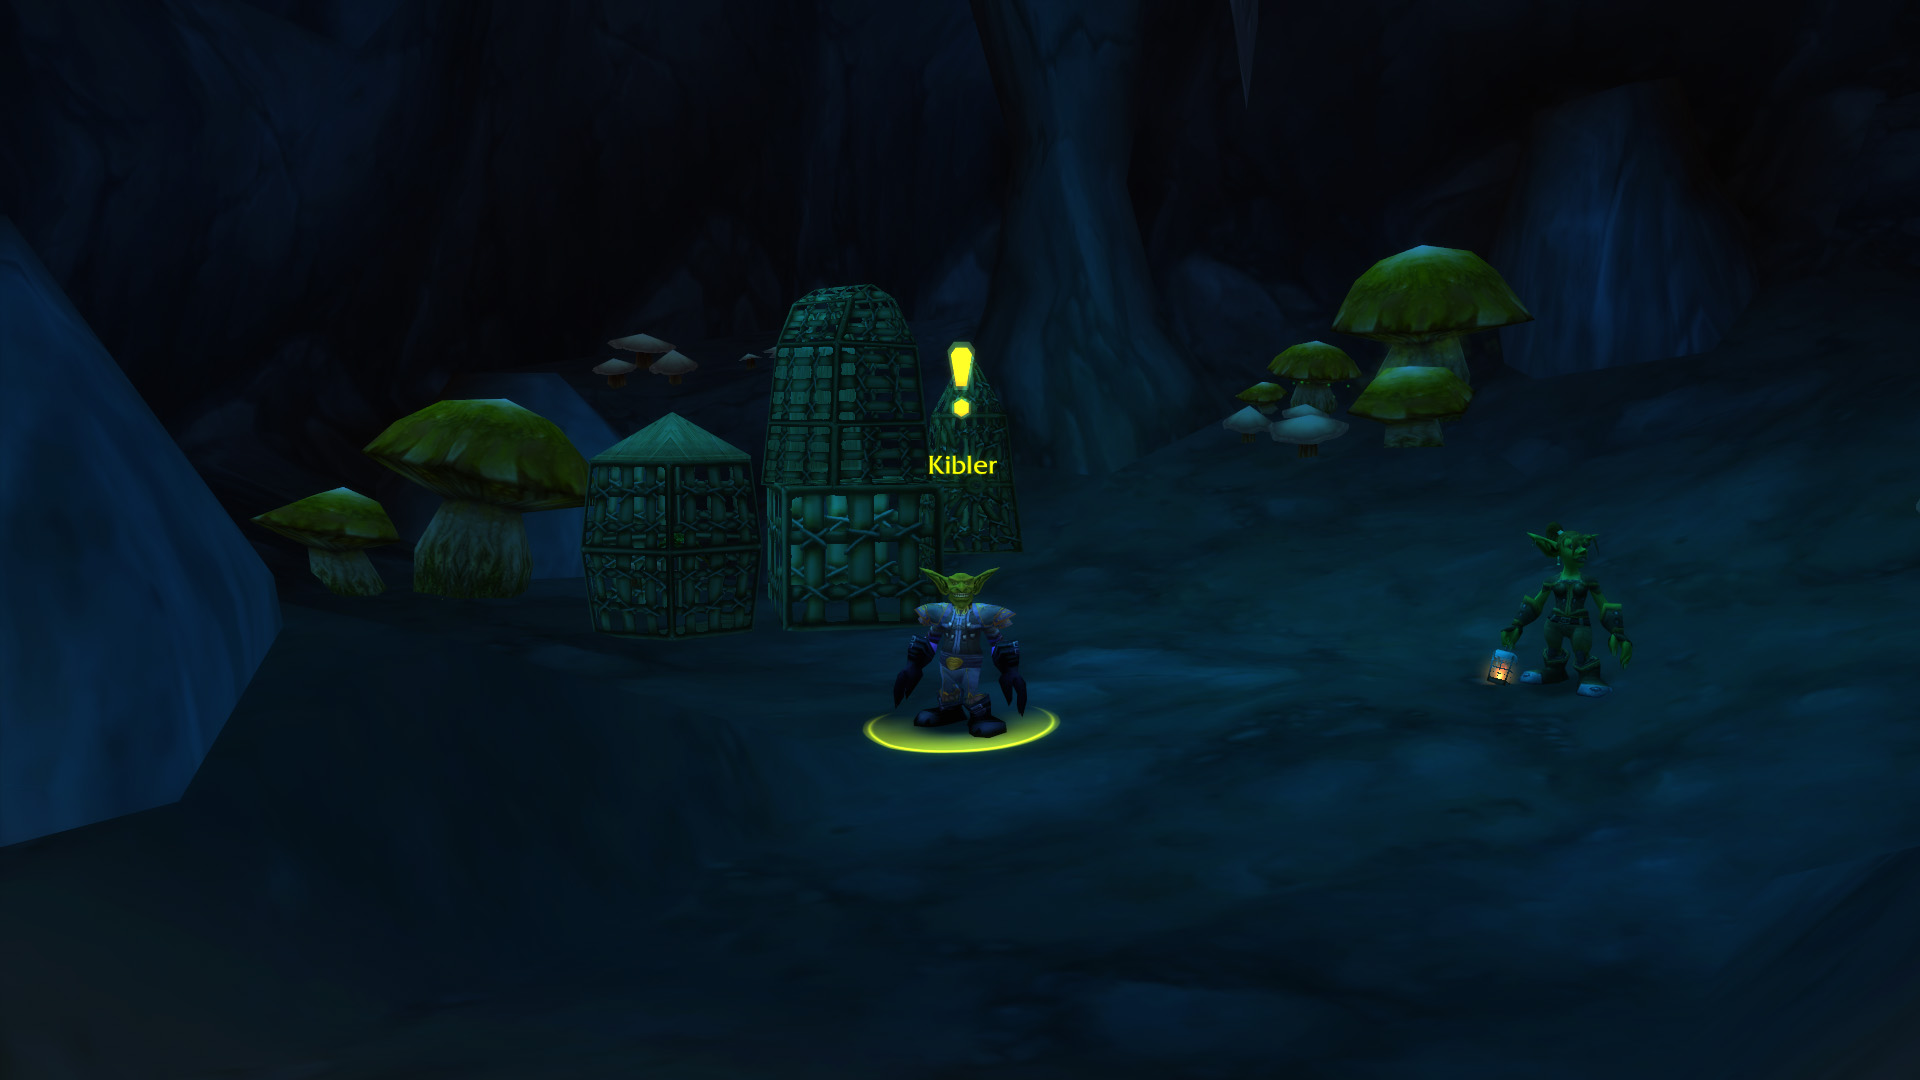
En-Ay-Es-Tee-Why
- Shareable: Yes
- Level Required: 55
- Start: Kibler at Flame Crest in Burning Steppes
- Finish: Kibler at Flame Crest in Burning Steppes
- Objectives: Collect 15 Spire Spider Eggs inside Lower Blackrock Spire
- Rewards:
- 6400 experience
- 90 silver
- Smolderweb Carrier
Kibler is found inside the cave at Flame Crest in Burning Steppes, a location that only has a Horde flight master but where the other NPCs are neutral and offer quests to both factions. You can pick up the quest above from him at the same time.
You’ll find Spire Spider Egg sacs throughout the Skitterweb Tunnels area of the dungeon. Loot them to collect Spire Spider Eggs. They should each give 1-3 eggs, so you won’t need to loot 15 sacs. Return to Kibler when you’re done for your reward.

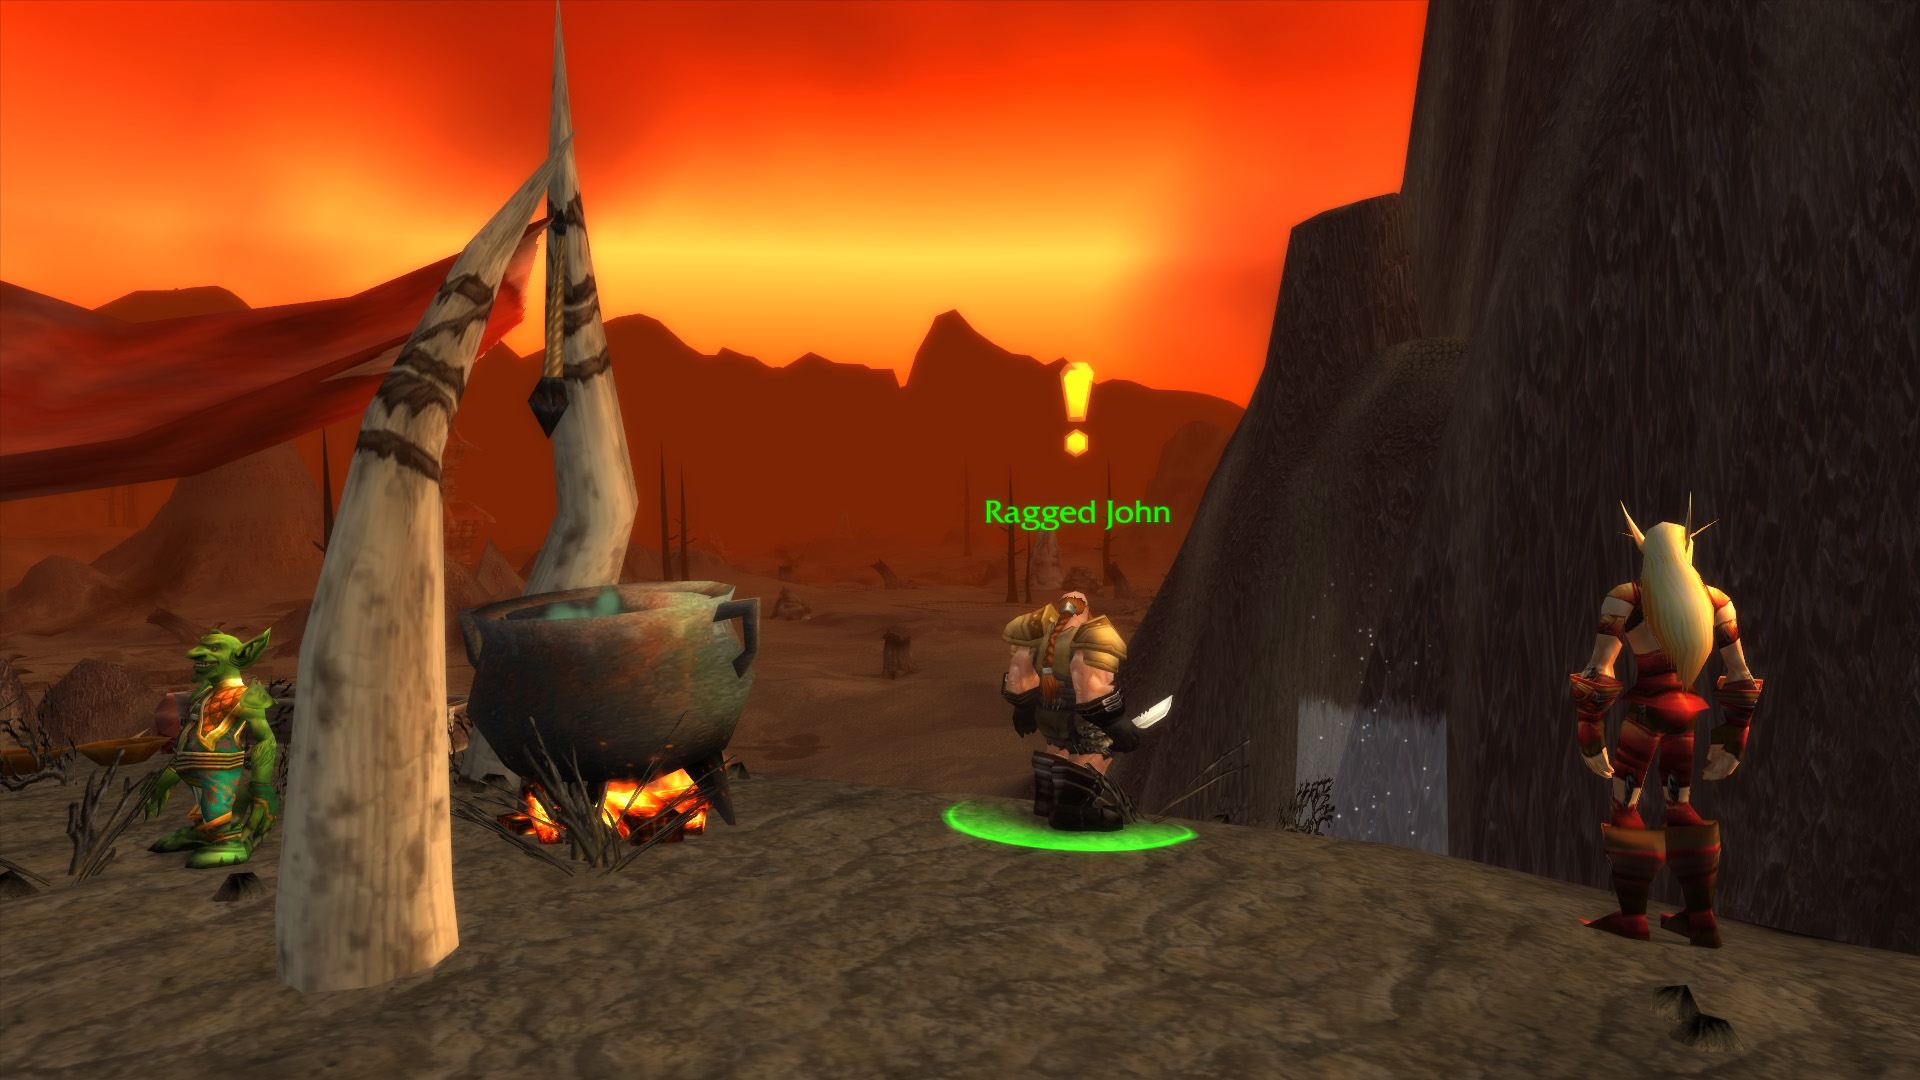
Mother’s Milk
- Shareable: Yes
- Level Required: 55
- Start: Ragged John at Flame Crest in Burning Steppes
- Finish: Ragged John at Flame Crest in Burning Steppes
- Objectives: Get poisoned by Mother Smolderweb inside Lower Blackrock Spire
- Rewards:
- 9950 experience
- 1 gold 80 silver
- Ragged John’s Neverending Cup
Ragged John is outside the cave at Flame Crest in Burning Steppes, a location that only has a Horde flight master but where the other NPCs are neutral and offer quests to both factions.
To complete the quest, head to the Skitterweb Tunnels inside Lower Blackrock Spire and fight Mother Smolderweb. Do not burn her down too quickly – you need to get her to poison you. When you have the Mother’s Milk debuff, you can kill the boss. Be sure that neither you nor your party members dispel this poison effect. You need to have the debuff when you return to Ragged John. It’s not a fun debuff to have in the dungeon, unfortunately, since it randomly immobilizes you.
Head back to Ragged John at Flame Crest and use the dialogue option to get him to milk you. Then you’ll be able to turn in the quest.
Urok Doomhowl
- Shareable: No
- Level Required: 55
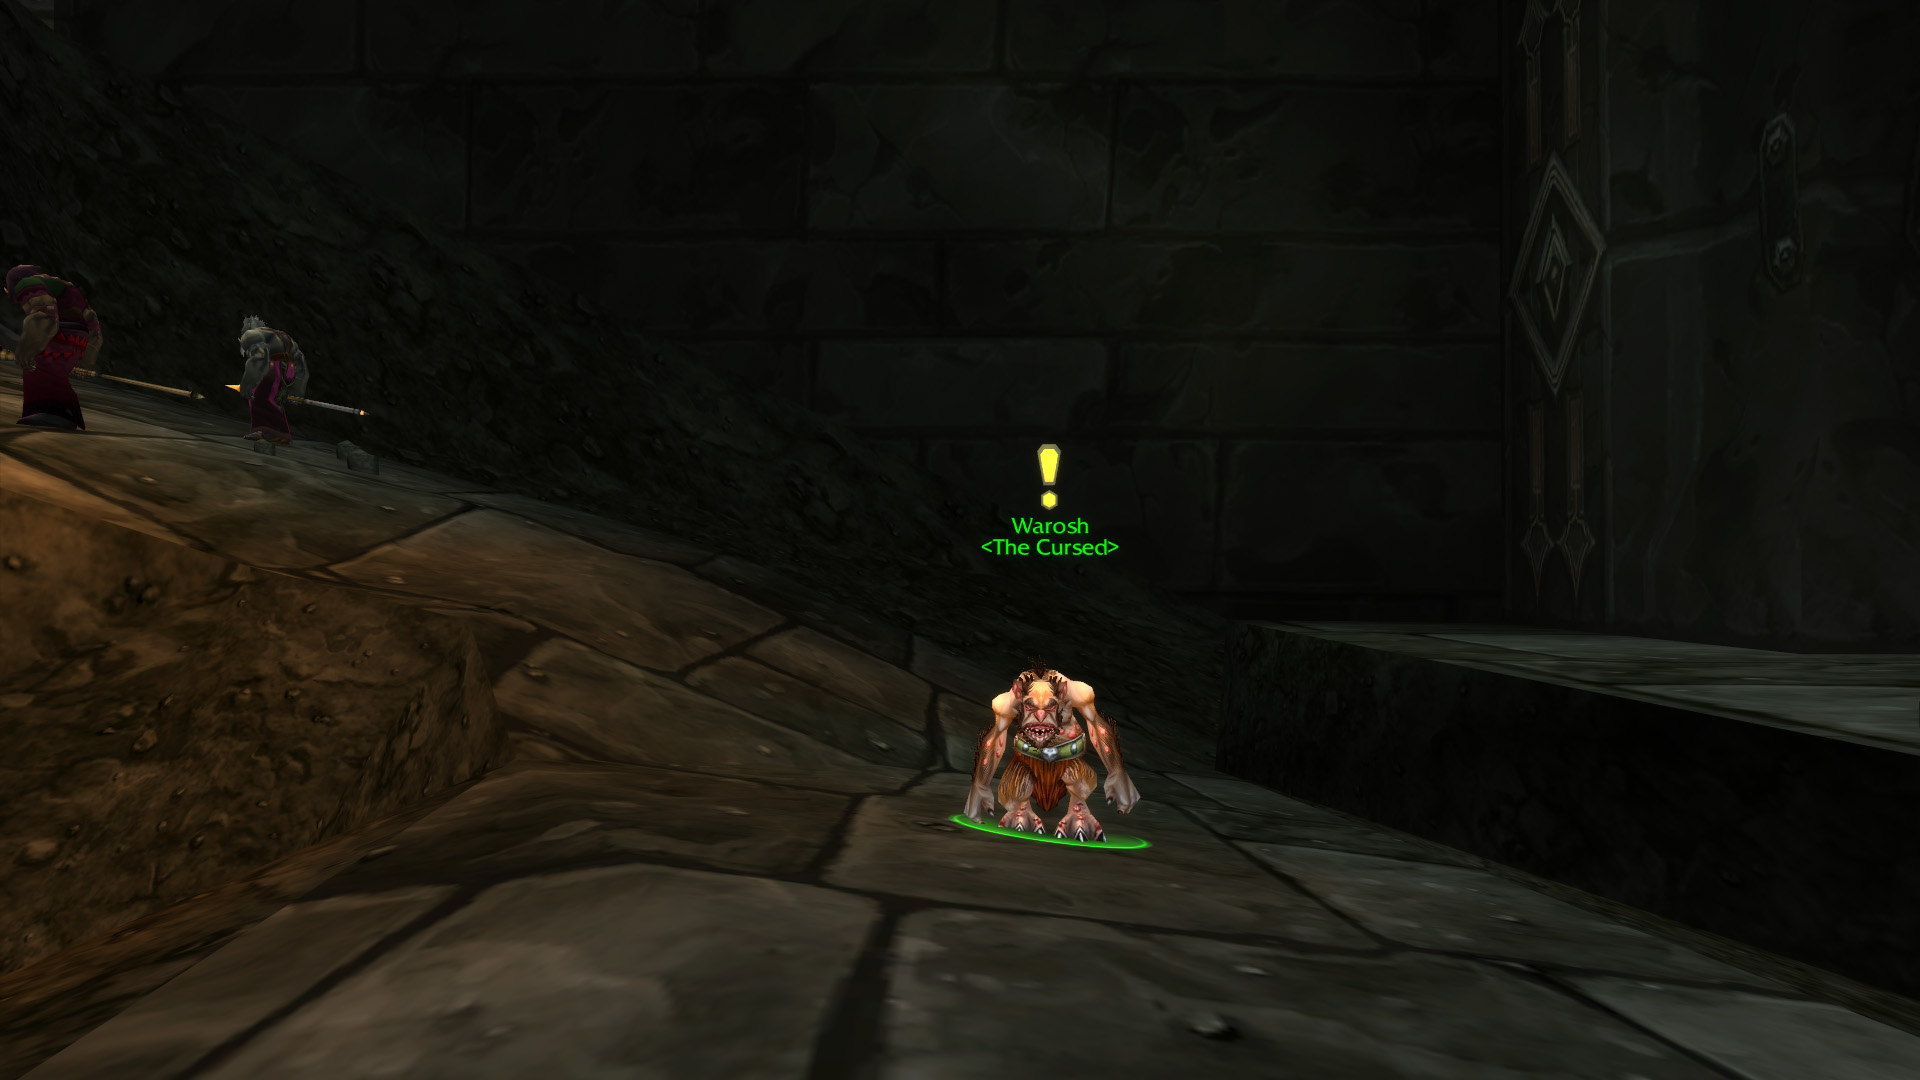
- Start: Warosh inside Lower Blackrock Spire
- Finish: Warosh inside Lower Blackrock Spire
- Objectives: Obtain Warosh’s Mojo from Urok Doomhowl inside Lower Blackrock Spire
- Rewards:
- 9950 experience
- 9 silver 80 copper
- Prismcharm
Warosh, who offers this quest, is found wandering around the first part of Hordemar City when you enter the dungeon. This quest requires a couple of steps that may not be immediately obvious.
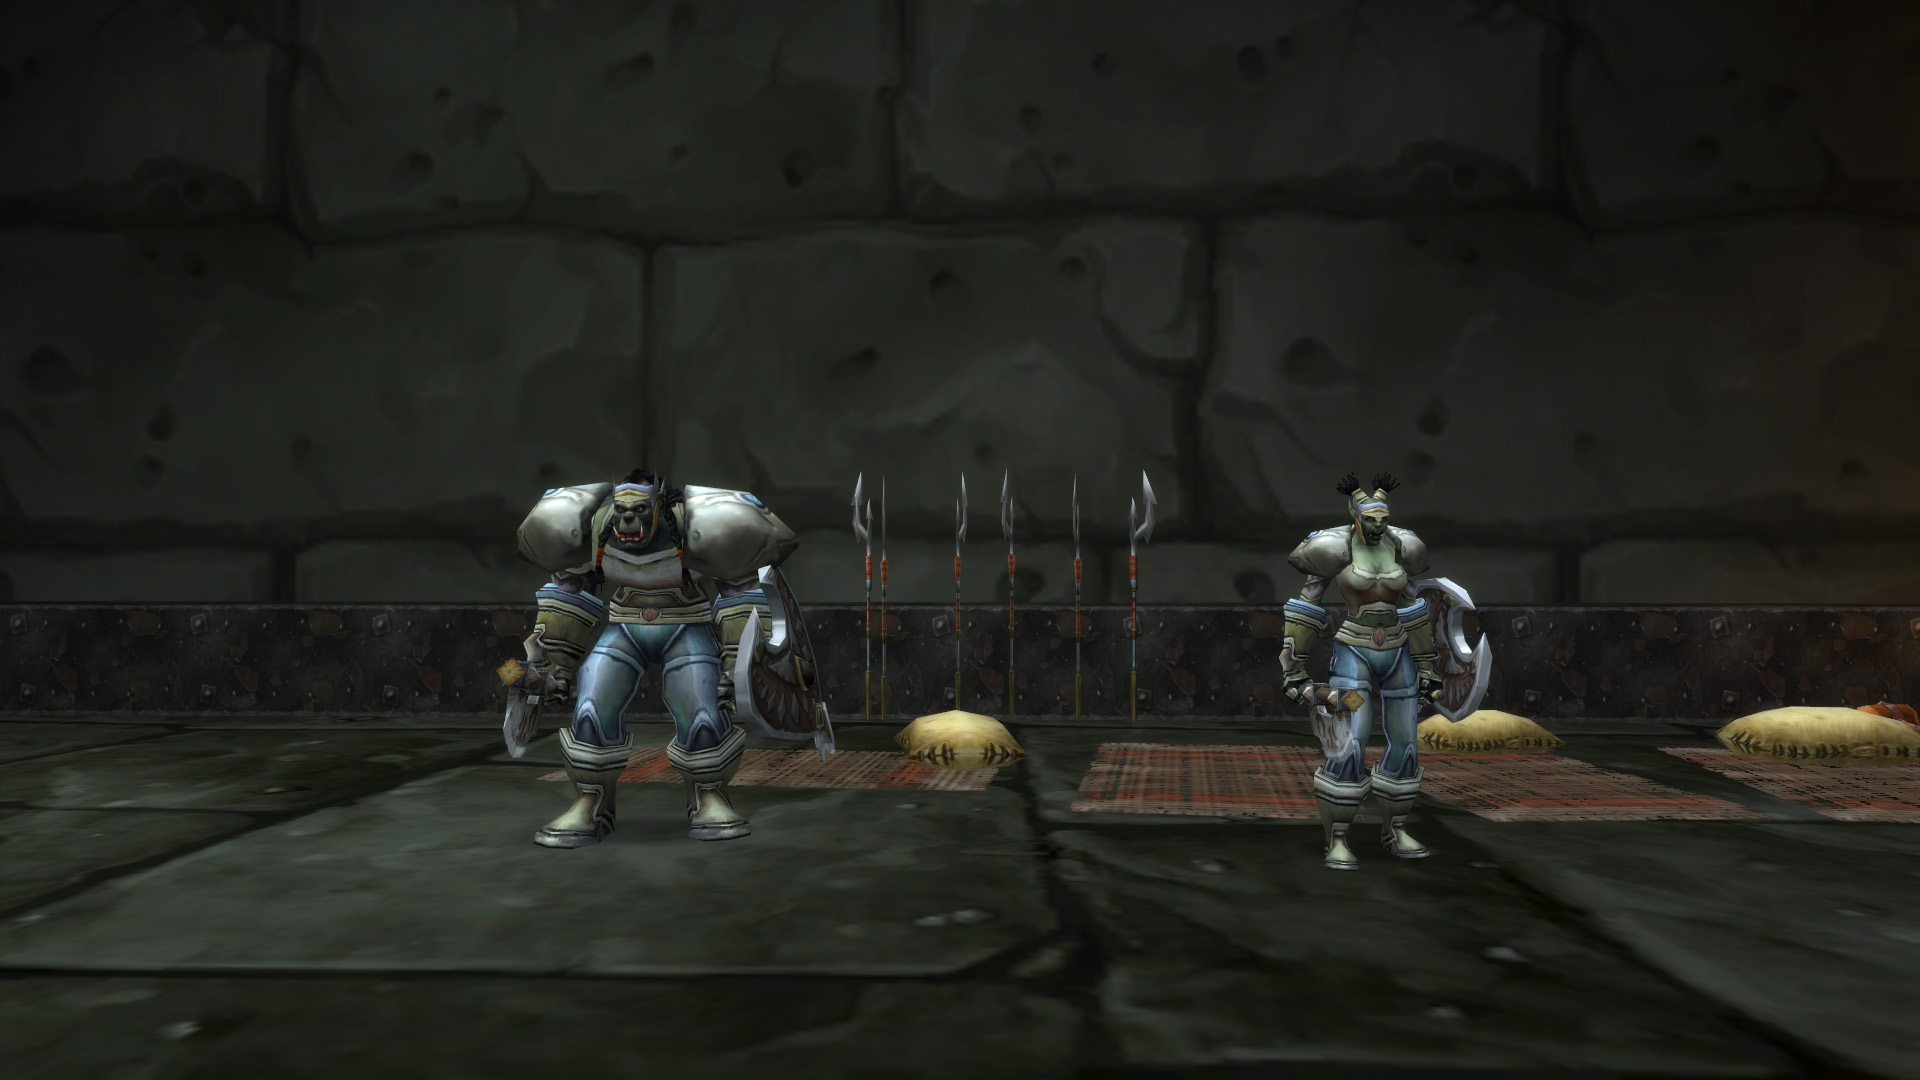
First, if you do not have a Roughshod Pike in your inventory, continue through the room and cross the bridge and you’ll find some leaning against the wall behind some Scarshield orcs. You need to have one on you. Next, continue into the ogre area and defeat Highlord Omokk to loot Omokk’s Head.
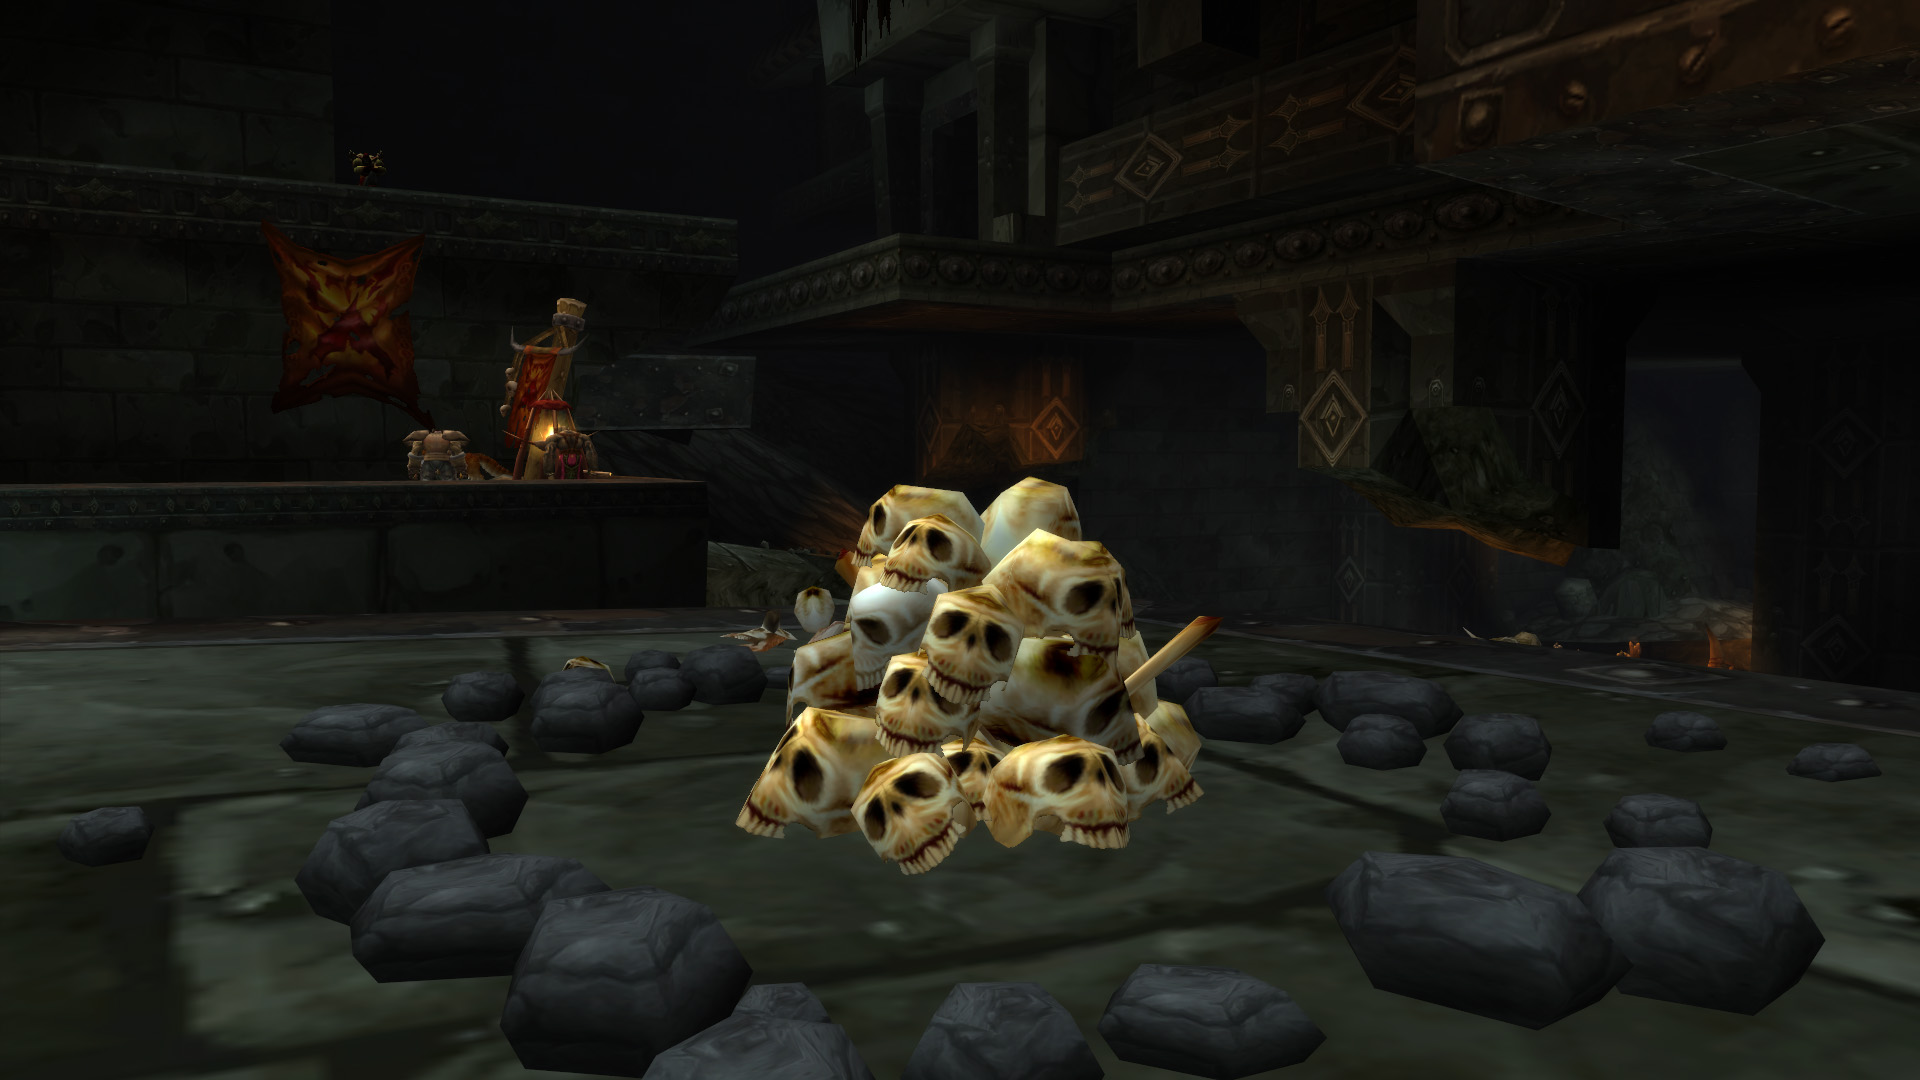
Carry on through the dungeon and pass through the Skitterweb Tunnels to ascend the ramp on the other side. On the corner of the landing you’ll find a pile of skulls called Urok’s Tribute Pile behind a couple of Spirestone orcs. Stand beside the pile and right-click Omokk’s Head in your inventory. This will trigger a few waves of ogres to attack, after which Urok Doomhowl will appear. Defeat him to loot Warosh’s Mojo and return it to Warosh to complete the quest.
Seal of Ascension
- Shareable: No
- Level Required: 55
- Start: Vaelan inside Lower Blackrock Spire
- Finish: Vaelan inside Lower Blackrock Spire
- Objectives: Obtain four items from inside Lower Blackrock Spire
- Rewards:
- 8300 experience
- 4 gold 98 silver
- the next quest in this chain awards Seal of Ascension
This short quest chain is required to obtain the Seal of Ascension, which is needed to open the door to the Upper Blackrock Spire portion of the instance.
Before you can start the quest, you will need to loot an Unadorned Seal of Ascension, which has a chance of dropping from most of the mobs in the dungeon. It should not take you long to find one.
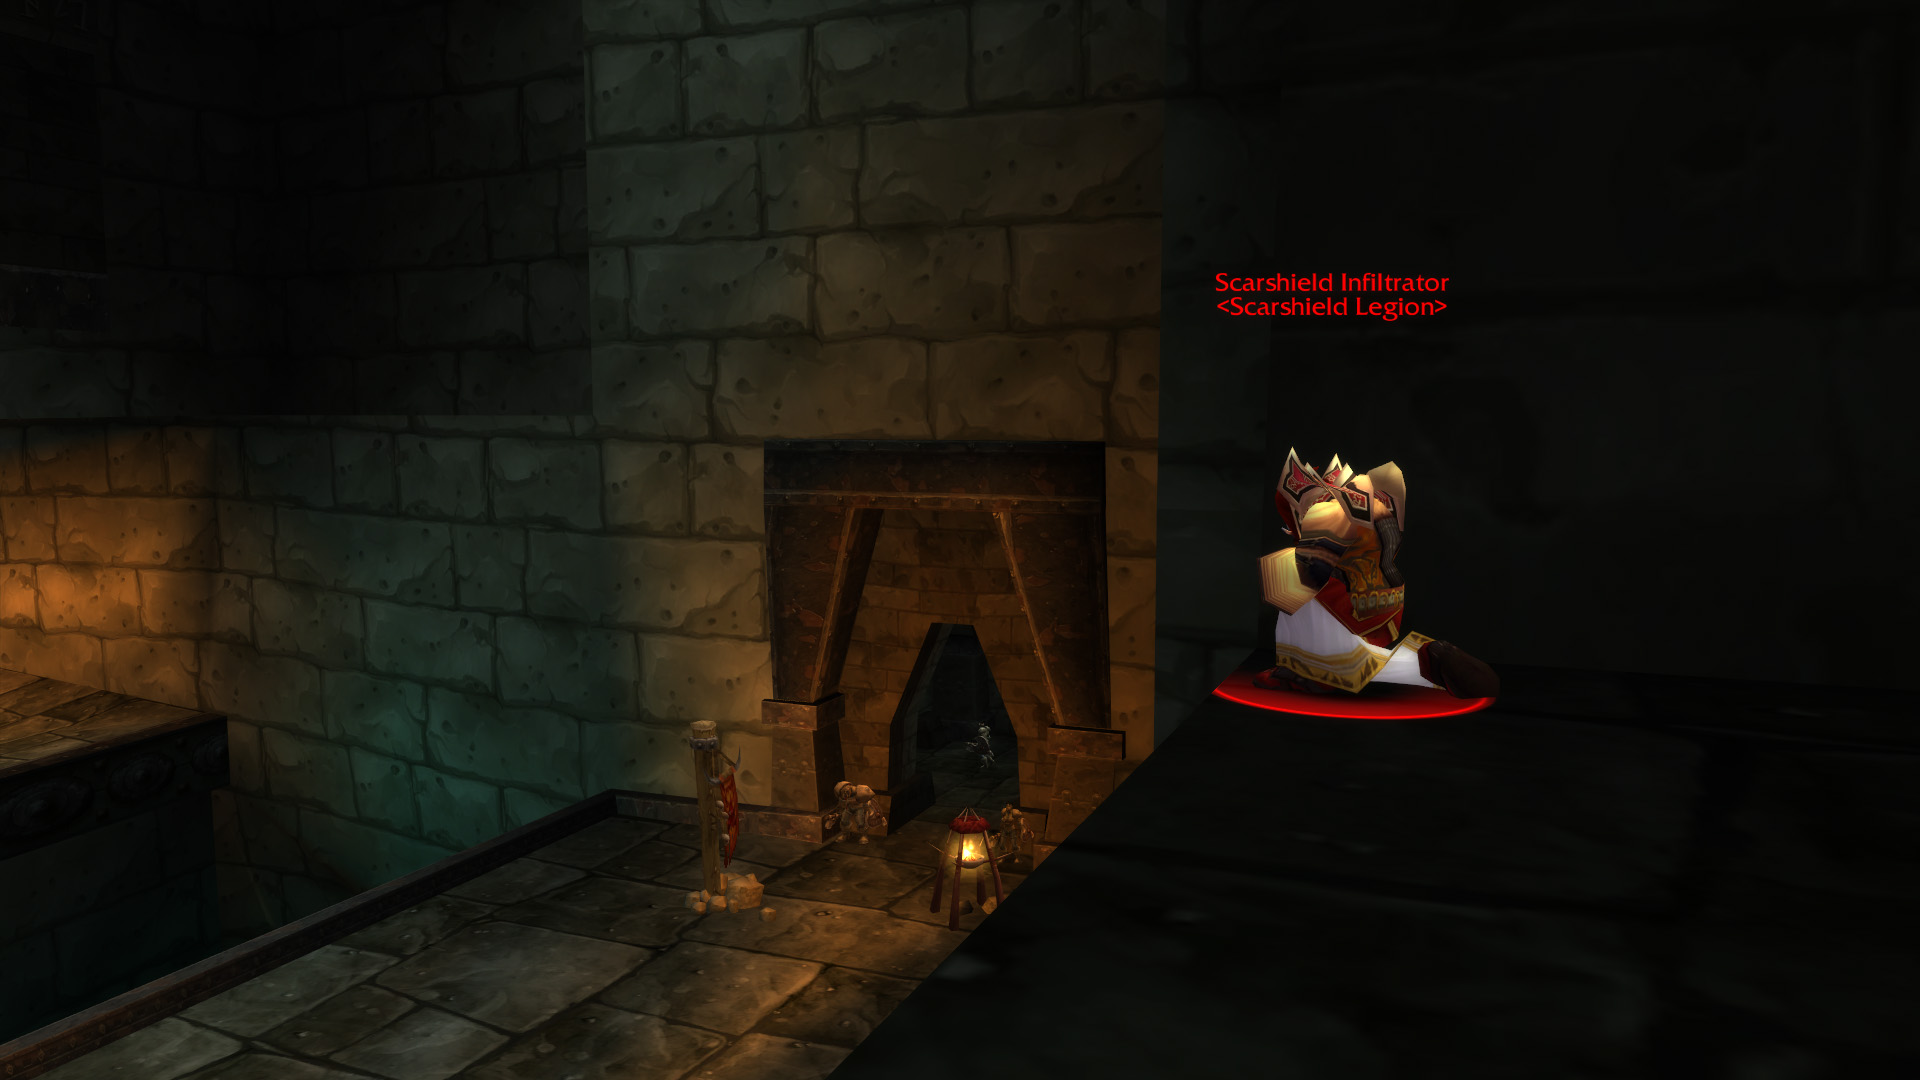
To find the quest giver, pass through the door from the dungeon entrance into Hordemar City. You’ll see a ramp on the left that is formed by the rubble along the wall. Climb this ramp to find a Scarshield Infiltrator on the ledge overlooking the door you just passed through. He’s hostile, but when you approach he’ll use a spell on you (Mind Probe) and transform into Vaelan, who is friendly. If you have the Unadorned Seal of Ascension in your bags, you will be able to talk to him, and then he’ll cast another spell and offer this quest.
To complete the seal, you need defeat 3 bosses inside the dungeon to loot 3 gems from them. Note that these are the same 3 bosses that are required for another quest for each faction:
- War Master Voone for Gemstone of Smolderthorn
- Highlord Omokk for Gemstone of Spirestone
- Overlord Wyrmthalak for Gemstone of Bloodaxe
Return to Vaelan with these items and he’ll give you the next quest, also called Seal of Ascension, which requires defeating Emberstrife in Dustwallow Marsh and will allow you to open the door to Upper Blackrock Spire.
The Final Tablets
- Shareable: No
- Level Required: 40
- Start: Prospector Ironboot at Steamwheedle Port in Tanaris
- Finish: Prospector Ironboot at Steamwheedle Port in Tanaris
- Objectives: Obtain the Fifth Mosh’aru Tablet and Sixth Mosh’aru Tablet inside Lower Blackrock Spire.
- Rewards:
- 7750 experience
followup quest awards one of: Faded Hakkari Cloak, Tattered Hakkari Cape
- 7750 experience
This quest requires a chain that starts with Screecher Spirits, offered by Yeh’kinya at Steamwheedle Port in Tanaris. You’ll need to complete part of the chain inside the Zul’Farrak dungeon. Those quests are covered in our Zul’Farrak Dungeon Guide.
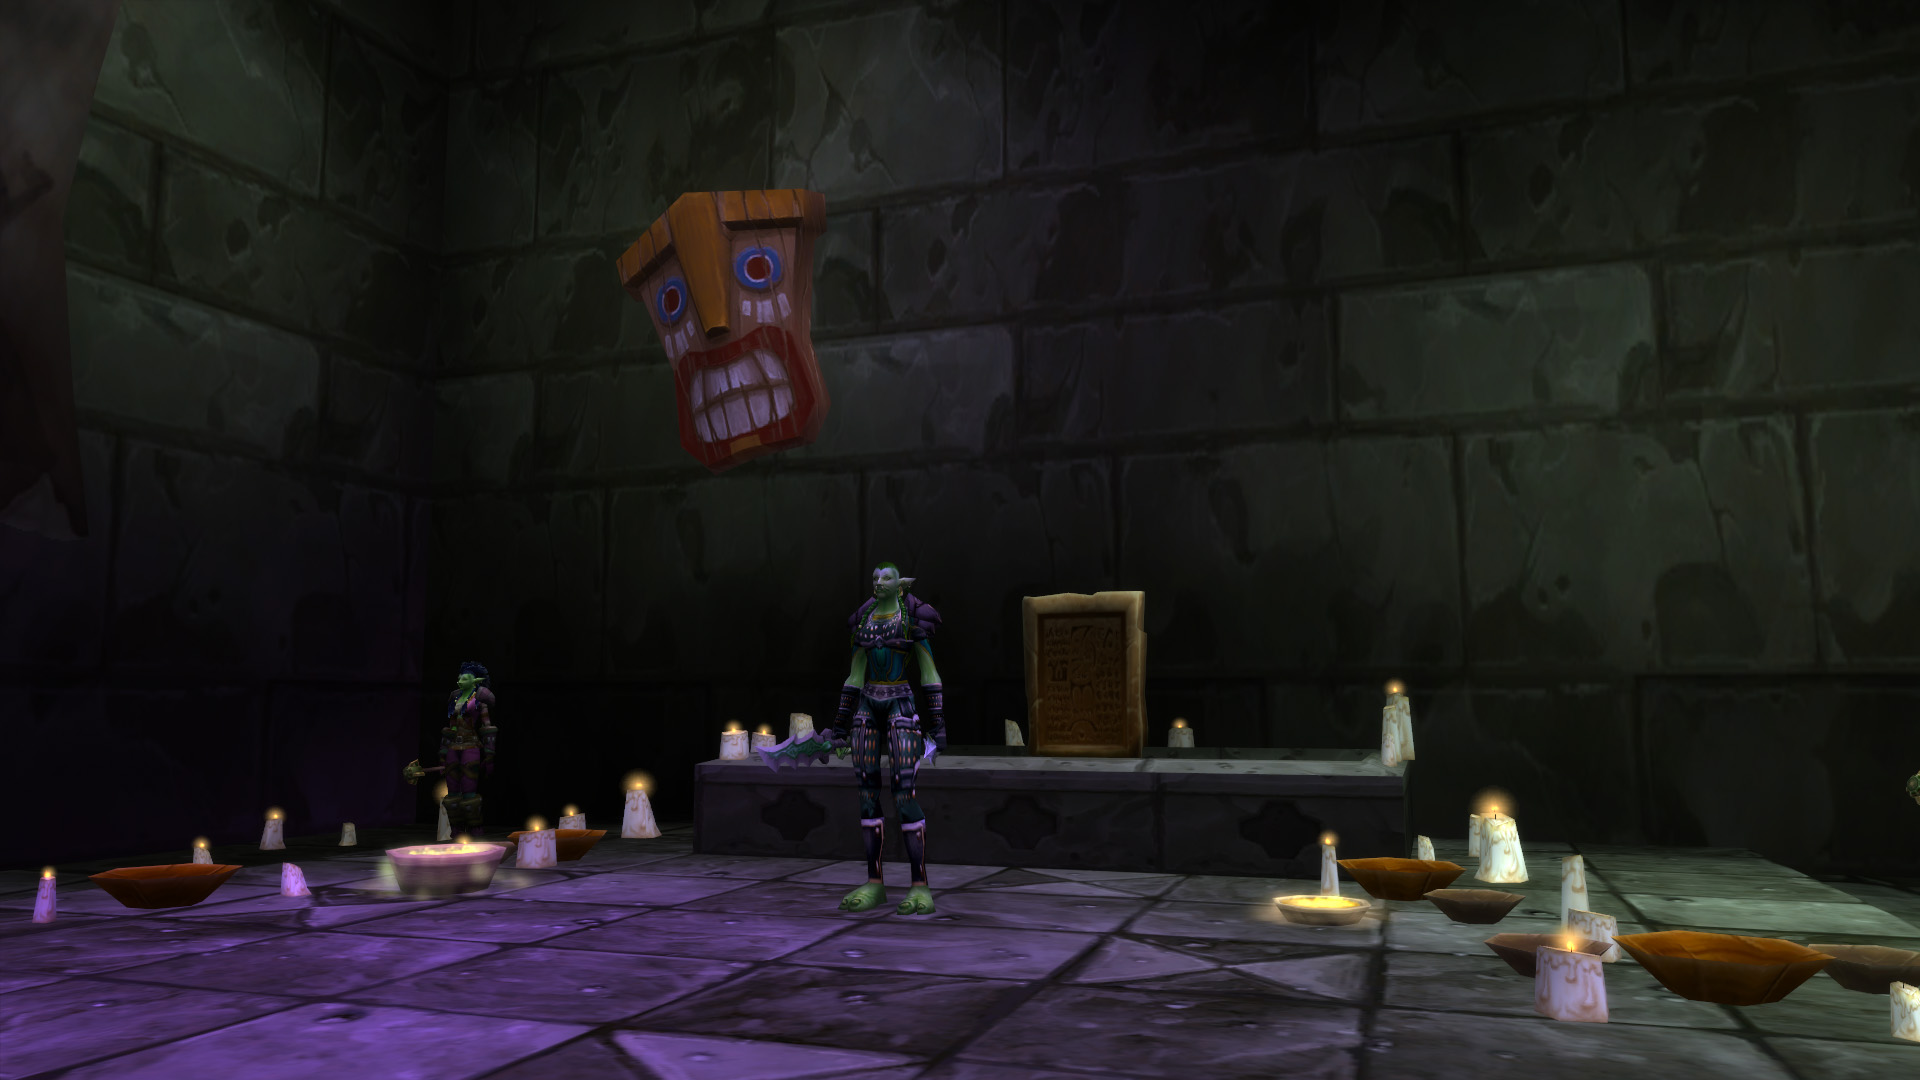
The two tablets you need to collect inside Lower Blackrock Spire are the Fifth Mosh’aru Tablet, which is on the altar behind Shadow Hunter Vosh’gajin, and the Sixth Mosh’aru Tablet, which is on the wall behind War Master Voone.
Bosses
There are 17 bosses in Lower Blackrock Spire, including 7 Rare bosses and one boss that is summoned during a quest.
- Burning Felguard (Rare)
- Spirestone Butcher (Rare)
- Spirestone Battle Lord (Rare)
- Spirestone Lord Magus (Rare)
- Highlord Omokk
- Shadow Hunter Vosh’gajin
- War Master Voone
- Mor Grayhoof (Quest)
- Bannok Grimaxe (Rare)
- Mother Smolderweb
- Crystal Fang (Rare)
- Urok Doomhowl
- Quartermaster Zigris
- Halycon
- Gizrul the Slavener
- Ghok Bashguud (Rare)
- Overlord Wyrmthalak
Burning Felguard (Rare)
Burning Felguards are rare mobs encountered while Scarshield Warlocks are summoning minions through their portals. Typically Imps will come out, but occasionally a rare Felguard will appear instead.
Strategy
- Tank: Pick up this rare add and tank it as you would any other melee NPC.
- Healer: Maintain healing on the tank and keep an eye on other raid members who are taking damage.
- Damage Dealers: These are tank and spank mobs.
Loot
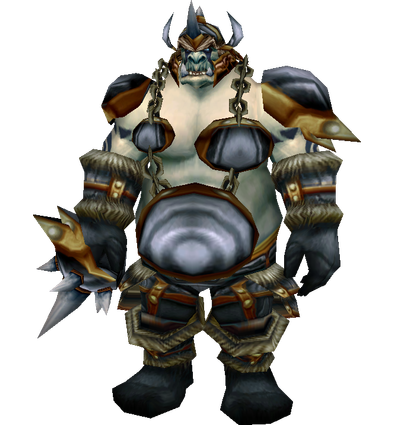
Spirestone Butcher (Rare)
Spirestone Butcher is a rare spawn in the hallway where Highlord Omokk resides. The Butcher is a level 57 elite, who spawns as a part of the group of mobs before Highlord Omokk. The rare ogre should be handled first before focusing on the other members of the pack.
Strategy
- Tank: This rare mob is a tank and spank. Initiate and maintain threat while your DPS focus him down.
- Healer: Focus on healing the tank as this ogre hits harder than the regular mobs.
- Damage Dealers: This rare mob is a tank and spank. Try to CC the other mobs in the group and make Spirestone Butcher your primary target.
Loot
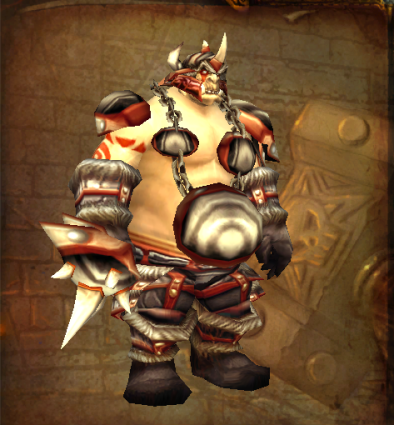
Spirestone Battle Lord (Rare)
Spirestone Battle Lord is a rare spawn who will replace another melee mob in a group before High Lord Omokk’s room. Try to CC the casters in their group and focus down the Battle Lord.
Strategy
- Tank: This rare mob is a tank and spank. Initiate and maintain threat while your DPS focus him down.
- Healer: Focus on healing the tank as this ogre hits harder than regular mobs.
- Damage Dealers: This rare mob is a tank and spank. Try to CC the other mobs in the group and make Spirestone Battle Lord your primary target.
Loot
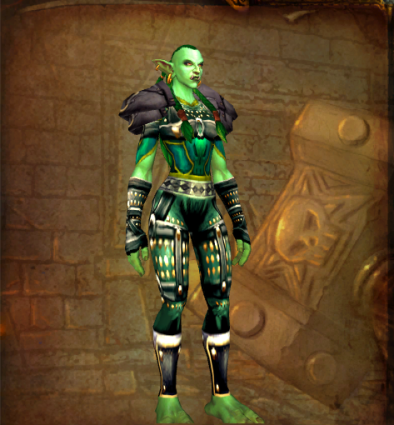
Spirestone Lord Magus (Rare)
Spirestone Lord Magus is a rare spawn in Lower Blackrock Spire, who replaces one of the typical mobs who would spawn before Omokk.

Strategy
- Tank: Maintain threat while your DPS maximize their output on the Magus. If you are a Paladin, be ready to dispel your party members from Polymorph.
- Healer: Focus on healing your tank, as no one else should be taking damage. Dispel Polymorph from your party members.
- Damage Dealers: Focus damage output on the rare mob while interrupting casts whenever possible. Dispel Polymorph from your party members.
Loot
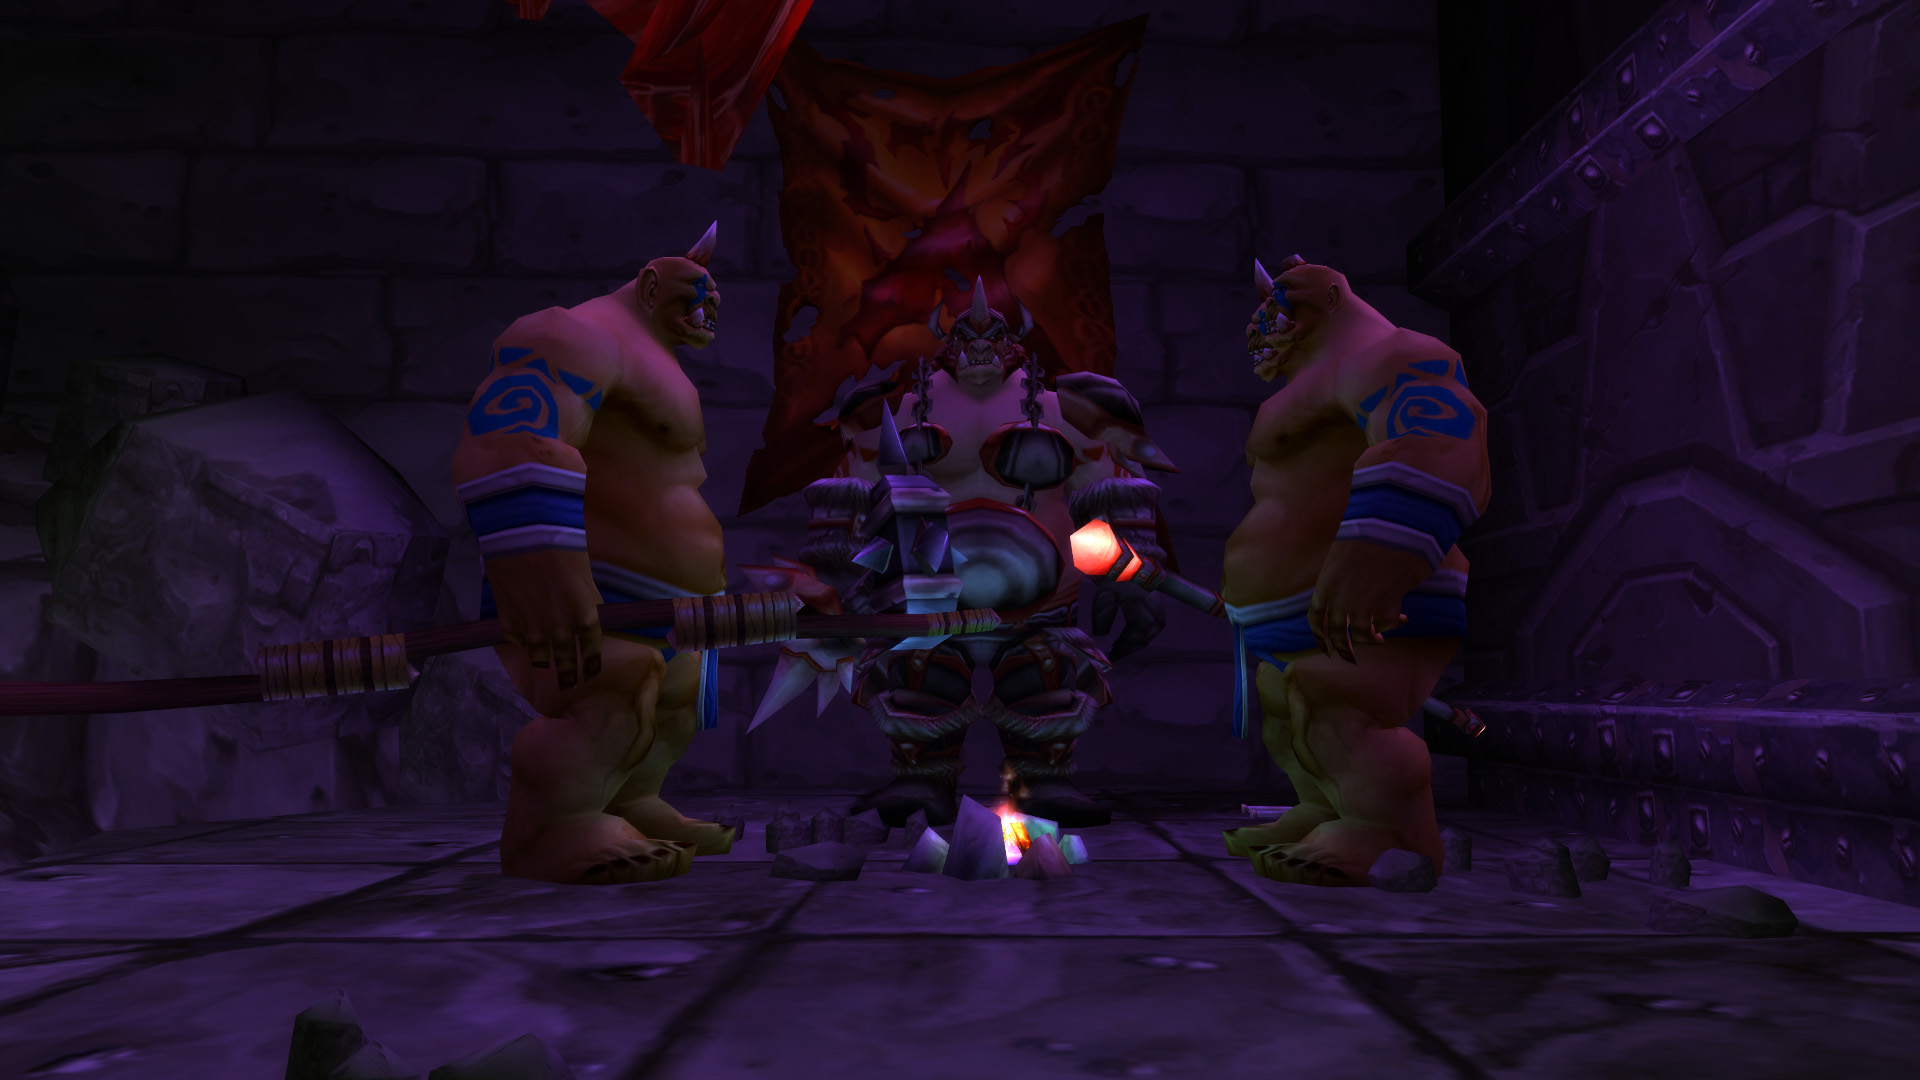
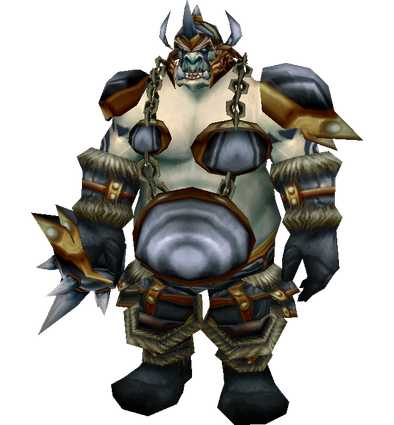
Highlord Omokk
Highlord Omokk is the first boss in Lower Blackrock Spire, and is a level 59 elite. The boss is joined by two adds. Opt for using CC on one or both of the adds, then focusing the non-CC’d add then Omokk or focusing Omokk before breaking either CC.
Strategy
- Tank: Position the boss against a wall away from the group so that you are not tossed around by Knock Away. Establish threat on the boss and the non-CC’d add (if there is one). Allow your DPS to burn down the non-CC’d add, then Omokk.
- Healer: Omokk can hit pretty hard, especially if his Enrage is up. Keep close attention to your tank’s health.
- Damage Dealers: This fight will be easier if you can CC both or at least one of the adds. Allow your tank to establish threat on Omokk (and the non-CC’d add if there is one). Focus down either the free add if there is one or Omokk first, then handle the remaining adds. Stay away from the front of the boss to avoid Knock Away.
Loot
- Boots of Elements
- Fist of Omokk
- Gemstone of Spirestone
- Plate of the Shaman King
- Skyshroud Leggings
- Slamshot Shoulders
- Tressermane Leggings
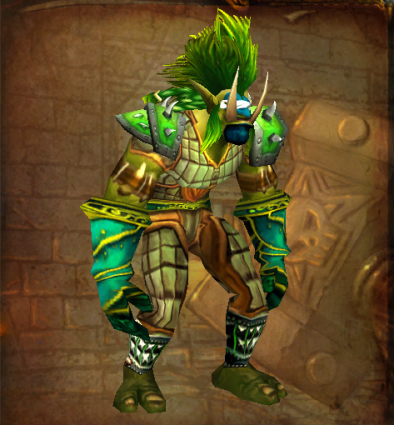
Shadow Hunter Vosh’gajin
Shadow Hunter Vosh’gajin is a level 59 elite Troll joined by two of the instance’s Smolderthorn Shadow Priests. Try to CC both adds and focus down the boss. If only one CC is available, focus down the other add first then move on to the boss.
Strategy
- Tank: Pull Vosh’gajin away from the group while your DPS utilize CC and burn down one of the adds. Allow DPS to damage the boss until CC breaks, then prioritize the other add over the boss.
- Healer: Healing this fight will be harder if only one CC is available. Be aware of who is affected by Hex. Decurse the Curse of Blood whenever possible.
- Damage Dealers: Use your CC abilities to render the adds useless. If only one CC is available, focus down the other add first before moving on to Shadow Hunter Vosh’gajin. Mages and Druids need to decurse the Curse of Blood. Hex can affect multiple party members at a time.
Loot
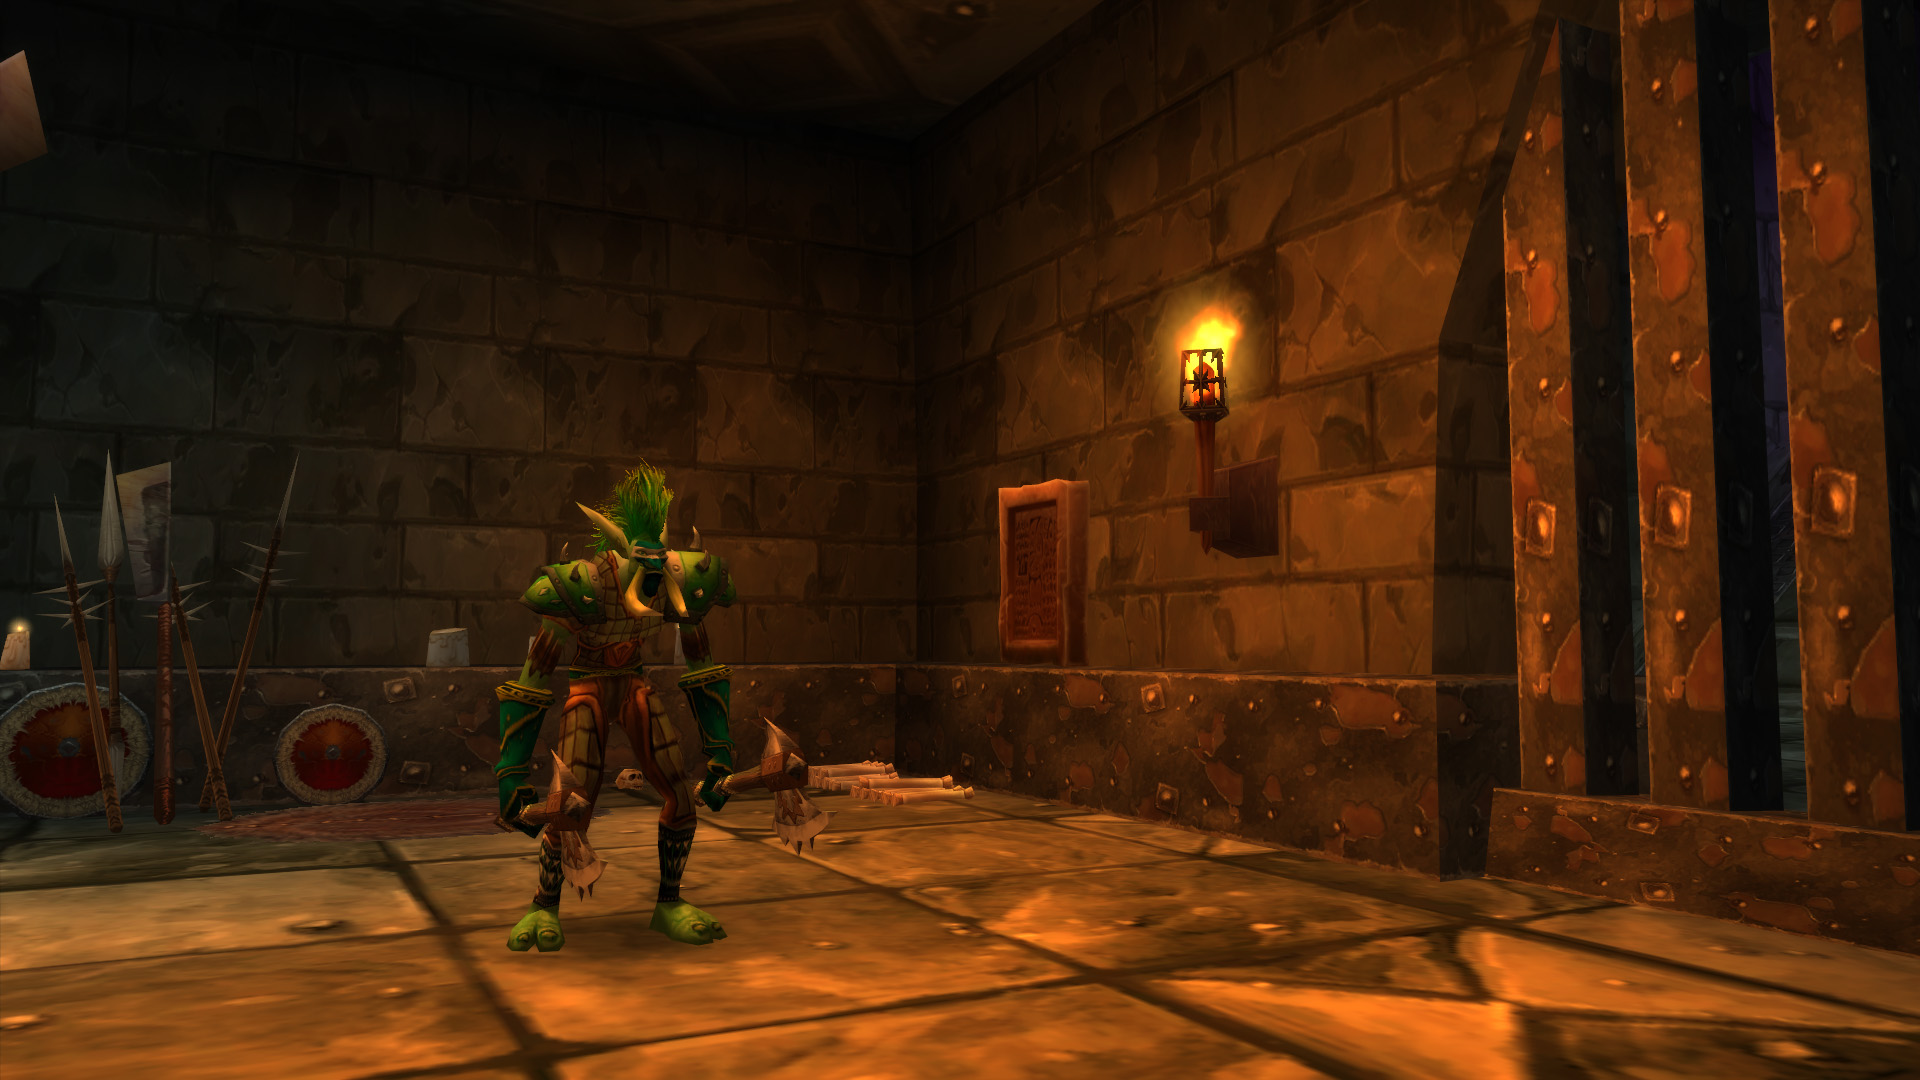
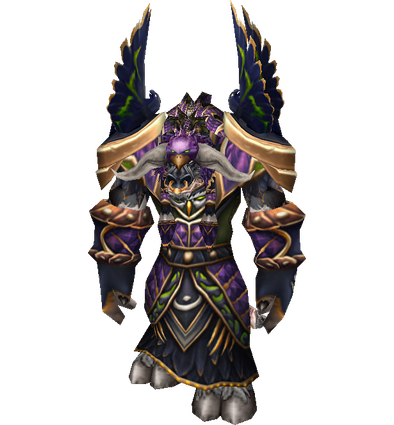
War Master Voone
War Master Voone is a level 59 Elite Troll. The boss is located at the end of the long hallway full of trolls, down the large ramp from Vosh’gajin. The boss has no adds, but hits incredibly hard.
Strategy
- Tank: Pull War Master Voone away from the group and put your back to a wall to avoid your Melee DPS being hit by Cleave. Be ready to use defensive cooldowns as necessary as Voone hits pretty hard.
- Healer: Voone hits pretty hard. Be on top of making sure that the tank is topped off at all times.
- Damage Dealers: Allow for the Tank to initiate and maintain threat on the boss. If you pull the boss off the Tank, you will probably not survive here. Do not stand in front the boss as you will take significant damage from Cleave.
Loot
- Beaststalker’s Gloves
- Brazecore Armguards
- Gemstone of Smolderthorn
- Kayser’s Boots of Precision
- Keris of Zel’Serak
- Talisman of Evasion
- Voone’s Twitchbow
Mor Grayhoof (Quest)
Mor Grayhoof can be summoned in Voone’s room if someone in the group is on (or has completed) the Tier 0.5 quest, by using the Brazier of Beckoning.
Strategy
- Tank: Tank the boss in the middle of the room. Avoid standing in Hurricane. Warriors, try and use Shield Slam to purge his Rejuvenation. When the boss shape-shifts, be sure you maintain the primary threat position.
- Healer: If possible, purge Rejuvenation off of the boss. Do not stand in Hurricane.
- Damage Dealers: Do not stand in the boss’ Hurricane and interrupt Healing Touch. If possible, purge Rejuvenation. While in Faerie Dragon form, the boss has Reflection. Mor can also transform into Cat form, dealing melee damage instead.
Loot
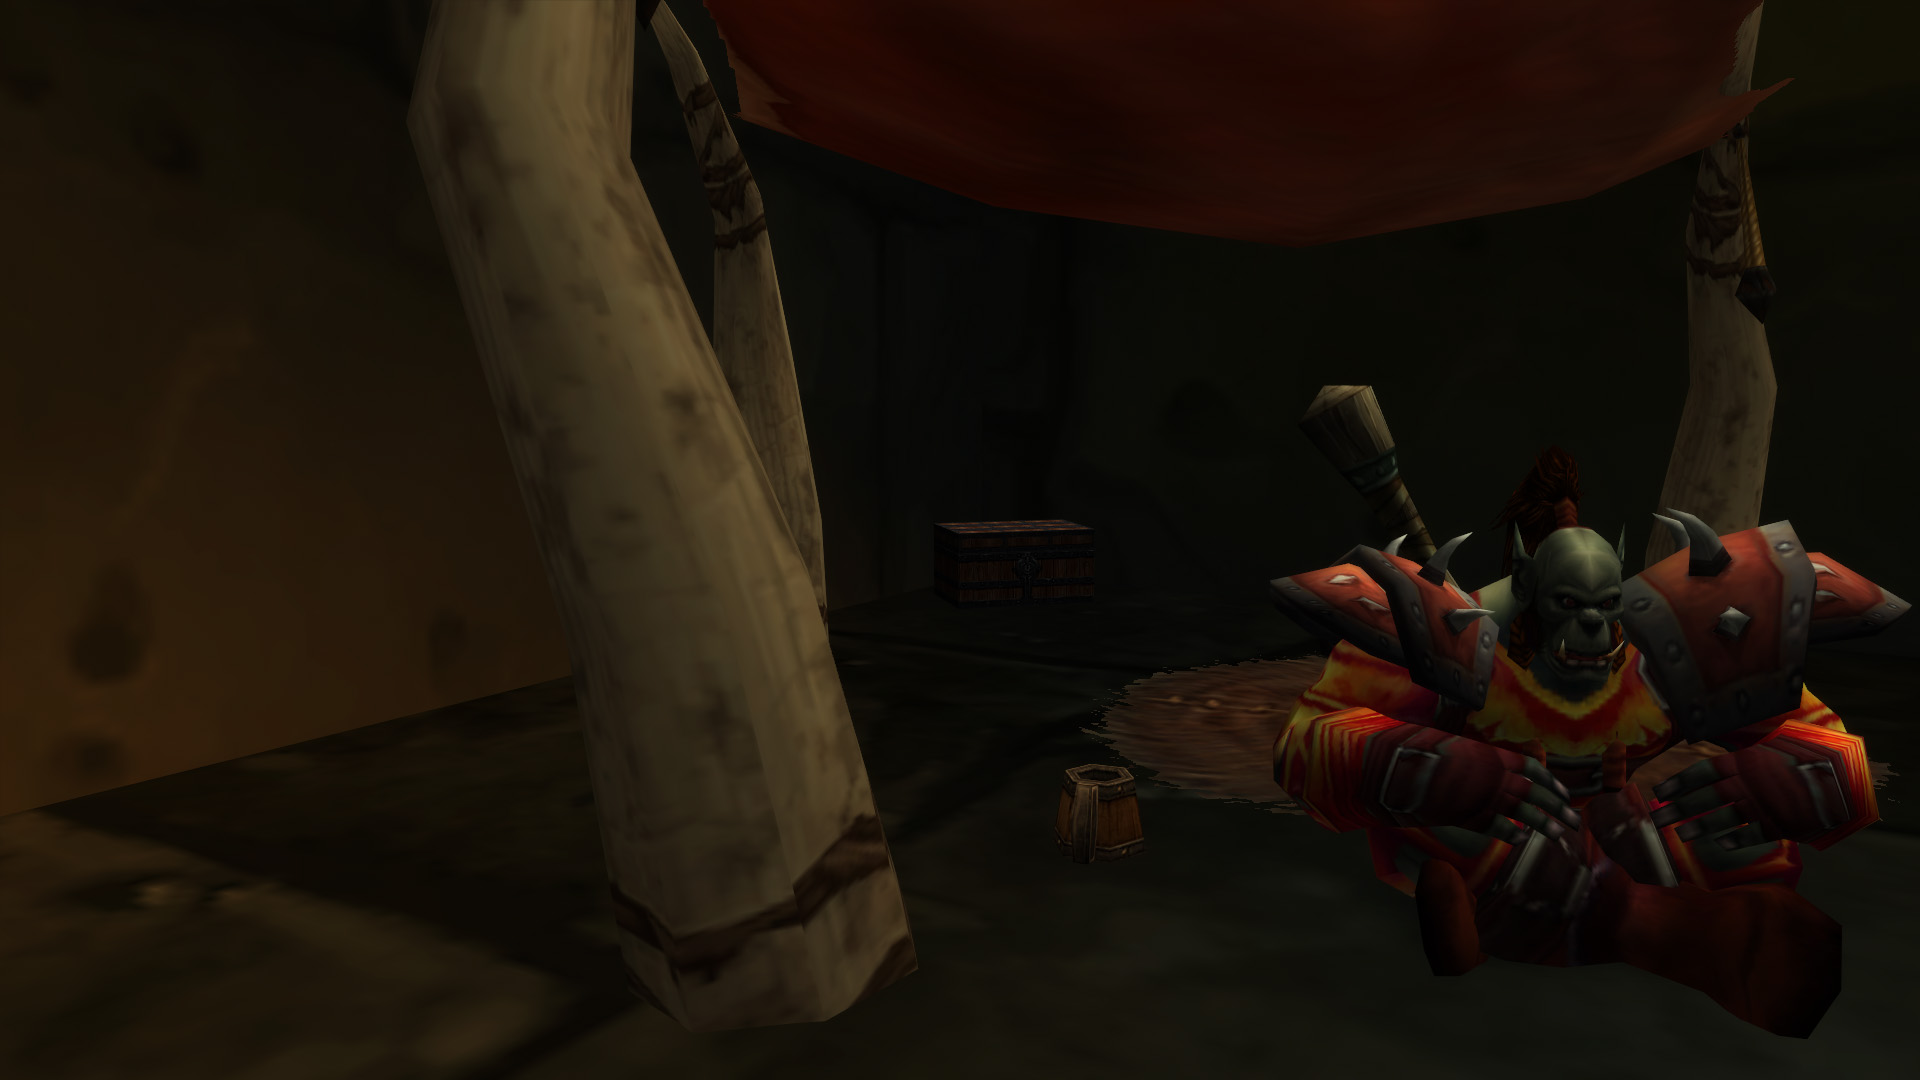
Bannok Grimaxe (Rare)
Bannok Grimaxe is a rare spawn who appears in the room before Mother Smolderweb’s lair. Bannok is located among other orcs and their tents and may be hard to see at first as he may be seated or sleeping. The rare spawn may drop the Master Axesmith Plans: Arcanite Reaper.

Strategy
- Tank: Bannok Grimaxe is a rare spawn who appears in the room before Mother Smolderweb’s lair. Bannok is located among other orcs and their tents and may be hard to see at first as he may be seated or sleeping. The rare spawn may drop the Master Axesmith Plans: Arcanite Reaper.
- Healer: Bannok is a tank and spank. Keep your Tank topped off while they manage Bannok and the other mobs engaged.
- Damage Dealers: Assign CC to as many of the other orcs as possible, then maintain threat on Bannok while the group focuses him down.
Loot
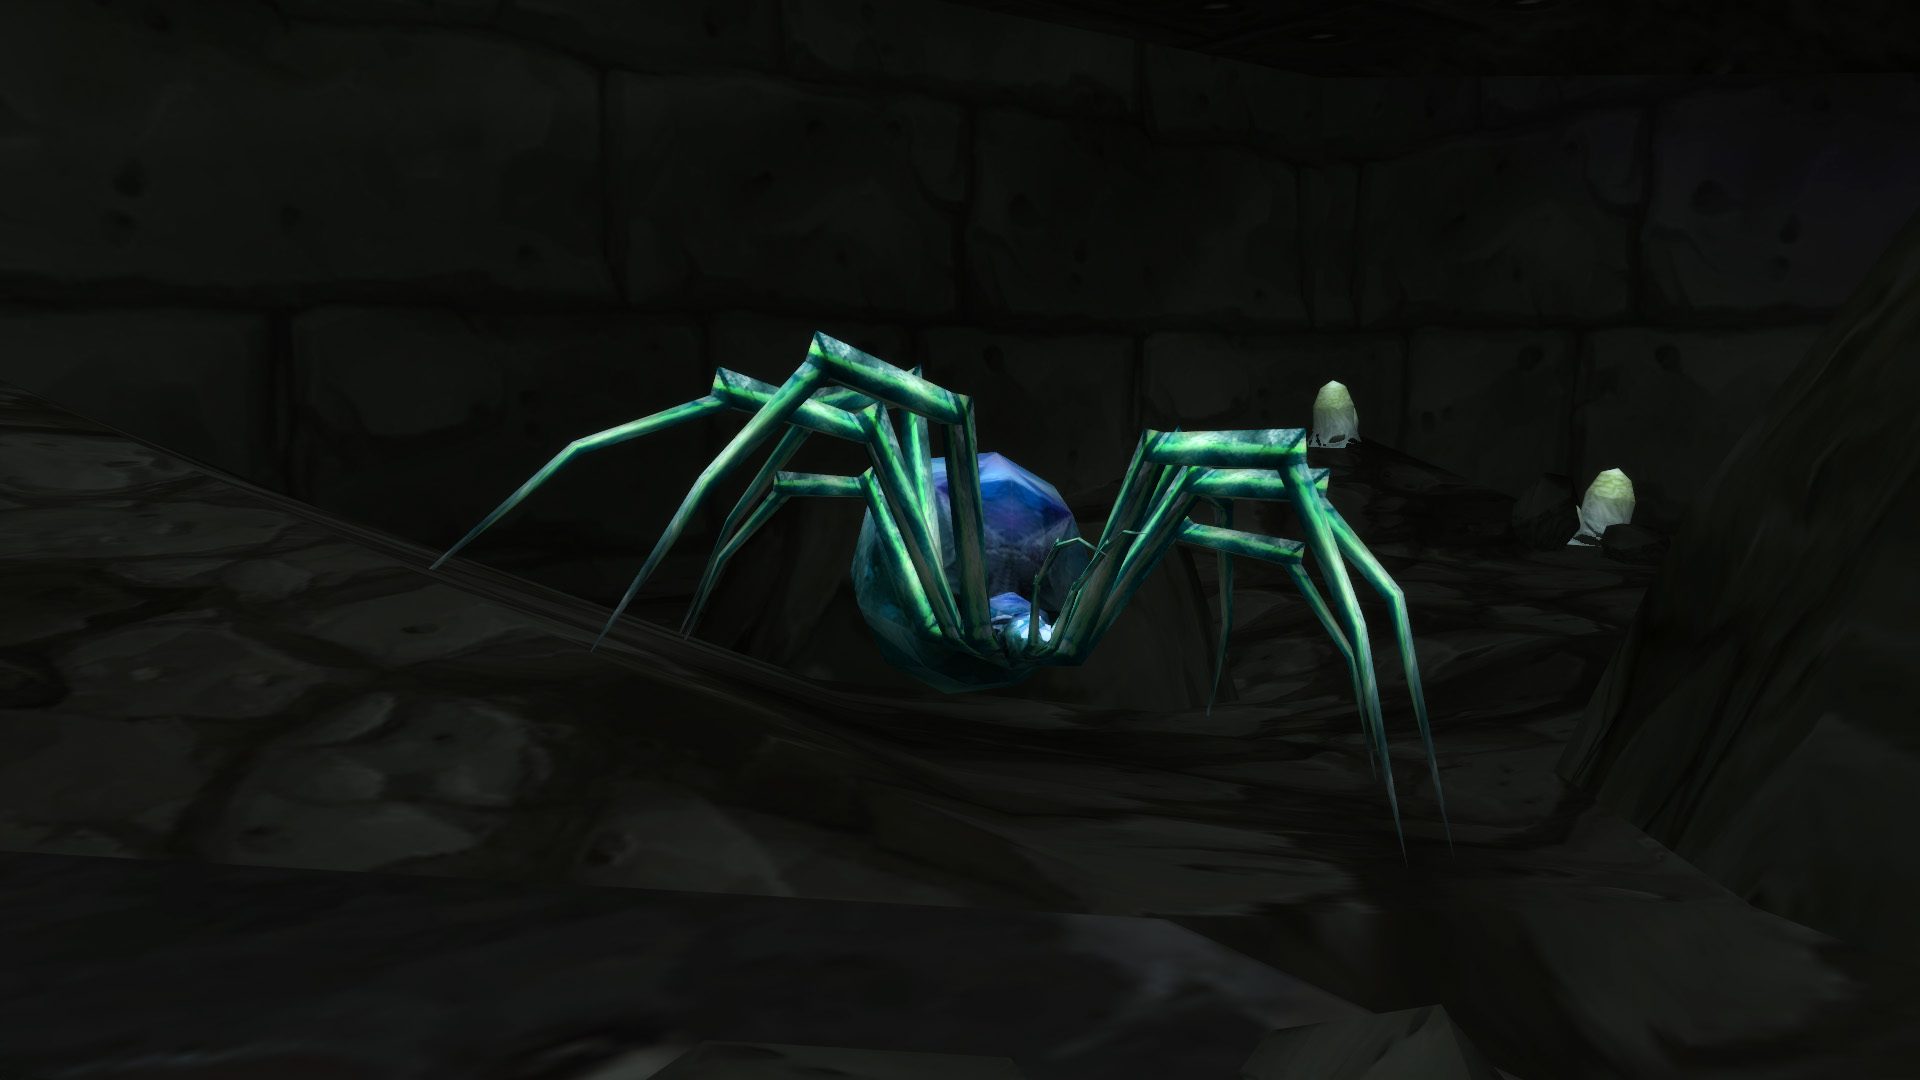
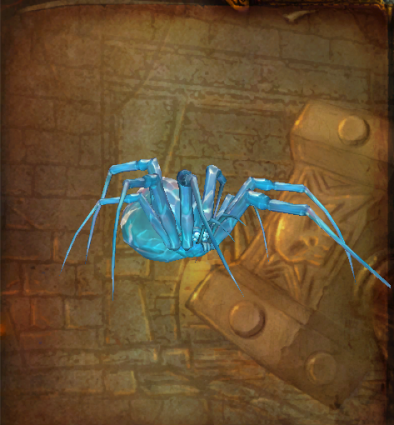
Mother Smolderweb
Mother Smolderweb is a level 59 elite spider who lies at the top of the webbed area littered with Spire Spiders and Spire Spiderlings. The boss has two abilities, both of which stun party members. The Immature Venom Sac dropped from the surrounding spiders can cure the Mother’s Milk poison effect, as well as other in-game poisons.
Strategy
- Tank: Tank the boss facing away from the group. You will be affected by Crystallize from time to time and be stunned. Ensure your threat level is high enough that DPS do not pull the boss off of you while you are stunned.
- Healer: The tank will take additional damage when affected by Crystallize as they will not be able to defend themselves. Increase your healing output at these times. Maintain maximum distance from the boss to avoid being affected by Mother’s Milk.
- Damage Dealers: Stay behind Mother Smolderweb to avoid being hit by Crystallize, and try to stay at maximum range to avoid Mother’s Milk. Both abilities will stun you. Allow the tank to initiate and hold threat so that the boss does not turn around and Crystallize the entire group.
Loot
Crystal Fang (Rare)
Crystal Fang is a rare spawn that can be found just after Mother Smolderweb. The boss is basically a tank and spank with some interesting loot.

Strategy
- Tank: Crystal Fang is a rare spawn that can be found just after Mother Smolderweb. The boss is basically a tank and spank with some interesting loot.
- Healer: Maintain healing on your tank, and be prepared to heal your other party members if they take damage from the non-elite adds who spawn upon the bosses death.
- Damage Dealers: Focus your damage output on the Boss, and be prepared to handle 4 non-elite adds upon the boss’ death.
Loot
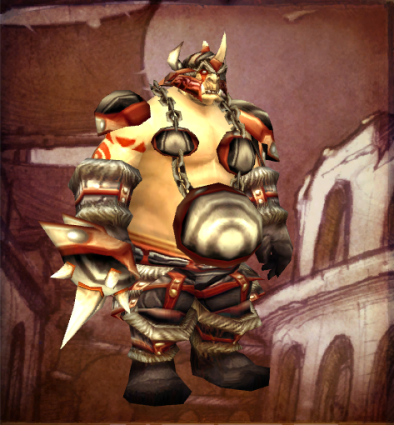
Urok Doomhowl
Urok Doomhowl is a summoned boss using Omokk’s Head and Roughshod Pike at the Tribute Pile in the room full of ogres after Mother Smolderweb’s lair. Once you start the event, waves of elite ogres will flood the room. Every 30 seconds, you can utilize the Roughshod Pike in the Tribute Pile to kill one of the Ogres immediately. Try to utilize CC as much as possible as well. Once level 60 elite Urok Doomhowl appears, finish off the other ogres and allow your tank to establish threat on him.
Strategy
- Tank: Try to keep as many of the adds occupied as possible, and be aware of when CC spells break. Urok himself hits pretty hard and may fear the group around with Intimidating Roar.
- Healer: Keep your tank topped off and be aware of which DPS have threat on the adds as they come in the room. Especially when CC breaks, an ogre may run straight for the player who used Polymorph (or a similar ability) on them.
- Damage Dealers: Use as many CC abilities as possible on ogres as they run in the room. Once Urok enters the room, allow your tank to establish threat. Intimidating Roar can be dispelled.
Loot
- Marksman’s Girdle
- Ribsteel Footguards
- Rosewine Circle
- Slaghide Gauntlets
- Top Half of Advanced Armorsmithing: Volume III
Quartermaster Zigris
Quartermaster Zigris is a boss found after Urok’s room in Lower Blackrock Spire.
Strategy
- Tank: This fight is tank and spank. Spread out to avoid being hit by Stun Bomb.
- Healer: This fight is tank and spank. Spread out to avoid being hit by Stun Bomb.
- Damage Dealers: This fight is tank and spank. Spread out to avoid being hit by Stun Bomb.
Loot
- Cloudrunner Girdle
- Hands of Power
- Plans: Annihilator
- Quartermaster Zigris’ Footlocker
- Wildheart Belt
- Beaststalker’s Belt
- Bracers of Valor
- Cord of Elements
- Devout Belt
- Dreadmist Bracers
- Magister’s Bindings
- Shadowcraft Belt
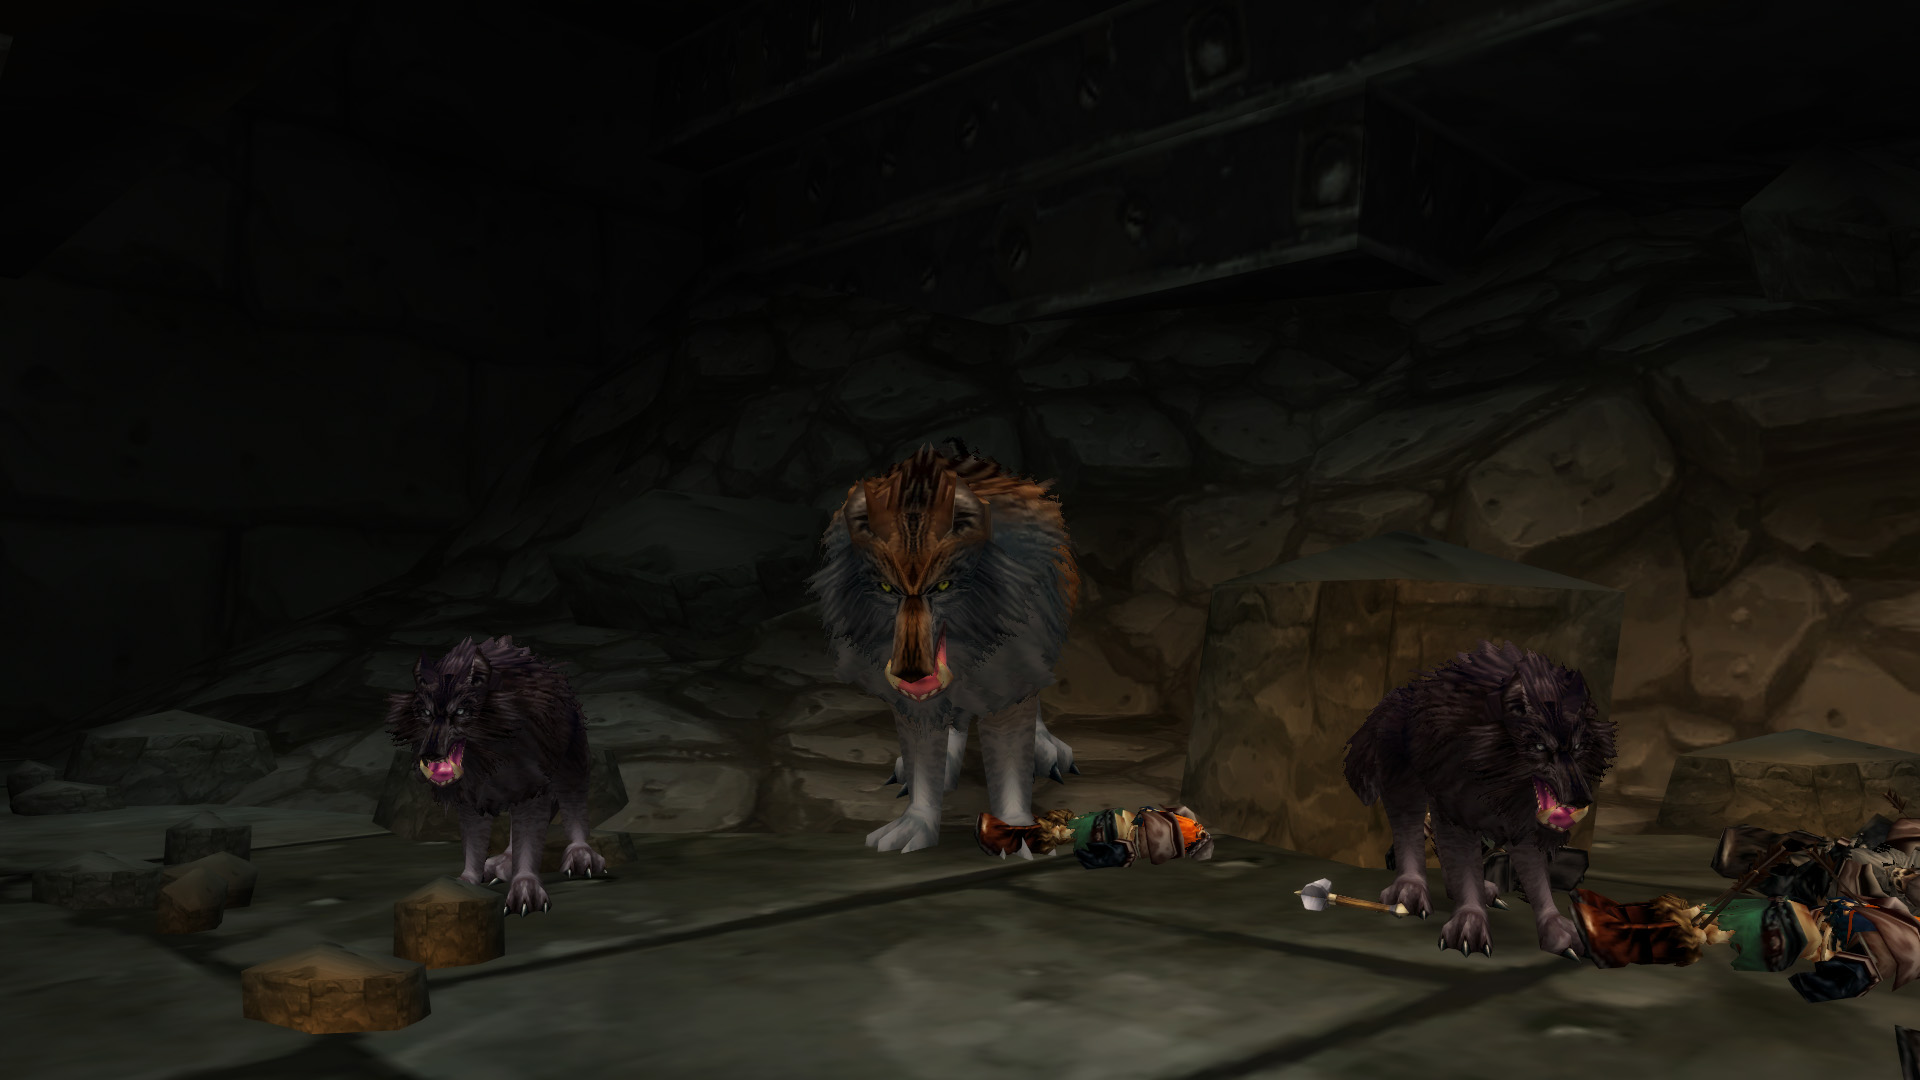
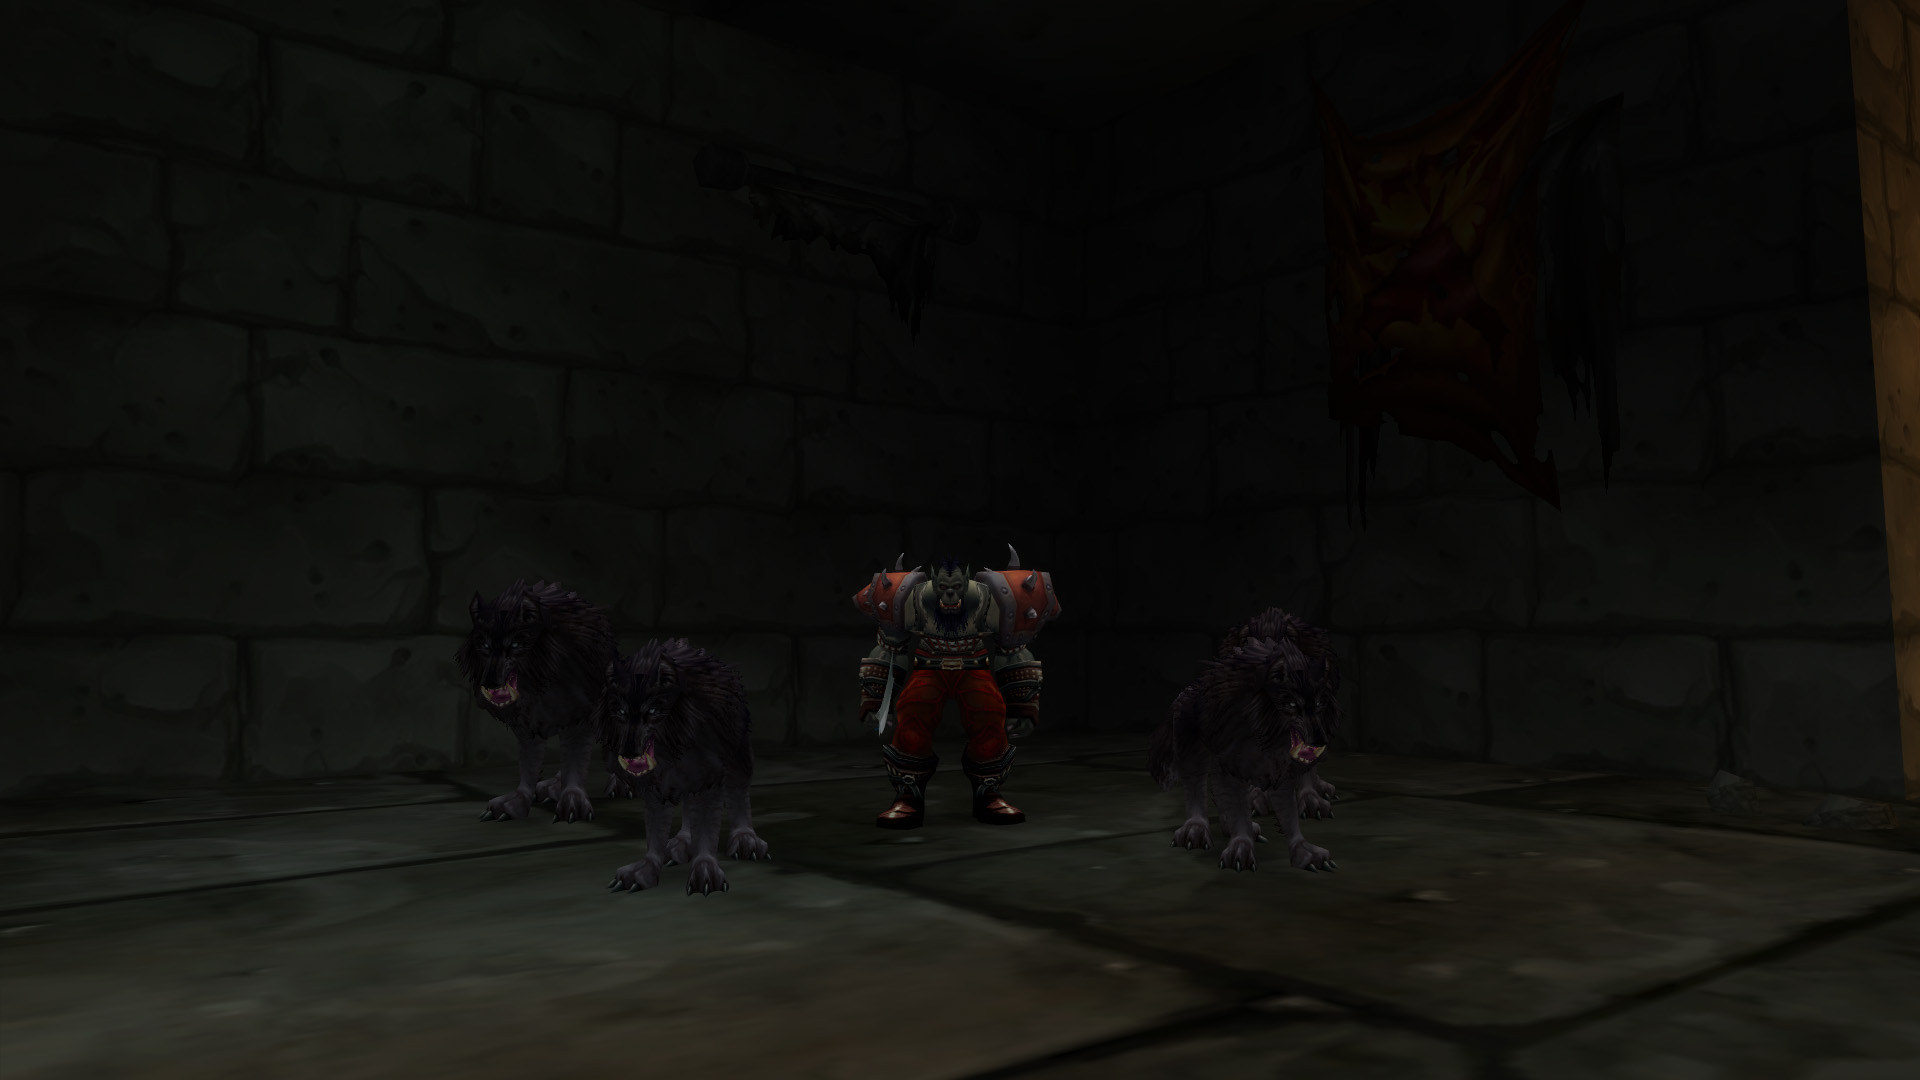
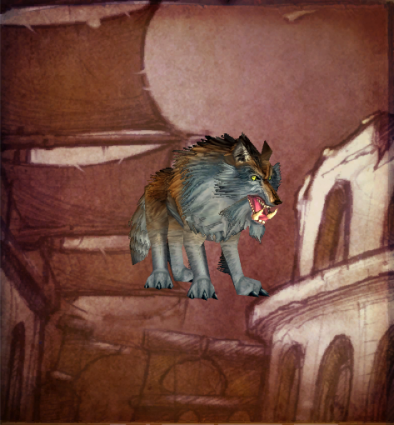
Halycon
Halycon is a giant Worg Boss who is accompanied by Worg Pups. As soon as Halycon is defeated, prepare for Gizrul the Slavener to run into combat – there is not much time in between encounters.
Strategy
- Tank: Allow your DPS to handle the low health Worg Pups at the beginning of the encounter. Pull Halycon away from the group and ensure you maintain threat on the boss.
- Healer: At the beginning of the encounter, your DPS will be taking damage from the Worg Pups. Try to use HoT effects and shields to keep everyone safe at the beginning of the encounter. Watch your healing threat until the tank has safely picked up the adds. Once the adds are down, simply focus your healing output on the tank.
- Damage Dealers: Make the Worg Pups your primary focus while the tank establishes threat on Halycon. Switch to Halycon once all pups are defeated.
Loot
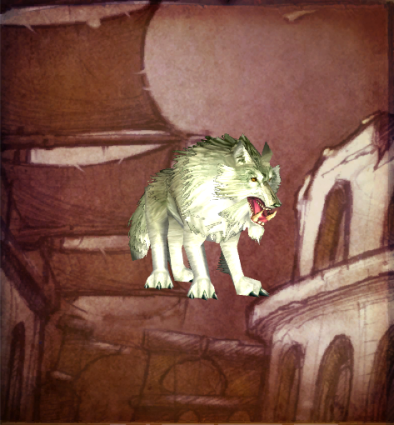
Gizrul the Slavener
Gizrul the Slavener is another Worg boss who will enter into combat shortly after Halycon has been defeated. All group members should eat and drink quickly before Gizrul comes into engagement.
Strategy
- Tank: This boss is essentially a tank and spank. Utilize defensive cooldowns when Gizrul uses Enrage, and be aware that Infected Bite will place a DoT effect on you.
- Healer: Your tank should be the only one taking damage, and they may take quite a bit. Gizrul’s Infected Bite is a DoT effect, and your tank will require additional healing.
- Damage Dealers: Gizrul the Slavener is another Worg boss who will enter into combat shortly after Halycon has been defeated. All group members should eat and drink quickly before Gizrul comes into engagement.
Loot
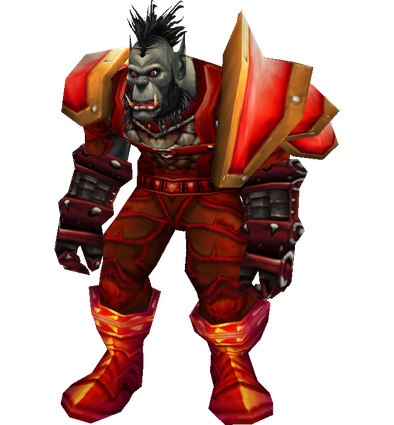
Ghok Bashguud (Rare)
Ghok Bashguud is a rare Orc who spawns after Halycon’s room, accompanied by two 59 elite adds.
Strategy
- Tank: Ghok Bashguud is a rare Orc who spawns after Halycon’s room, accompanied by two 59 elite adds.
- Healer: Utilize CC on the adds and burn down Ghok. This is a tank and spank.
- Damage Dealers: Utilize CC on the adds and burn down Ghok. This is a tank and spank.
Loot
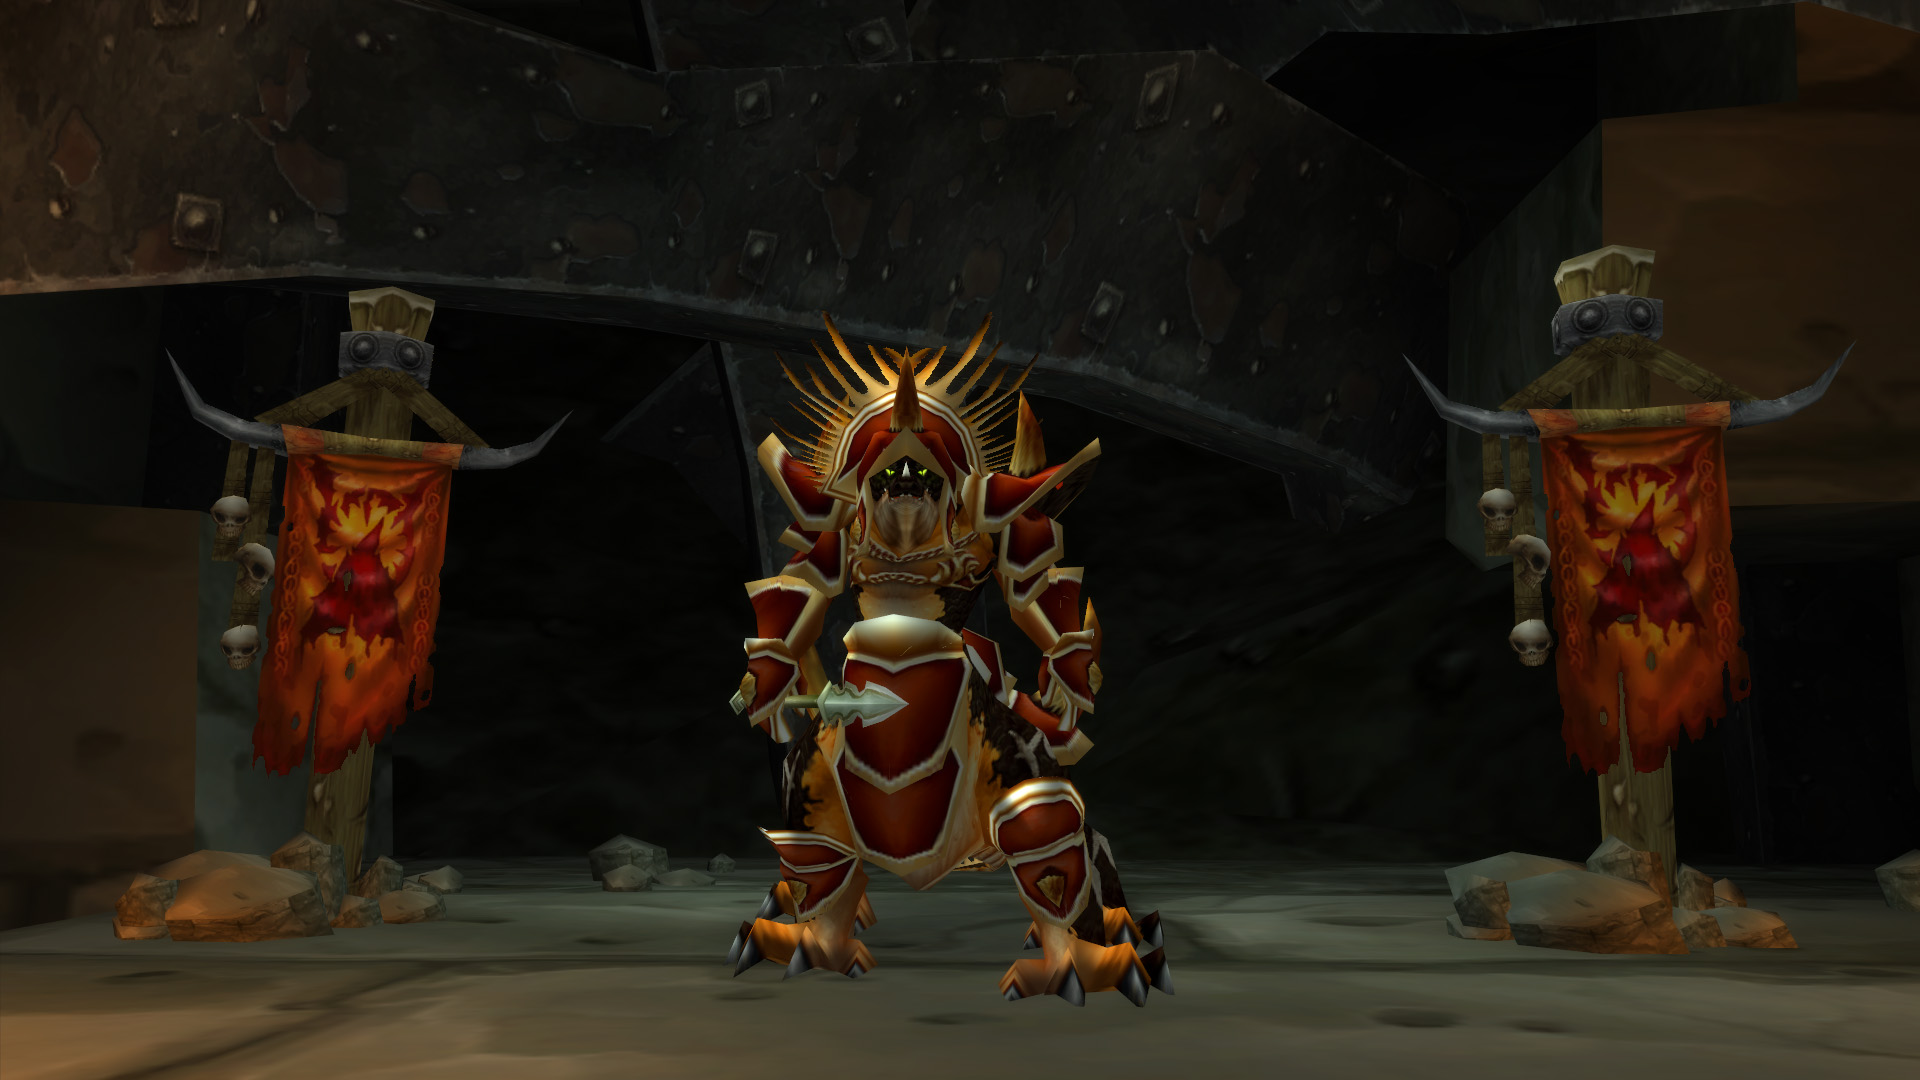
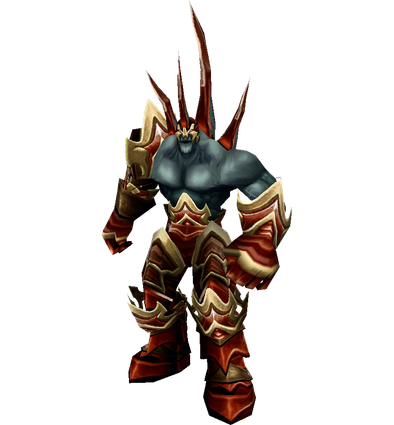
Overlord Wyrmthalak
Overlord Wyrmthalak is the final boss in Lower Blackrock Spire, and is a preview to the type of mobs you will become more and more familiar with as you climb into UBRS and eventually Blackwing Lair. The boss summons adds at 50% health which can be CC’d.

Strategy
- Tank: Tank the boss up against the wall behind his spawn location, mostly to keep the group from being hit by Cleave or Sweeping Slam. When adds spawn at 50%, your group should be able to CC them. If not, taunt them to you and maintain threat while the group burns down Wyrmthalak, then the adds.
- Healer: Healing this fight is straightforward – conserve mana as much as possible while keeping your tank topped off. Watch your healing threat for a few seconds as the adds spawn at 50% boss health, to allow your tank to pick them up.
- Damage Dealers: Stay behind the boss to avoid being hit by Cleave, and maintain maximum range to negate Sweeping Slam. When the boss summons adds at 50%, utilize CC effects and focus the boss down before switching over to the adds.
Loot
- Beaststalker’s Mantle
- Chillpike
- Gemstone of Bleedaxe
- Heart of the Scale
- Heart of Wyrmthalak
- Mark of the Dragon Lord
- Reiver Claws
- Relentless Scythe
- Trindlehaven Staff
Quest Rewards & Loot
Quest Rewards
- Put Her Down/ The Pack Mistress
- Maxwell’s Mission/ Warlord’s Command
- Kibler’s Exotic Pets
- En-Ay-Es-Tee-Why
- Mother’s Milk
- Urok Doomhowl
Boss Drops
- Burning Felguard (Rare)
- Spirestone Butcher (Rare)
- Spirestone Battle Lord (Rare)
- Spirestone Lord Magus (Rare)
- Highlord Omokk
- Shadow Hunter Vosh’gajin
- War Master Voone
- Mor Grayhoof (Quest)
- Bannok Grimaxe (Rare)
- Mother Smolderweb
- Crystal Fang (Rare)
- Urok Doomhowl
- Quartermaster Zigris
- Halycon
- Gizrul the Slavener
- Ghok Bashguud (Rare)
- Overlord Wyrmthalak
About the Author
