- Author: Nevermore
- Date: August 21, 2024
- Updated: August 21, 2024
- Expansion: WoW Classic
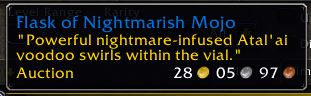
The Flask of Nightmarish Mojo is a material introduced in Phase 3 of Season of Discovery, serving as the main objective for the Signets of the Lost Temple quest which offers powerful shoulder enchantments such as Atal’ai Signet of Might, Atal’ai Signet of Mojo, and Atal’ai Signet of Serenity. The quest is repeatable, making the Flask of Nightmarish Mojo a valuable material, especially since players tend to swap their gear consistently.
The Flask of Nightmarish Mojo is a Bind-on-Equip item, meaning that players can directly buy it from the Auction House or other players. However, for those of you who have Alchemy and wish to learn how to craft the item yourselves, a long journey awaits you.
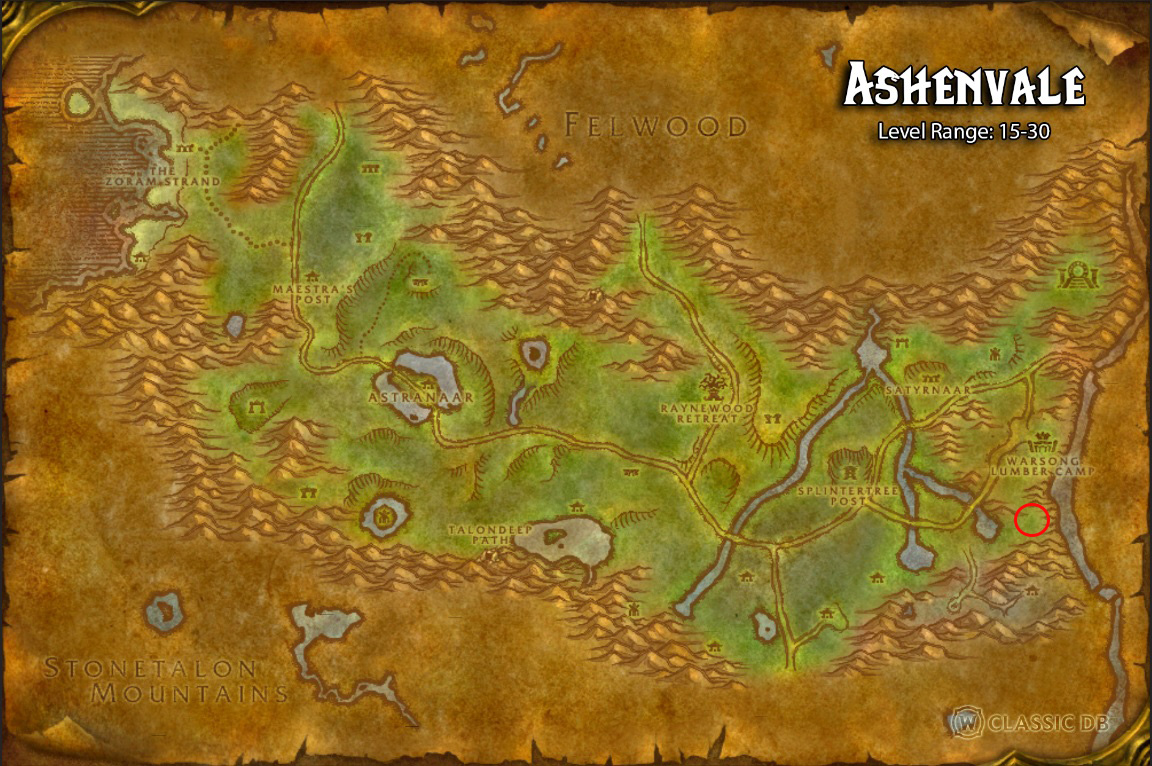
Crafting the Flask of Nightmarish Mojo requires a lengthy quest chain that involves exploring the Ashenvale Nightmare Incursion, visiting Moonglade, heading to Swamp of Sorrows and Sunken Temple, and even a trip to Booty Bay in Stranglethorn Vale.
You won’t need to acquire any specific items before starting the chain quest as you previously did during Phase 2, but you may acquire the items required for crafting the Flask of Nightmarish Mojo which are not directly tied into the quest chain.
Part 1: Ashenvale Nightmare Incursion
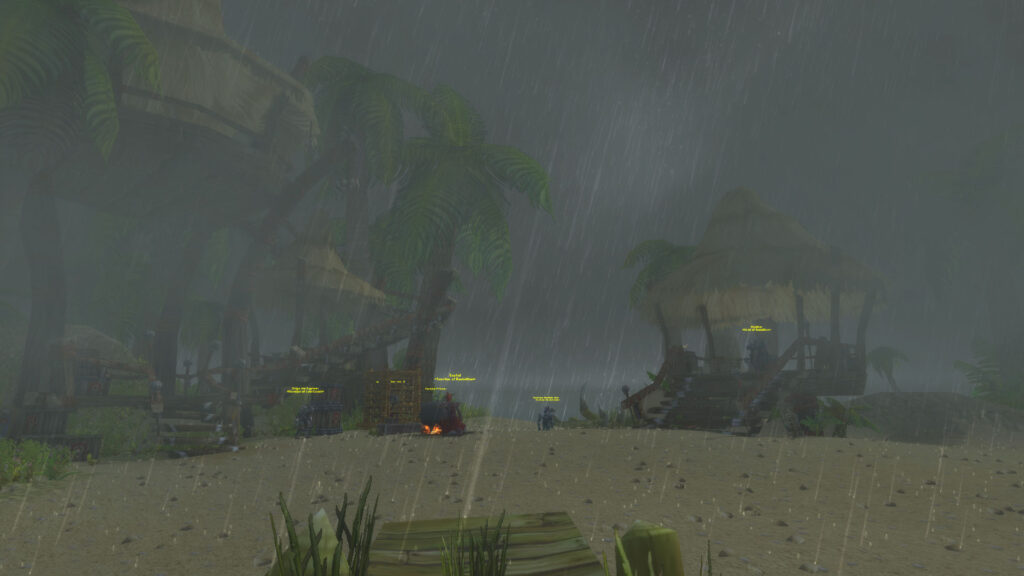
The first part of the quest starts inside the Emerald Nightmare, inside the Ashenvale Nightmare Incursion! Once you enter the Ashenvale Nightmare Incursion Portal and have the Emerald Nightmare buff active, you must head towards the Warsong Lumber Camp and venture south of it. While you may be tempted to use the road, you have to avoid it and venture into the forest directly south of the Warsong Lumber Camp. Once you go far enough, you will receive the debuff Aura of Paralyzing Dread. After having the debuff, leave the Emerald Nightmare the way you came and head to Field Captain Hannalah. After you manage to do so, you will now have a new dialogue option when speaking with Field Captain Hannalah.
Beware that the debuff drastically increases all damage received while also slowing your overall movement, meaning that you should avoid any combat scenario in the area. The debuff will only be active in that specific area, meaning that you will only need to be careful while you are around the south side of the Warsong Lumber Camp.
Progressing the dialogue with Field Captain Hannalah will start the chain quest, An Amalgamation of Nightmares! Unlike the previous Phases, this quest won’t ask you to complete a series of side quests, and instead functions as one long chain.
Part 2: Moonglade
The quest An Amalgamation of Nightmares asks you to venture into Moonglade and find Loganaar, one of the more experienced druids in matters of the Emerald Nightmare. This part of the quest is extremely easy for any Druid player, as they have access to the Teleport: Moonglade spell. For the rest of the players reaching Moonglade can be a difficult task, as the journey can be quite long and perilous.
The fastest way to get to Moonglade is via Darkshore, swimming across the north side of the map. An additional and more practical would be to cross through Felwood until you reach the Timbermaw Hold. This will allow you to grab the Felwood and Winterspring Flight Paths, however, the journey to the area will be filled with many dangerous mobs.
For more explicit and in-depth detailed information, visit our How to Get to Moonglade guide!
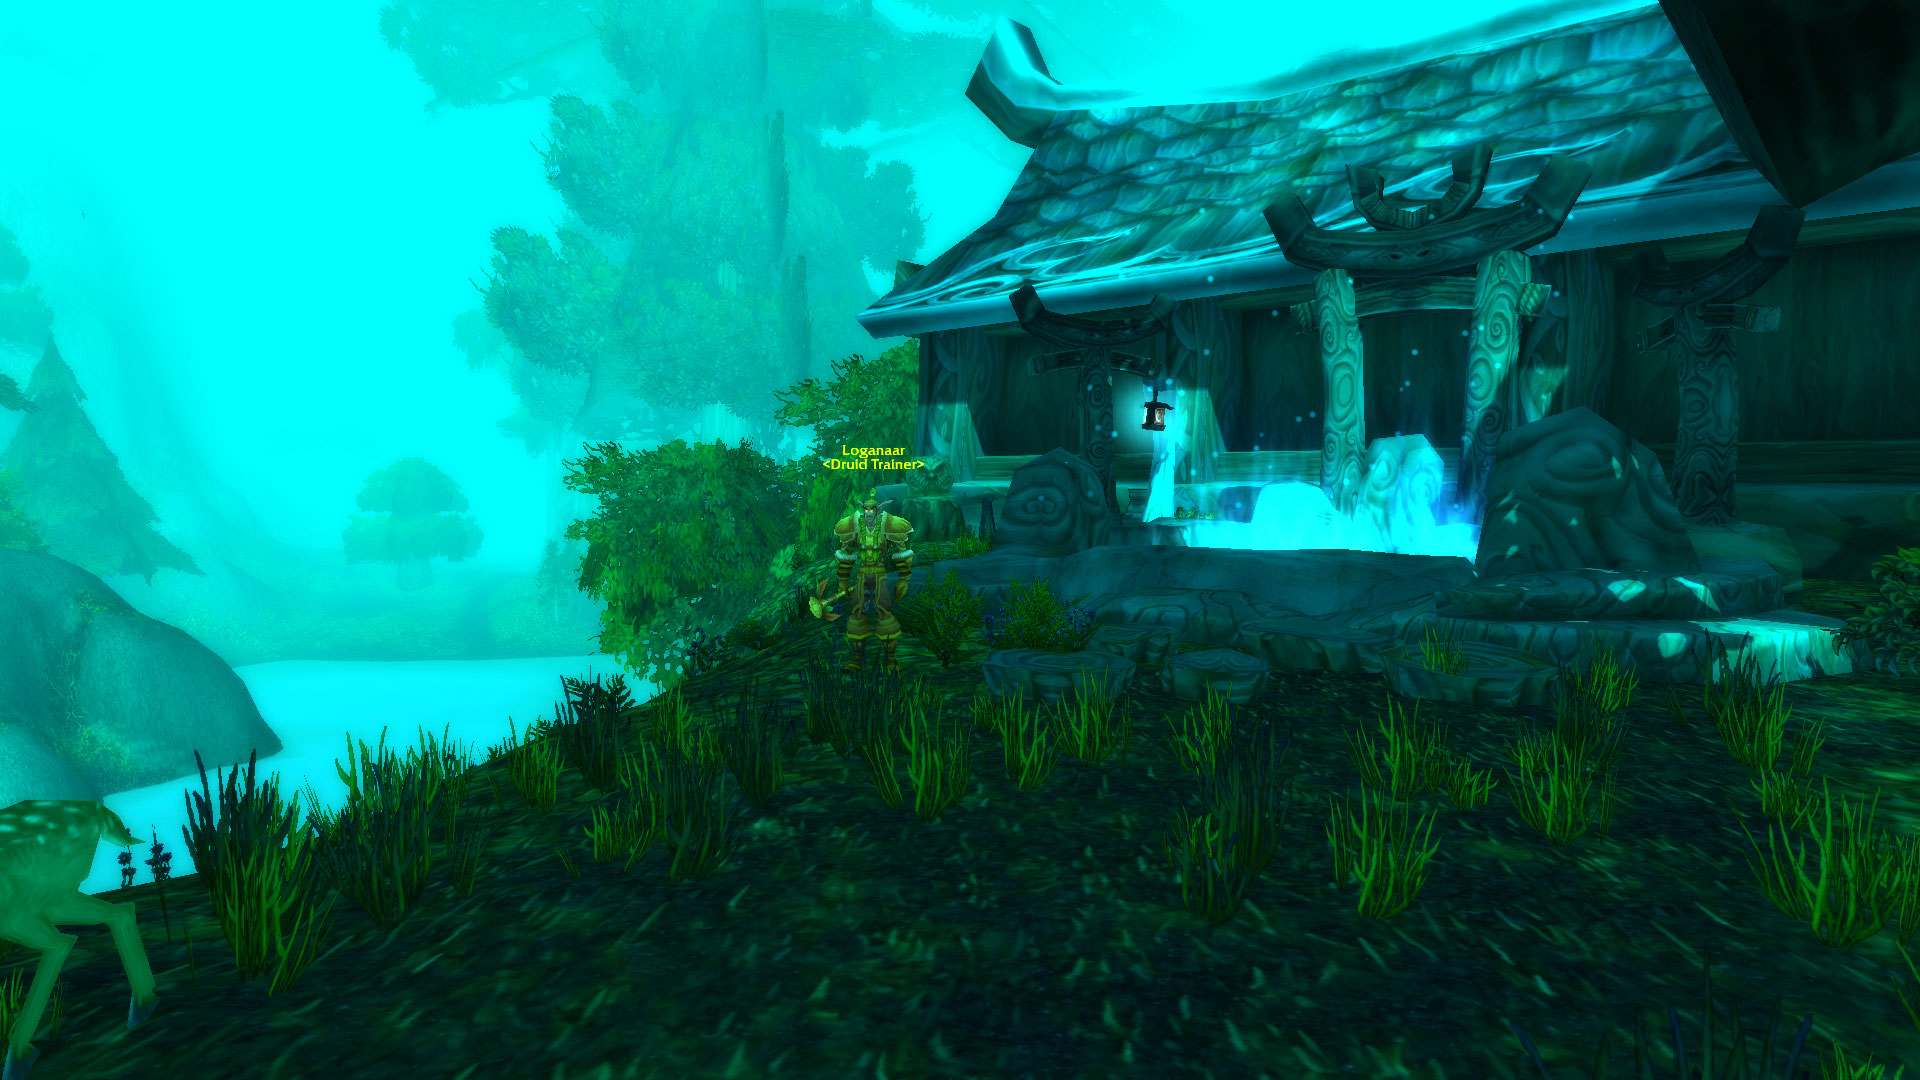
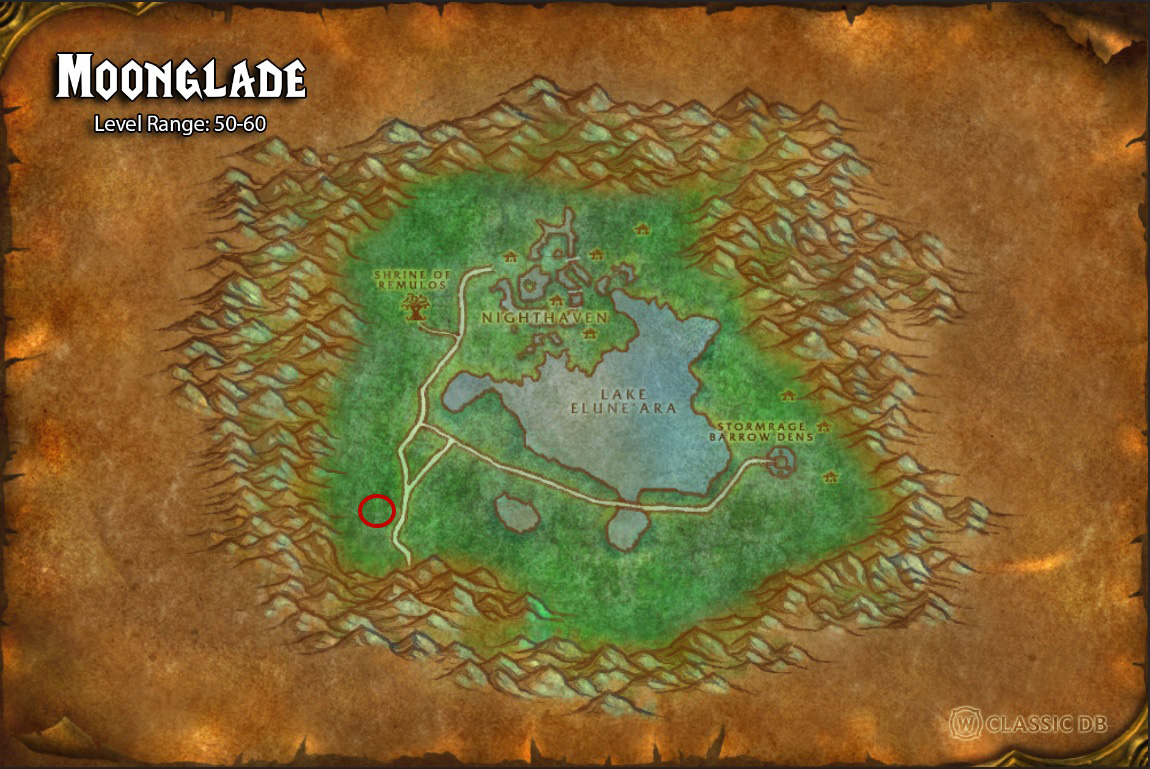
Once in Moonglade, head over to Loganaar. He is a Druid Trainer which can be spotted next to one of the Moonwells in Nighthaven.

Turning the quest An Amalgamation of Nightmares to Loganaar will start the quest, Itharius. The quest asks you to venture forth into the Swamp of Sorrows and seek Itharius, a ranger, who will help you enlist the aid of the Green Dragonflight which resides in the Temple of Atal’Hakkar to discover more about the source of this dreadful manifestation which occurs in the Emerald Nightmare.
It is worth mentioning that you can’t set your Hearthstone in the Nighthaven Inn in Moonglade, as there is no active innkeeper in the area! As such, setting your Hearthstone in Winterspring, specifically in Everlook, will be advised as you will be required to return to this area.
Furthermore, while Moonglade doesn’t have an innkeeper that can be used, it still grants access to a Flight Path to both Alliance and Horde players. Each faction has its own separate Flight Master, with the Alliance one being found south of Lake Elune’Ara and the Horde one being found on the far southwest side of the map.

Part 3: Swamp of Sorrows
The next part of the quest takes us into the Swamp of Sorrows in search of a ranger named Itharius who may help us reach the forgotten temple. Reaching the Swamp of Sorrows is far easier for Alliance players than it is for Horde players as their capital, Stormwind, is closer to the area. Alliance players can reach the Swamp of Sorrows by going to Duskwood, followed by a walk through the Deadwind Pass. Alliance Players must also venture into the Blasted Lands unto the Nethergarde Keep to gain the Flight Path before doing anything in the Swamp of Sorrows as it is the closest Flight Path! Horde players will have to take a zeppelin from Orgrimmar to Grom’Gol Basecamp in Stranglethorn Vale, followed by a longer walk towards the Deadwind Pass and unto the Swamp of Sorrows. Fortunately for the Horde, they have access to a Flight Path in the area inside Stonard.
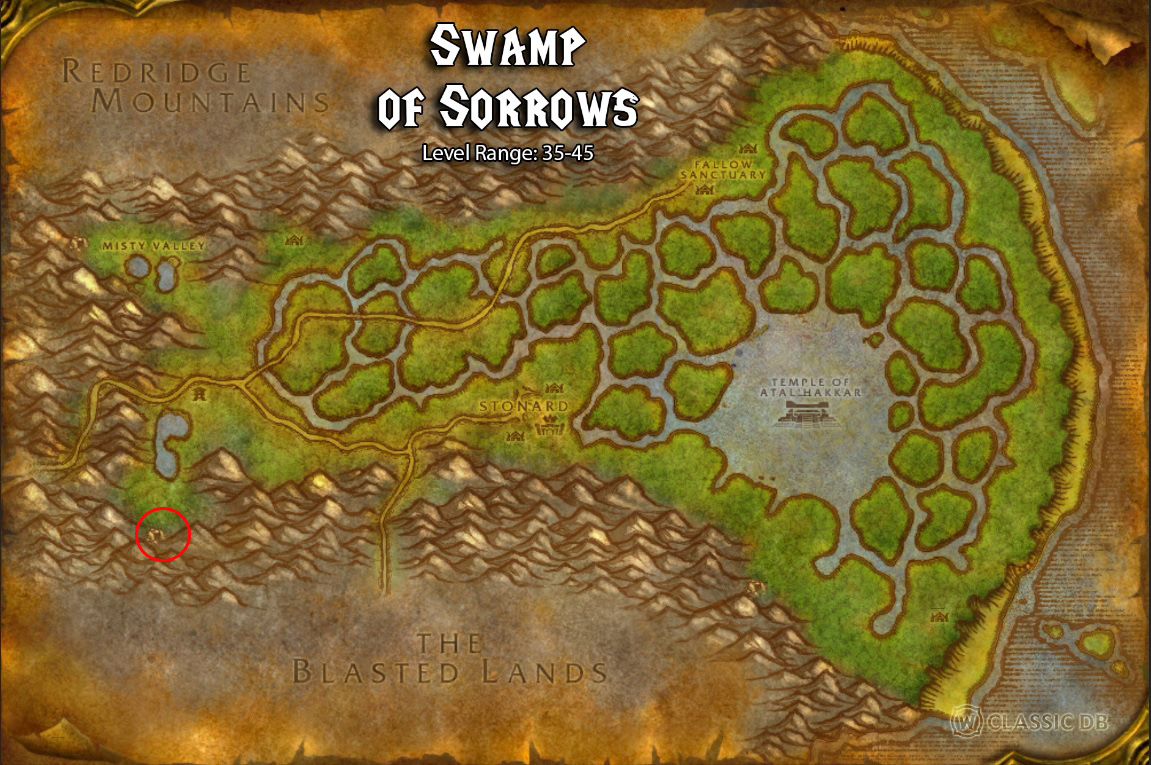
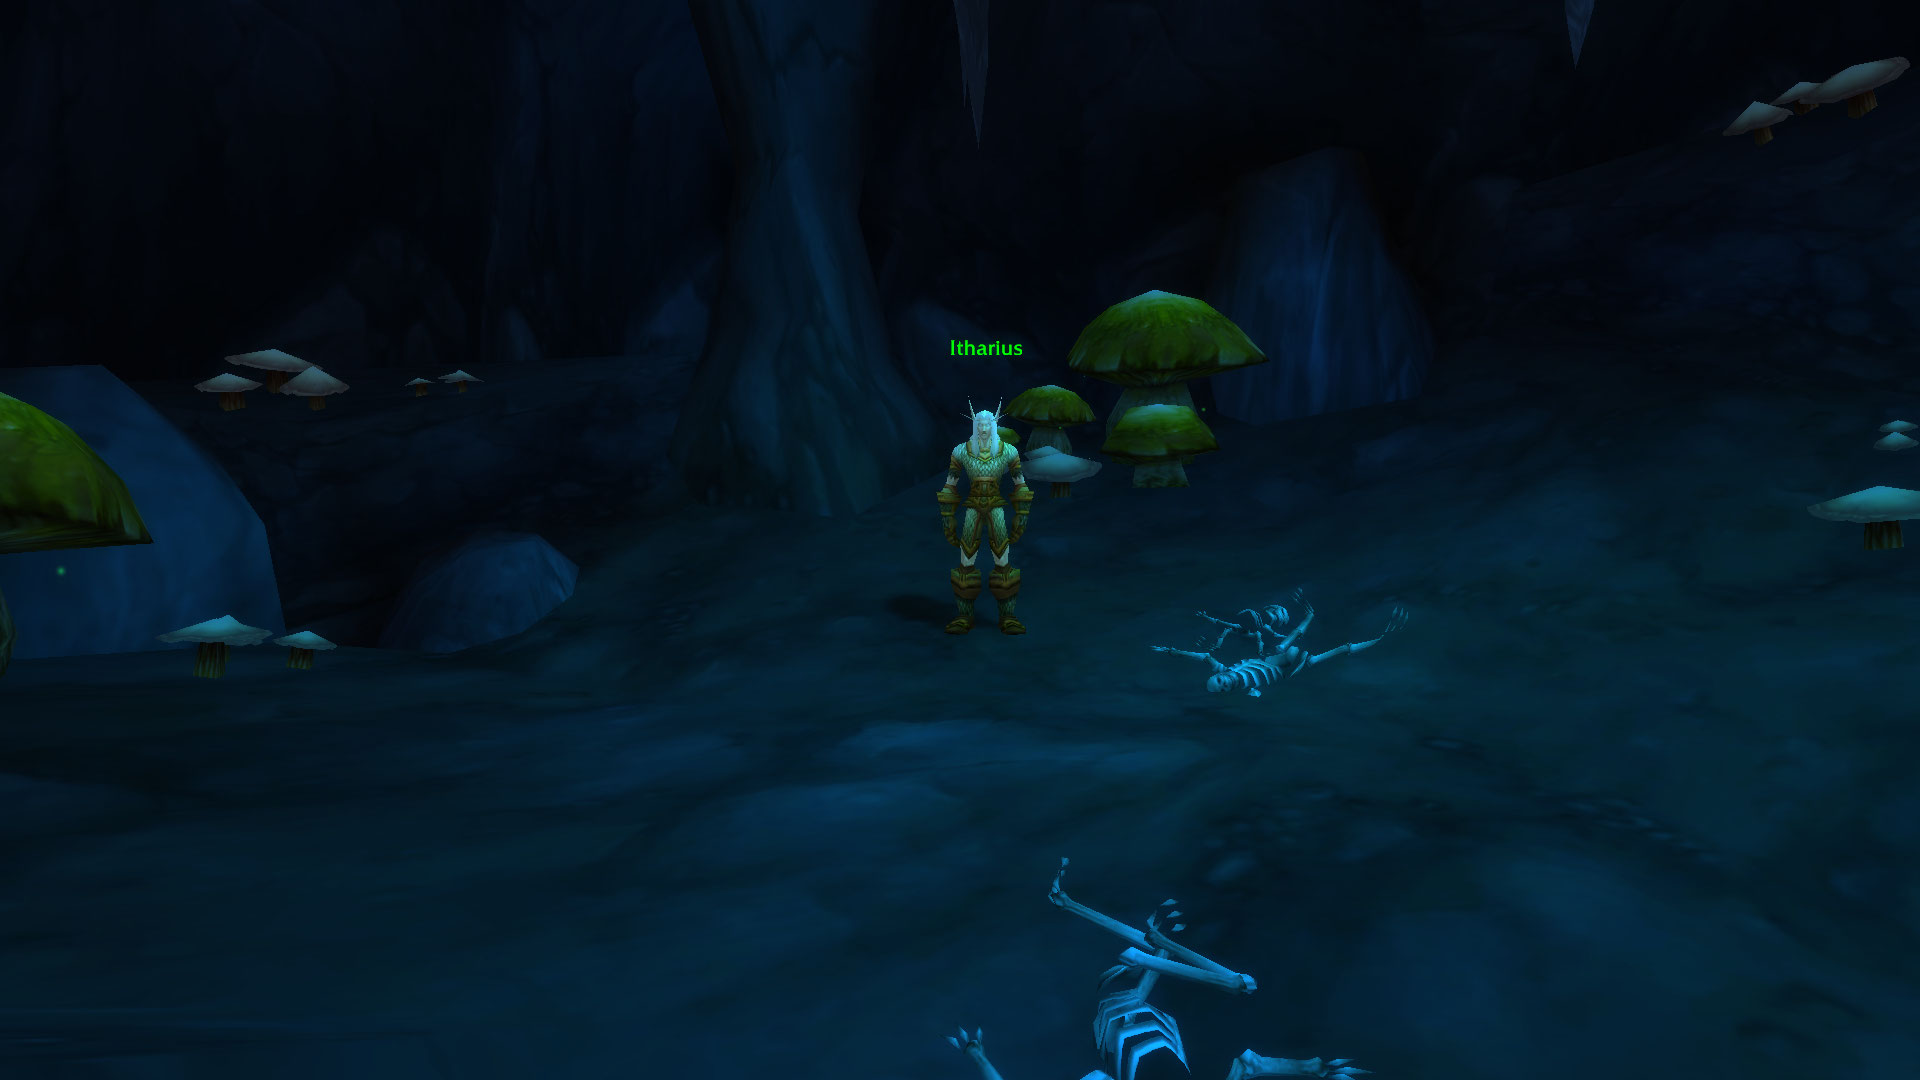
Once you reach the Swamp of Sorrows Itharius can be found inside a cave southeast of the Deadwind Pass road entrance. Reaching Itharius will allow you to turn in the quest Itharius and receive the Going Under quest which requires you to find out what happened to Eranikus and if you can enlist the aid of the Green Dragonflight.
The Going Under quest is the most difficult part of the chain quest as it will require you to complete the Sunken Temple raid. The Sunken Temple is what remains of the former Temple of Atal’Hakkar, a result of Ysera and her Green Dragonflight intervention in an attempt to permanently stop the Atal’lai Corruption. This time, unlike the previous phase, the raid is a 20-man instance with a one-week raid lockout, meaning that it is significantly harder to complete. The quest will auto-complete once you enter the Lair of the Chosen without requiring you to do any special interaction.
Once you complete the raid and have the quest marked as “Complete” in your quest log, head back to Itharius and deliver the Going Under quest.
Part 4: Return to Moonglade
Upon delivering the Going Under quest and talking to Itharius, you will receive a follow-up quest named Return to Moonglade. This part of the quest chain requires you to head back to Moonglade and inform Loganaar of the Troll Corruption found inside the Sunken Temple. As we previously mentioned, Druid players can utilize the Teleport: Moonglade to quickly reach Loganaar while other players can utilize their well-placed Hearthstone to quickly reach Moonglade.
Upon delivering the Return to Moonglade quest, players will quickly notice that a Shadowy Figure spawns on the other side of the Moonwell where Loganaar currently resides. The Shadowy Figure will offer a dialogue option which will result in players being able to pick up the A Fortuitous Turn of Events quest. The quest will offer details about a possible solution, opening up the next step of the chain quest, The Bad News….
The quest involves a rather familiar journey, having players venture into the Stranglethorn Vale and visit the Booty Bay.
Part 5: Booty Bay
Once you acquire The Bad News… from the Shadowy Figure, you will have to travel across the continent and reach Booty Bay in Stranglethorn Vale. After reaching Booty Bay, you must head over to The Salty Sailor Tavern and find an Injured Gnome. The gnome can be found on a bed next to the Rogue Trainer, Ian Strom inside The Salty Sailor Tavern. Once you find the Injured Gnome and interact with him deliver The Bad News… and pick up The Lost Vambraces quest. The gnome explains that you must find the beast that managed to injure him on the Jaguero Isle east of the Stranglethorn Vale. He further continues to explain that you must slay the beast to recover the lost Decharged Void-Powered Vambraces.

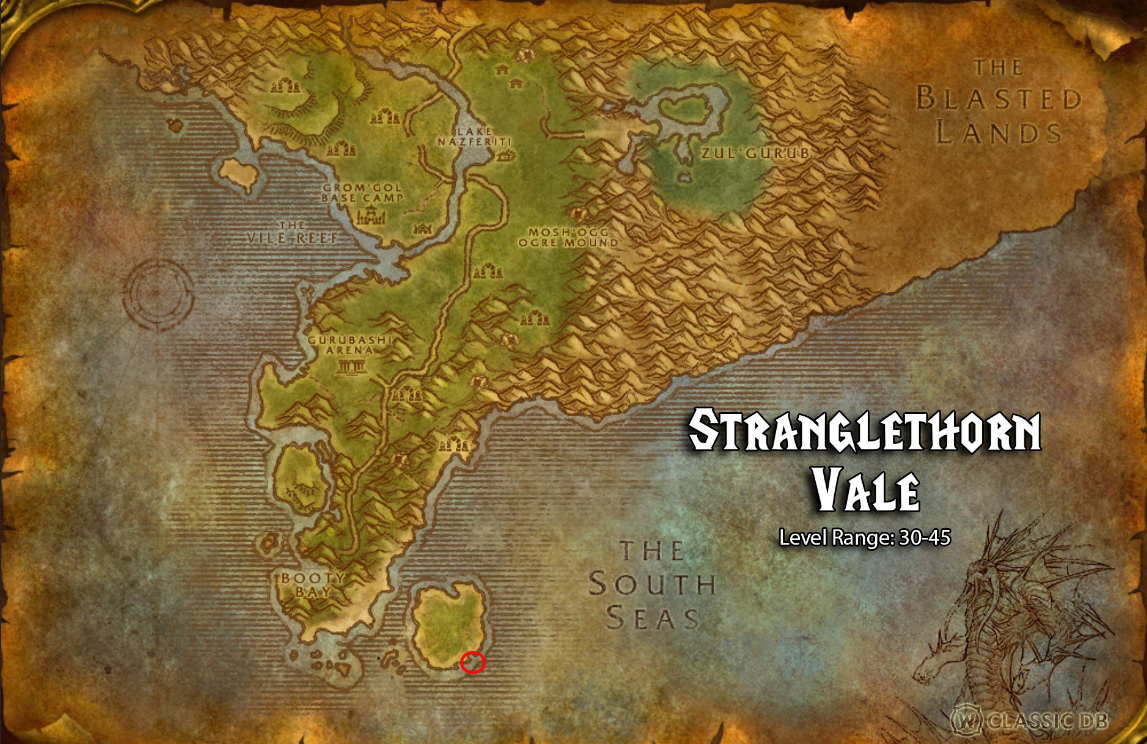
Upon your arrival on the Jaguero Isle, you will encounter a small Murloc by the name of Itty Bitty Murloc on the far southeast side of the island and uncover the truth that the creature is the beast that injured the gnome. After interacting with the Itty Bitty Murloc, you will notice that a mound spawns next to it, which can then be looted to uncover the lost Decharged Void-Powered Vambraces.
Part 6: Moonglade (Again) & Return to Ashenvale Nightmare Incursion
Once you get your hands on the Decharged Void-Powered Vambraces, you will be able to access the last part of the quest chain and possibly the most frustrating. The frustrating part comes from the fact that you have to return to Moonglade once more to talk to the Shadowy Figure. The Shadowy Figure can be found in the exact same spot, right next to Loganaar. Once you reach Nighthaven again and talk to the Shadowy Figure, you will pick up the Waking the Nightmare quest which serves as the last part of the chain quest and the Void-Powered Vambraces.
Acquiring the Waking the Nightmare quest and the Void-Powered Vambraces reward from the previous quest in the chain quest means that you will now have to form a group and return to the Ashenvale Nightmare Incursion inside the Emerald Nightmare to slay the foul creature. The Nightmare Amalgamation is a boss that can be found in the same area in which you discovered the Aura of Paralyzing Dread southeast of the Warsong Lumber Camp.
The boss itself is a tough fight meaning that you must bring at least one healer and a tank to be able to kill it. Additionally, the Void-Powered Vambraces play a pivotal role in the encounter as it will protect you from the previous effect of the Aura of Paralyzing Dread. Killing the Nightmare Amalgamation will allow you to acquire the Mantle of Nightmares from it, which will be the last item we need to complete the chain quest.
After acquiring the Mantle of Nightmares and a long journey you will need to head once more to Moonglade to deliver the Waking the Nightmare quest to the Shadowy Figure. We have to mention that Druid players are extremely lucky during this last phase, as it skips yet another long journey to the Nighthaven. After reaching the Shadowy Figure, turn in the Waking the Nightmare quest to receive the Inert Mantle of Nightmares.
Completing the quest will now allow you to talk to the Shadowy Figure while having a 250-leveled profession in order to learn new recipes! Additionally, the Inert Mantle of Nightmares received upon completing the chain quest is one of the key components required for crafting the Epic Items in Phase 3. The item will be available for purchase afterward in Booty Bay from the Lost and Found vendor for 10 Gold each in case the player loses the item by mistake!
Part 7: Crafting Flask of Nightmarish Mojo
Once you acquire the recipe, you will need to gather the following materials to be able to craft the Flask of Nightmarish Mojo:
- 1 x Crystal Vial
- 5 x Nightmare Seed
- 5 x Flask of Atal’ai Mojo
The Flask of Nightmarish Mojo can only be created with Alchemy! It requires 1 x Crystal Vial, 5 x Nightmare Seed, and 5 x Flask of Atal’ai Mojo to be created. The Crystal Vial can be bought from the majority of Trade Supplies vendors and Alchemy Supplies vendors, meaning that it can easily be acquired.
Both the Nightmare Seeds and Flask of Atal’ai Mojo can only be acquired from the Sunken Temple raid inside the Temple of Atal’Hakkar. The Nightmare Seeds can be mainly looted from Dragonkin while the Flask of Atal’ai Mojo can be mainly looted from the Undead Trolls.
After you acquire all the materials, all you have to do is open up your Alchemy and craft the Flask of Nightmarish Mojo!
About the Author