WoW Classic Stratholme Living Location, Quests, Bosses, & Rewards
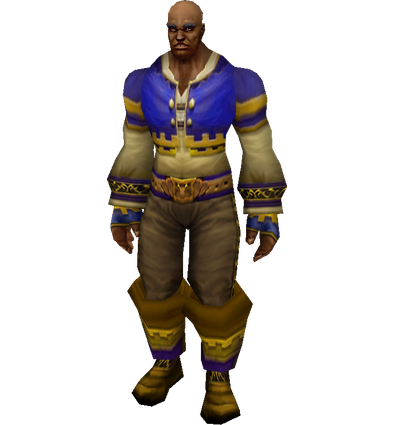
Stratholme is one of the most popular dungeons in the game, and is a key location for the storyline of Prince Arthas. It is here in Stratholme where Arthas betrayed Uther Lightbringer by killing subjects he believed to have the undead plague. In addition to the scourge along the streets, some Scarlet Crusaders also inhabit the ruined city. Make your way through the corridors to strike down the head of the Scarlet Crusade, Balnazzar.
- Level Requirement: 48
- Recommended Level: 58+
- Location: Eastern Plaguelands
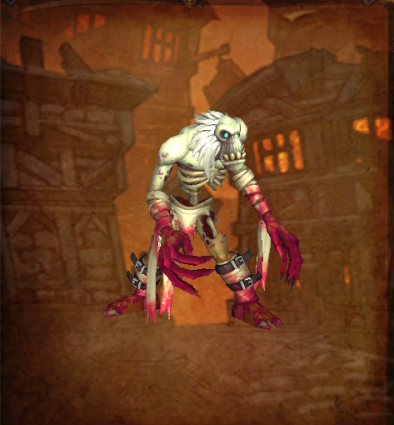
- Boss Encounters: The Unforgiven, Timmy the Cruel, Archivist Galford, Cannon Master Willey, Grand Crusader Dathrohan / Balnazzar, Crimson Hammersmith, Hearthsinger Forresten (rare), Skul (rare), Postmaster Malown (summoned), Jarien and Sothos
- Loot Drops:
- Book of the Dead, Soul Breaker, The Cruel Hand of Timmy, Redemption, Hammer of the Grand Crusader, Tome of Knowledge, Mask of the Unforgiven, Grand Crusader’s Helm
- The Postmaster: The Postmaster’s Band, The Postmaster’s Seal, The Postmaster’s Tunic, The Postmaster’s Treads, The Postmaster’s Trousers
- Pattern: Truefaith Vestments, Plans: Heartseeker, Piccolo of the Flaming Fire
Location & Map
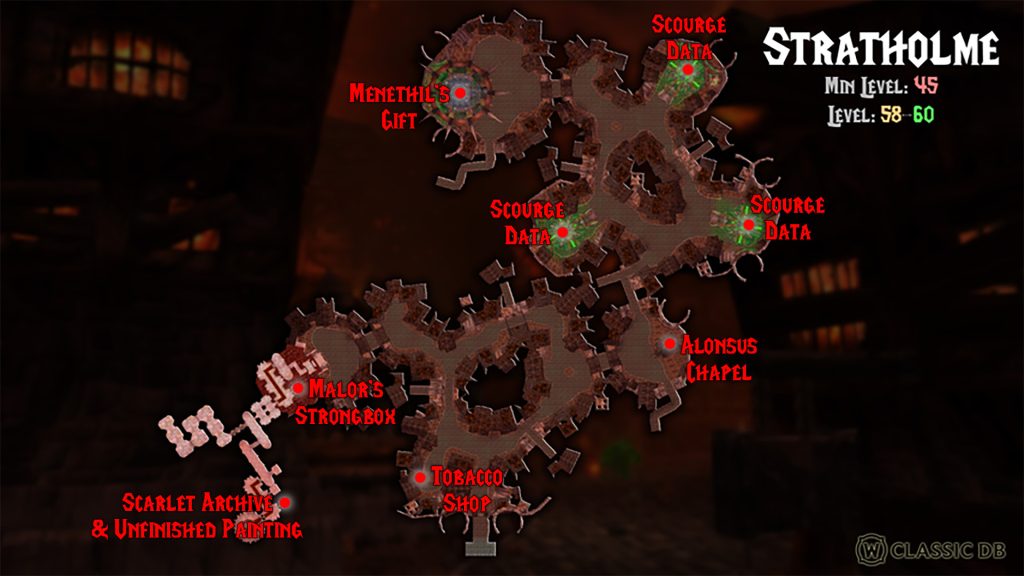
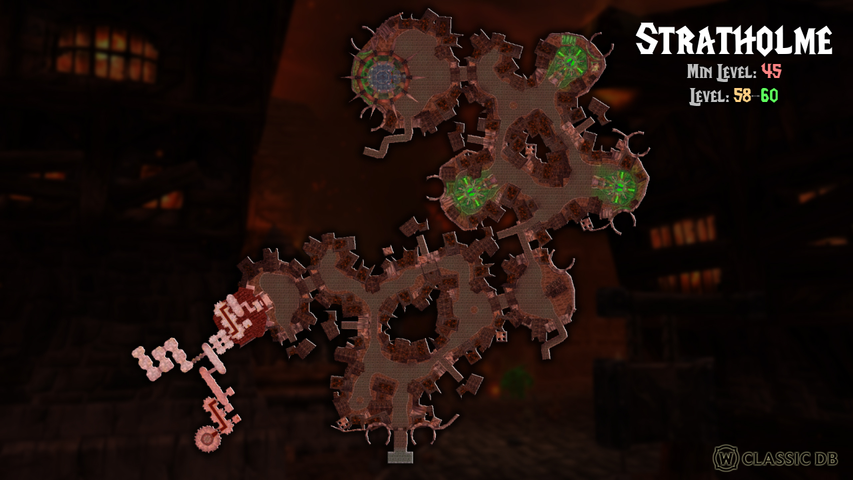
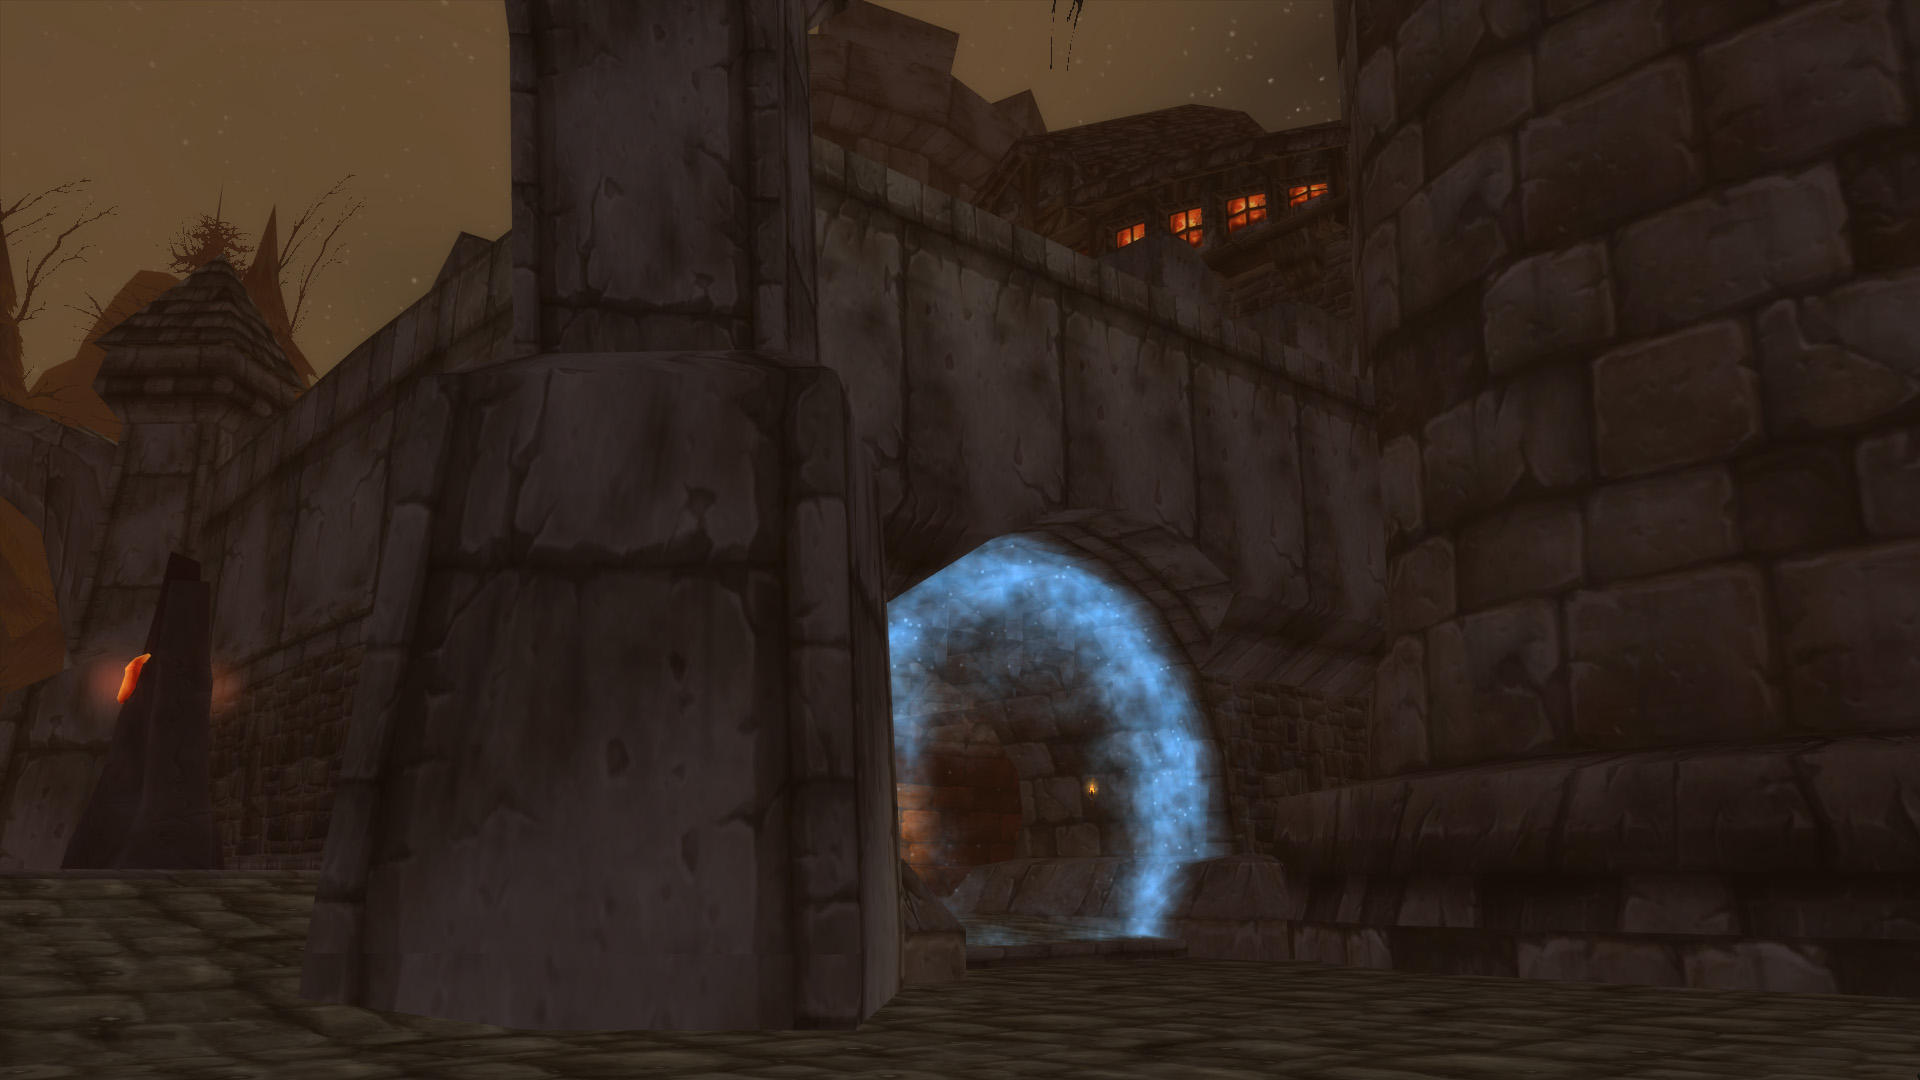
The Living wing of Stratholme is entered through the main dungeon entrance, which is found in the northwest corner of the Eastern Plaguelands zone. It can also be reached by entering the Undead wing through the Eastwall Gate and passing through King’s Square Gate, which requires the Key to the City.
To access The Scarlet Bastion, which contains about half of the wing’s bosses as well as multiple quest objectives, someone in your party must have The Scarlet Key. This key is looted from Doan’s Strongbox inside the Scarlet Monastery Library dungeon. It’s in the last room with the boss Arcanist Doan. The key opens three doors inside The Scarlet Bastion: The Bastion Door, the Hoard Door, and the door to the Hall of High Command.
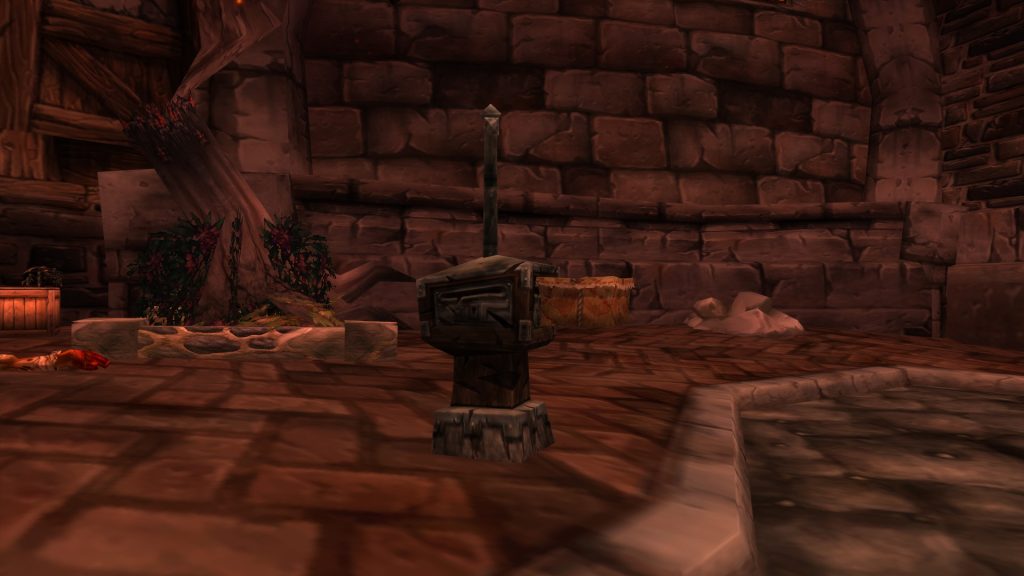
Postboxes
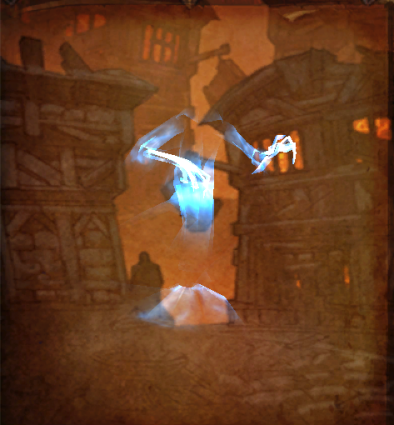
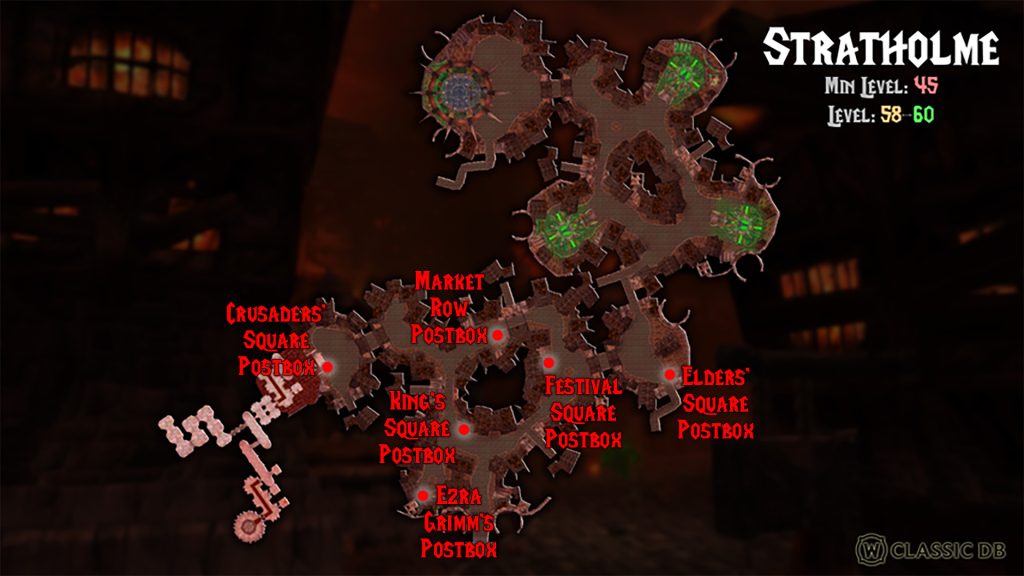
Scattered around the Living wing of Stratholme you’ll find six Postboxes that require keys. These keys can be looted from the Stratholme Courier, an elite human ghost who you will find wandering around near one of the Postboxes. He drops 3 random Postbox keys.
Clicking on a Postbox when you have the appropriate key in your inventory will open it, causing a Postbox Parcel to appear in its mouth that you can loot. These parcels contain junk items and letters. Opening the Postbox will also spawn three Undead Postman mobs, elite human ghosts who are not too happy about you tampering with the mail. When you open the third Postbox, you will also spawn Postmaster Malown, a special boss who drops a unique set of gear, The Postmaster.
| Postbox | Location | Key |
|---|---|---|
| King’s Square Postbox | In King’s Square near the gate to Market Row | King’s Square Postbox Key |
| Ezra Grimm’s Postbox | In front of Ezra Grimm’s Premium Tobacco shop in King’s Square | Ezra Grimm’s Postbox Key |
| Market Row Postbox | At the east end of Market Row before you reach Balzaphon | Market Row Postbox Key |
| Festival Lane Postbox | Across from the fountain in the large open square of Festival Lane | Festival Lane Postbox Key |
| Crusaders’ Square Postbox | Right next to the entrance to The Scarlet Bastion in Crusaders’ Square | Crusaders’ Square Postbox Key |
| Elders’ Square Postbox | Right next to the Service Entrance Gate in Elders’ Square | Elders’ Square Postbox Key |
Quests
There are five quests that can be completed in the Living wing of Stratholme, all of which are faction-neutral.
| Quest Name | Acquired From | Shareable |
|---|---|---|
| Of Love and Family | Artist Renfray (Western Plaguelands) | No |
| The Great Ezra Grimm | Smokey LaRue (Eastern Plaguelands) | Yes |
| The Archivist | Duke Nicholas Zverenhoff (Eastern Plaguelands) | Yes |
| The Truth Comes Crashing Down | Duke Nicholas Zverenhoff (Eastern Plaguelands) | No |
| The Medallion of Faith | Aurius (Stratholme) | Yes |
| The Restless Souls | Egan (Eastern Plaguelands) | No |
Neutral Quests
Of Love and Family
- Shareable: No
- Level Required: 52
- Chain Start: Tirion Fordring at Thondroril River in Eastern Plaguelands
- Quest Start: Artist Renfray at Caer Darrow in Western Plaguelands
- Finish: Tirion Fordring at Thondroril River in Eastern Plaguelands
- Objectives: Obtain the painting Of Love and Family from Stratholme
- Rewards:
- 6600 experience
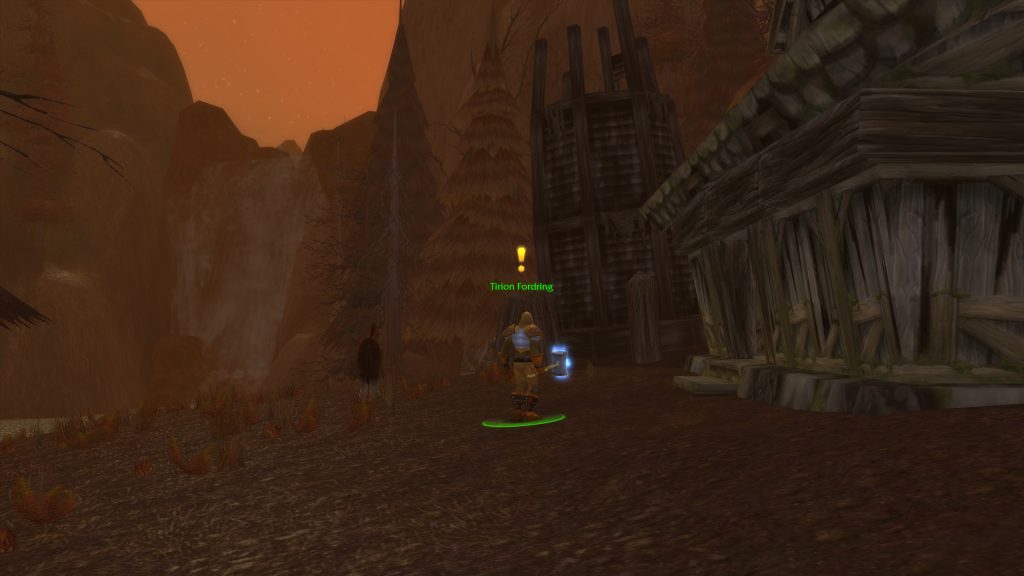
This chain begins with a trio of quests from Tirion Fordring at Thondroril River in Eastern Plaguelands. He can be found outside a small cabin beside the river on the western edge of the zone – just travel north along the river from the road. He’ll offer three quests that you must complete to proceed with the chain:
- Blood Tinged Skies requires killing 30 Plaguebats, which can be found all over the southern part of Eastern Plaguelands. These mobs have a fear.
- Carrion Grubbage requires collecting 15 Slab of Carrion Worm Meat, which can be looted from Carrion Grubs all over the south of the zone and Carrion Devourers to the north. They have a high drop rate, thankfully.
- Demon Dogs requires killing 20 Plaguehound Runts in the south, 5 Plaguehounds in the east, and 5 Frenzied Plaguehounds in the north.
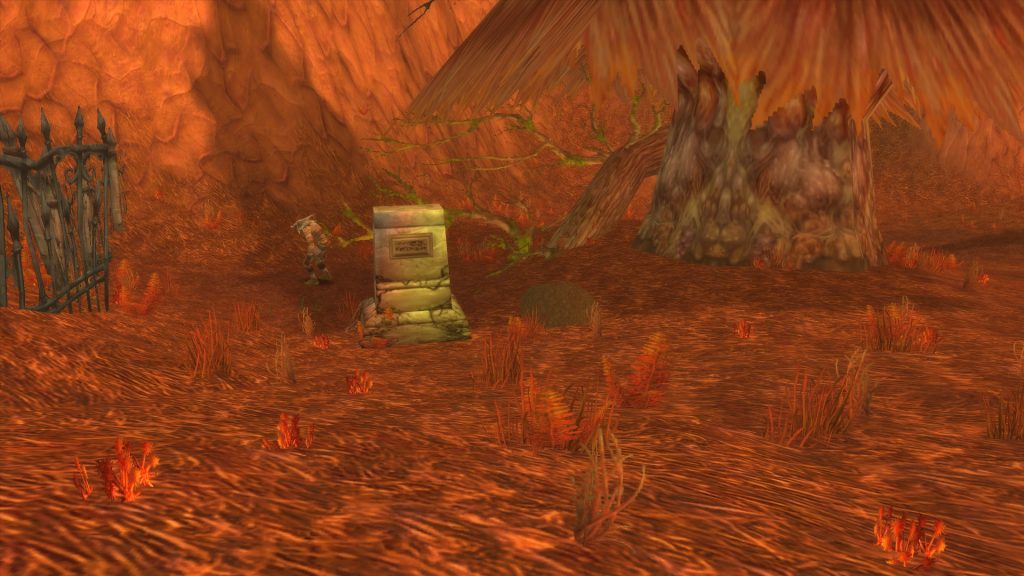
After dealing with the creatures and completing the quests above, return to Tirion Fordring and pick up Redemption. Then tell him “I am ready to hear your tale, Tirion.” Continue the dialogue until the quest is complete, and then pick up Of Forgotten Memories. Now head south to the road and follow it a little way to the east until you see a crypt on the south side that is crawling with undead trolls (The Undercroft). You don’t need to enter the crypt, but rather look for Tirion Fordring’s Grave in the back corner of the plot. There you can click on the Loose Dirt Mound, but be aware that this will bring a group of dwarves that you must fight: level 57 Mercutio Filthgorger and three level 54-55 Crypt Robbers. Defeat them and loot Taelan’s Hammer from Mercutio’s corpse, then return to Tirion Fordring.
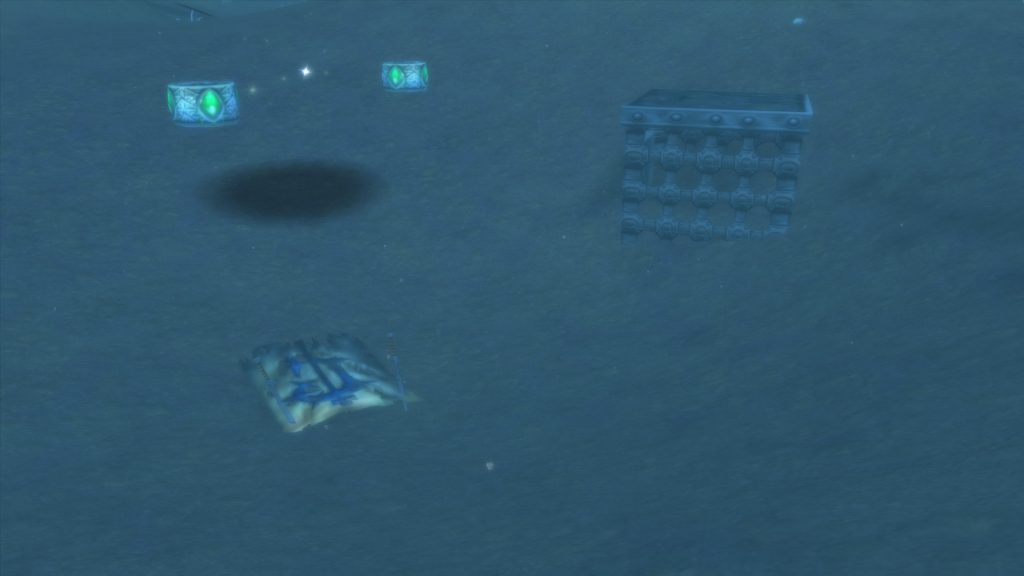
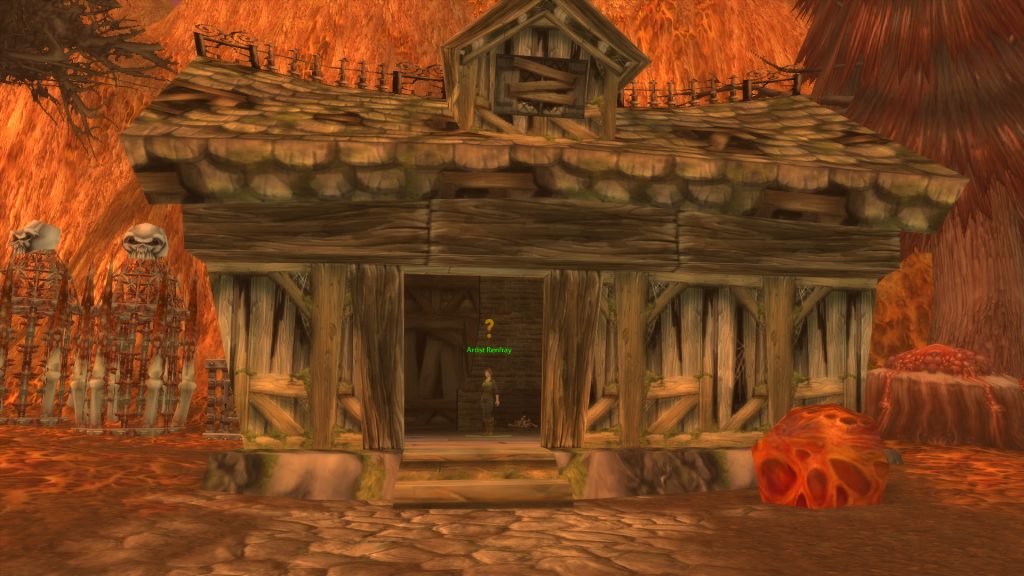
Pick up the next quest, Of Lost Honor, and head to Northdale in the northeast of the zone, a ruined town with a lot of banshees floating around. Jump into the pond and swim down to find the Symbol of Lost Honor on the bottom. Click on it to loot it and then return to Tirion Fordring to pick up Of Love and Family (there are 2 quests of this name in the chain). Now head to Caer Darrow, the island in Western Plaguelands where the Scholomance dungeon is located. Follow the road along the outer part of the island toward the docks and look for a human ghost named Artist Renfray inside a small house. Speak with her to pick up the second Of Love and Family quest.
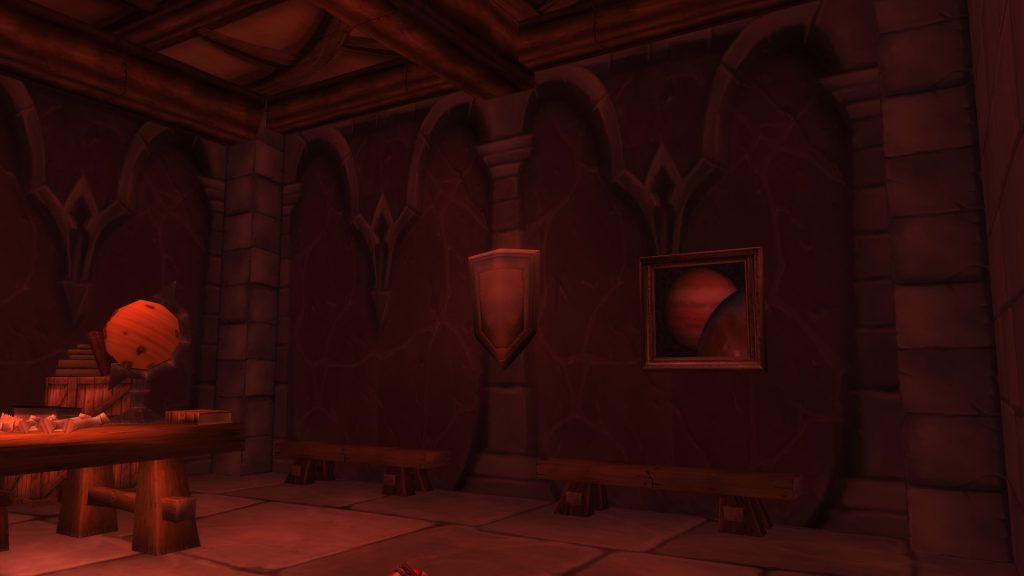
Head into the Living wing of the Stratholme dungeon and make your way to Crusader’s Square and enter The Scarlet Bastion. Near the end of the building, in the room where you find Archivist Galford, you will see an Unfinished Painting on the wall. Click on it to loot Of Love and Family. You can now return to Tirion Fordring to complete the quest. There are a few more quests in the chain which will take you on a mission into Hearthglen, the elite Scarlet Crusade area in Western Plaguelands. Completing them will earn you your choice of Fordring’s Seal, Mark of Fordring, Ornate Adamantium Breastplate, Shimmering Platinum Warhammer, or Shroud of the Exile.
The Great Ezra Grimm (Formerly The Great Fras Siabi)
- Shareable: Yes
- Level Required: 55
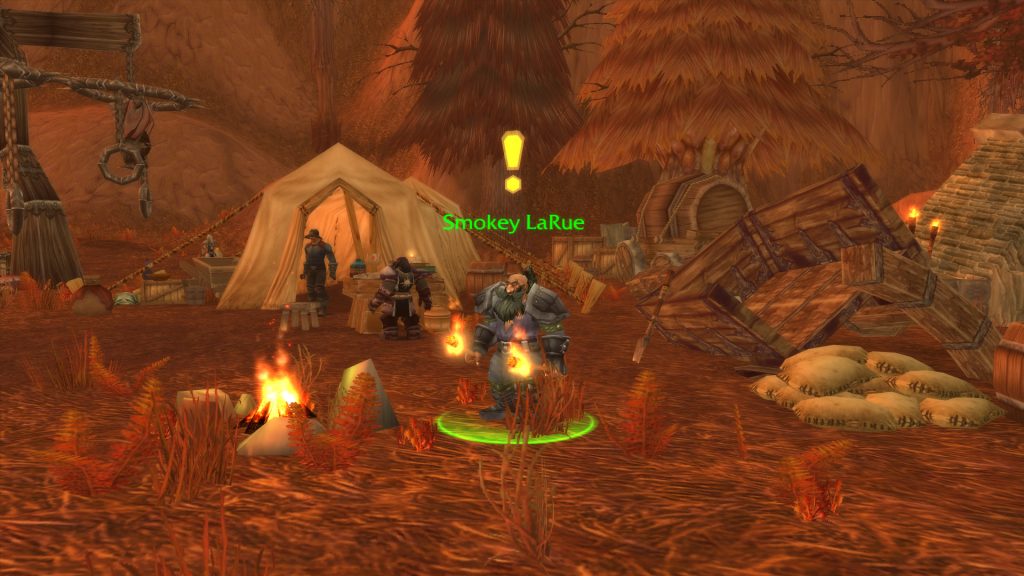
- Start: Smokey LaRue at Light’s Hope Chapel in Eastern Plaguelands
- Finish: Smokey LaRue at Light’s Hope Chapel in Eastern Plaguelands
- Objectives: Obtain Grimm’s Premium Tobacco inside Stratholme
- Rewards:
- 8550 experience
- Smokey’s Lighter
This quest and its eponymous character have been renamed since the original version of the game.
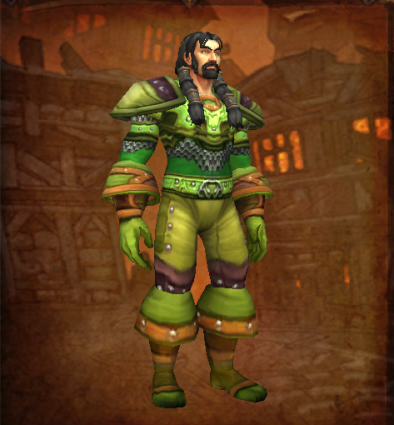
To obtain Grimm’s Premium Tobacco, enter the Stratholme dungeon through the main entrance and follow the road around to the left until you reach a dead end. There will be a sign hanging from one of the buildings that says Ezra Grimm’s Premium Tobacco when you hover over it. In front of the shop you’ll see Ezra Grimm himself, now undead. Defeat him to loot his tobacco and bring it back to Smokey LaRue for your reward.
The Archivist
- Shareable: Yes
- Level Required: 55
- Start: Duke Nicholas Zverenhoff at Light’s Hope Chapel in Eastern Plaguelands
- Finish: Duke Nicholas Zverenhoff at Light’s Hope Chapel in Eastern Plaguelands
- Objectives: Defeat Archivist Galford and burn the Scarlet Archive inside Stratholme
- Rewards:
- 8300 experience
- 1 gold 80 silver
- 150 reputation with Argent Dawn
This quest begins a chain that proceeds through Stratholme and Eastern Plaguelands.
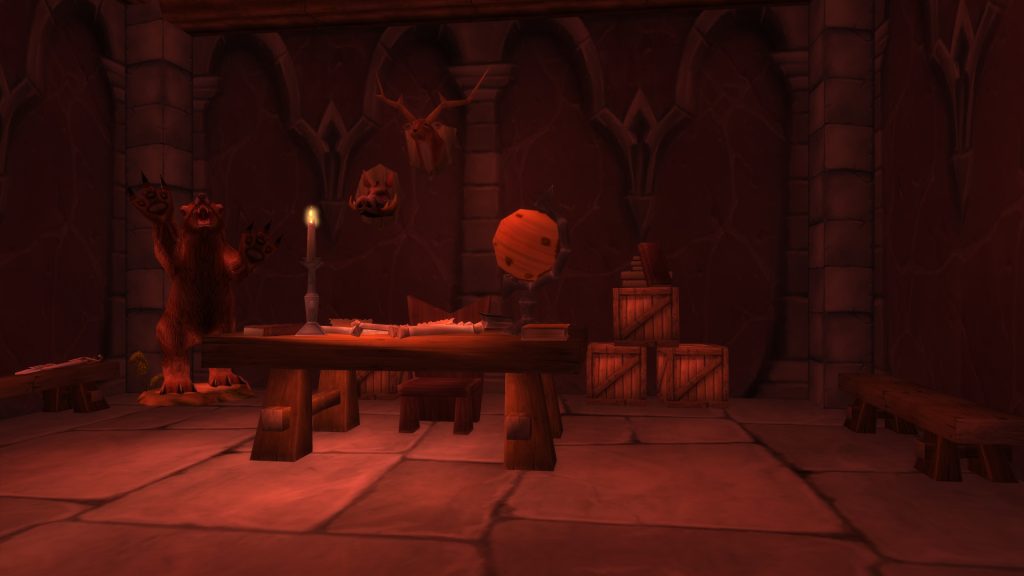
Head into the Living wing of the Stratholme dungeon and make your way to Crusader’s Square and enter The Scarlet Bastion. Near the end of the building, you will find Archivist Galford. Kill him and then interact with the book on the table behind him, the Scarlet Archive, to set the room on fire.
Don’t fight Grand Crusader Dathrophan across the hall if you wish to continue the chain without running the dungeon again. You will be fighting him for the next quest below.
The Truth Comes Crashing Down
- Shareable: No
- Level Required: 55
- Start: Head of Balnazzar from Balnazzar inside Stratholme
- Finish: Duke Nicholas Zverenhoff at Light’s Hope Chapel in Eastern Plaguelands
- Objectives: Bring the head to Duke Nicholas Zverenhoff at Light’s Hope Chapel
- Rewards:
- 8300 experience
- 150 reputation with Argent Dawn
This quest can only be started after you have handed in the quest above. To start the quest, fight Grand Crusader Dathrophan inside Stratholme. When you have done enough damage, he will transform into a demon, Balnazzar. Defeat him and loot the Head of Balnazzar, which starts this quest. Then head to Light’s Hope Chapel in Eastern Plaguelands to hand it in to Duke Nicholas Zverenhoff. The chain then continues with another quest in Stratholme (Undead).
The Medallion of Faith
- Shareable: Yes
- Level Required: 55
- Start: Aurius at the chapel inside Stratholme
- Finish: Aurius at the chapel inside Stratholme
- Objectives: Bring the Medallion of Faith to Aurius inside Stratholme
- Rewards:
- None
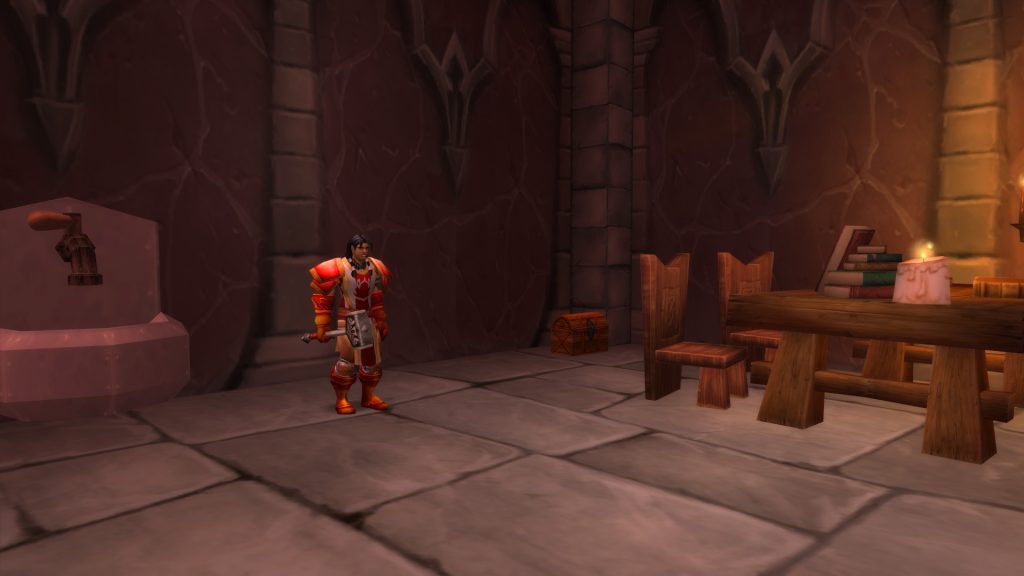
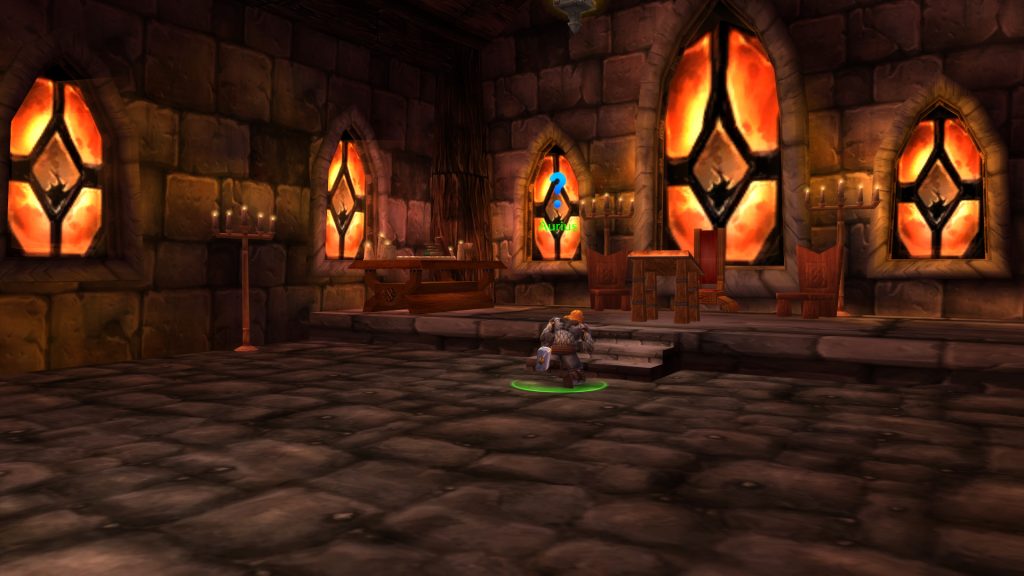
To start this quest, enter The Scarlet Bastion in Crusader Square and look for the room with Malor the Zealous standing inside. Next to him you’ll see Malor’s Strongbox on the ground. Loot it to pick up the Medallion of Faith. You will not get a quest from the item, but you will find Aurius at the chapel just inside the entrance to the Undead wing. Talk to him to turn in the medallion and complete this quest.
The Restless Souls
- Shareable: No
- Level Required: 55
- Chain Start: Caretaker Alen near Light’s Hope Chapel in Eastern Plaguelands
- Quest Start: Egan at Terrordale in Eastern Plaguelands
- Finish: Egan at Terrordale in Eastern Plaguelands
- Objectives: Use Egan’s Blaster on Ghostly Citizens and Spectral Citizens inside Stratholme
- Rewards:
- 8850 experience
- 1 gold 8 silver
- Testament of Hope
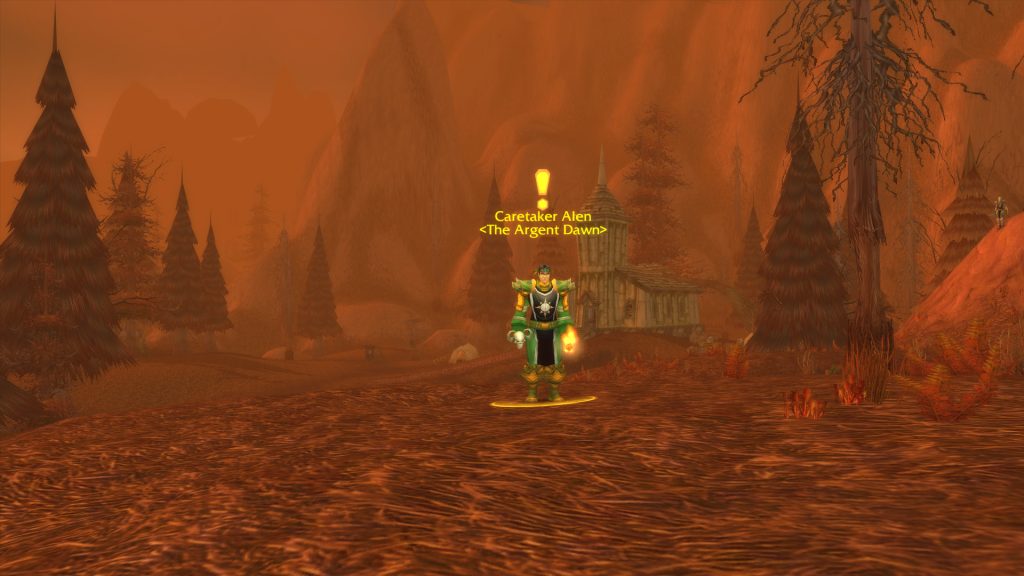
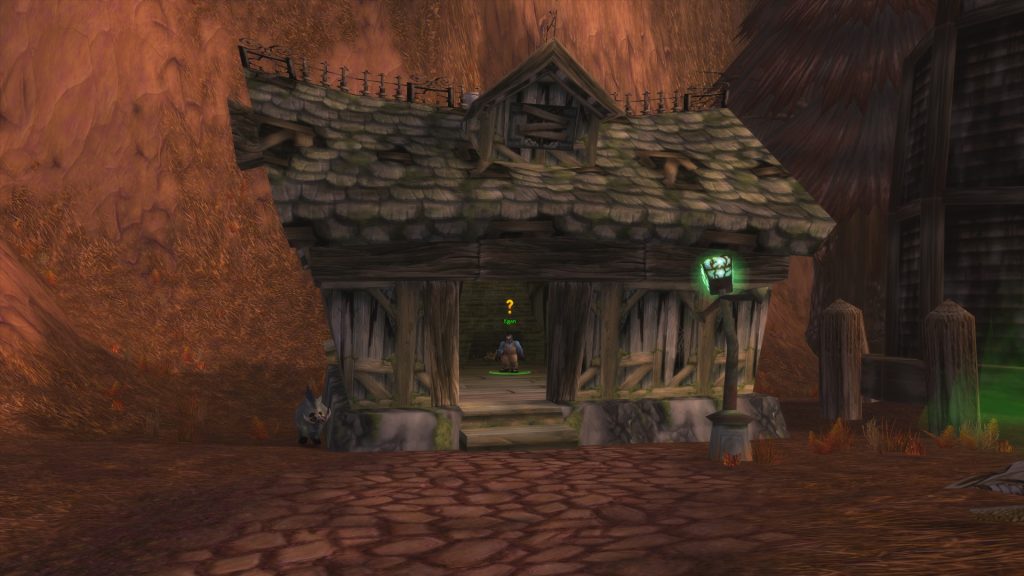
Before you can pick up this quest, you must complete another quest by the same name, The Restless Souls. To start it, speak with Caretaker Alen a little bit south of Light’s Hope Chapel in Eastern Plaguelands. Then head to Terrordale in the northwest corner of the zone and look for Egan inside a small house (the westernmost of the three houses marked on the map). He’ll offer you this quest.
Inside the Stratholme dungeon, you’ll see Ghostly Citizens and Spectral Citizens, human ghosts, wandering around among the other undead. Do not kill them. Instead, equip Egan’s Blaster and right-click on it while you have one of them targeted. This will destroy the ghost and cause a Restless Soul wisp to spawn. Use the blaster again on the wisp to free the soul. Do this 15 times and you’ll be able to turn in the quest to Egan and receive your reward.
Bosses
There are 11 bosses in Stratholme (Living), including 2 Rare bosses that do not always spawn, one that is summoned, and one that spawns after defeating another boss.
- Skul (Rare)
- The Unforgiven
- Hearthsinger Forresten (Rare)
- Postmaster Malown (Summoned)
- Timmy the Cruel
- Crimson Hammersmith
- Cannon Master Willey
- Archivist Galford
- Grand Crusader Dathrohan / Balnazzar
- Jarien and Sothos
Skul
Skul is a rare mob who spawns near the main entrance (the gates) of Stratholme. Many groups approach the instance from the side entrance, and will not pass by Skul on the way. Warlocks will hope to encounter Skul to obtain their Pre-BiS wand, Skul’s Ghastly Touch.
Strategy
- Tank: This fight is essentially a tank and spank. Interrupt Skul’s abilities as much as possible.
- Healer: Keep your tank topped off as much as possible.
- Damage Dealers: Try to interrupt Skul’s abilities as much as possible. Let your tank maintain threat while you burn Skul down.
Loot
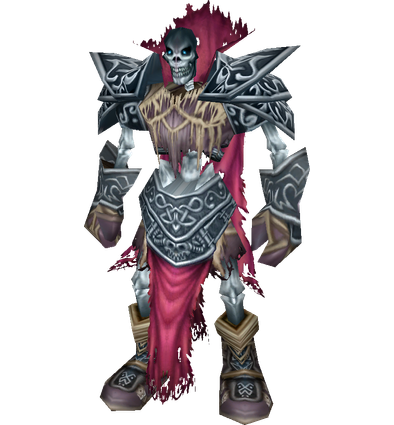
The Unforgiven
The Unforgiven is an undead spirit who will spawn some non-elite adds when engaged.
Strategy
- Tank: Allow your DPS to burn down the adds while you establish threat on The Unforgiven. Once the adds are down, this is a tank and spank.
- Healer: As the DPS burn down the adds they may take some damage. Keep everyone topped off as best you can. Once the adds are dead, only the tank should be taking damage.
- Damage Dealers: Focus down the adds first followed by the boss. Make sure your tank has established threat on The Unforgiven before starting your DPS rotation.
Loot
Hearthsinger Forresten
Hearthsinger Forresten is a rare mob who spawns either down the street from Fras Siabi or patrolling along part of Market Row.
Strategy
- Tank: Tank the boss where he stands, away from other patrolling mobs. You may be put to sleep by Enchanting Lullaby, and will need to get threat back on the boss as soon as you awake.
- Healer: Keep the tank topped off at all times and try to put a shield up if possible to do so without generating threat or negatively impacting your tank’s threat generation. You may be put to sleep by Enchanting Lullaby so be prepared. Spread out to avoid being hit with Multi-Shot too often.
- Damage Dealers: This rare mob is essentially a tank and spank. Spread out to avoid too many people being hit by Multi-Shot. If you are put to sleep with Enchanting Lullaby, the effect will last 8 seconds.
Loot
- Magister’s Boots
- Piccolo of the Flaming Fire
- Rainbow Girdle
- Songbird Blouse
- Woolies of the Prancing Minstrel
Postmaster Malown
Postmaster Malown spawns after you open the third mailbox in Stratholme, using Market Row Postbox Key which drop off of the Stratholme Courier throughout the instance. Malown spawns with three Undead Postman which apply stacks of Wailing Dead. The only CC you can use on them are Turn Undead or Shackle Undead.
Strategy
- Tank: When the boss and his adds spawn, try to pull the boss away from whichever adds are being CC’d. Maintain threat on all of the engaged mobs, and allow your DPS to burn down the adds first and then focus the Postmaster.
- Healer: Your tank will be taking a lot of damage as most of the adds will not be able to be CC’d. Dispel Fear as quickly as you can, especially if it is on the tank. If you are a Druid, decurse your party members as necessary.
- Damage Dealers: Use CC on the adds if possible. Try to clear out the adds which you could not CC first, then switch to Postmaster Malown. If you are a Mage or Druid, decurse your party members as necessary.
Loot
- Malown’s Slam
- The Postmaster’s Band
- The Postmaster’s Seal
- The Postmaster’s Treads
- The Postmaster’s Trousers
- The Postmaster’s Tunic
Timmy the Cruel
Timmy the Cruel will run out from the left hand side of the courtyard once you have defeated all of the mobs who are posted outside of the Scarlet domain of the instance.
Strategy
- Tank: This fight is a tank and spank.
- Healer: Keep your tank topped off, especially for when Timmy goes into Enrage.
- Damage Dealers: Allow your tank to establish threat, then maximize damage output on the boss.
Loot
- Grimgore Noose
- Lightforge Gauntlets
- The Cruel Hand of Timmy
- Timmy’s Galoshes
- Vambraces of the Sadist
Crimson Hammersmith
The Crimson Hammersmith will spawn if someone clicks on the pattern on the ground. This will easily happen if a party member doesn’t realize what will happen, so this boss usually comes as an unexpected add while the party is pulling regular mob packs.
Strategy
- Tank: This mob is more of an unexpected add than a boss. Be prepared to grab threat on it if someone summons him.
- Healer: This mob is more of an unexpected add than a boss. Be prepared to call it out and heal through it.
- Damage Dealers: To help the party out don’t click on the pattern in the middle of a fight with mob packs. If you want to kill him then announce it to the party.
Loot
Cannon Master Willey
Cannon Master Willey is engaged within the small Armory section of this Crimson Domain. The boss spawns adds which will need to be either CC’d or burnt down. You can also pick up a cannonball in the room and fire it from one of the cannons in the room to deal significant damage to the adds.
Strategy
- Tank: Be ready to pickup adds when they spawn.
- Healer: Keep your distance from the boss during the encounter so that the adds do not run straight to you when they spawn. Make sure to stand behind the cannon though. Keep your tank topped off throughout the fight.
- Damage Dealers: Focus your damage output on the boss. When adds spawns, CC them or utilize the cannons in the room to defeat them.
Loot
- Barrage Girdle
- Cannonball Runner
- Nacreous Shell Necklace
- Helm of the New Moon
- Mantle of the Scarlet Crusade
- Master Cannoneer Boots
- Plans: Heartseeker
- Redemption
- Shadowcraft Spaulders
- Willey’s Back Scratcher
- Willey’s Portable Howitzer
Archivist Galford
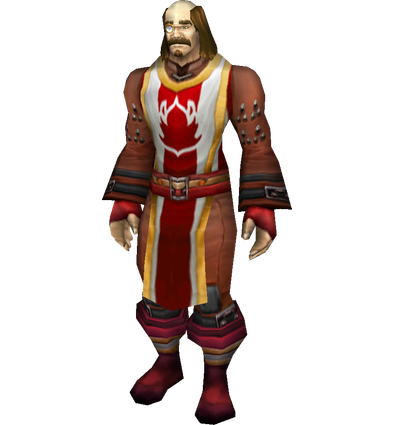
Archivist Galford is located in his own library across from the final chamber of the Crimson Domain. Engage Archivist in his room and have the group spread out while bringing the boss down.
Strategy
- Tank: Focus Galford. It is possible that you will be targeted by Burning Winds. Make sure to get threat back as quickly as possible when it wears off.
- Healer: Galford is essentially a tank and spank for DPS players. Utilize any self healing or (fire) damage absorption to take some pressure off of your healer.
- Damage Dealers: The boss abilities will likely damage multiple players at once, so you will need to rotate your healing accordingly. Focus the tank, and try to place shields or HoT effects on your party members. Any member of the party may be targeted with Burning Winds. If the tank is targeted, the boss may choose to switch targets until the tank gets threat back.
Loot
- Archivist Cape
- Ash Covered Boots
- Devout Gloves
- Foresight Girdle
- Tome of Conjure Food VII
- Tome of Knowledge
- Righteous Orb
Balnazzar
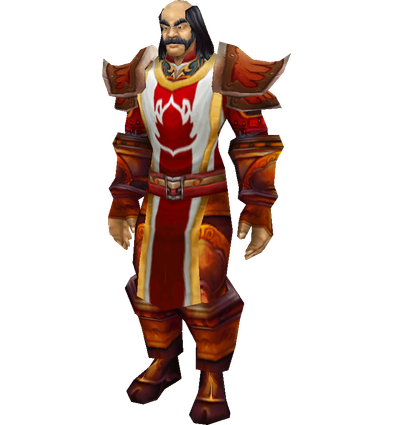
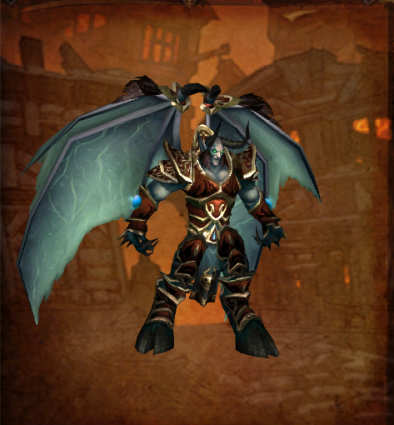
The final encounter of Strat Live begins with an all-too-easy tank and spank with Grand Crusader Dathrophan. Just when the fight seems to be over, he will transform into the powerful demon Balnazzar.
Strategy
- Tank: Tank the boss in the middle of the room so that the group can spread out.
- Healer: The boss’ Deep Sleep ability can be dispelled. Psychic Scream can be avoided if standing at maximum range.
- Damage Dealers: The entire group will likely be taking damage at some point during this encounter, so try to keep everyone topped off. Psychic Scream can be outranged if you are at maximum distance from the boss. Dispel Deep Sleep from your party members if possible.
Loot
- Book of the Dead
- Crown of Tyranny
- Demonshear
- Fire Striders
- Gift of the Elven Magi
- Grand Crusader’s Helm
- Hammer of the Grand Crusader
- Lightforge Boots
- Pattern: Truefaith Vestments
- Recipe: Flask of Distilled Wisdom
- Shroud of the Nathrezim
- Star of Mystaria
- Wyrmtongue Shoulders
Jarrien and Sothos
Jarien and Sothos are summoned in Balnazzar’s room using the Brazier of Beckoning for the Tier 0.5 questline.
Strategy
- Tank: This fight is a tank and spank.
- Healer: If done correctly, there should be no damage done to party members other than the tank. Just be prepared for Mortal Strike.
- Damage Dealers: This fight is a tank and spank.
Loot
- Amulet of the Redeemed
- Band of Mending
- Ironweave Robe
- Legplates of Vigilance
- Scepter of Interminable Focus
Quest Rewards & Loot
Quest Rewards
Boss Drops
Author
I've been playing World of Warcraft on and off since vanilla, usually as a healer or caster and often as a guild leader. I play both retail and classic. I also love RPGs, sandboxes, and sims.
