- Author: Luxrah
- Date: January 21, 2025
- Updated: January 23, 2025
- Expansion: WoW Classic
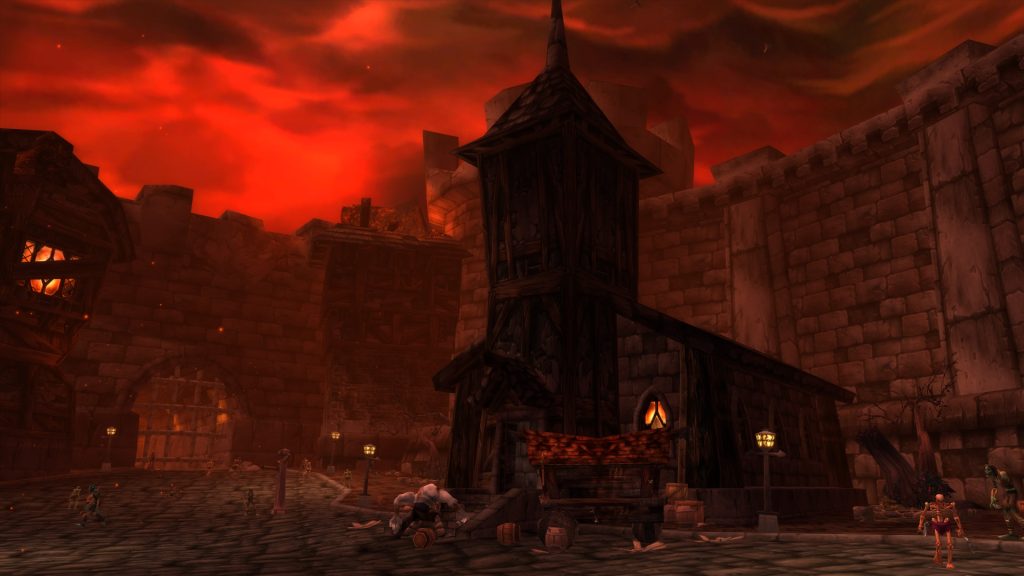
Stratholme is one of the most popular dungeons in the game, and is a key location for the storyline of Prince Arthas. It is in Stratholme where Arthas betrayed Uther Lightbringer by killing subjects he believed to have the undead plague. On the Undead Side, scourge agents protect three ziggurats which must be cleared to remove the shield at the end where you will encounter the death knight, Baron Rivendare and his skeletal companions.
- Level Requirement: 48
- Recommended Level: 58+
- Location: Eastern Plaguelands
- Boss Encounters: Nerub’enkan, Black Guard Swordsmith, Maleki the Pallid, Baroness Anastari, Magistrate Barthilas, Ramstein the Gorger, Baron Rivendare, Stonespire (Rare), Balzaphon (Scourge Invasion)
- Loot Drops:
- Runeblade of Baron Rivendare, Peacemaker, Skullforge Reaver, Ritssyn’s Wand of Bad Mojo, Skull of Burning Shadows, Husk of Nerub’enkan, Shadowy Laced Handwraps, Stoneskin Gargoyle Cape, Chitinous Plate Legguards, Gauntlets of Deftness, Anastari Heirloom, Animated Chain Necklace, Ramstein’s Lightning Bolts, Idol of Brutality
- Plans: Hammer of the Titans, Deathcharger’s Reins
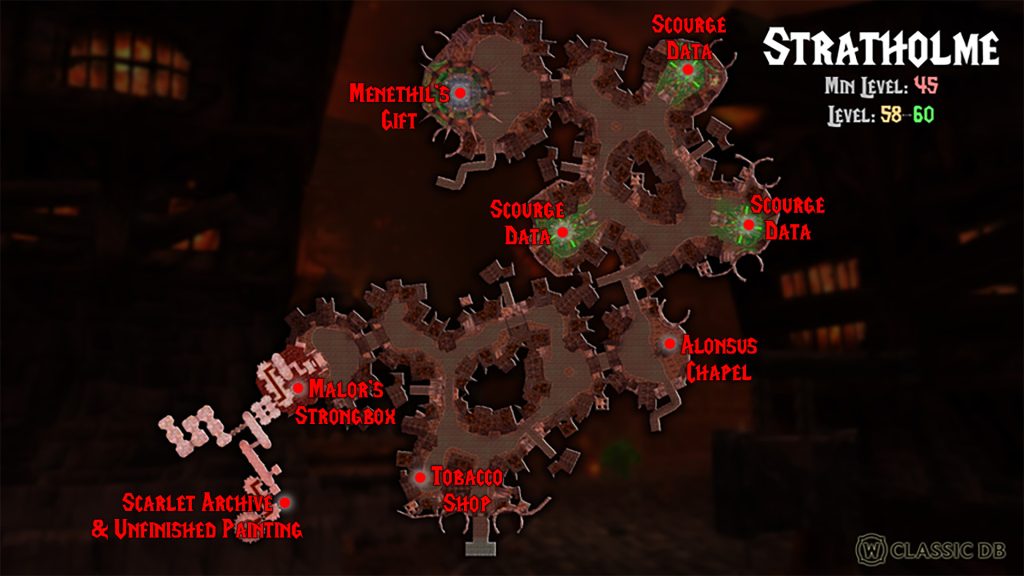
Location & Map
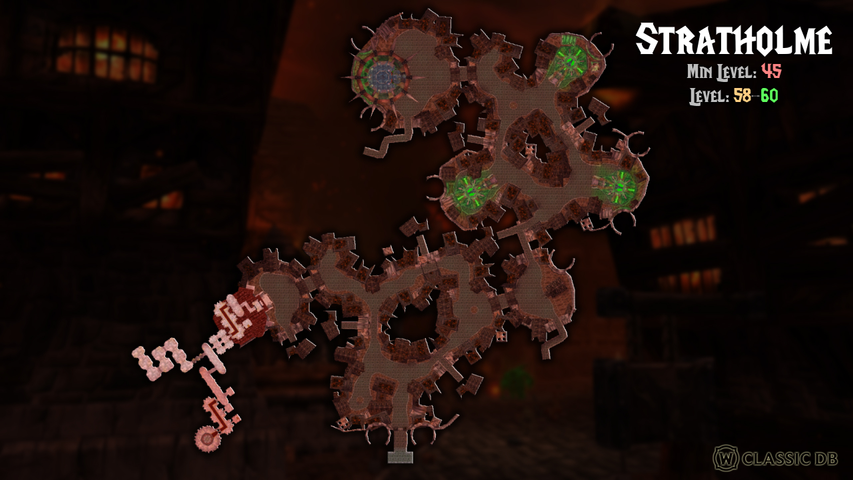
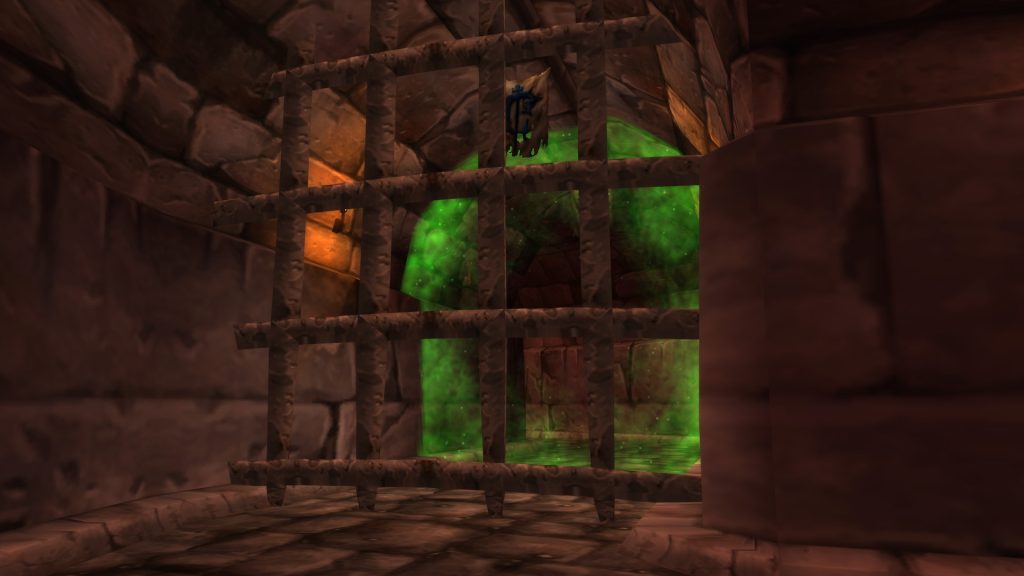
The Undead wing of Stratholme is typically entered through the Eastwall Gate, which is east of the main dungeon entrance in northwestern Eastern Plaguelands. The gate requires the Key to the City to open. The key drops from the boss Magistrate Barthilas and is also required to open several gates inside the dungeon.
It’s also possible to reach the wing by entering through the main dungeon entrance and passing through Living wing first. This is normally done to acquire the key. Entering through the Living wing will not trigger Magistrate Barthilas to run to the back of the dungeon, so you will be able to kill him in his original spot in front of Alonsus Chapel. (Opening the Service Gate Entrance is what triggers him to take off.)
The Key to the City is also required to pass through the Gauntlet Gate that leads to the rest of the Undead wing. Opening the Gauntlet Gate triggers The Baron’s Ultimatum, a 45-minute timer after which he will kill his prisoner. This is only significant if you’re working on the quest to acquire the Tier 0.5 dungeon set.
A set of portcullis gates blocks Slaughter Square, where the last two bosses are located. These gates will only open after you have cleared the three ziggurats, the towers that are spread around this wing of the dungeon. You’ll need to kill the bosses that guard their doorways in order to open them – Baroness Anastari, Maleki the Pallid, and Nerub’enkan. Then you’ll need to enter the buildings and kill all of the Thuzadin Acolytes inside. You’ll know you have succeeded when they yell about the Slaughterhouse being unprotected.
Entering Slaughter Square, you’ll have to kill all of the Venom Belchers and Bile Spewers in order to draw out the boss Ramstein the Gorger. When he’s been defeated, a large group of Mindless Undead will appear. Deal with them and any remaining Bile Slimes and the doors to The Slaughter House will open, with 3 Black Guard Sentry elites emerging. This will allow you to access the final boss, Baron Rivendare.
Unused Naxxramas Portal
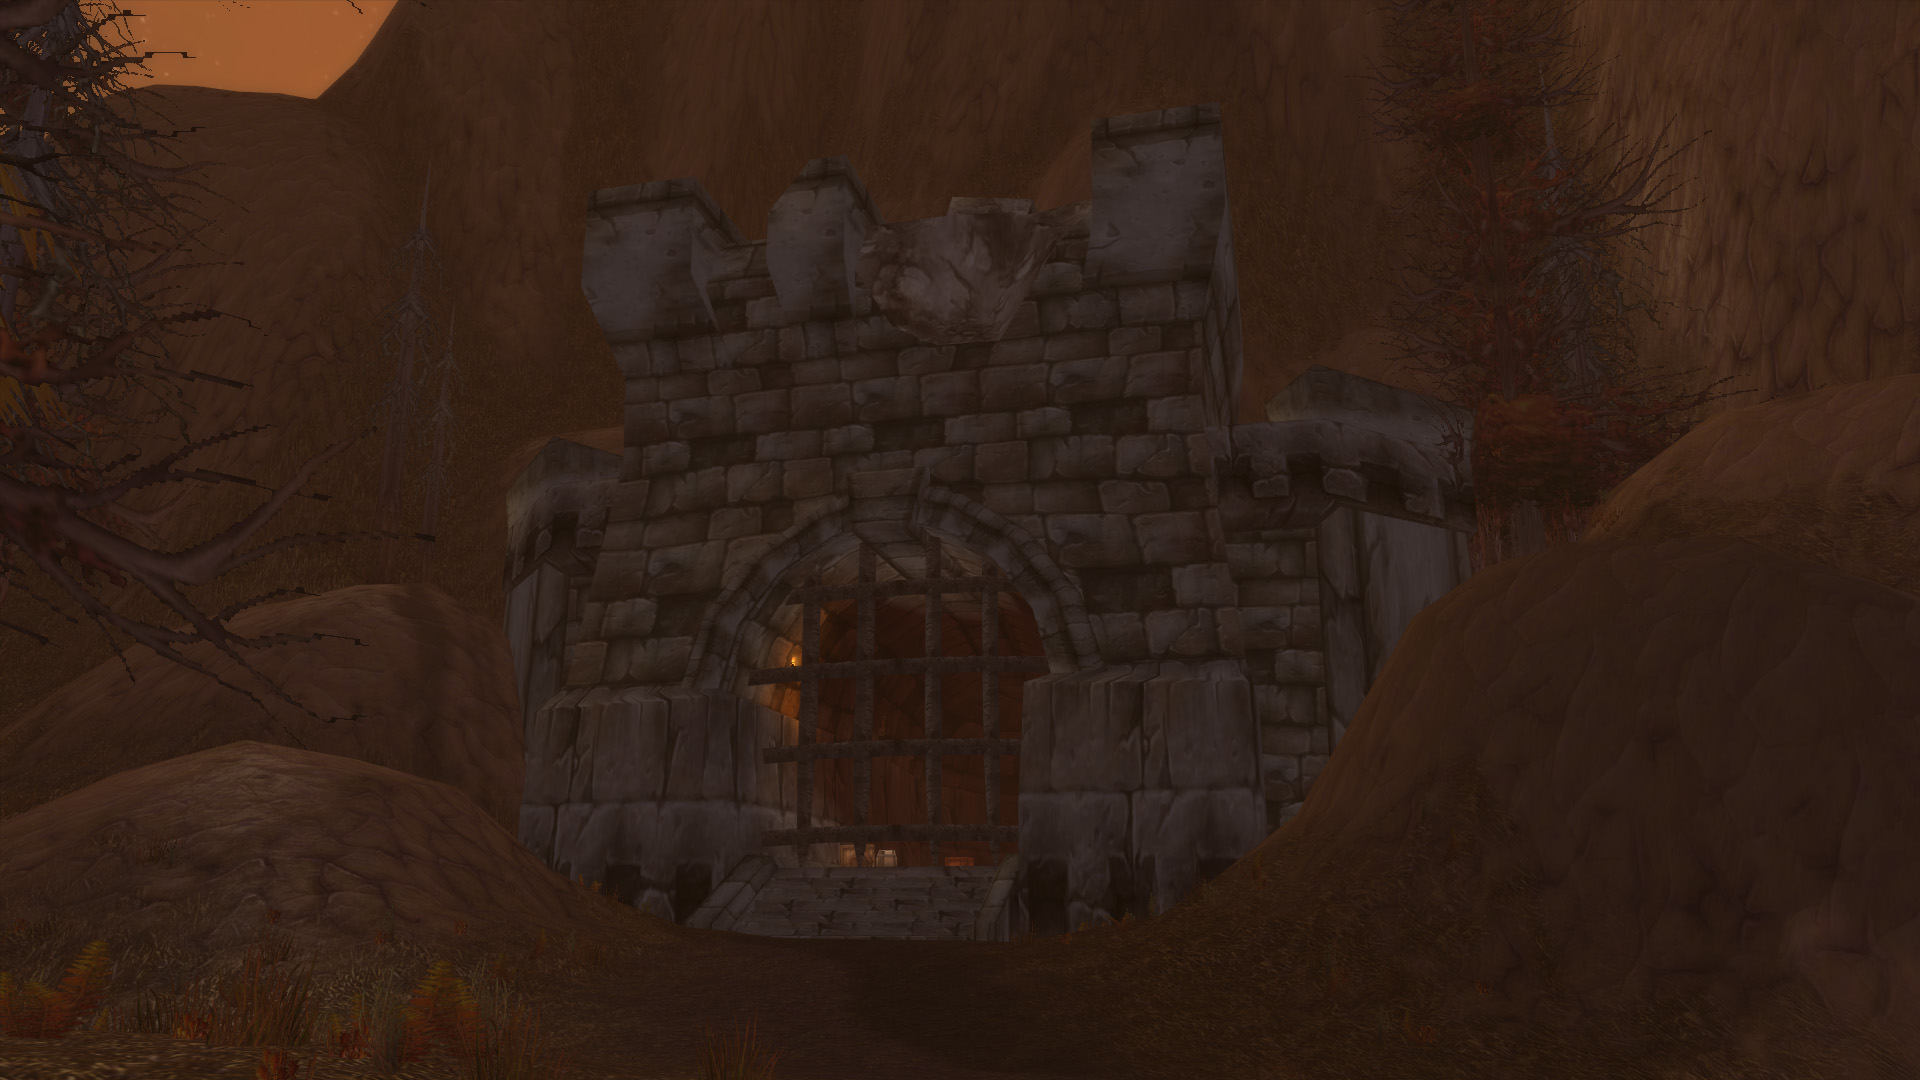
If you reach the end of the dungeon and defeat Baron Rivendare, you’ll find that a gate opens up in Slaughter Square. Behind this gate you’ll find another closed gate, and behind that you can see a raid portal. It seems the developers originally planned to have players enter the Naxxramas raid through this route, but that plan was axed, leaving this unused and inaccessible portal for players to puzzle over!
Quests
There are six faction-neutral quests that can be completed inside the Undead wing of Stratholme, plus one quest that is exclusive to Horde.
Quest Name | Acquired From | Shareable |
|---|---|---|
Nathanos Blightcaller (Eastern Plaguelands) | No | |
Aurius (Stratholme) | No | |
Leonid Barthalomew the Revered (Eastern Plaguelands) | No | |
Betina Bigglezink Eastern Plaguelands) | Yes | |
Betina Bigglezink Eastern Plaguelands) | No | |
Duke Nicholas Zverenhoff (Eastern Plaguelands) | Yes | |
Leonid Barthalomew the Revered (Eastern Plaguelands) | Yes |
 Horde Quests
Ramstein
- Shareable: No
- Level Required: 56
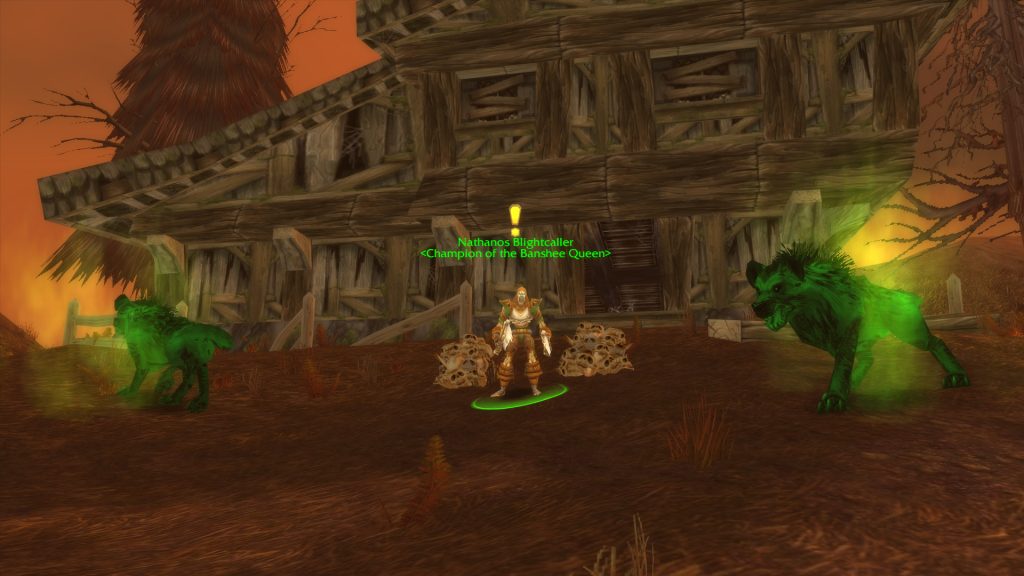
- Start: Nathanos Blightcaller at The Marris Stead in Eastern Plaguelands
- Finish: Nathanos Blightcaller at The Marris Stead in Eastern Plaguelands
- Objectives:
- Rewards:
- 6600 experience
- 1 gold 80 silver
- 250 reputation with Undercity
- Pick one of:
This chain starts with a trio of quests from Nathanos Blightcaller at The Marris Stead in Eastern Plaguelands. The stead is on a hill north of the main road in the southwest corner of the zone.
- The Ranger Lord’s Behest: Head to Quel’Lithien Lodge, the high elf outpost on the northern edge of the zone, a little northwest of where Northpass Tower is marked on the map. You’ll need to kill 8 Woodsman, 8 Ranger, and 8 Pathstrider elves. You’ll also need to pick up the Quel’Thalas Registry, which is on a bench inside the building (it’s very easy to overlook as the color blends in with the bench – it’s between two bookshelves on the western side of the building).
- To Kill With Purpose: Travel to Corin’s Crossing, the town where the roads intersect in the south-central part of the zone, and kill undead mobs in the area. They all have a chance to drop Living Rot. Collect 7 of these and then use the Mortar and Pestle that Nathanos gave you to grind them into Coagulated Rot. You must do this within 10 minutes of picking up the first Living Rot, as they expire. Note also that each piece of Living Rot requires its own bag slot, so you’ll need some space in your inventory before you start.
- Un-Life’s Little Annoyances: For this quest you’ll need to kill 20 Noxious Plaguebats in the central and eastern part of the zone and 10 Monstrous Plaguebats in the northern half of the zone.
Return to Nathanos Blightcaller when you have completed these and he’ll offer two Elite quests next:
- Duskwing, Oh How I Hate The…: For this one, you’ll need to kill Duskwing, an elite level 60 plaguebat who can be found wandering the southwest quadrant of the map around The Marris Stead. Loot the Patch of Duskwing’s Fur to complete the quest.
- The Corpulent One: Borelgore is an elite level 61 carrion worm who crawls back and forth through a ravine in the north of the zone, just south of where Northpass Tower is marked on the map. You don’t need to loot anything from him, just kill him.
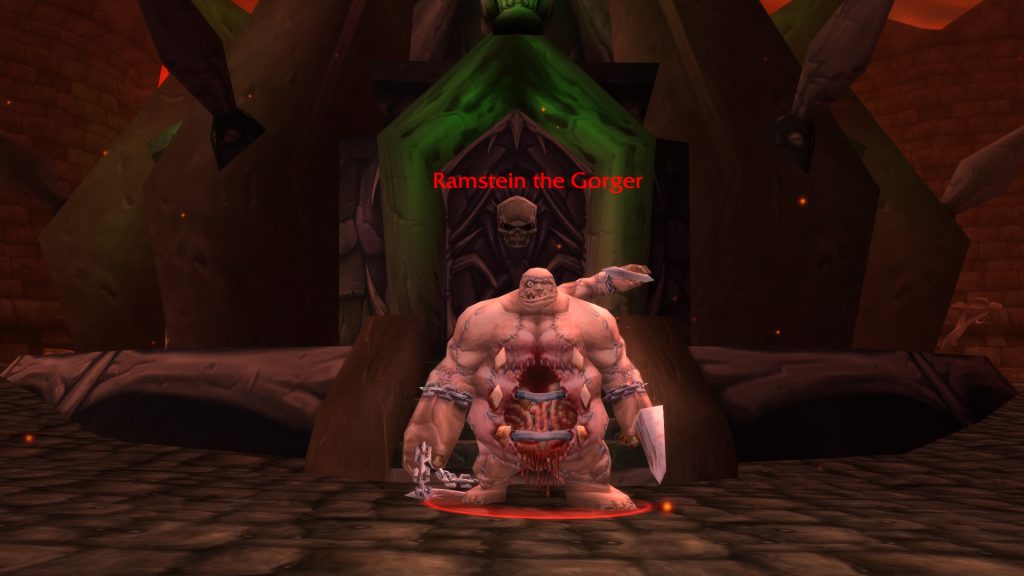
Head back to Nathanos Blightcaller to turn these in and he’ll now offer you Ramstein. Enter the Undead wing of Stratholme and make your way to Slaughter Square. Kill all of the Bile Spewers and Venom Belchers who are wandering around the area and Ramstein the Gorger will appear. Kill him and loot the Head of Ramstein the Gorger to complete the quest and return to Nathanos one last time for your reward.
Neutral Quests
Aurius’ Reckoning
- Shareable: No
- Level Required: 55
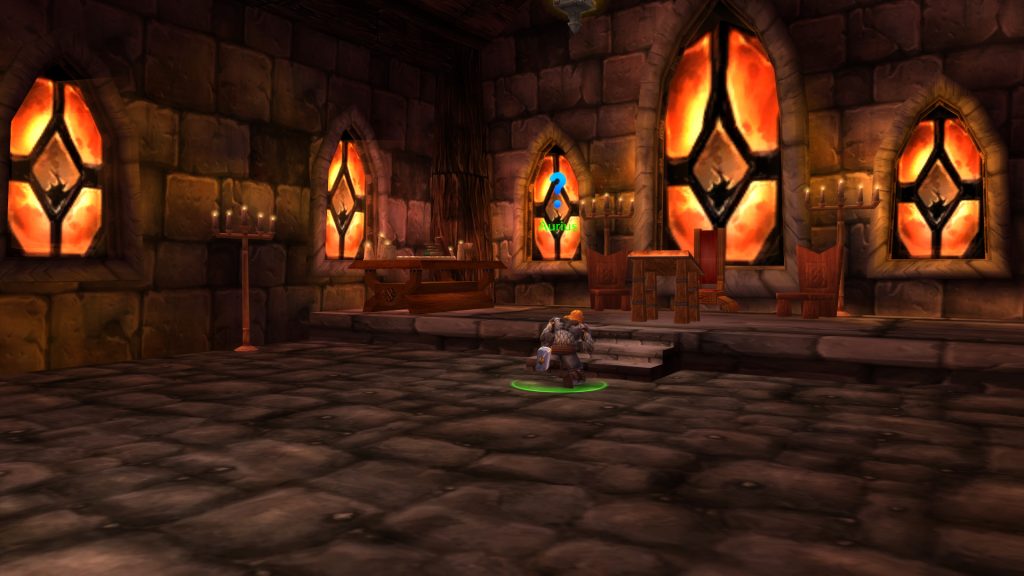
- Start: Aurius at Alonsus Chapel inside Stratholme
- Finish: Aurius at Alonsus Chapel inside Stratholme
- Objectives: Speak with Aurius at the end of the dungeon
- Rewards:
- 8850 experience
- Pick one of:
To get this quest, you must first complete The Medallion of Faith, which starts in Stratholme (Living). If someone in your group has handed in this quest during your current dungeon lockout, Aurius will join you in the fight against Baron Rivendare, the final boss. Once the boss has been defeated, you’ll be able to talk to Aurius and turn in this quest.
Menethil’s Gift
- Shareable: No
- Level Required: 57
- Chain Start: Eva Sarkhoff at Caer Darrow in Western Plaguelands
- Quest Start: Leonid Barthalomew the Revered at Light’s Hope Chapel in Eastern Plaguelands
- Finish: Menethil’s Gift in Baron Rivendare‘s room of Stratholme
- Objectives: Interact with Menethil’s Gift inside Stratholme
- Rewards:
- 6600 experience
This chain begins with the quest Doctor Theolen Krastinov, the Butcher, offered by Eva Sarkhoff right outside the Scholomance dungeon. You can find walkthroughs for the prerequisite quests in our Scholomance Dungeon Guide.
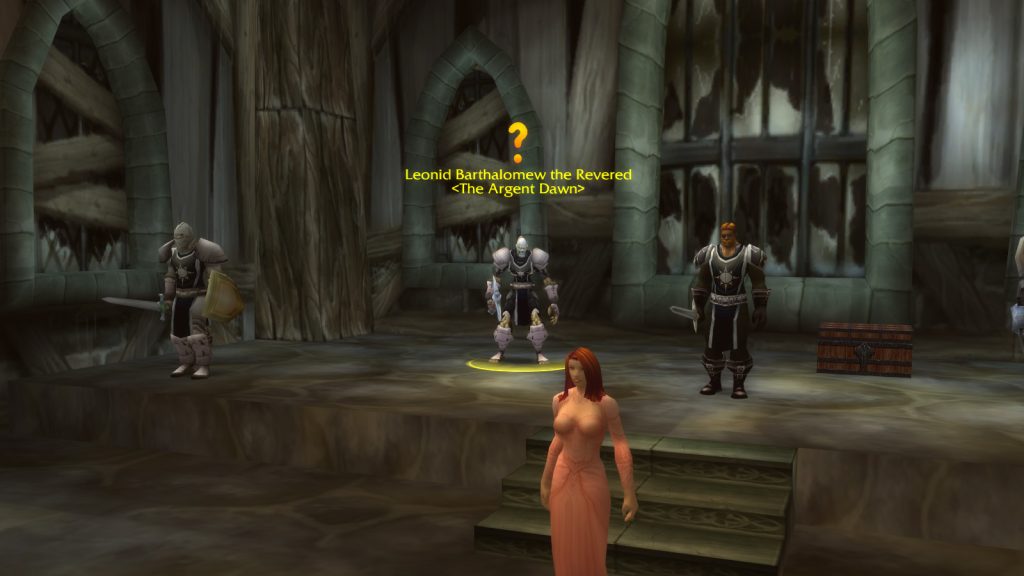
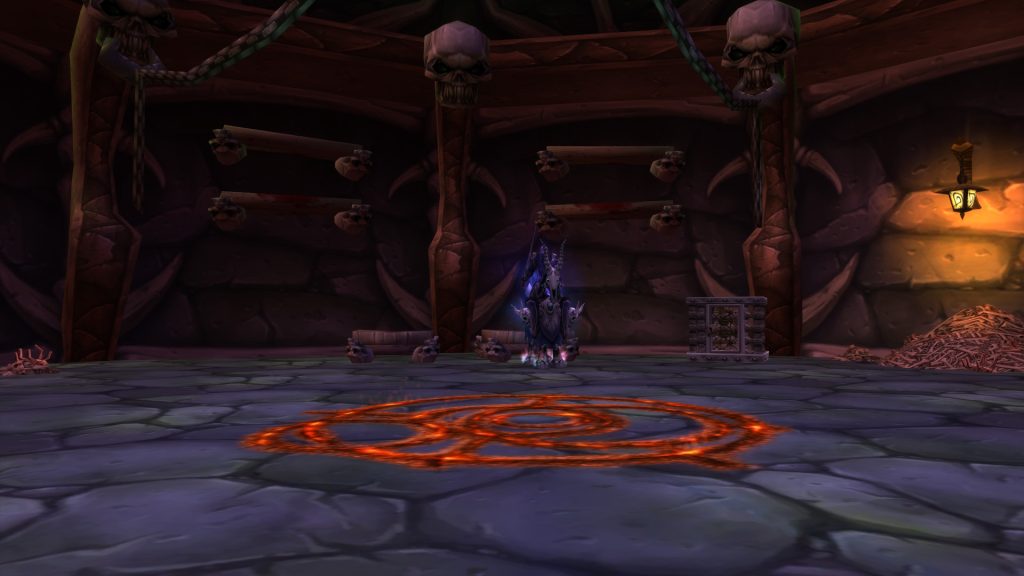
When you reach this quest, you’ll need to enter the Undead wing of the Stratholme dungeon and make your way to Baron Rivendare, the last boss. There you can click on Menethil’s Gift, the glowing symbol on the ground in front of the boss, to get the next quest (also called Menethil’s Gift). Return to Leonid Barthalomew at Light’s Hope Chapel to turn this in, and you’ll be able to continue on to the last quest in Scholomance if you choose.
The Flesh Does Not Lie
- Shareable: Yes
- Level Required: 55
- Start: Betina Bigglezink at Light’s Hope Chapel in Eastern Plaguelands
- Finish: Betina Bigglezink at Light’s Hope Chapel in Eastern Plaguelands
- Objectives: Collect 10 Plagued Flesh Samples inside Stratholme
- Rewards:
- 6600 experience
- 1 gold 80 silver
- 100 reputation with Argent Dawn
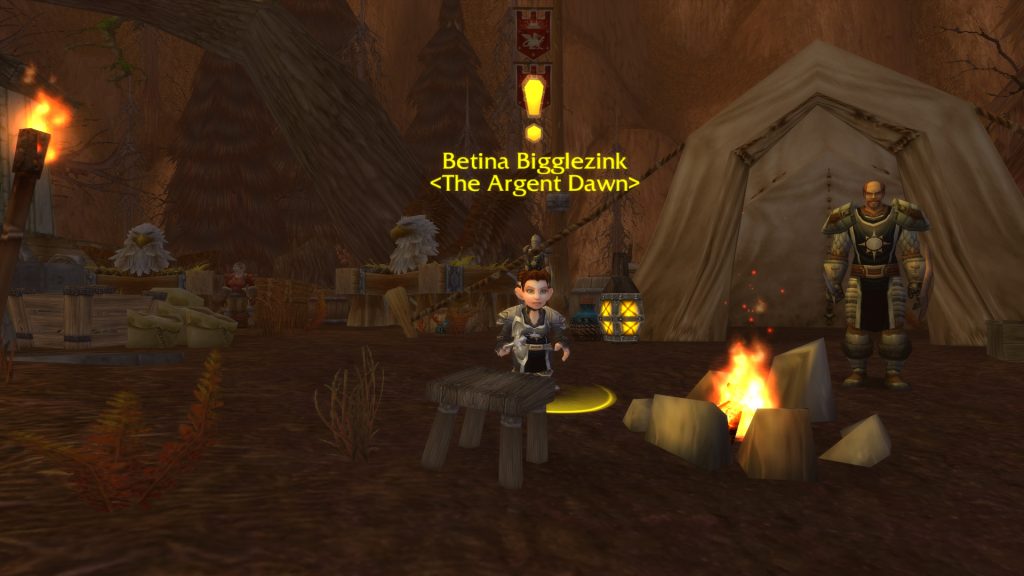
This quest tasks you with entering the Stratholme dungeon and looting 10 Plagued Flesh Samples from undead mobs throughout the instance. The quest claims they can drop from any mob, but the skeletons do not seem to have any flesh to give. When you have 10 of the samples, return to Betina Bigglezink at Light’s Hope Chapel to turn them in and pick up the next quest below. If you want to do these quests in the same lockout, hand in this quest before you continue further into the dungeon.
The Active Agent
- Shareable: No
- Level Required: 55
- Chain Start: Betina Bigglezink at Light’s Hope Chapel in Eastern Plaguelands
- Quest Start: Betina Bigglezink at Light’s Hope Chapel in Eastern Plaguelands
- Finish: Betina Bigglezink at Light’s Hope Chapel in Eastern Plaguelands
- Objectives: Collect Scourge Data inside Stratholme
- Rewards:
- 6850 experience
- 250 reputation with Argent Dawn
- Pick one of:
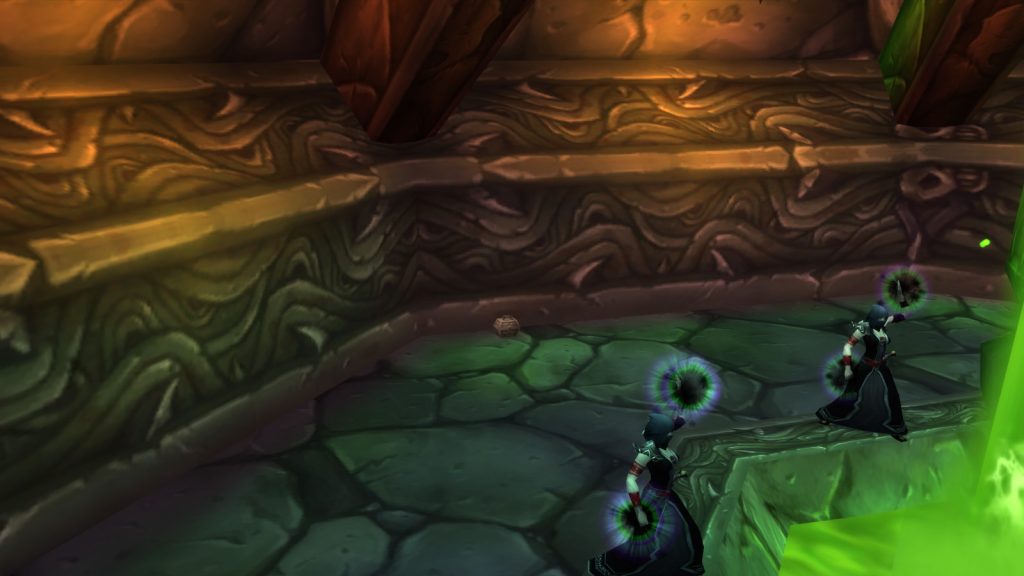
This quest follows the one above, and requires you to loot Scourge Data from a small box that can spawn inside any of the three ziggurats in the Undead wing of Stratholme. The ziggurats are the towers where you’ll find the bosses Baroness Anastari, Maleki the Pallid, and Nerub’enkan guarding the doorways.
Above and Beyond
- Shareable: Yes
- Level Required: 55
- Chain Start: Duke Nicholas Zverenhoff at Light’s Hope Chapel in Eastern Plaguelands
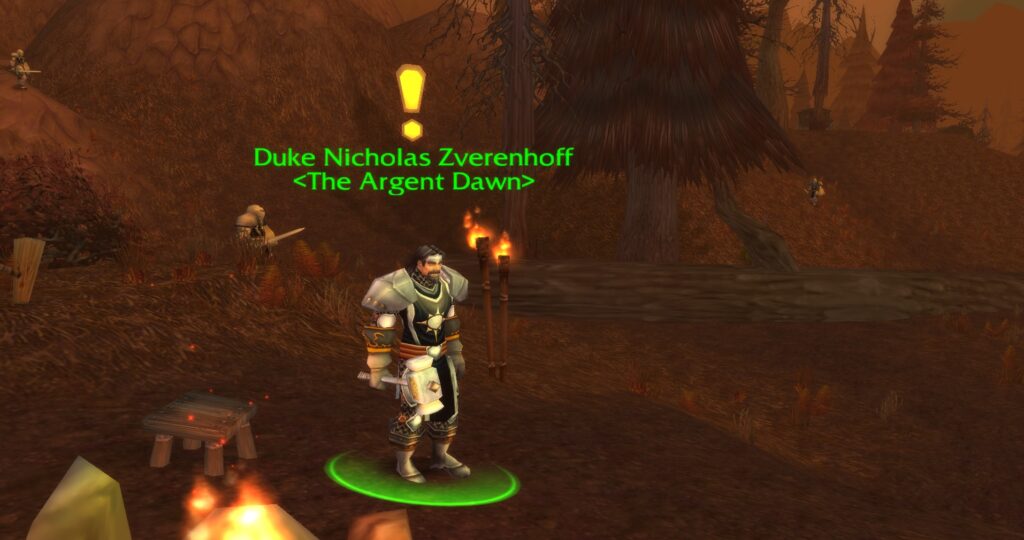
- Quest Start: Duke Nicholas Zverenhoff at Light’s Hope Chapel in Eastern Plaguelands
- Finish: Duke Nicholas Zverenhoff at Light’s Hope Chapel in Eastern Plaguelands
- Objectives: Obtain the Head of Baron Rivendare from Baron Rivendare inside Stratholme
- Rewards:
- 8300 experience
- 150 reputation with Argent Dawn
This quest continues the chain that starts with The Archivist and The Truth Comes Crashing Down inside the Stratholme (Living).
Once you’ve picked up this quest, make your way through the Undead wing of Stratholme to the final boss, Baron Rivendare, and kill him to loot the Head of Baron Rivendare. Hand it in to Duke Nicholas at Light’s Hope Chapel. You’ll then be able to continue with two more quests in Eastern Plaguelands to receive your choice of Argent Avenger, Argent Crusader, or Argent Defender.
Houses of the Holy
- Shareable: Yes
- Level Required: 55
- Start: Leonid Barthalomew the Revered at Light’s Hope Chapel in Eastern Plaguelands
- Finish: Leonid Barthalomew the Revered at Light’s Hope Chapel in Eastern Plaguelands
- Objectives: Collect 5 Stratholme Holy Water inside Stratholme
- Rewards:
- 6600 experience
- 1 gold 80 silver
- 250 reputation with Argent Dawn
- 5x Superior Healing Potion
- 5x Greater Mana Potion
- Pick one of:
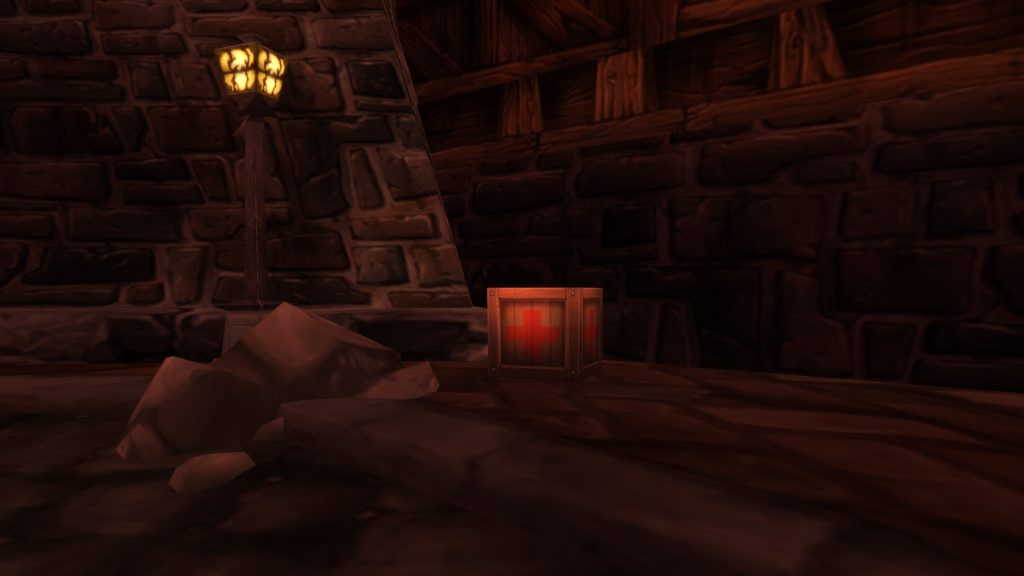
For this quest, you’ll need to enter Stratholme and loot the Supply Crates and Stratholme Supply Crates that are scattered along the side of the road to get 5 Stratholme Holy Waters. A single crate can contain multiple holy waters and there are many of them throughout the instance. Be aware that the regular Supply Crates are sometimes trapped and will spawn a bunch of Plagued Insects when you get too close.
Bosses
There are 9 bosses in the Undead version of Stratholme, including one Rare boss that does not always spawn and one boss that is part of the Scourge Invasion.
- Nerub’enkan
- Stonespire (Rare)
- Black Guard Swordsmith
- Baroness Anastari
- Maleki the Pallid
- Magistrate Barthilas
- Ramstein the Gorger
- Baron Rivendare
- Balzaphon (Scourge Invasion)
Nerub’enkan
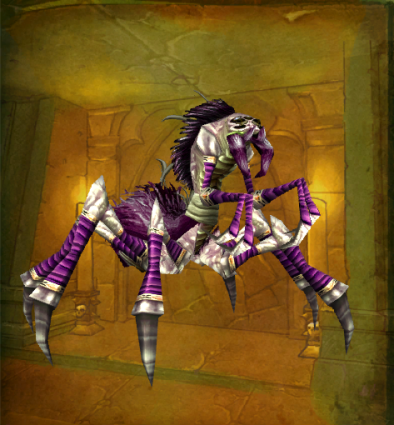
Nerub’enkan stands at the top of the first small ziggurat you encounter off to the left. Be sure to clear any groups of hostile mobs in the area before engaging Nerb’enkan, as it will complicate the encounter to include them at the same time. After defeating the boss, be sure to clear the Thuzadin Acolytes within the ziggurat.
Strategy
- Tank: Tank the boss at the top of the ramp of the ziggurat where it already stands. Try to be sure you are always in line of sight of your healer. When adds spawn, utilize AoE effects to establish some threat on them. Escape Encasing Webs if possible, but you should be able to maintain threat while snared.
- Healer: While healing this fight, keep your distance as best as possible while remaining within line of sight. The ramp of the ziggurat with the high ledges can make this challenging at times.
- Damage Dealers: When the boss spawns adds via Crypt Scarabs and Raise Undead Scarab, utilize AoE effects to damage them along with the boss. They don’t have much health or deal much damage. Focus your DPS on the boss without overtaking the primary threat position from the tank.
Loot
- Acid-etched Pauldrons
- Beaststalker’s Boots
- Carapace Spine Crossbow
- Chitinous Plate Legguards
- Crypt Stalker Leggings
- Darkspinner Claws
- Eye of Arachnida
- Fangdrip Runners
- Husk of Nerub’enkan
- Thuzadin Sash
Stonespire
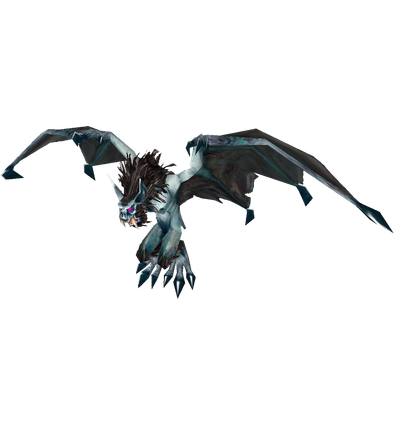
Stonespine is a rare spawn that patrols around the area between Nerub’enkan and Baroness Anastari’s ziggurats.
Strategy
- Tank: Tanking this rare mob is nothing out of the ordinary. Pull it away from areas where other mobs are patrolling and use defensive cooldowns to handle the Vicious Rend bleed effect.
- Healer: This rare mob is essentially a tank and spank.
- Damage Dealers: Only the tank should be taking damage during this encounter. Keep an eye out for Vicious Rend and do your best to heal through the bleed effect.
Loot
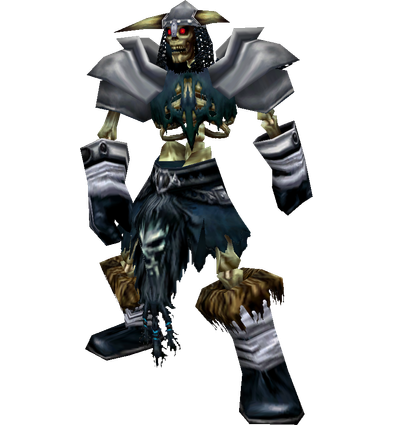
Black Guard Swordsmith
The Black Guard Swordsmith will spawn if someone clicks on the pattern on the ground. This will easily happen if a party member doesn’t realize what will happen so this boss usually comes as an unexpected add while the party is pulling regular mob packs.
Strategy
- Tank: The Black Guard Swordsmith will spawn if someone clicks on the pattern on the ground. This will easily happen if a party member doesn’t realize what will happen so this boss usually comes as an unexpected add while the party is pulling regular mob packs.
- Healer: This mob is more of an unexpected add than a boss. Be prepared to call it out and heal through it.
- Damage Dealers: To help the party out don’t click on the pattern in the middle of a fight with mob packs. If you want to kill him then announce it to the party.
Loot
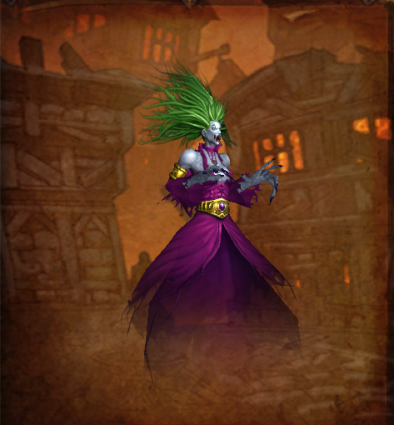
Baroness Anastari
Baroness Anastari is a banshee type who stands atop the second ziggurat you encounter in the instance. Anastari will Possess group members during the encounter who will need to be brought to 50% health before the mind control is broken. Possess, alongside her Silence and Banshee Curse can make this fight a challenge. Once defeated, do not forget to clear the inside of the ziggurat of Thuzadin Acolytes.
Strategy
- Tank: Tank the boss atop the ziggurat. Switch to the Possess party member when necessary, then reestablish yourself atop the threat meter for Baroness.
- Healer: Keep all party members topped off as well as you can. Once Anastari casts Possess your group will damage the possessed party member to 50% health, and they will require immediate healing back up to 100%. If you are a Druid, decurse your group members from Banshee Curse. Be prepared to be affected by Silence.
- Damage Dealers: As soon as the tank has established threat, utilize all damage increasing cooldowns not only to damage the boss as much as possible but to avoid having them popped while you are under the effect of Possess. Focus your DPS on Baroness Anastari until she casts Possess on a group member. Then, quickly damage them to 50% to break the mind control. If you are a Mage or Druid, decurse your party members from Banshee Curse. Casters be aware that you may be affected with Silence.
Loot
- Anastari Heirloom
- Banshee Finger
- Banshee’s Touch
- Chillhide Bracers
- Coldtouch Phantom Wraps
- Dreadmist Sandals
- Screeching Bow
- Shadowy Laced Handwraps
- Wail of the Banshee
- Windshrieker Pauldrons
Maleki the Pallid
Maleki the Pallid stands atop the third and final ziggurat. He hits hard, but he is easier than the other two bosses. Just make sure to not get adds during the fight.

Strategy
- Tank: Maleki actually hits pretty hard, so utilize your defensive cooldowns as necessary. Interrupt Drain Life and Frostbolt if possible. He will use Ice Tomb against the primary threat target, which should be the tank. As soon as you are free, taunt the boss back and reestablish threat.
- Healer: The only member of the party that should be taking damage is the tank, so keep them topped off. When Maleki uses Ice Tomb on the tank, the boss will change targets to another party member. Do your best to keep them alive until the tank is freed 6 seconds later and can pick the boss back up.
- Damage Dealers: Allow for the tank to establish threat, then begin your DPS rotation. Interrupt Frostbolt and Drain Life as much as possible. Ice Tomb will be cast on the tank, and the second-highest DPS will get threat from the boss. Be prepared to self-heal, use defensive cooldowns, or drop threat if possible.
Loot
- Bone Slicing Hatchet
- Clutch of Foresight
- Darkbind Fingers
- Devour Sandals
- Flamescarred Girdle
- Lavawalker Greaves
- Maleki’s Footwraps
- Pale Moon Cloak
- Plans: Hammer of the Titans
- Skull of Burning Shadows
- Twilight Void Bracers
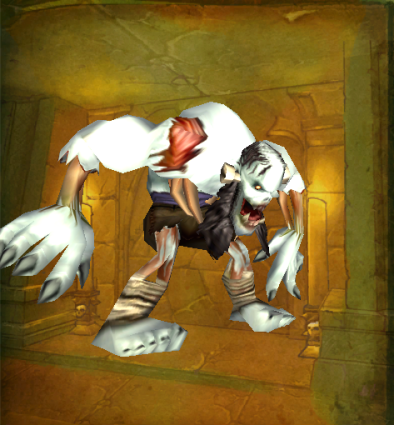
Magistrate Barthilas
Magistrate Barthilas is either located near the church at the beginning of the instance, or just before the courtyard where you fight Ramstein. The boss drops the Key to the City which gets you in the back gate.
Strategy
- Tank: Position Barthilas facing away from the group and towards a wall so that his Mighty Blow does not knock you into other mobs.
- Healer: While healing this fight, the entire group may take damage from Crowd Pummel, but in general only the Tank should be taking damage from the boss.
- Damage Dealers: For DPS, this fight is essentially a tank and spank. Let the tank maintain threat while you damage the boss.
Loot
- Crimson Felt Hat
- Death Grips
- Idol of Brutality
- Key to the City
- Magistrate’s Cuffs
- Peacemaker
- Royal Tribunal Cloak
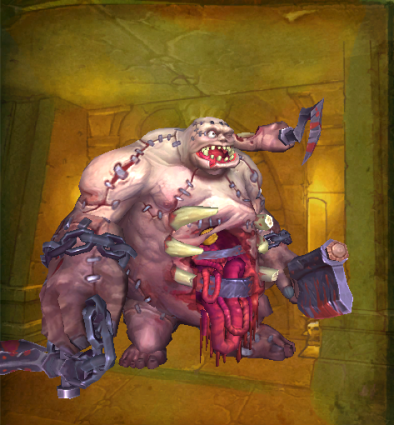
Ramstein the Gorger
Ramstein the Gorger will spawn in the courtyard before Baron Rivendare’s room once you have defeated all of the abominations that patrol the courtyard. The fight is straightforward, but Ramstein hits hard and has a threat drop mechanic.
Strategy
- Tank:The boss will enter the room once the last abomination has been cleared. Pull him away from the group and establish threat. Be sure you have a taunt ability prepared to get aggro back on the boss when he uses Knockout.
- Healer: Prepare heals for whichever DPS Ramstein will switch to when he casts Knockout. Keep all party members topped off as much as possible.
- Damage Dealers: Pay careful attention to threat during this encounter, as Ramstein’s Knockout ability will switch his primary target to whoever is in the secondary threat position. Try to let this be either a plate DPS or a ranged DPS who can kite him around for a little bit.
Loot
- Animated Chain Necklace
- Band of Flesh
- Crest of Retribution
- Gauntlets of Valor
- Ramstein’s Lightning Bolts
- Slavedriver’s Cane
- Soulstealer Mantle
- Frayed Abomination Stitching
Baron Rivendare
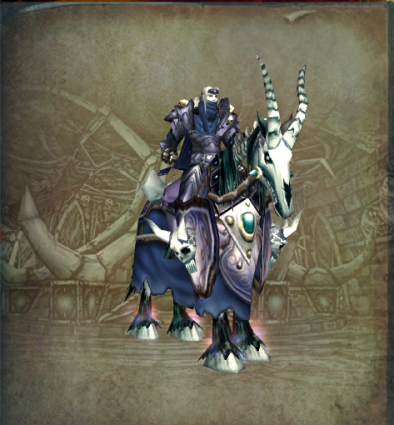
Baron Rivendare is the final boss encounter for Strat Undead, and drops the infamous Deathcharger’s Reins. The Baron also drops the T0 Leg pieces for all class sets and multiple Pre-raid BiS items. The boss is challenging as he reduces healing capabilities on the tank via Mortal Strike, and deals considerable damage to all party members in close proximity via Unholy Aura.
Strategy
- Tank: Make sure everyone is ready to run in with you, as the door will close when you engage Baron Rivendare. Run in, and take the Baron to the back right side of the room upon entry, opposite where ranged DPS and your healer should be. Put your back to a wall so that melee can position themselves well and avoid being hit by Cleave. Prepare your defensive cooldowns for whenever you are affected by Mortal Strike. When skeletons spawn, trust that your DPS will make quick work of them and do not try to pick them up because you don’t want to turn Baron Rivendare around or put your ranged/healer in his Unholy Aura.
- Healer: The healer needs to stack up on the left side of the room with ranged DPS, keeping maximum distance from the boss. Utilize your healing increasing cooldowns when the tank is affected by Mortal Strike. All Melee players will be taking damage from Unholy Aura and require consistent healing.
- Damage Dealers: Ranged DPS should stack up on the left side of the room upon entry to stay at maximum range from the boss. When he spawns his skeleton adds, melee should prioritize them over the boss, as they can be pesky on your healer. Melee need to stay behind Baron Rivendare at all times to avoid being hit with Cleave.
Loot
- Beaststalker’s Pants
- Bonescraper
- Cape of the Black Baron
- Deathcharger’s Reins
- Devout Skirt
- Dracorian Gauntlets
- Dreadmist Leggings
- Gauntlets of Deftness
- Helm of the Executioner
- Kilt of Elements
- Legplates of Valor
- Lightforge Legplates
- Magister’s Leggings
- Ritssyn’s Wand of Bad Mojo
- Robes of the Exalted
- Runeblade of Baron Rivendare
- Scepter of the Unholy
- Seal of Rivendare
- Shadowcraft Pants
- Skullforge Reaver
- Thuzadin Mantle
- Tunic of the Crescent Moon
- Wildheart Kilt
Balzaphon (Scourge Invasion)
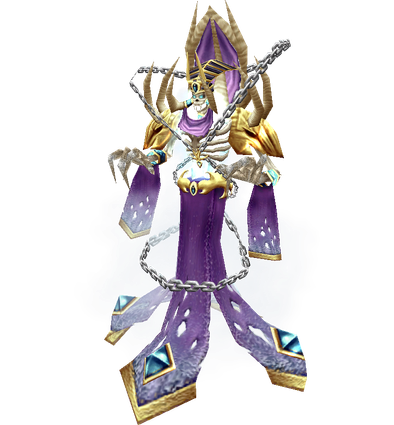
Balzaphon appears near the entrance of Strat Undead during the Scourge Invasion event. He is a straight forward fight so make sure to get the loot from him before he disappears.
Strategy
- Tank: Balzaphon appears near the entrance of Strat Undead during the Scourge Invasion event. He is a straight forward fight so make sure to get the loot from him before he disappears.
- Healer: This is a straight forward fight. Focus heals on the tank.
- Damage Dealers: This is a simple tank and spank fight. Let the tank establish aggro and don’t overtake them.
Loot
Quest Rewards & Loot
Quest Rewards
Boss Drops
- Nerub’enkan
- Stonespire (Rare)
- Black Guard Swordsmith
- Baroness Anastari
- Maleki the Pallid
- Magistrate Barthilas
- Ramstein the Gorger
- Baron Rivendare
- Beaststalker’s Pants
- Bonescraper
- Cape of the Black Baron
- Deathcharger’s Reins
- Devout Skirt
- Dracorian Gauntlets
- Dreadmist Leggings
- Gauntlets of Deftness
- Helm of the Executioner
- Kilt of Elements
- Legplates of Valor
- Lightforge Legplates
- Magister’s Leggings
- Ritssyn’s Wand of Bad Mojo
- Robes of the Exalted
- Runeblade of Baron Rivendare
- Scepter of the Unholy
- Seal of Rivendare
- Shadowcraft Pants
- Skullforge Reaver
- Thuzadin Mantle
- Tunic of the Crescent Moon
- Wildheart Kilt
- Balzaphon (Scourge Invasion)

