- Author: Luxrah
- Date: February 8, 2025
- Updated: February 8, 2025
- Expansion: WoW Classic
Upper Blackrock Spire is the upper portion of the Blackrock Spire instance, and is mainly used to house the stronger, more elite orcs of the Dark Horde known as the Blackhand Legion. Unlike any other dungeon in the game, Upper Blackrock Spire is actually a 10-man instance and requires attunement. Despite that, it is one of the most popular dungeons for the great loot it provides.
- Level Requirement: 48
- Recommended Level: 55+
- Location: Searing Gorge
- Boss Encounters: Pyroguard Emberseer, Solakar Flamewreath, Goraluk Anvilcrack, Warchief Rend Blackhand, The Beast, General Drakkisath, Jed Runewatcher (Rare), Lord Valthalak (Quest)
- Loot Drops:
- Felstriker, Blackblade of Shahram, Blackhand Doomsaw, Dal’Rend’s Sacred Charge, Dal’Rend’s Tribal Guardian, Pip’s Skinner, Draconian Deflector, Truestrike Shoulders, Briarwood Reed
- All T0 Chests, Gauntlets of Elements, Devout Mantle, Pauldrons of Elements, Spaulders of Valor, Lightforge Spaulders
- Plans: Arcanite Champion, Pattern: Red Dragonscale Breastplate, Recipe: Flask of the Titans, Recipe: Flask of Chromatic Resistance, Chromatic Carapace, Pristine Hide of the Beast
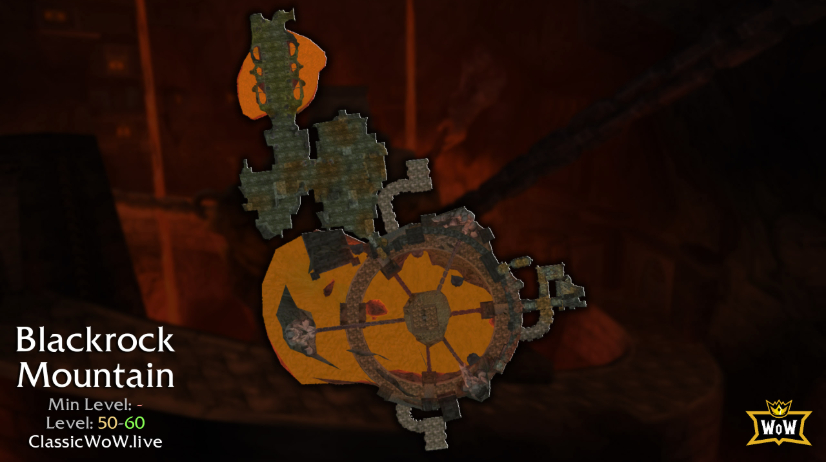
Location & Map
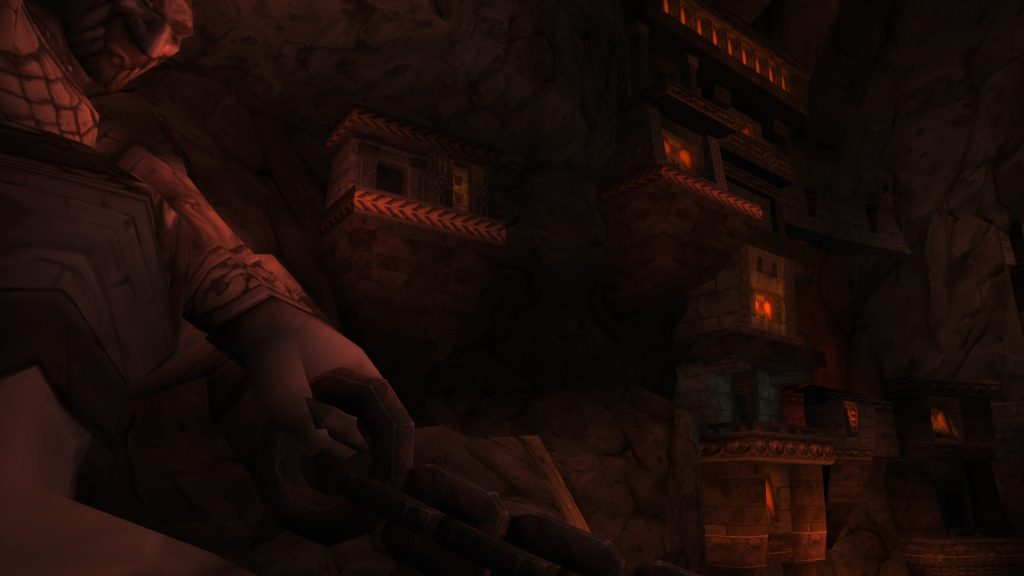
There are two ways to reach the portal from the main path through the mountain. One way is by entering the door that is next to the Blackrock Spire meeting stone and following the path upward. You’ll have to deal with some elite enemies via this route. The alternative is to climb the large chain and follow the wall toward the balcony where the gnome NPC Bodley is standing and jump onto it. This will put you directly in front of the dungeon portal without needing to deal with any mobs.
When you enter the portal, you’ll be inside Lower Blackrock Spire. To enter the Upper Blackrock Spire portion of the instance, you’ll need to open the door that is upstairs to the left from the entrance. This requires obtaining the Seal of Ascension from a quest in Lower Blackrock Spire. At least one person in your group will need this item in order to open the door and allow everyone inside.

Quests
There are a handful of quests inside Upper Blackrock Spire for both factions, and a few that are faction-specific.
Quest Name | Acquired From | Shareable |
|---|---|---|
Mayara Brightwing (Burning Steppes) | Yes | |
Thrall (Orgrimmar) | No | |
Shadowmage Vivian Lagrave (Badlands) | Yes | |
Tinkee Steamboil (Burning Steppes) | No | |
Tinkee Steamboil (Burning Steppes) | No | |
Duke Hydraxis (Azshara) | No |
 Alliance Quests
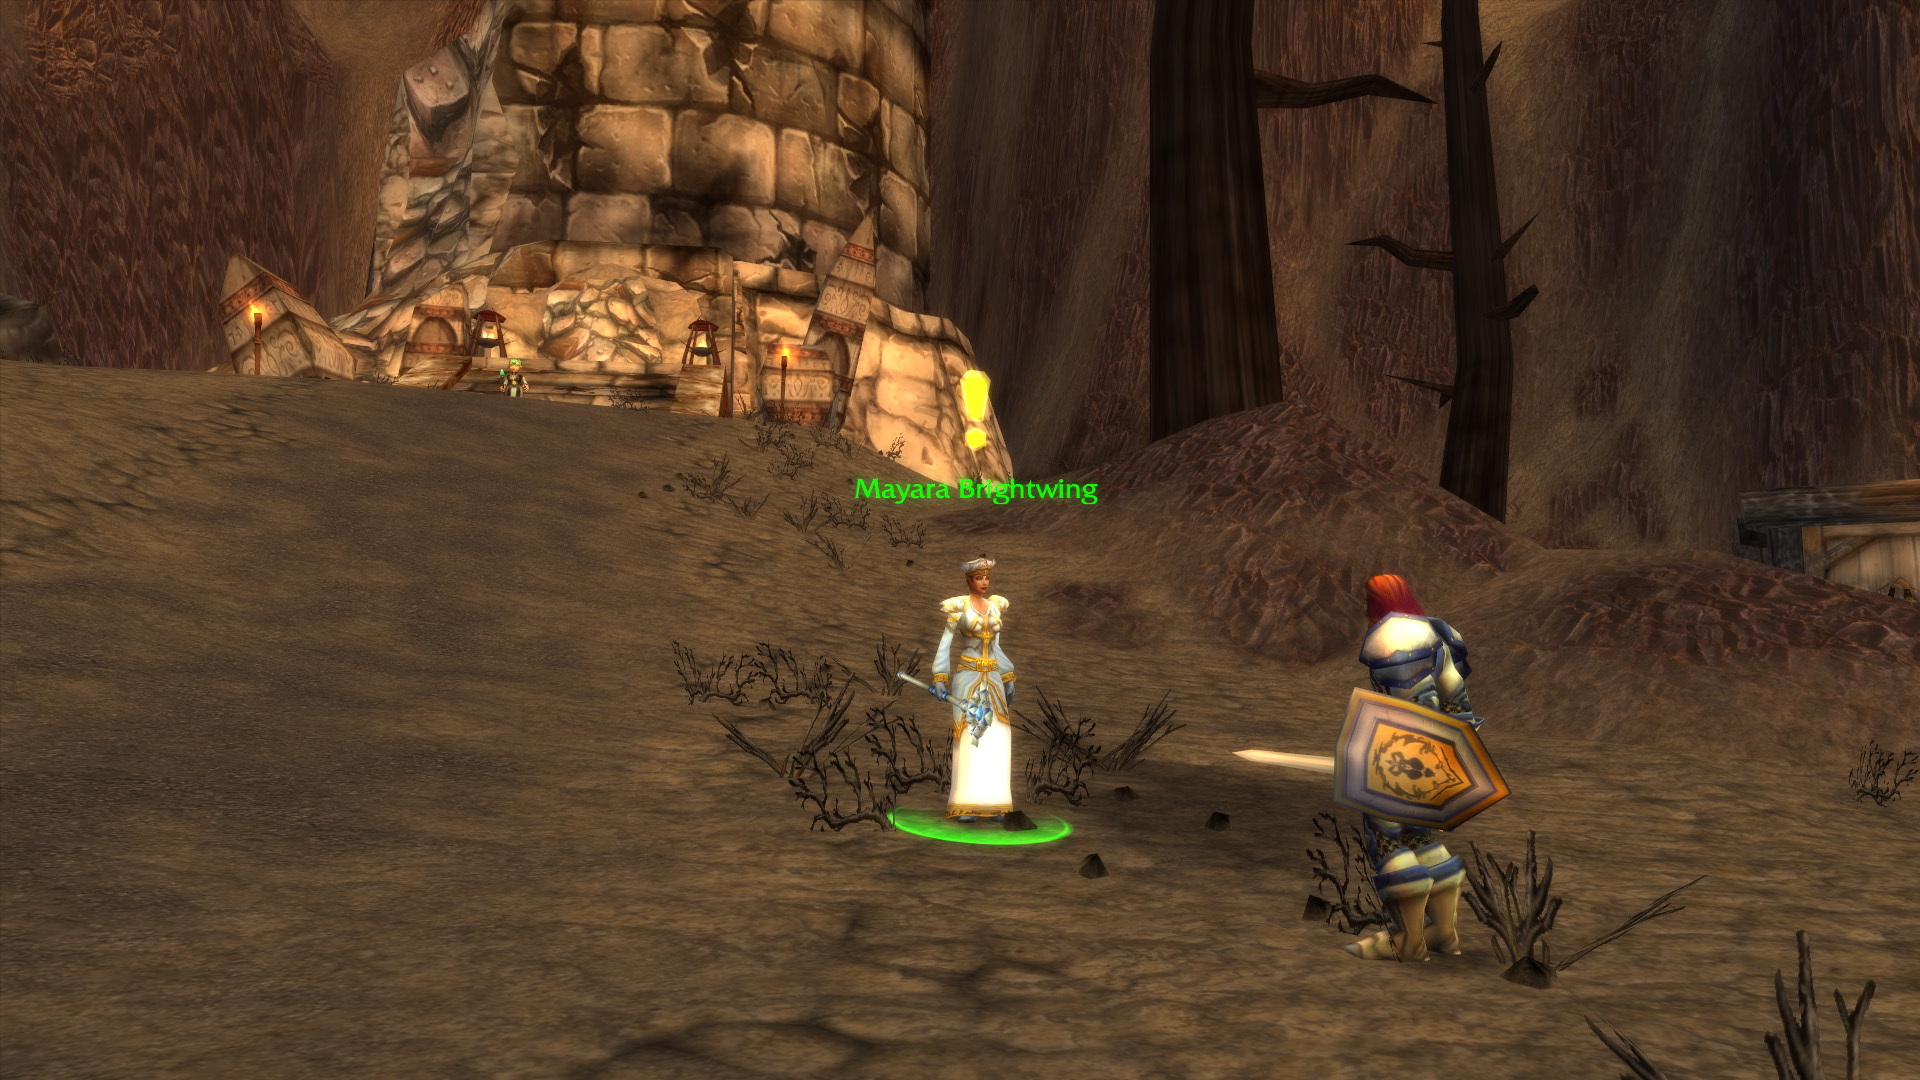
Doomrigger’s Clasp
- Shareable: Yes
- Level Required: 57
- Start: Mayara Brightwing at Morgan’s Vigil in Burning Steppes
- Finish: Mayara Brightwing at Morgan’s Vigil in Burning Steppes
- Objectives: Retrieve Doomrigger’s Clasp from Upper Blackrock Spire
- Rewards:
- 1650 experience
- 99 silver
- 25 reputation with Stormwind
There is an optional breadcrumb quest that leads to this one, Mayara Brightwing, which is given by Count Remington Ridgewell in Stormwind Keep.
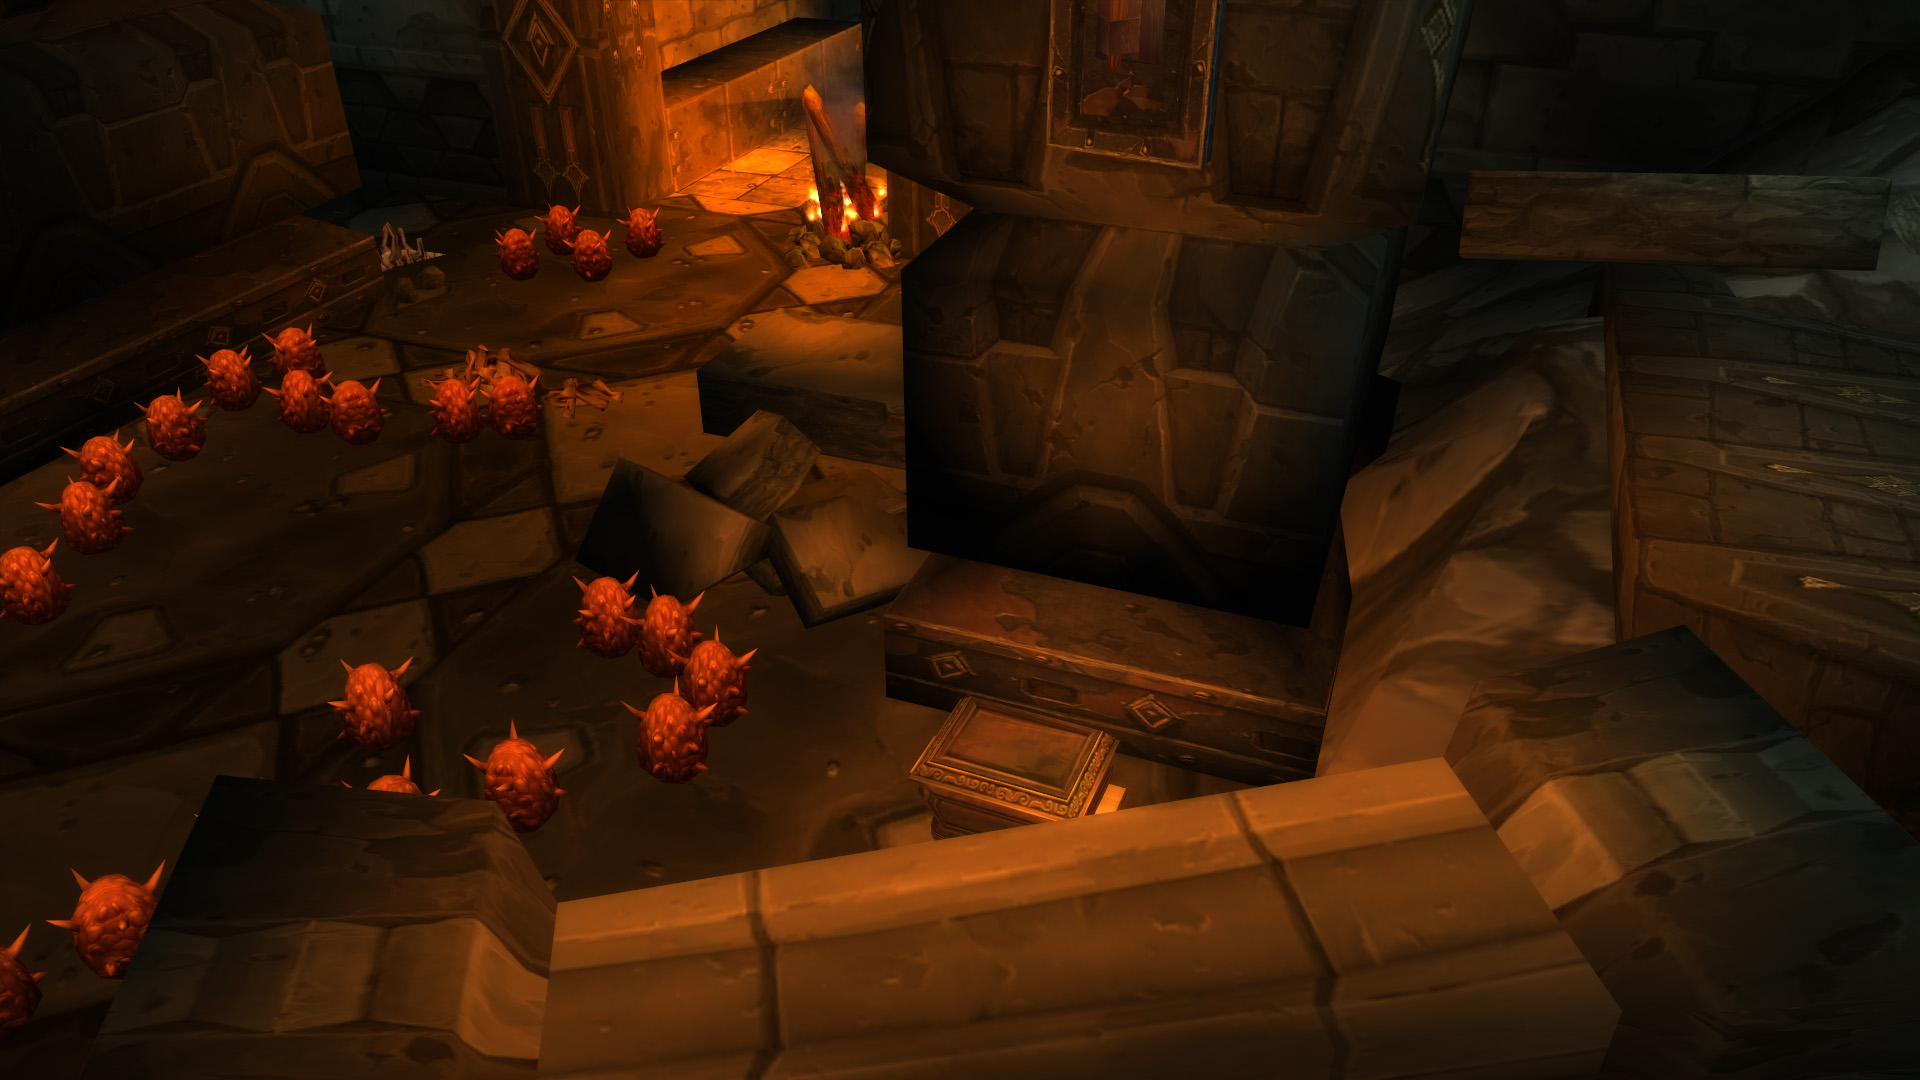
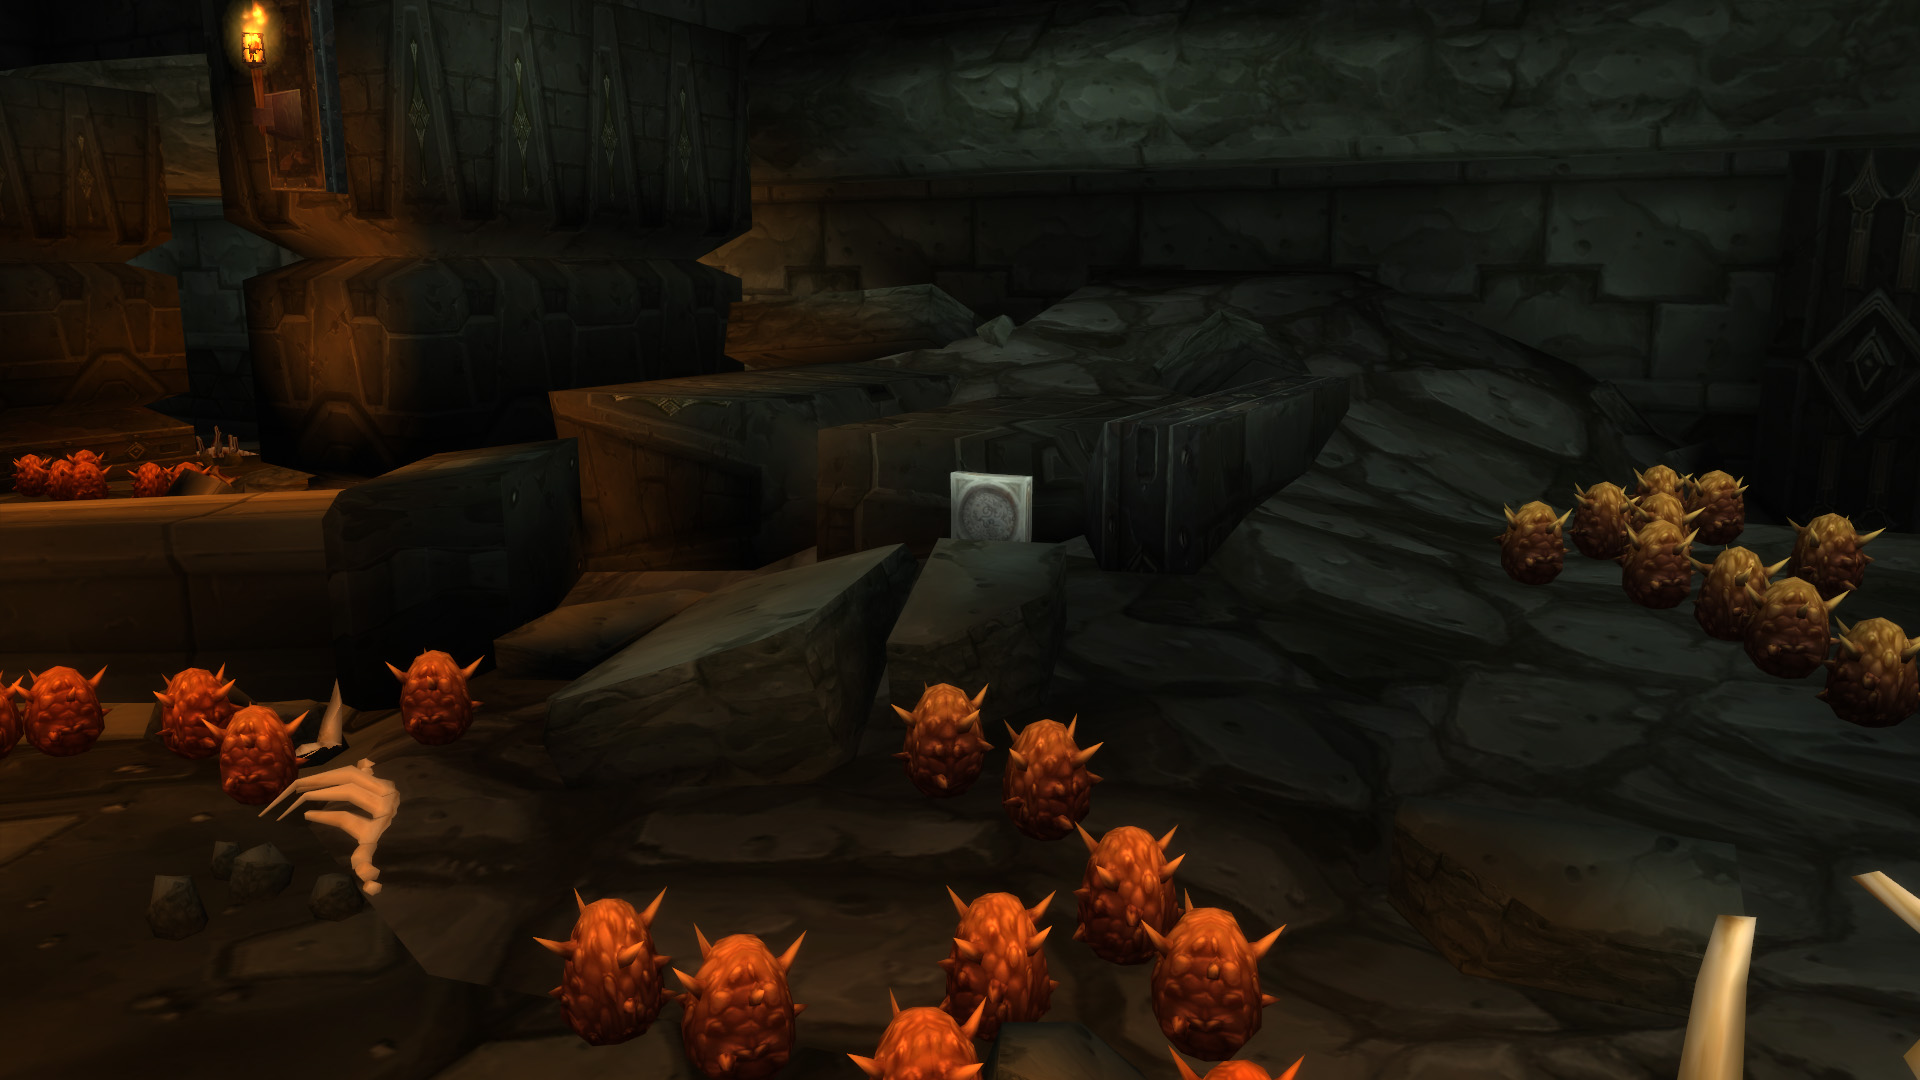
Mayara Brightwing offers this quest at Morgan’s Vigil, the main Alliance hub in Burning Steppes. To complete the quest, make your way through Upper Blackrock Spire until you reach The Rookery, the room that is full of dragon eggs. Around the middle of the room you’ll see Doomrigger’s Coffer, a large chest that is tucked between a standing pillar and a fallen one. Loot it to get Doomrigger’s Clasp, which you can turn in to Mayara Brightwing for your reward.
There is a follow-up quest, Delivery to Ridgewell, that sends you to Stormwind City and awards your choice of Blinkstrike Armguards or Swiftfoot Treads.
 Horde Quests
For The Horde!
- Shareable: No
- Level Required: 55
- Chain Start: Warlord Goretooth at Kargath in Badlands.
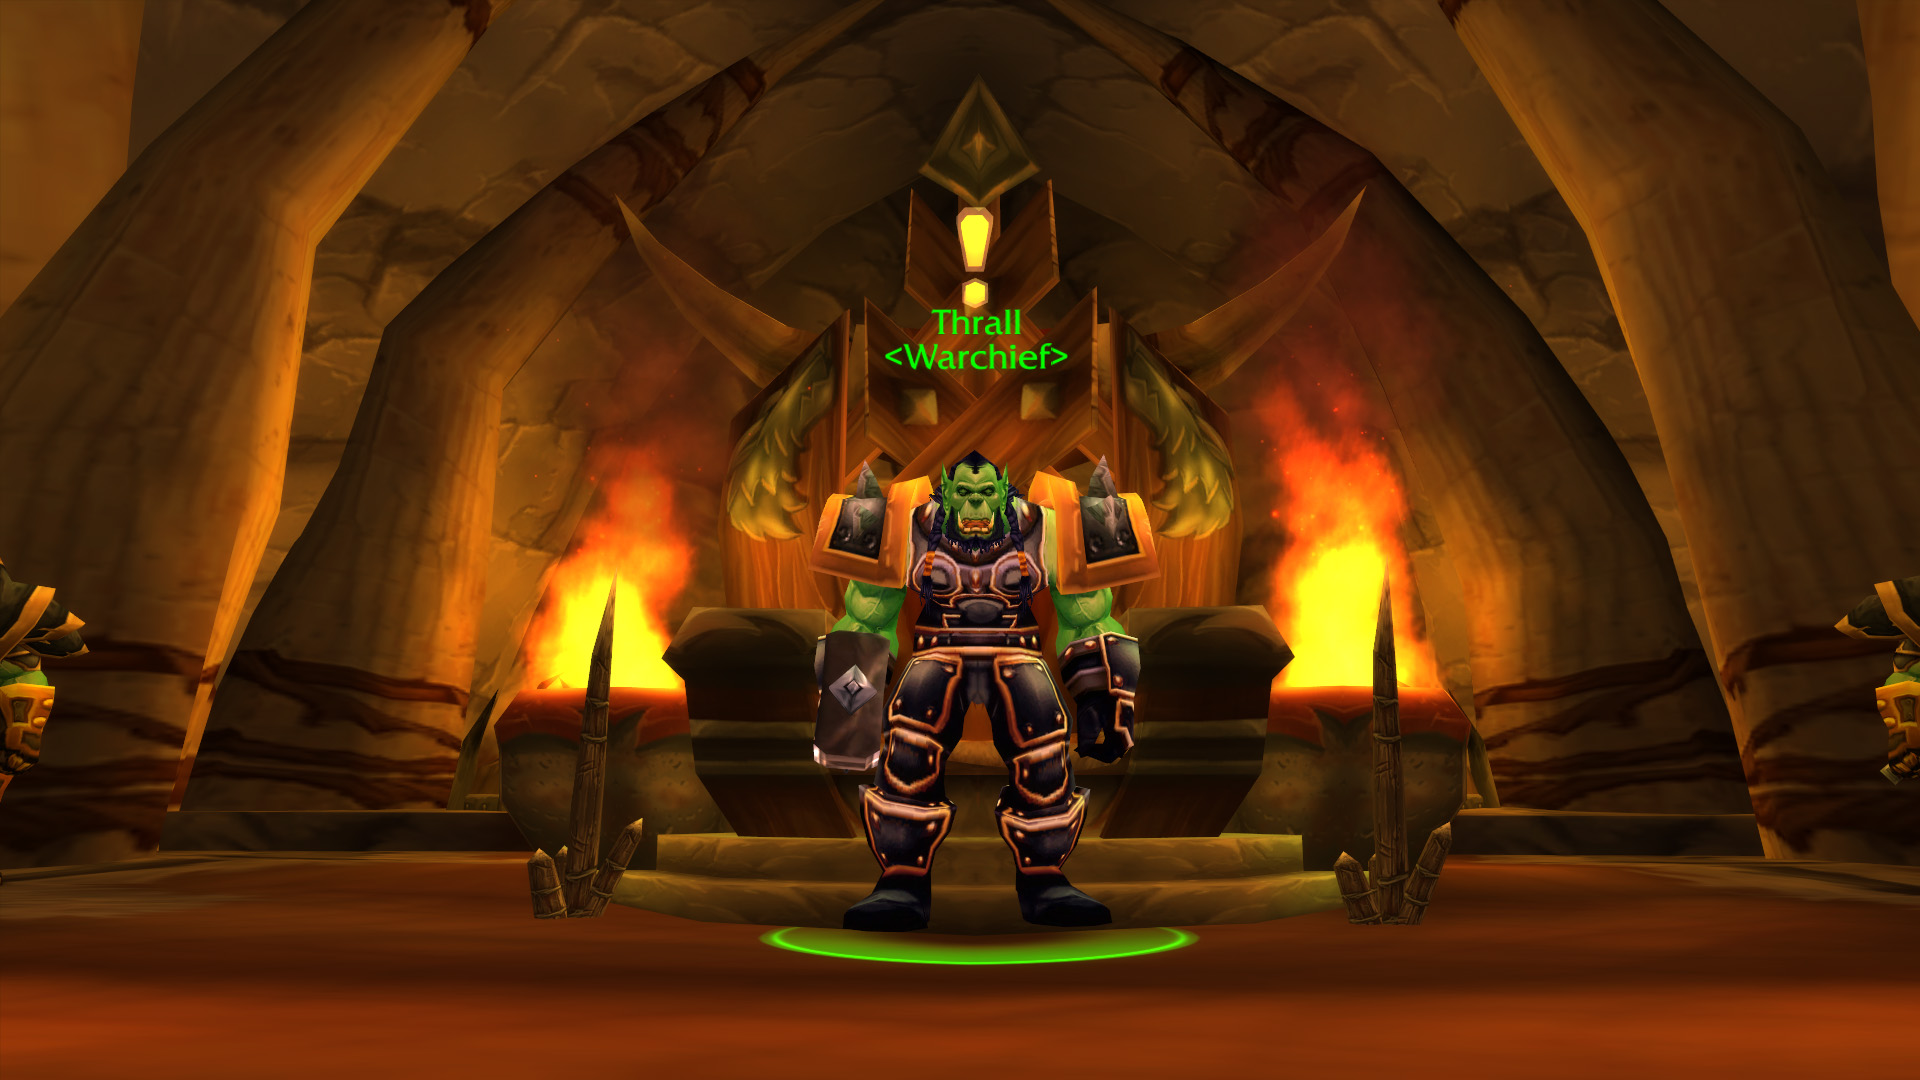
- Quest Start: Thrall at Grommash Hold in Orgrimmar
- Finish: Thrall at Grommash Hold in Orgrimmar
- Objectives: Obtain the Head of Rend Blackhand inside Upper Blackrock Spire
- Rewards:
- 9950 experience
- 2 gold 70 silver
- 200 reputation with Darkspear Trolls
- 200 reputation with Orgrimmar
- 200 reputation with Thunder Bluff
- 200 reputation with Undercity
- Pick one of:
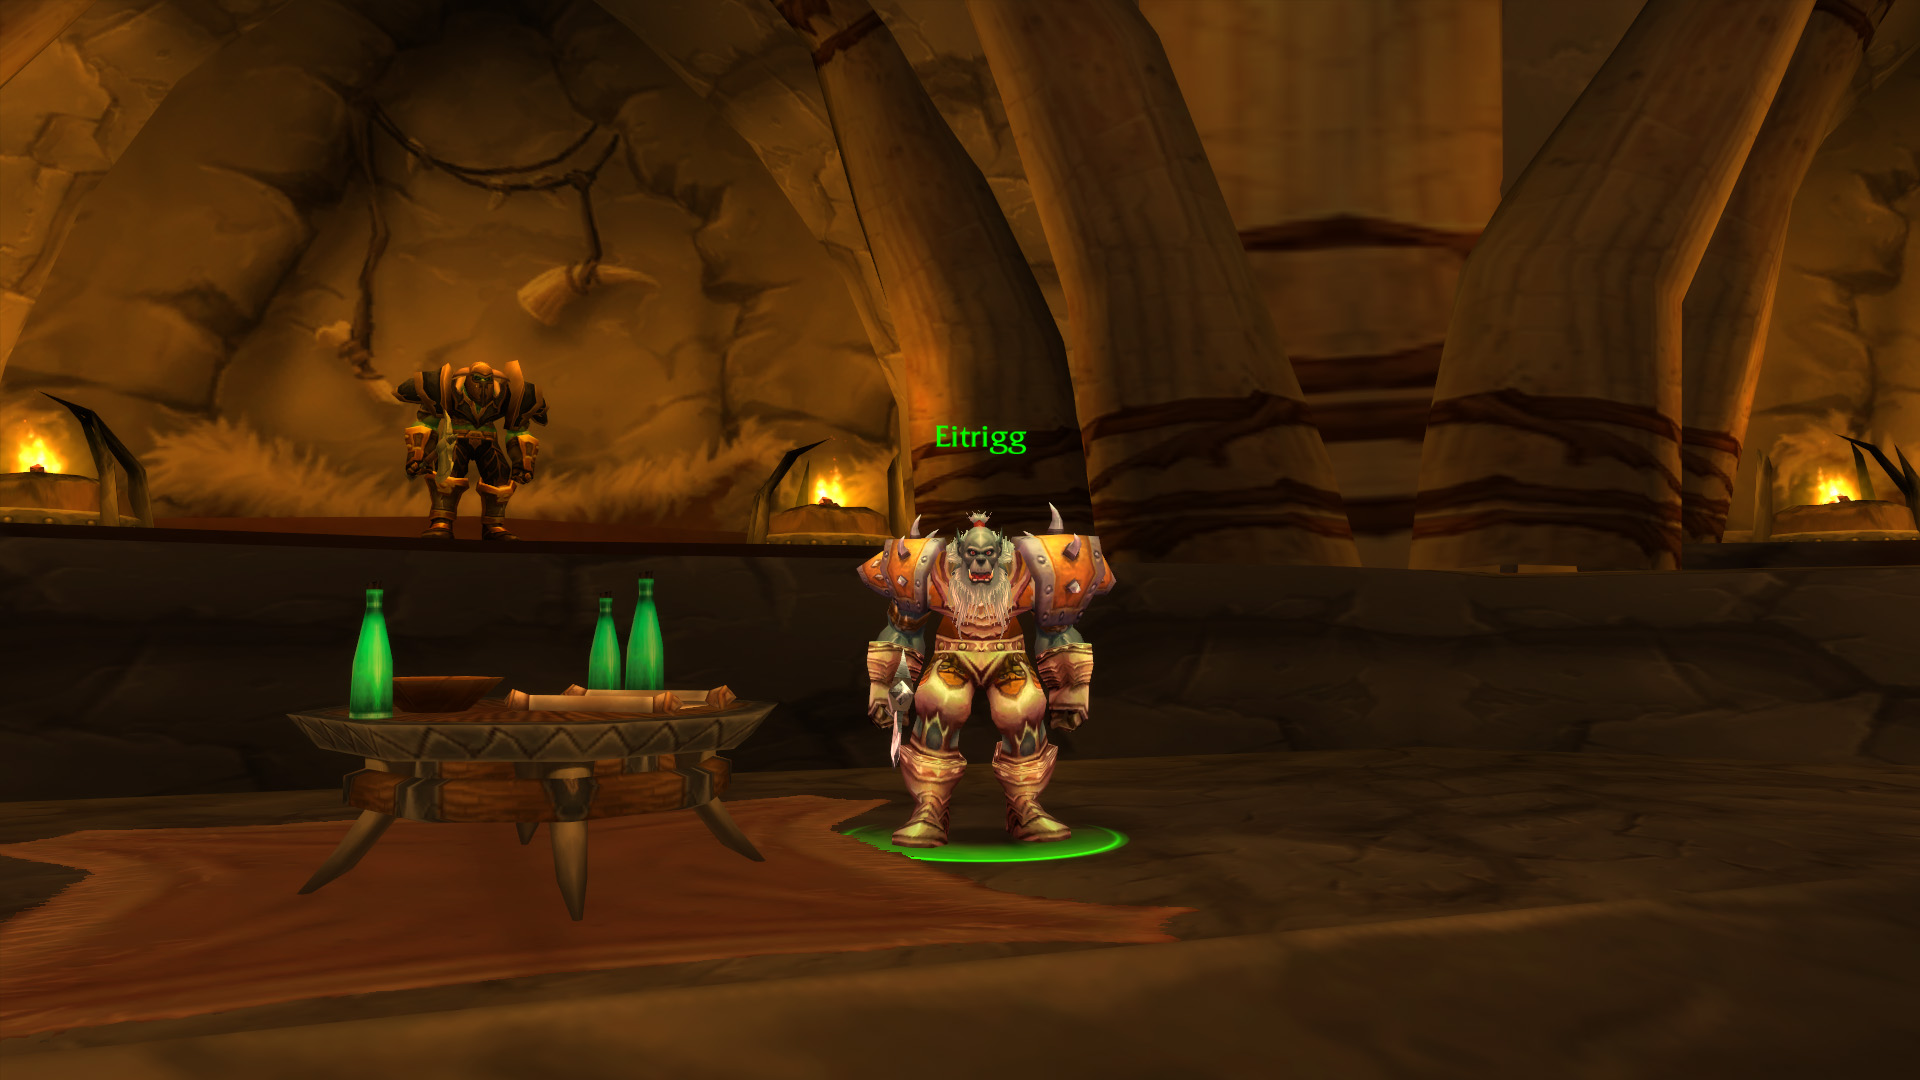
This quest chain starts with Warlord’s Command from Warlord Goretooth in Kargath, Badlands. That quest is covered in our Lower Blackrock Spire guide. After handing it in, you’ll get the quest Eitrigg’s Wisdom, which directs you to speak with Eitrigg inside Grommash Hold in Orgrimmar. When you’ve done that, you can turn in the quest to Thrall on the other side of the same room. He’ll then give you this quest.
To complete the quest, make your way through the Upper Blackrock Spire dungeon until you encounter Warchief Rend Blackhand. Kill him to loot the Head of Rend Blackhand. Bring the head back to Thrall to complete the quest. Turning in the head will trigger a world buff, Warchief’s Blessing, to go out to every character in Orgrimmar, as long as no one has triggered it within the last hour.
This quest is part of the lengthy chain that leads to Onyxia Attunement.
The Darkstone Tablet
- Shareable: Yes
- Level Required: 57
- Start: Shadowmage Vivian Lagrave at Kargath in Badlands
- Finish: Shadowmage Vivian Lagrave at Kargath in Badlands
- Objectives: Obtain the Darkstone Tablet inside Upper Blackrock Spire
- Rewards:
- 8300 experience
- 2 gold 70 silver
- 150 reputation with Undercity
- Pick one of:
There’s an optional breadcrumb quest that leads to this one, Vivian Lagrave and the Darkstone Tablet from Apothecary Zinge at the Apothecarium in Undercity.
You’ll find the Darkstone Tablet leaning against a fallen pillar in The Rookery, the big room with all of the dragon eggs inside Upper Blackrock Spire. Loot it and return to Shadowmage Vivian Lagrave for your reward.

Neutral Quests
Egg Freezing
- Shareable: No
- Level Required: 57
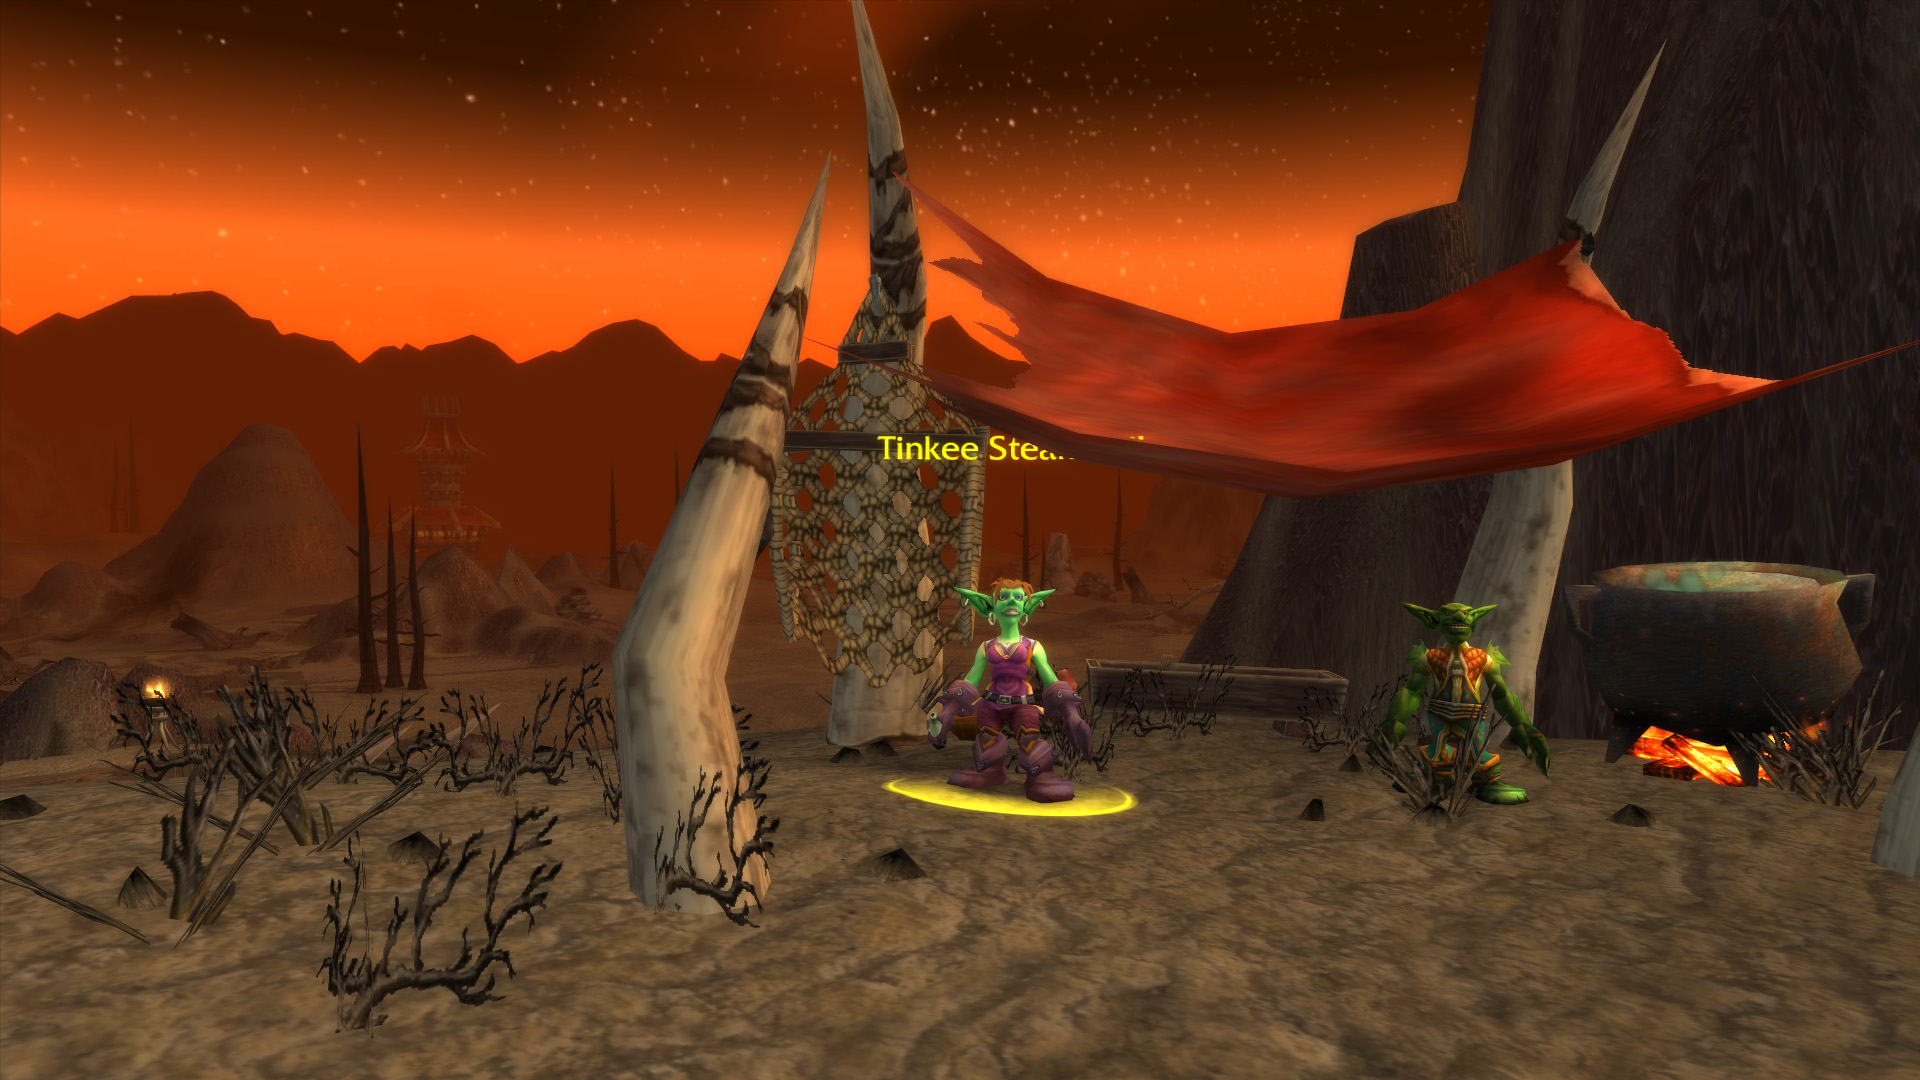
- Start: Tinkee Steamboil at Flame Crest in Burning Steppes
- Finish: Tinkee Steamboil at Flame Crest in Burning Steppes
- Objectives: Use the Eggscilloscope Prototype on an egg inside Upper Blackrock Spire
- Rewards:
- 8300 experience
- 1 gold 80 silver
- 150 reputation with Steamwheedle Cartel
- Eggscilloscope
There’s an optional breadcrumb quest that leads to this one, Tinkee Steamboil, which can be picked up from Felnok Steelspring at Everlook in Winterspring
This is the first quest in a lengthy chain, and it begins at Flame Crest in Burning Steppes, a Horde flight location that has neutral NPCs. You’ll find Tinkee Steamboil there, who offers this quest.
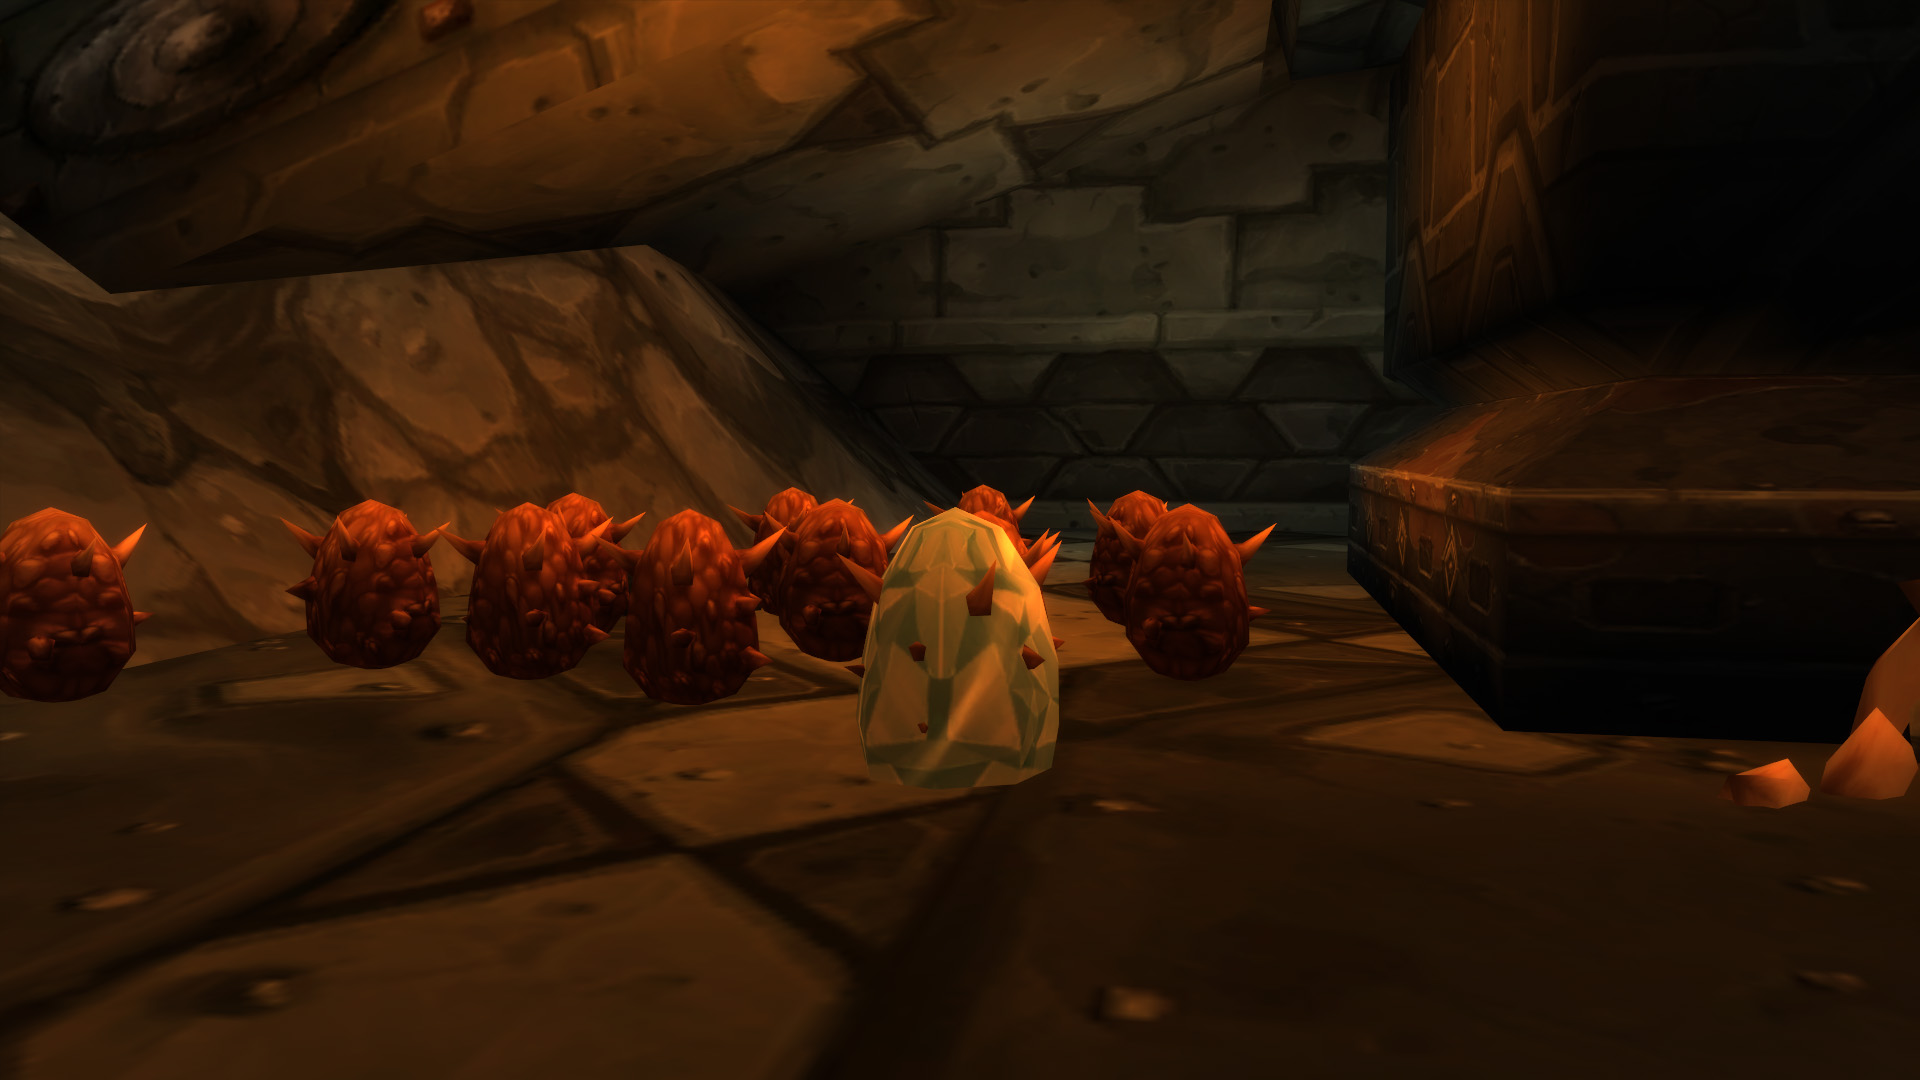
To complete it, make your way through Upper Blackrock Spire until you reach The Rookery, the room full of dragon eggs. Carefully approach some eggs and right-click the Eggscilloscope Prototype, and then you’ll be able to click on a Rookery Egg and freeze it. You don’t need to get super close to reach them, so stay back so you don’t accidentally hatch them and summon a bunch of whelps. Return to Tinkee at Flame Crest and she’ll give you the quest below, which must be done in The Rookery (if you have a patient group, you can knock both out in one run).
Egg Collection
- Shareable: No
- Level Required: 57
- Chain Start: Tinkee Steamboil at Flame Crest in Burning Steppes
- Quest Start: Tinkee Steamboil at Flame Crest in Burning Steppes
- Finish: Tinkee Steamboil at Flame Crest in Burning Steppes
- Objectives: Obtain 8 Collected Dragon Eggs inside Upper Blackrock Spire
- Rewards:
- 9950 experience
- 2 gold 70 silver
- 200 reputation with Steamwheedle Cartel
This quest continues from the one above. You’ll need to head back to The Rookery inside Upper Blackrock Spire and use the Eggscilloscope to freeze some more eggs. This time, you’ll have to collect the frozen eggs with the Collectronic Module. You’ll need to be a little closer to the eggs to use the Collectronic Module than the Eggscilloscope, but luckily, once the eggs are frozen they do not hatch when you get close. Collect 8 eggs this way and head back to Tinkee for your reward.
Continuing this quest chain will lead you to a quest for the Scholomance dungeon.
Eye of the Emberseer
- Shareable: No
- Level Required: 56
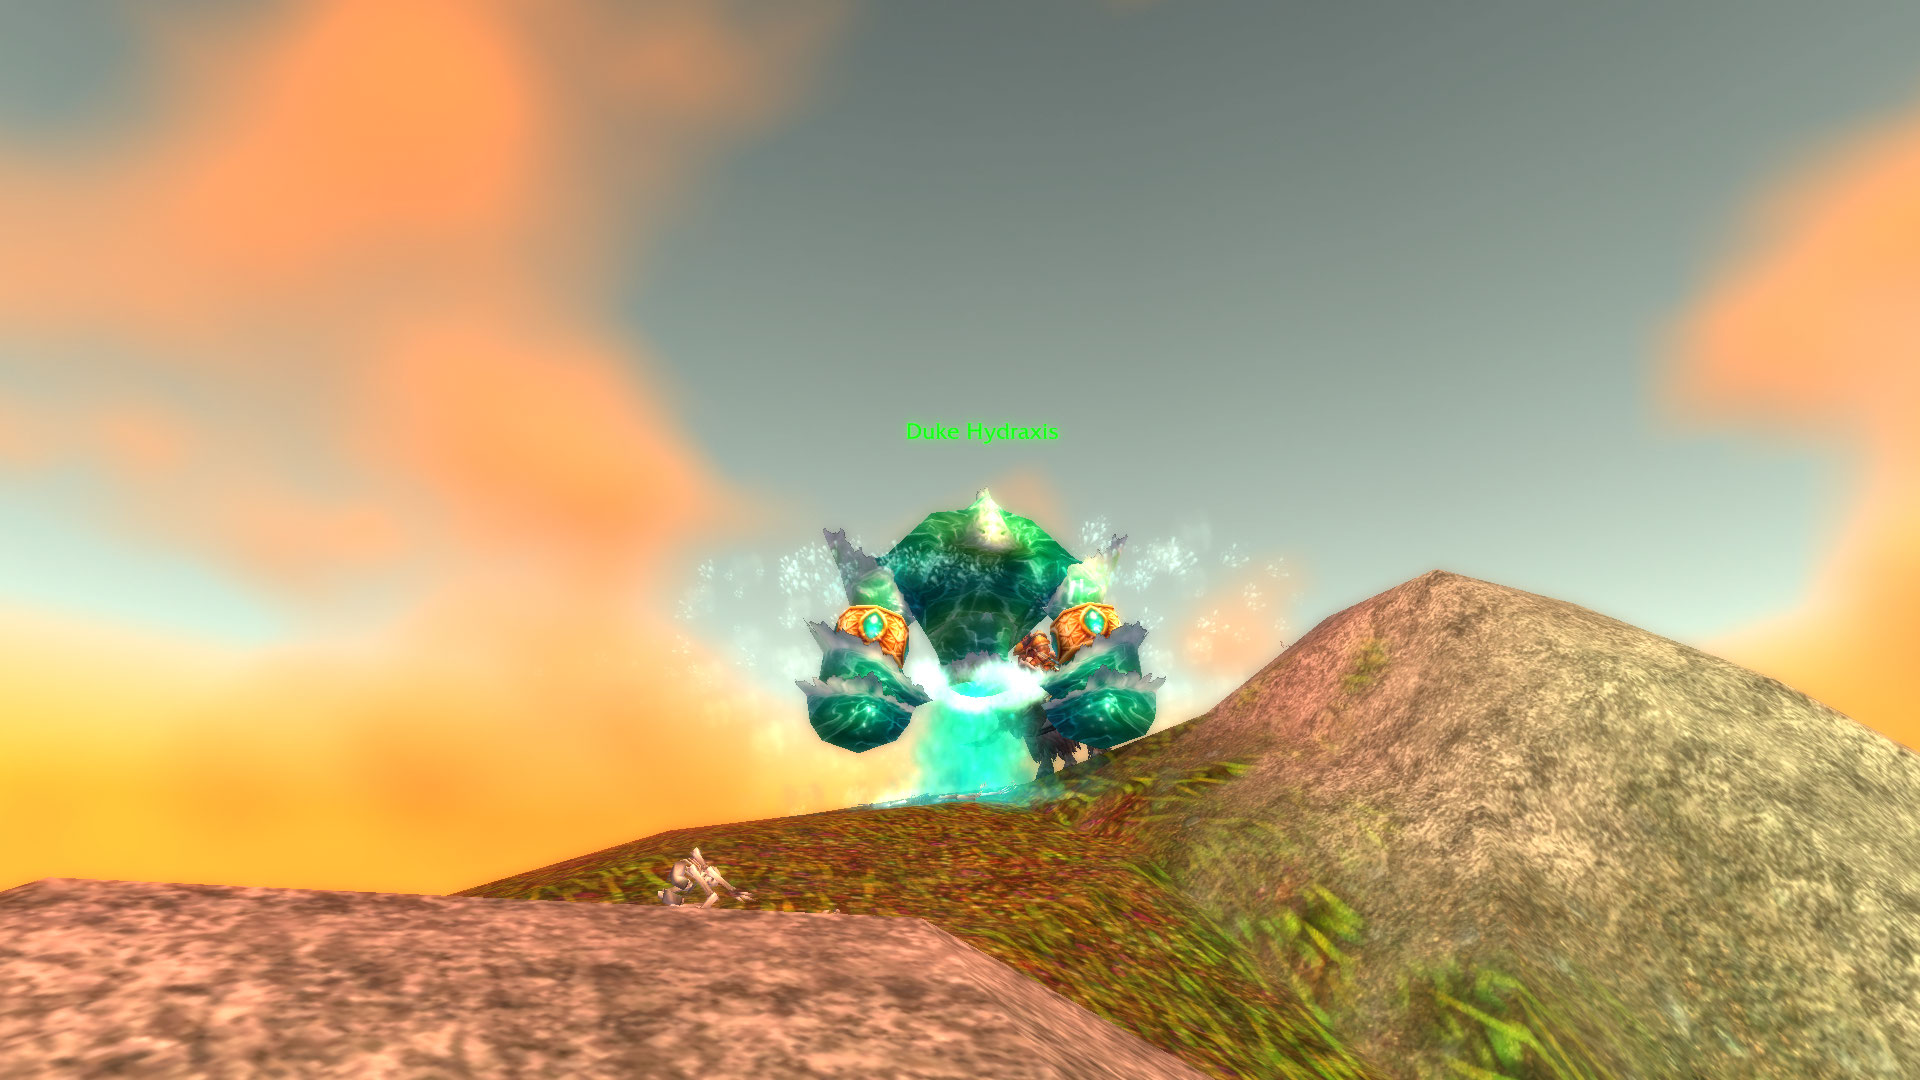
- Chain Start: Duke Hydraxis on an island in the Bay of Storms in Azshara
- Quest Start: Duke Hydraxis on an island in the Bay of Storms in Azshara
- Finish: Duke Hydraxis on an island in the Bay of Storms in Azshara
- Objectives: Obtain the Eye of the Emberseer inside Upper Blackrock Spire
- Rewards:
- 8300 experience
- 4 gold 98 silver
This is part of the Hydraxian Waterlords quest chain. The first quests in the chain can be obtained from Duke Hydraxis, who you’ll find on an island in the Bay of Storms in Azshara. He offers two quests, Poisoned Water and Stormers and Rumblers.
To complete Poisoned Water, head to Eastern Plaguelands and look for Blighted Horrors, green-tinted water elementals who inhabit Blackwood Lake around the center of the map as well as the waters of Northdale in the northeast. Use the Aspect of Neptulon on them to transform them into Discordant Surges, then kill them to loot Discordant Bracers from them. Bring 12 of these items to Duke Hydraxis to complete the quest.
To complete Stormers and Rumblers, travel to The Crystal Vale in northwest Silithus and kill elementals. You’ll need to defeat 15 Desert Rumblers and 15 Dust Stormers.
When you’ve turned in the two quests above, you’ll be able to pick up this quest and head to Upper Blackrock Spire. There you must kill the first boss, Pyroguard Emberseer, and loot Eye of the Emberseer from him. Return this item to Duke Hydraxis to complete the quest.
The chain continues with a series of quests for the Molten Core raid.

Bosses
There are eight bosses in Upper Blackrock Spire, including two bosses who are either summoned by quests, or do not always appear.
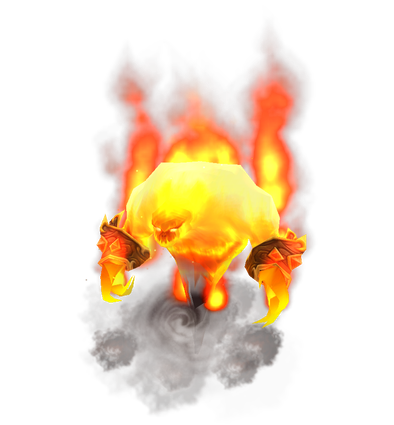
- Pyroguard Emberseer
- Solakar Flamewreath
- Goraluk Anvilcrack
- Warchief Rend Blackhand
- The Beast
- General Drakkisath
- Jed Runewatcher (Rare)
- Lord Valthalak (Quest)
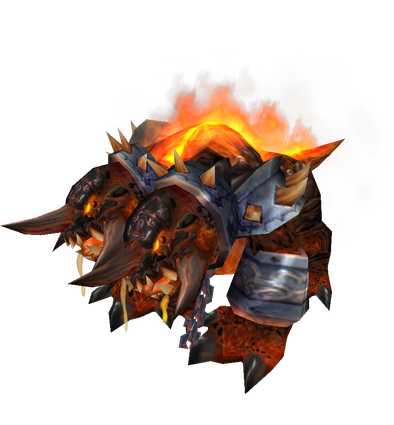
Pyroguard Emberseer
Pyroguard Emberseer is the first boss in Upper Blackrock Spire, and is mandatory to move forward in the instance. The boss drops the highly sought after pre-bis physical DPS Truestrike Shoulders. The boss is summoned by having 3 or more group members click the Blackrock Altar in the room. Initially your group will have to defeat a few waves of Incarcerators, but they have low health and will easily be killed with AoE damaging abilities.
Strategy
- Tank: Fight Pyroguard Emberseer away from your ranged group while maintaining the primary threat position.
- Healer: Be aware that your melee group will be taking damage from Fire Nova. Stand away from the boss and focus your healing throughout the melee group while focusing the tank.
- Damage Dealers: AoE down the adds before Emberseer spawns. Ranged DPS should stay away from Pyroguard Emberseer to avoid being hit with Fire Nova. Do not overtake your tank from the primary threat position.
Loot
- Emberfury Talisman
- Flaming Band
- Gauntlets of Elements
- Tablet of Flame Shock VI
- Truestrike Shoulders
- Wildfire Cape
Solakar Flamewreath
Solakar Flamewreath is a special boss that only spawns during the Father Flame event in the Rookery of UBRS. The boss spawns some adds who need to be managed.
Strategy
- Tank: Tank the boss against the wall where it spawns. Pick up adds as they spawn, and ensure they do not attack your healers. Maintain threat on the boss while your DPS burn it down.
- Healer: Stand away from the boss to avoid War Stomp. Keep your group members topped off while focusing on healing the tank.
- Damage Dealers: Focus down the adds when they spawn. Otherwise, focus all damage output on the boss. Ranged should stand away from the boss to avoid War Stomp.
Loot
- Crystallized Girdle
- Devout Mantle
- Dustfeather Sash
- Nightbrace Tunic
- Polychromatic Visionwrap
- Schematic: Hyper-Radiant Flame Reflector
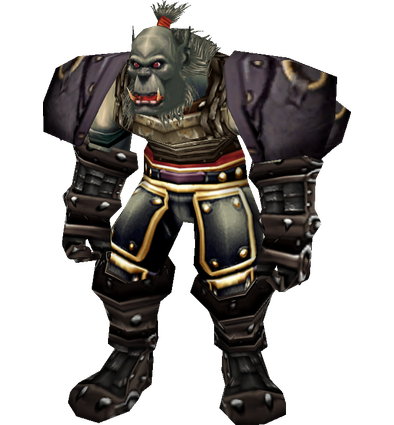
Goraluk Anvilcrack
Goraluk Anvilcrack is a basic melee encounter that is completely optional and often skipped. The boss does drop some significant Blacksmithing Patterns, like Plans: Invulnerable Mail.
Strategy
- Tank: Tank the boss away from the group. The off tank should get aggro or Taunt the boss when the Main Tank is stunned from Backhand.
- Healer: Focus on healing your Main Tank while standing away from the boss. Your tank will require extra healing when stunned from Backhand.
- Damage Dealers: This fight is a tank and spank. Do not overtake the primary threat position from your tanks.
Loot
- Bottom Half of Advanced Armorsmithing: Volume I
- Flame Walkers
- Handcrafted Mastersmith Girdle
- Handcrafted Mastersmith Leggings
- Mastersmith’s Hammer
- Plans: Arcanite Champion
- Plans: Masterwork Stormhammer
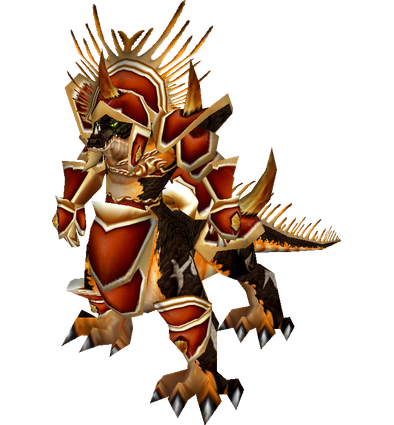
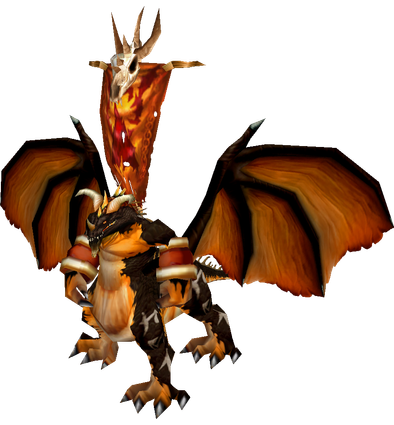
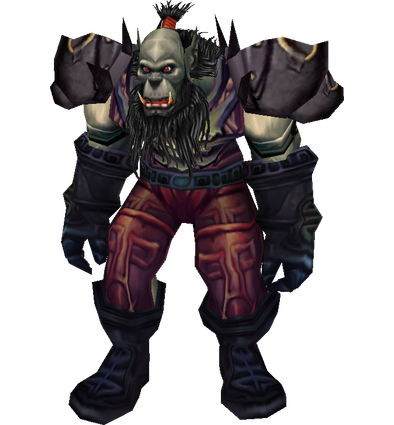
Warchief Rend Blackhand
Warchief Rend Blackhand is encountered standing next to Nefarian on an unreachable ledge, where they watch you defeat waves of drakes and dragonkin until Rend decides to take you himself. The boss enters the room with his mount, Gyth. Both Rend and Gyth need to be defeated in order to progress in the raid.
Strategy
- Tank: Have the Main Tank stay on Gyth while the Off Tank picks up Rend. The raid will focus down Gyth then switch to Rend. The Main Tank should avoid being in range of Rend’s Whirlwind or Thunderclap while both mobs are alive.
- Healer: Assign a healer to each tank, being mindful that some raid healing will be needed throughout the fight. Stay at maximum range to avoid being hit by Rend’s Whirlwind or Thunderclap abilities.
- Damage Dealers: Once the two together are brought down to 20% and become two separate mobs, focus down Gyth first, then switch to Rend. Stay behind Gyth to avoid being hit with Corrosive Acid Breath or Flame Breath. Melee DPS should avoid Rend’s Whirlwind as best as possible. Ranged DPS should stay at maximum distance to avoid being hit by Whirlwind or Thunderclap.
Loot
- Band of Rumination
- Battleborn Armbraces
- Blackhand Doomsaw
- Bonespike Shoulder
- Chromatic Carapace
- Dal’Rend’s Sacred Charge
- Dal’Rend’s Tribal Guardian
- Dragoneye Coif
- Dragonrider Boots
- Dragonskin Cowl
- Eye of Rend
- Faith Healer’s Boots
- Felstriker
- Feralsurge Girdle
- Gyth’s Skull
- Pauldrons of Elements
- Recipe: Flask of Chromatic Resistance
- Spaulders of Valor
- Tribal War Feathers
- Warmaster Legguards
The Beast
The Beast is a challenging boss that is located in The Furnace area of Upper Blackrock Spire. Be sure that all surrounding adds are cleared, and be aware that stealth Blackhand Assassins may be in the room.
Strategy
- Tank: Stay at the top of the threat meter so that The Beast will return to a Tank after charging another member of the raid. Tank The Beast with your back facing a wall so that you are not tossed around by the knockback portion of the Flamebreak mechanic.
- Healer: Be aware of who is being charged by The Beast so you can give them a little extra healing. The Tanks and Melee group will take AoE damage from Flamebreak, so try to keep everyone topped off. Stay at maximum distance to outrange the Fear and Flamebreak mechanics.
- Damage Dealers: Ranged DPS need to be at maximum distance to outrange the Fear and Flamebreak mechanics. You are going to be charged by The Beast at some point, so use some self healing to take stress off the healers.
Loot
- Ace of Beasts
- Blackmist Armguards
- Blademaster Leggings
- Bloodmoon Cloak
- Book of Ferocious Bite V
- Pip’s Skinner
- Frostweaver Cape
- Ironweave Boots
- Lightforge Spaulders
- Pristine Hide of the Beast
- Seeping Willow
- Spiritshroud Leggings
- Tristam Legguards
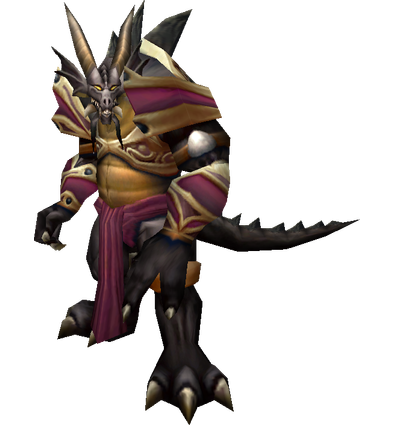
General Drakkisath
General Drakkisath is the final boss in Upper Blackrock Spire, and is accompanied by two Chromatic Elite Guard adds. The boss drops the chestpieces for each of the classes Tier 0 sets, and is required for attunement to both the Onyxia and Blackwing Lair 40 man raids. This fight is the most difficult in UBRS, and is typically approached by assigning a Hunter using Aspect of the Cheetah or a confidant Mage using Blink on cooldown kiting Drakkisath back around The Beast’s room before returning to the raid.
Strategy
- Tank: One tank should be assigned to each of the two Chromatic Elite Guards. The Main Tank’s Guard should be killed first so that they can be ready to pick up Drakkisath when he comes back around. Face the boss towards a wall and away from the group to avoid unnecessarily spreading damage from Flame Breath or Cleave. When Drakkisath casts Conflagration, the off tank needs to Taunt the boss onto him.
- Healer: Assign a healer to your Tanks and make sure someone is spreading out HoT effects on the raid. Do not cast any spells on the player who is kiting Drakkisath because you will end up generating threat and pulling the boss back in the room. The first tank that engages Drakkisath will eventually be hit by Conflagration and take lots of damage. Heal them up and also start healing the off tank who is now the focus of threat.
- Damage Dealers: Focus down whichever Chromatic Elite Guard is assigned to your Main Tank, then move on to the other Chromatic Elite Guard. When both are dead, move on to Drakkisath. One DPS, typically a Hunter, needs to kite Drakkisath back around The Beast’s room before returning to the raid. Stay behind Drakkisath to avoid being hit by Flame Breath or Cleave. Ranged DPS need to be at maximum distance to avoid being hit by Conflagration and Thunderclap.
Loot
- Beaststalker’s Tunic
- Blackblade of Shahram
- Breastplate of Valor
- Brigam Girdle
- Devout Robe
- Draconian Deflector
- Draconic Infused Emblem
- Dreadmist Robe
- Lightforge Breastplate
- Magister’s Robes
- Painweaver Band
- Pattern: Red Dragonscale Breastplate
- Recipe: Flask of the Titans
- Shadow Prowler’s Cloak
- Shadowcraft Tunic
- Spellweaver’s Turban
- Tome of the Lost
- Tooth of Gnarr
- Vest of Elements
- Wildheart Vest
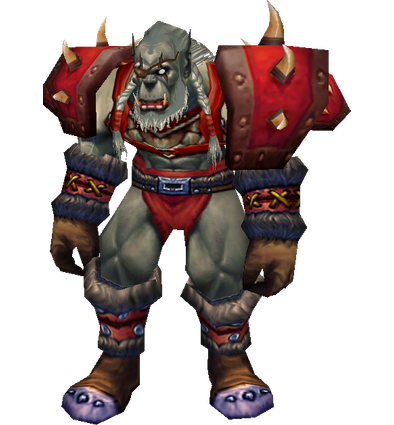
Jed Runewatcher (Rare)
Jed Runewatcher is a rare, optional boss that spawns, patrolling the same room as Goraluk Anvilcrack. Jed drops the Briarwood Reed, a highly sought after pre-raid BiS on-use trinket for casters.
Strategy
- Tank: Tank the boss against a wall and maintain the primary threat position.
- Healer: Focus your healing on the tank throughout this encounter.
- Damage Dealers: This fight is a tank and spank – allow your tank to hold threat.
Loot
Lord Valthalak (Quest)
Lord Valthalak can be summoned in The Beast’s room of The Furnace in Upper Blackrock Spire by using the Brazier of Beckoning provided by the Tier 0.5 questline. This is the final encounter in this questline and is by far the most difficult.
Strategy
- Tank: Tank the boss in the middle of the room and maintain threat. Save defensive cooldowns for the last 20%, when Valthalak becomes more powerful.
- Healer: Your primary target for healing should be the Main Tank. Other players should not take damage aside from the occasional Shadow Bolt Volley.
- Damage Dealers: Melee DPS need to focus down the adds when they spawn, immediately. Their channeled ability will kill its target no matter their health if the channel is completed. Utilize mana drain effects on Valthalak. Once the boss is at 40%, adds will stop spawning and Valthalak will start firing Shadow Bolt Volley at the group. Save all cooldowns for the last 20%, when Valthalak becomes more powerful.
Loot
- Draconian Aegis of the Legion
- Handguards of Savagery
- Ironweave Cowl
- Leggings of Torment
- Lord Valthalak’s Staff of Command
- Pendant of Celerity
- Rune Band of Wizardry
- Shroud of Domination
Quest Rewards & Loot
Quest Rewards
Boss Drops
- Pyroguard Emberseer
- Solakar Flamewreath
- Goraluk Anvilcrack
- Warchief Rend Blackhand
- Band of Rumination
- Battleborn Armbraces
- Blackhand Doomsaw
- Bonespike Shoulder
- Chromatic Carapace
- Dal’Rend’s Sacred Charge
- Dal’Rend’s Tribal Guardian
- Dragoneye Coif
- Dragonrider Boots
- Dragonskin Cowl
- Eye of Rend
- Faith Healer’s Boots
- Felstriker
- Feralsurge Girdle
- Gyth’s Skull
- Pauldrons of Elements
- Recipe: Flask of Chromatic Resistance
- Spaulders of Valor
- Tribal War Feathers
- Warmaster Legguards
- The Beast
- General Drakkisath
- Beaststalker’s Tunic
- Blackblade of Shahram
- Breastplate of Valor
- Brigam Girdle
- Devout Robe
- Draconian Deflector
- Draconic Infused Emblem
- Dreadmist Robe
- Lightforge Breastplate
- Magister’s Robes
- Painweaver Band
- Pattern: Red Dragonscale Breastplate
- Recipe: Flask of the Titans
- Shadow Prowler’s Cloak
- Shadowcraft Tunic
- Spellweaver’s Turban
- Tome of the Lost
- Tooth of Gnarr
- Vest of Elements
- Wildheart Vest
- Jed Runewatcher (Rare)
- Lord Valthalak (Quest)
About the Author
