- Author: Shadostruct
- Date: September 27, 2024
- Updated: February 26, 2025
- Expansion: World of Warcraft
The Awakening the Machine event takes place in The Ringing Deeps zone within Khaz’Algar. This is an event that can be completed weekly and has a couple of quests associated with it that will give you chests that can have gear as well as Restored Coffer Keys. Live out your wave-based horde defense dreams! Your character will be shredding through a bunch of mechanical baddies while defending Speaker Kuldas as he performs maintenance on the Earthen Awakening Machine.
How to Unlock the Awakening the Machine Event
It’s fairly simple to unlock this event and get started on it:
- Must be level 80.
- Reach level 3 Renown with The Assembly of the Deeps.
Where is the Awakening the Machine Event
The event is located in the main town of Gundargaz, in The Ringing Deeps zone. You may be familiar with this town from the campaign, shortly after entering The Ringing Deeps, as well as the Renown Quartermaster for The Assembly of the Deeps faction being located there.
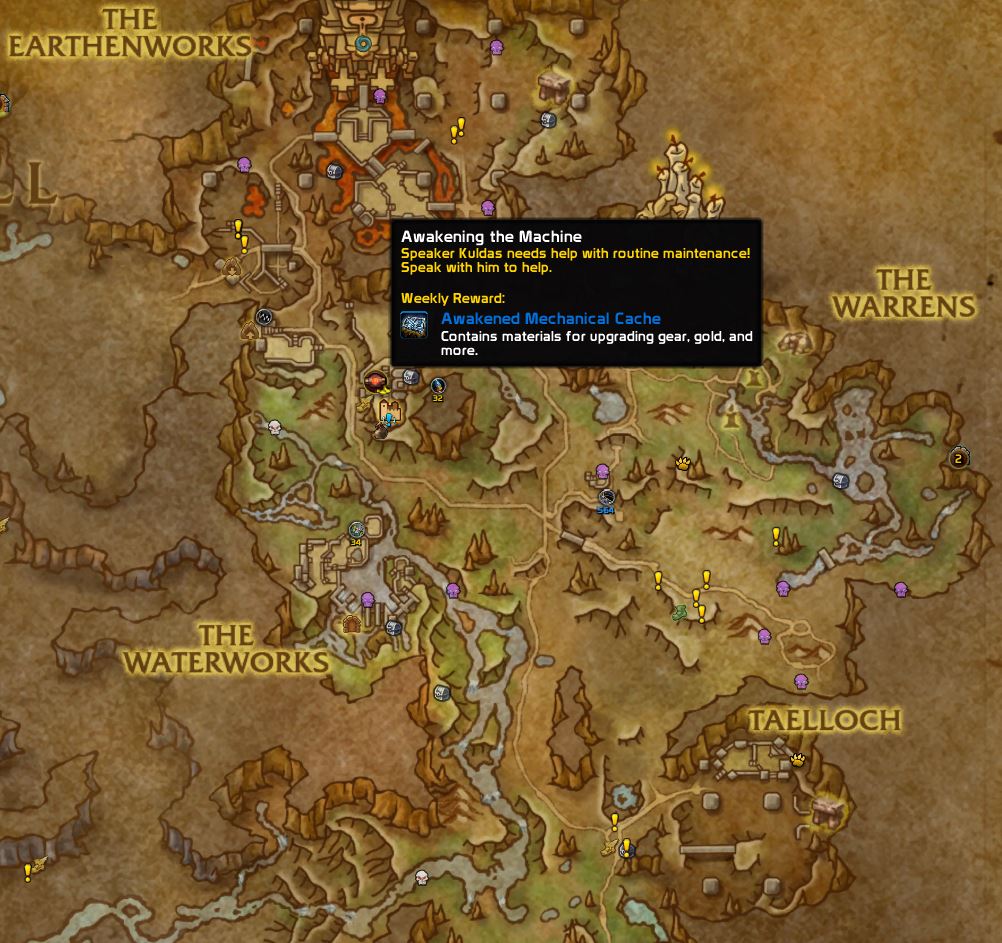
You start the event by talking to Speaker Kuldas in the center of town and choosing “Begin Maintenance” to be teleported into the instanced arena.
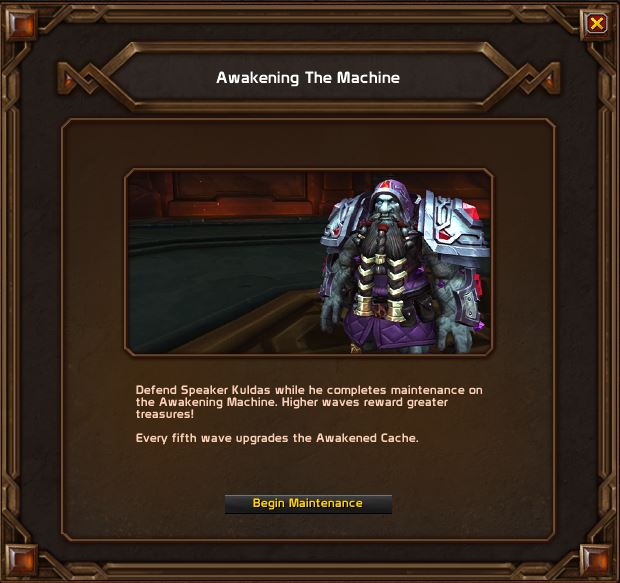
What are the Quests for Awakening the Machine
There are two potential quests associated with this event that you should check for each week before beginning it.
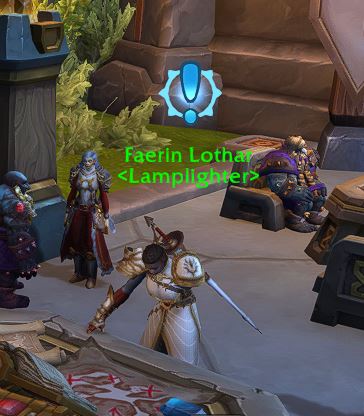
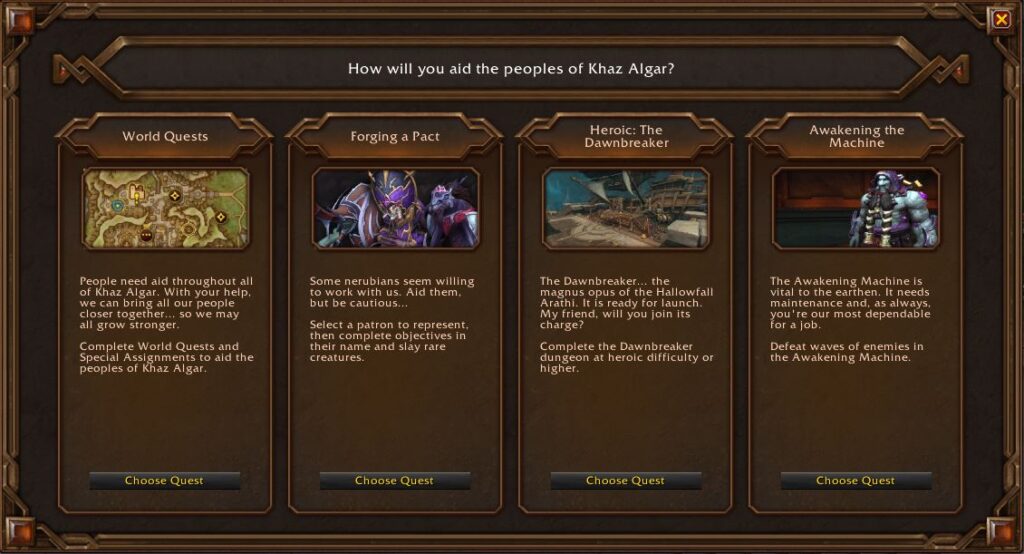
The first is in Dornogal, from Faerin Lothar. This is not something that appears every week, but some weeks she’ll offer a quest that will have you choose how you want to help aid the people of Khaz’Algar. If she has this quest, and Worldsoul: Awakening Machine is an option, this is a great way to triple up on rewards as you can still take the weekly specifically for Awakening the Machine as well as the rewards from the event itself.
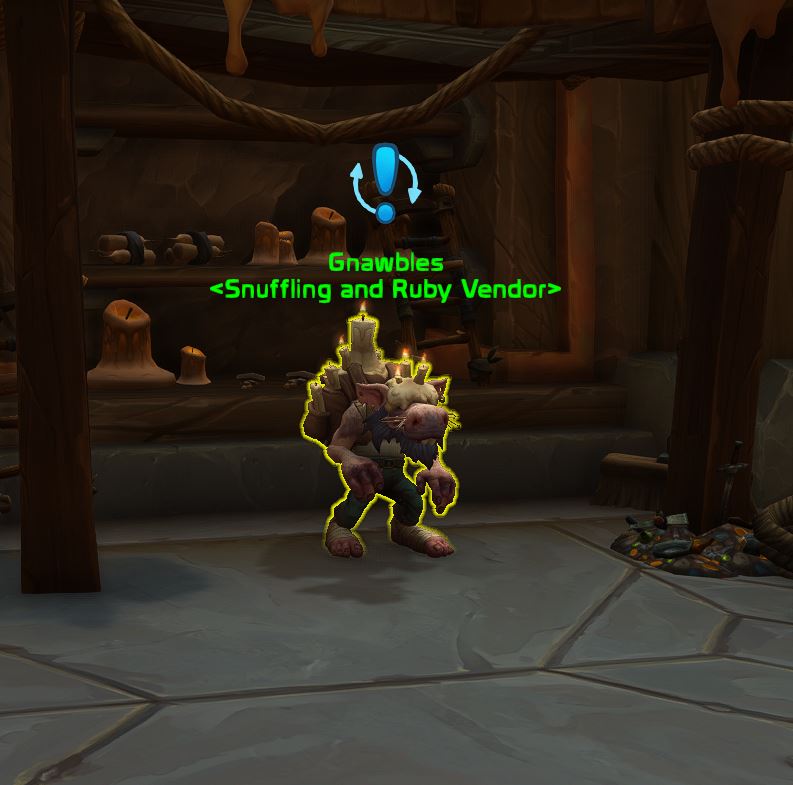
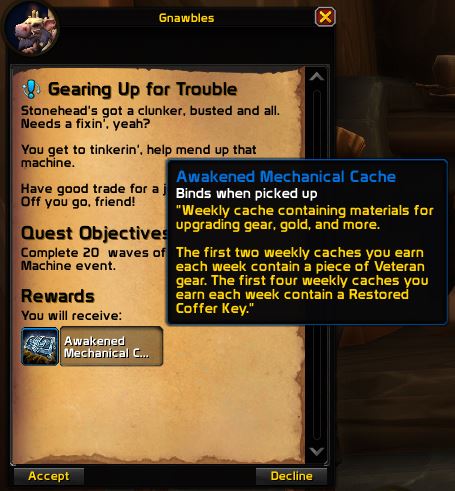
The second quest is in Gundargaz, where Awakening the Machine takes place, and is given to you by a Kobold NPC named Gnawbles. Gearing Up for Trouble is the weekly quest and it offers you an Awakened Mechanical Cache upon completion of 20 waves (the max amount) in Awakening the Machine. The waves do not need to be done concurrently, so you can complete waves up to an intermission (every 5 waves there’s one) and come back at a later time within the week to finish it.
How to Complete the Awakening the Machine Event
It’s an extremely straightforward event that once started involves:
- Not dying yourself.
- Not letting Speaker Kuldas‘ HP fall to 0.
- Defeating all the enemies spawned in each wave.
Seeing as you need to be level 80 to start this event, pretty much any character once they have it unlocked should be able to complete all 20 waves. This can only be done solo, so for those who are fresh 80’s and undergeared, or certain healers, you will need to pay attention to the mechanics on the later waves.
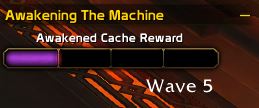
Every 5 waves there will be an intermission where you’ll need to speak to Speaker Kuldas and tell him you’re ready to continue to spawn in further waves. Each set of 5 gets progressively tougher with an added variety and number of mobs that spawn in.
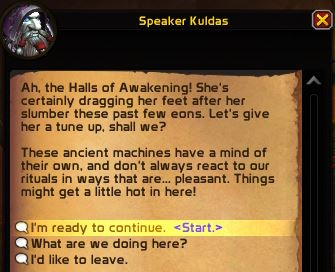
Note that you can decide to leave during the intermission and it will save your progress and allow you to re-enter where you left off as long as you do so before the weekly reset.
Enemies Spawned within Awakening the Machine
- Medbot – These mobs are important as, once killed, they drop a health pot you can run over that heals both you and Speaker Kuldas for a large chunk. They will wander around the arena and perform an AoE heal for enemies in their radius.
- Swarmbot – Your basic mob that starts from wave 1 and persists through the entire encounter. Any attack against them will draw aggro off of Speaker Kuldas onto you.
- Corrupted Machinist – When spawned these mobs will be in the outer ring and will immediately start channeling a spell that damages Speaker Kuldas for every second it’s not interrupted. Any interrupt or CC will not only stop the cast, but instantly kill this mob.
- Malfunctioning Pylon – A stationary pylon that spawns on the outer ring and starts channeling a damage laser into Speaker Kuldas. This beam will damage anything in between the pylon and the Speaker. It is recommended to kite enemy mobs through it to use its DPS to help kill things, or you can also shield the Speaker with your own body.
- Explosive Bomberbot – These mobs explode upon either death or falling below a certain health percentage. It’s recommended to not stand in the swirly they make as it does decent damage and stuns, but also to not let them explode under Speaker Kuldas.
- Nullbot – These mobs will randomly target another enemy mob and channel an ability to make their ally invulnerable that can only be stopped through CC or death. These are a high priority target.
- Automatic Ironstrider – A mini-boss of sorts that casts a nasty DoT on you that once it expires leaves behind a spot of lava and shoots fireballs in 4 directions from your character. Attempt to avoid having this ability expire near Speaker Kuldas.
- Awakened Phalanx – This is the boss mob that spawns as the only enemy at wave 20. It casts a damage ability that can spawn swirlies to be avoided as well as knock you back. It doesn’t have that much HP, so should be easily killable before the damage from its ability becomes an issue.
Tips for Awakening the Machine
- Don’t let Medbot mobs stack on each other as the healing AoE they do can become troublesome if there are 3 or more stacked on top of each other unless you have access to large amounts of burst damage.
- At the start of the event you can click Speaker Kuldas, right click his portrait, and set him as focus. This will give you a small bar that stays up to remind you of his health in case he gets low or is taking too much damage.
- You can leave up the health potions on the ground from killing Medbots for when you need to heal Speaker Kuldas. You can also use any targeted heal your class/spec may have to heal him as well.
- If a wave is not progressing it might be because there are Swarmbots underneath Speaker Kuldas that are hard to notice since they’re so small. Turning on enemy health bars at all times for this event can help with this.
- You can play with your back to a wall against the Awakened Phalanx to mitigate the downtime from the knockback.
Rewards from the Awakening the Machine Event
Quest Rewards
As talked about previously, there are two potential quests that involve completing 20 waves of Awakening the Machine.
- Gearing Up for Trouble – This is a guaranteed Awakened Mechanical Cache upon completion.
- Worldsoul: Awakening Machine – This quest does not show up every week, but when it does and is completed gives you a Pinnacle Cache chest.
Both include some currency as well as will offer a piece of gear if it’s one of your first two chests opened in the week, and a Restored Coffer Key if it’s within the first 4 chests opened.
The Awakened Cache
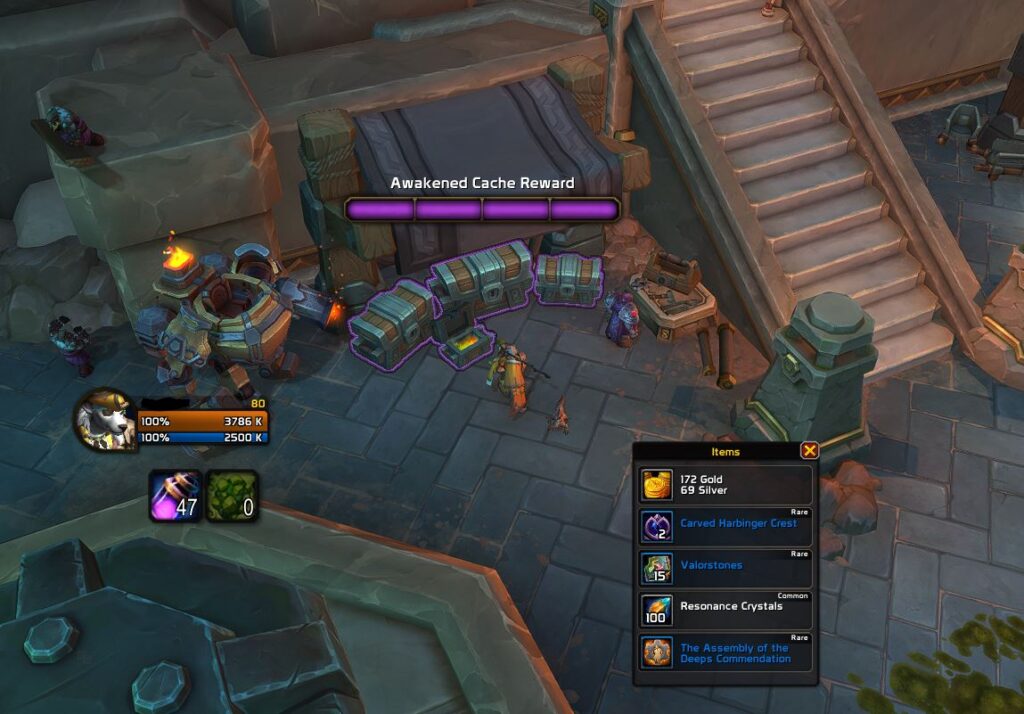
You will also get reward chests you can open next to Speaker Kuldas in Gundargaz for each 5 waves completed. If you complete all 20 waves there will be 4 chests to open, with the chests for the later waves offering more rewards.
- 5 waves – 15x Valorstones + 100x Resonance Crystals + 150 The Assembly of the Deeps Reputation
- 10 waves – 18x Valorstones + 1x Fractured Spark of Omens (As a catchup for characters behind on their weekly sparks) + 250 The Assembly of the Deeps Reputation
- 15 waves – 20x Valorstones + 150x Resonance Crystals + 350 The Assembly of the Deeps Reputation
- 20 waves – 22x Valorstones + 150x Resonance Crystals + 350 The Assembly of the Deeps Reputation
Keep in mind if you complete all 20 waves you will get all of the above rewards combined, as all 4 chests can be opened. Each chest also has the potential to drop a Machine Defense Unit 1-11 mount.
Achievement & Title
Defeating the Awakened Phalanx on the 20th wave in the Awakening the Machine event will give you the It’s Not Much, But It’s Honest Work achievement. This achievement will award you the <name>, Machine-Warden title.



which quests do you need to do to unlock this? Im level 80 and rank 3 but I cant do the weekly for celebration tokens