- Author: Luxrah
- Date: October 22, 2024
- Updated: January 17, 2025
- Expansion: World of Warcraft
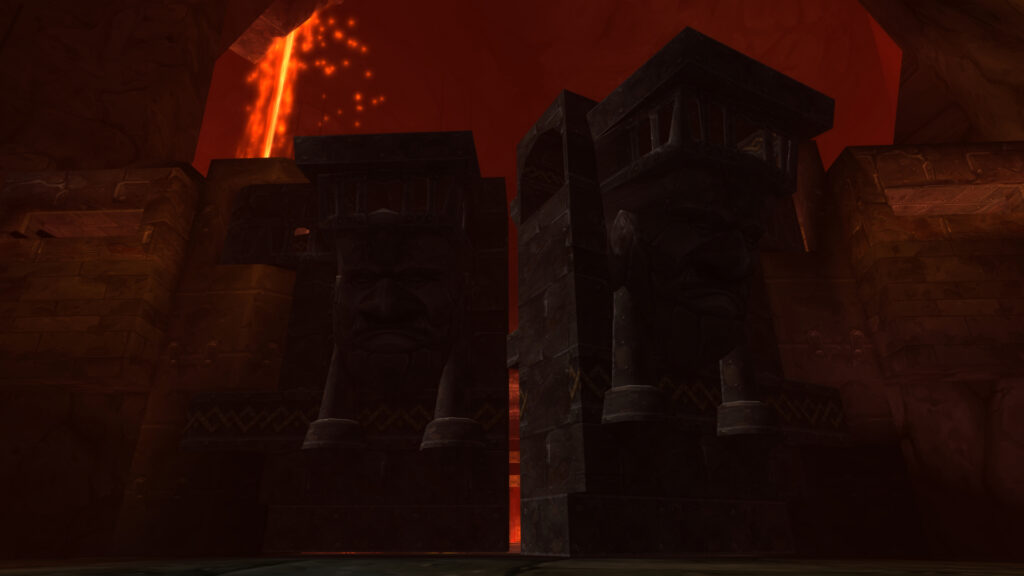
Patch 11.0.5 brings the 20th Anniversary Event celebration to World of Warcraft, including a new mid-season raid in the form of a completely overhauled version of Blackrock Depths. This raid is a throwback to one of the largest and most memorable dungeons in Classic WoW, with some new boss mechanics and updated loot to freshen it up.
The raid will be available for the duration of the 20th Anniversary Event, from October 22nd through January 6th. Read on for more info about the raid, its rewards, and how to defeat each of its bosses.
Raid Size & Difficulty
The Blackrock Depths raid can be completed with 10-15 players, and is available on Raid Finder, Normal, and Heroic difficulty levels.
Players level 30 and up will be able to queue for the Raid Finder version of the raid in the Group Finder, even if they don’t own the latest expansion, The War Within. To enter the raid on Normal or Heroic difficulty, you’ll need to be level 85.
The raid is cross-faction, so you can bring in players from Alliance and Horde together if you choose.
Quests
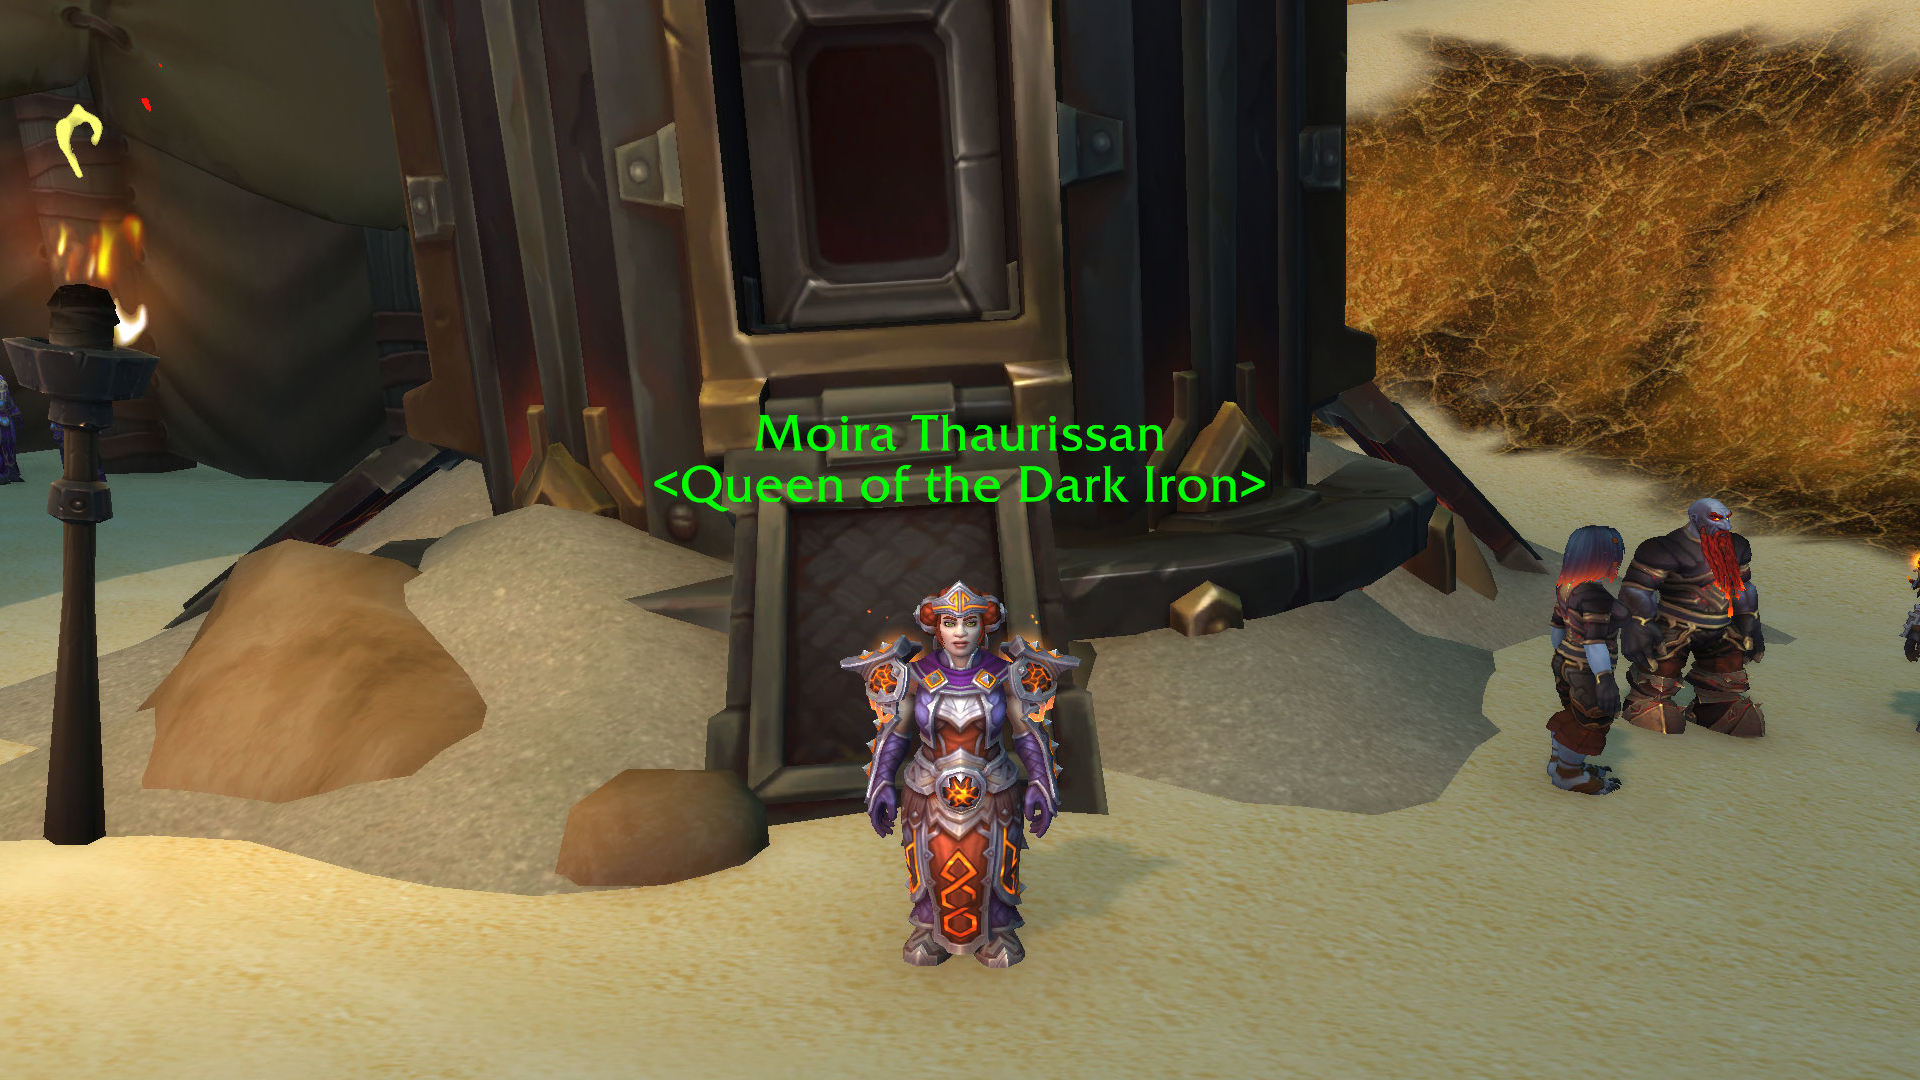
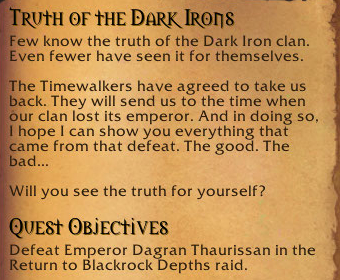
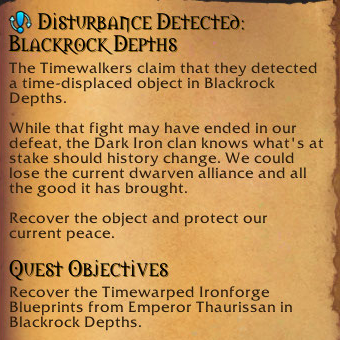
You’ll find Moira Thaurissan at the celebration grounds outside the Caverns of Time in Tanaris (62.8, 49.6). She offers the quest Truth of the Dark Irons along with its weekly version, Disturbance Detected: Blackrock Depths. These quests both require defeating Emperor Dagran Thaurissan, the last boss in the raid. Moira can also queue you for the raid.
Both quests award some Bronze Celebration Tokens while the weekly quest also grants some Valorstones, Carved Harbinger Crests, and a Cache of Dark Iron Treasures.
Rewards
The Blackrock Depths raid offers some familiar loot from the original Blackrock Depths dungeon, with some slight tweaks and updates for the modern game. The equipment in the raid is the same ilvl as Nerub-ar Palace, but there is no Mythic difficulty level and therefore no equivalent loot.
- Raid Finder: Veteran level loot (ilvl 584-593, upgradeable to 606)
- Normal: Champion level loot (ilvl 597-606, upgradeable to 619)
- Heroic: Hero level loot (ilvl 610-619, upgradeable to 626)
All of the loot that drops in the raid is also purchasable from event vendors using Timewarped Relic Coffer Keys. There are different versions of these items that drop in Raid Finder, Normal, and Heroic difficulty levels. 3-4 of them drop from each boss, and 1-2 from each mini-boss. You can carry up to 120 keys of each difficulty type. All of these rewards can be found in our Blackrock Depths Raid Rewards Guide.
Timewarped Relic Coffer Key vendors can be found at the celebration grounds outside the Caverns of Time in Tanaris (63.0, 49.8).
- Braggi Brazenbrass (Raid Finder)
- Kraegan Emberforge (Normal)
- Hilda Hellforge (Heroic)
Additionally, killing bosses in the Blackrock Depths raid awards progression toward the raid row in The Great Vault.
Achievements
There are two achievements that can be earned inside the Blackrock Depths raid.
- A Dark Iron Past: Find 13 different Temporal Missives from Moira inside the raid.
- You’re in Your Blackrock Depths: Defeat all eight bosses and all five mini-bosses in the raid.
Blackrock Depths Raid Bosses and Mini-Bosses
The Blackrock Depths raid houses eight bosses and five mini-bosses.
Mini-Bosses
Mini-Bosses are generally found mixed in among the raid’s trash mobs and drop currency such as Carved Harbinger Crests, Fractured Spark of Omens, Timewarped Relic Coffer Keys, and Valorstones.
- High Interrogator Gerstahn
- Houndmaster Grebmar
- Fineous Darkvire
- Phalanx
- Pyromancer Loregrain
Lord Roccor
This Elemental type boss is the first one you’ll encounter inside the Detention Block, immediately after entering the raid.
Abilities & Strategy
- Roiling Magma: A glowing circle of molten rock will appear on the ground which you definitely don’t want to stand in.
- Crystallize: When cast, all Roiling Magma pools will spawn a Son of Roccor elemental.
- Slag Armor: This ability is cast by Sons of Roccor adds and should be interrupted as much as possible.
- Eruption: Pools of magma will spawn throughout the room along with Living Magma blobs. Run through the blobs to prevent them from reaching the pools, but be careful as each one will give you a stack of a debuff that deals damage over time.
- Igneous Crystallization: When cast, all Eruption magma pools will spawn adds.
- Volcanic Upheaval: When the boss reaches 100 energy, he will cast this heavy AoE. Use defensive and healing cooldowns to survive.
Bael’Gar
This Giant type boss is guarding the large doors in the Dark Iron Highway.
Abilities & Strategy
- Giant Strike: This cleave attack deals damage in a cone in front of the boss, splitting its damage between the targets hit. Tanks should stack and face the boss away from the group, toward the wall.
- Rockfall: Bright orange swirls will appear on the ground that you must avoid. There will also be one larger swirl that you want to get as far away from as you can in order to reduce the AoE damage you take when it lands. This will spawn a Boulder in that location. Five Boulders in total will appear, and you should kill all but one. Each time a Boulder is destroyed it will spawn a bunch of Spawn of Bael’Gar that must be killed as well.
- Molten Furnace: This AoE attack does massive damage and must be avoided by hiding behind a Boulder.
- Shatter: This AoE attack deals additional damage for each Boulder that is “alive” when it goes off, so it’s important to quickly destroy the last one as soon as Molten Furnace goes off. Even with no Boulders left, this attack still does a lot of damage, so use defensive and healing cooldowns to survive.
Lord Incendius
This Elemental type boss guards a bridge in the Shadowforge City.
Abilities & Strategy
- Firewall: The boss will light a different part of the bridge on fire every 10 seconds. Don’t stand in it.
- Consumptive Flames: Two players will get this debuff, which deals heavy damage over time and must be healed through.
- Summon Flame Geyser: The boss will spawn more and more Flame Geyser adds. Kill them one at a time while using crowd control to keep the others at bay.
- Blaze: This ability is cast by Flame Geyser adds and must be interrupted.
- Dying Flame: Flame Geyser adds will cast this when they die. The raid must stack inside the circle to split the damage when it goes off. At least one player must be hit by this ability or the raid will wipe.
- Blowback: The boss will cast this for 20 seconds in an attempt to push the raid off the bridge. He’ll also deal increasing damage to the tank, so your other tank should be ready to taunt when the damage gets too high.
Golem Lord Argelmach
This Humanoid boss is found in the Mold Foundry, but you won’t really be fighting him – he dies very quickly, leaving you to deal with his four mech golems, Arcanotron Mk. II, Electron Mk. II, Magmatron Mk. II, and Toxitron Mk. II. Only Arcanotron and Magmatron need to be tanked, the other two are casters.
Abilities & Strategy
- Arcanotron Mk. II
- Arcane Overcharge: This ability marks an area where a bomb will land when the cast ends. If no one is standing in the bomb’s radius, it will damage the whole raid. The bomb’s damage goes up for every time it does not hit a target. If you are standing in the bomb’s radius when it lands, it will do some damage to you as well as leave you with a 40 second debuff that increases your Arcane damage taken. The bomb should be soaked, but probably not by the same player every time.
- Power Generator: These energy orbs will give you 12% increased damage for the next 30 seconds, stacking up to 3 times. They can also buff the golems if they are hit by them, so be sure to intercept them first.
- Electron Mk. II
- Chain Lightning: Spread out so this AoE doesn’t jump around your group.
- Livewire: this debuff will go out on 2 players at a time, dealing damage anyone within 12 yards of them for the next 10 seconds.
- Lethal Attraction: Two players will be linked by this ability and have 6 seconds to stack with each other or they will begin to take damage.
- Magmatron Mk. II
- Flamethrower: This is a 20-yard cone attack that lasts for 10 seconds. It can clear Chemical Pool and Poison-Soaked areas on the ground, but it also does damage and applies the Melt Armor debuff if you stand in it.
- Melt Armor: A debuff that causes the target to take increased Physical damage for 40 seconds.
- Incineration: An AoE that damages the raid and blows up any Chemical Pools on the ground.
- Toxitron Mk. II
- Chemical Bomb: Leaves a green Chemical Pool on the ground – don’t stand in it.
- Poison Mist: An AoE that deals damage to everyone over 10 seconds and puts out the Poison-Soaked debuff.
- Poison-Soaked: A debuff that deals damage every second and can only be removed by standing in Magmatron’s Flamethrower ability.
The Seven
This council fight takes place in the Summoners’ Tomb. They will not be lootable when they die; instead a Chest of the Seven will appear nearby.
Abilities & Strategy
You’ll be facing seven different bosses, who each have their own abilities but share a health pool. Anger’rel and Gloom’rel are always active and must be tanked at all times. Of the other five, only one will be active at any given time. The other our will be Incorporeal, which reduces the damage they deal by 50% and prevents them from using certain abilities, but also reduces the damage they take by 97% and prevents them from being interrupted.
Always Active Abilities:
- Rend and Sunder Armor: Anger’el and Gloom’rel cast this periodically throughout the fight, and your tanks will need to swap when these debuffs get to be too much (you can even swap whenever each tank has one stack of one or the other).
- Recklessness: Whoever is tanking Gloom’rel should use a personal cooldown when he casts this ability.
- Bladestorm: Anger’el will cast this periodically, dealing AoE damage to anyone in range. Everyone should run out of the ability’s visible radius.
- Shadowbolt Volley: Doom’rel casts this AoE, which deals damage to everyone within 200 yards and can only be interrupted when he’s Corporeal.
- Magma Bolt: Hate’rel casts this, leaving a Magma Burn debuff that deals damage over time. It can only be interrupted when he’s Corporeal.
- Blizzard: A blue arrow will appear over the head of the player who is targeted with this ability. They should run away from the group to drop the AoE in safe location.
- Power Word: Respite: Vile’rel casts this shield on one of the bosses. It lasts for 30 seconds and both absorbs damage and heals its target. DPS it down so they don’t all get healed (remember, they share a health pool).
- Terrify: Vile’rel periodically casts this, marking an area on the ground with a large purple circle. Anyone standing in it when it goes off will be feared.
Abilities Active When Corporeal:
- Doom’rel
- Shadowbolt Volley: Interrupt this AoE when the boss is Corporeal.
- Summon Felguard: Interrupt this if possible, otherwise be ready to kill the Felguard that spawns.
- Banish: This must be dispelled if cast on a player.
- Dope’rel
- Smoke Bomb: This ability will prevent players from attacking or healing for six seconds, so be ready for it and have the raid topped off as much as possible when this boss is active.
- Hate’rel
- Magma Bolt: Interrupt this debuff when the boss is Corporeal so you don’t have to deal with the debuff.
- Summon Fire Elemental: A Fire Elemental will spawn that must be interrupted and killed. Both Hate’rel and the Fire Elemental must be interrupted while the Fire Elemental is alive, or the entire group will get a stack of Magma Burn.
- Seeth’rel
- Bitter Cold: Deals damage to and roots anyone within 8 yards when it goes off after 5 seconds. The group should spread out when this goes out.
- Vile’rel
- Mind Torrent: Deals AoE damage in an 8-yard radius around the target for 10 seconds. When this goes off, the group needs to stack on the targeted player so they can split the damage.
General Angerforge
This Humanoid boss is at the end of a gauntlet. You’ll have to fight your way through a large room full of adds and light the two Shadowforge Braziers to kill General Angerforge himself.
Abilities & Strategy
- Harbinger of Flames
- World in Flames: This ability will deal increasing damage to your group while a Harbinger of Flames is alive.
- Shadowforge Flame Keeper
- You must kill both of these and loot their Shadowforge Torches in order to light the Shadowforge Braziers and access the boss.
- Anvilrage Officer
- Commanding Aura: You’ll want to prioritize killing the Anvilrage Officers as they will significantly buff their allies.
- Shatter Armor: Another reason to focus down this mob as quickly as possible. This debuff increases Physical damage taken and lasts until the end of the fight.
- Anvilrage Medic
- Heal: Interrupt this if possible and focus the Anvilrage Medic down if there are no Anvilrage Officers alive.
- Anvilrage Rogue
- Fixate: Anvilrage Rogues will focus on one player. This might make them a high priority to kill, especially if they are focusing a healer.
- Anvilrage Sapper
- Detonate: Deals a lot of damage within a small radius when they reach their target, so targeted players should run away while the group focuses the Anvilrage Sapper down.
Ambassador Flamelash
This Elemental type boss is located in The Iron Hall.
Abilities & Strategy
- Cremate: You’ll need to stack with the tank when this is cast in order to split the damage across the group.
- Magma Infusion: This ability roots players so he can hit them with Magma Sweep. Don’t be in front of him.
- Magma Sweep: A front cone attack that you should avoid standing in.
- Summon Firestarters: Deals AoE damage and spawns Firestarter adds. Firestarter adds will chase one player at a time.
- Summon Flamewalker: Spawns a Flamewalker add. These explode when they die, so stay away from them when they start to get low.
- Open Firelands Portals: Burning Spirit adds will spawn every 15 seconds until the two portal anchors are destroyed.
Emperor Dagran Thaurissan
This Humanoid type boss is the final boss of the instance, found at The Imperial Seat. He is accompanied by Princess Moira Bronzebeard.
Abilities & Strategy
- Moira Bronzebeard
- Shadow Word: Nemesis: Does escalating damage to its target until it is dispelled or Moira is defeated. When dispelled, this debuff jumps to two other players, so do so only when the target can’t continue to survive its damage. Defeat Moira quickly to avoid being overwhelmed by this debuff.
- Shadow Word: Necrosis: This debuff prevents the target from being healed. It can be passed to another player by standing close to them for one second, but doing so will trigger a raid-wide AoE, Necrotic Blast.
- Twilight’s Hammer Ambassador
- Moment of Twilight: This ability will wipe the raid, so these adds must be killed before it goes off.
- Emperor Dagran Thaurissan
- Ironfoe: Dagran will deal heavy burst damage to your tank after every third auto attack.
- Iron Brand: This debuff stacks, and you’ll want to avoid stacking it too high, so your tanks will need to swap off on Dagran.
- Call Imperial Guard: Dagran summons a Dark Iron Imperial Guard. Avoid standing near the mole machine when it appears, as it will deal heavy damage and knock you back.
- Call Twilight’s Hammer Ambassador: Dagran will summon 4 Twilight’s Hammer Ambassadors when he casts this.
- Beseech The Firelord: Dagran will cast this when Moira is defeated or he falls below 70% health, whichever happens first. He’ll gain a large damage shield and summon an Avatar of Ragnaros. He will stop calling Imperial Guards and Twilight’s Hammer Ambassadors.
- Avatar of Ragnaros
- Volcanic Blast: The raid must stack for this ability in order to split its heavy AoE damage. It will then spawn a Volcanic Stone in the location which you must stay away from.
- Summon Fireguard Destroyer: The Avatar of Ragnaros summons a Fireguard Destroyer. Don’t stand anywhere nearby as it will deal heavy AoE damage when it appears.
- Fireguard Destroyer
- Fiery Demise: The raid must stack for this ability in order to split its heavy damage. It will then spawn Firelings.
About the Author

Hello, thank you for this guide. I used it on retail for the 20th birthday event with the timewalking scaled BRD raid.