Sojourner of Isle of Dorn Quests & Achievement Guide
The Isle of Dorn is the first zone you’ll encounter in Khaz Algar as you make your way through the main storyline for The War Within. Along the way, you’ll encounter several additional storylines scattered across the zone. These optional quest chains are required for the Sojourner of Isle of Dorn achievement, which is part of the Loremaster of Khaz Algar achievement that rewards the Crimson Cartographer’s Orientation ensemble. Completing these quests will also earn you some reputation with the Council of Dornogal faction, but only for the first time they are completed by a character in your Warband.
The achievement requires the completion of 10 specific quest chains across the zone. You’ll encounter some of these quests naturally as you progress through the main quest and explore the Isle of Dorn, but others are a little more out of the way or have special requirements before you can start them. Most of these quests are level 70-73 like the zone they’re located in, so if your character is a higher level, you may need to enable Low Level Quests on your tracker in order to see them. We’ll walk you through all of these quest chains in this guide.
Spores of Dread
This storyline can be started with an optional breadcrumb quest in Freywold Village. Otherwise you’ll need to head to Boskroot Basin to pick up the first quest. The chain is only 4-5 quests long with one optional bonus objective.
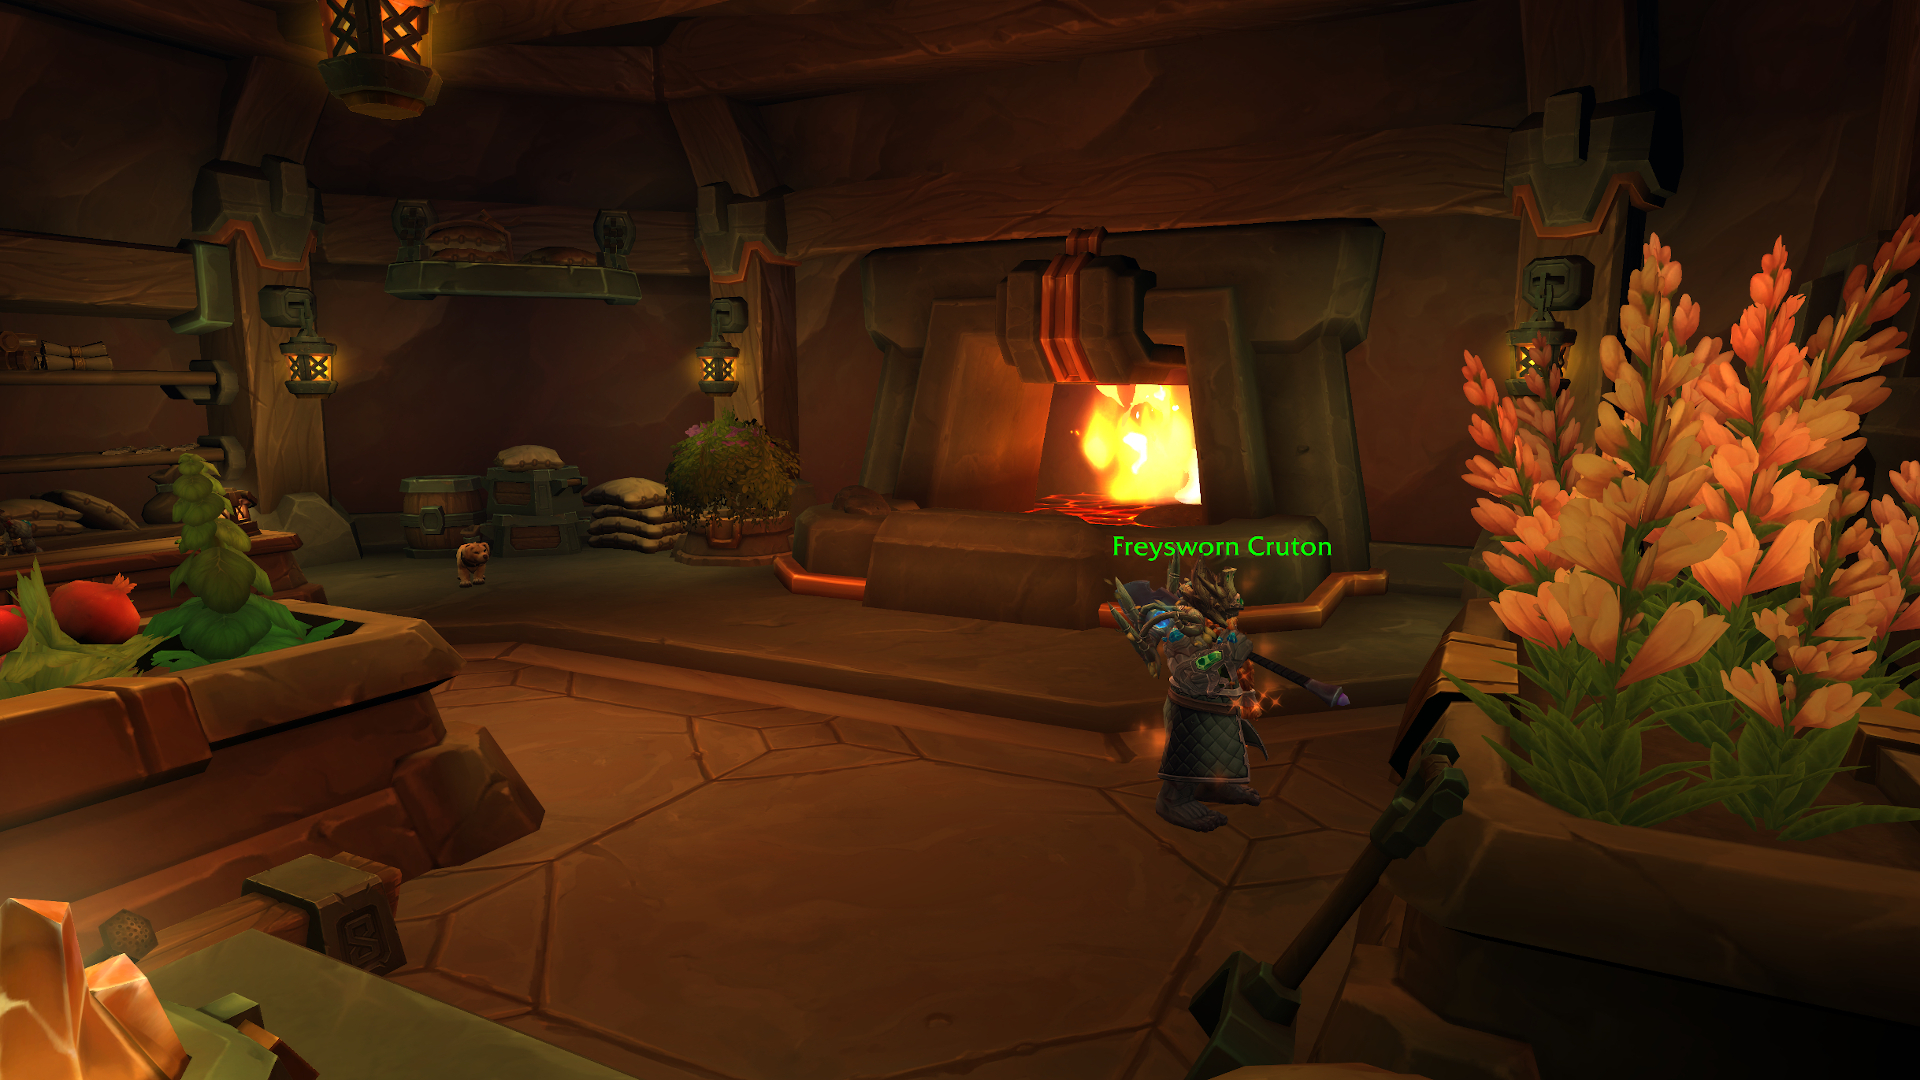
Frayed Legacy (optional)
This optional breadcrumb quest can be picked up from Freysworn Cruton inside a house in Freywold Village (entrance: 42.1, 71.3)

Mycomayhem
This is the first required quest in the storyline and can be picked up from Woldtender Igris at Boskroot Basin (53.5, 69.9), with or without picking up the Frayed Legacy quest first. You’ll need to kill nearby elementals and beasts to loot 30 Boskroot Spores to complete this quest. You can complete the optional Fungal Frenzy bonus objective at the same time, although it is not required for the achievement.

Wold Memories
Woldtender Igris will send you to investigate Freydrin’s Hovel, which is nearby in Boskroot Basin (entrance: 54.0, 65.5). Once inside, you’ll be tasked with interacting with four different objects in the building: a Fine Earthen Urn on a shelf in the wall, a Dusty Memory Gem on the hearth, an Oathbinder’s Pledge downstairs, and finally Freydrin’s Shillelagh on the downstairs hearth.
Keeper’s Aid
Woldtender Igris will give you Freydrin’s Shillelagh, which you will use on nearby wildlife to cleanse them. You do not need to fight them at all – they will cease being hostile when cleansed. You’ll also need to interact with four Ancient Stone Wards around Boskroot Basin at (53.9, 65.3), (54.8, 67.0), (51.7, 67.8), and (52.6, 69.9).
Boss of the Bosk
To complete the quest chain, Woldtender Igris will send you to fight the large elite elemental you may have seen patrolling Boskroot Basin, Rotbark the Unfelled. Use Freydrin’s Shillelagh on him as you did with the wildlife in the last quest, and it will make him a bit easier to kill. Defeat him and return to Woldtender Igris at Freydrin’s Hovel for your reward.
Completing this quest awards 500 reputation with the Council of Dornogal the first time it is completed by a character in your Warband. It also grants 25 Resonance Crystals and a piece of Uncommon gear for your class.
Behind Closed Doors
This storyline is required to unlock the Earthen Allied Race. There are two points during this quest chain where you will need to have completed some of the main storyline in the Ringing Deeps in order to proceed. With 16 required quests, this is the longest quest chain for the achievement.
How Scandalous!
You can pick up this quest from Aldra at the Stoneshaper’s Atrium in the city of Dornogal (62.7, 21.7). She’ll send you to speak with Peacekeeper Kragad at the shipping office on the north side of the Forgegrounds (49.9, 49.3).


Seizing Evidence
Peacekeeper Kragad wants you to check out the seized shipments, which you’ll see as three glittering chests on a nearby cart (51.4, 51.3). Interact with each of them to loot what’s inside.
Withheld Information
You’ll see several Earthen Line Worker NPCs inside the shipping office and just outside of it. Just interact with them to interrogate them.
Something Hidden
Head back to the glittering chests on the cart. This time you’ll right-click them to smash them, which will release some hostile Disturbed Mudspawn and reveal four pieces of evidence for you to pick up: Infused Underclay, Bag of Glowing Shards, Bundle of Receipts, and Nerubian Silk Ropes.
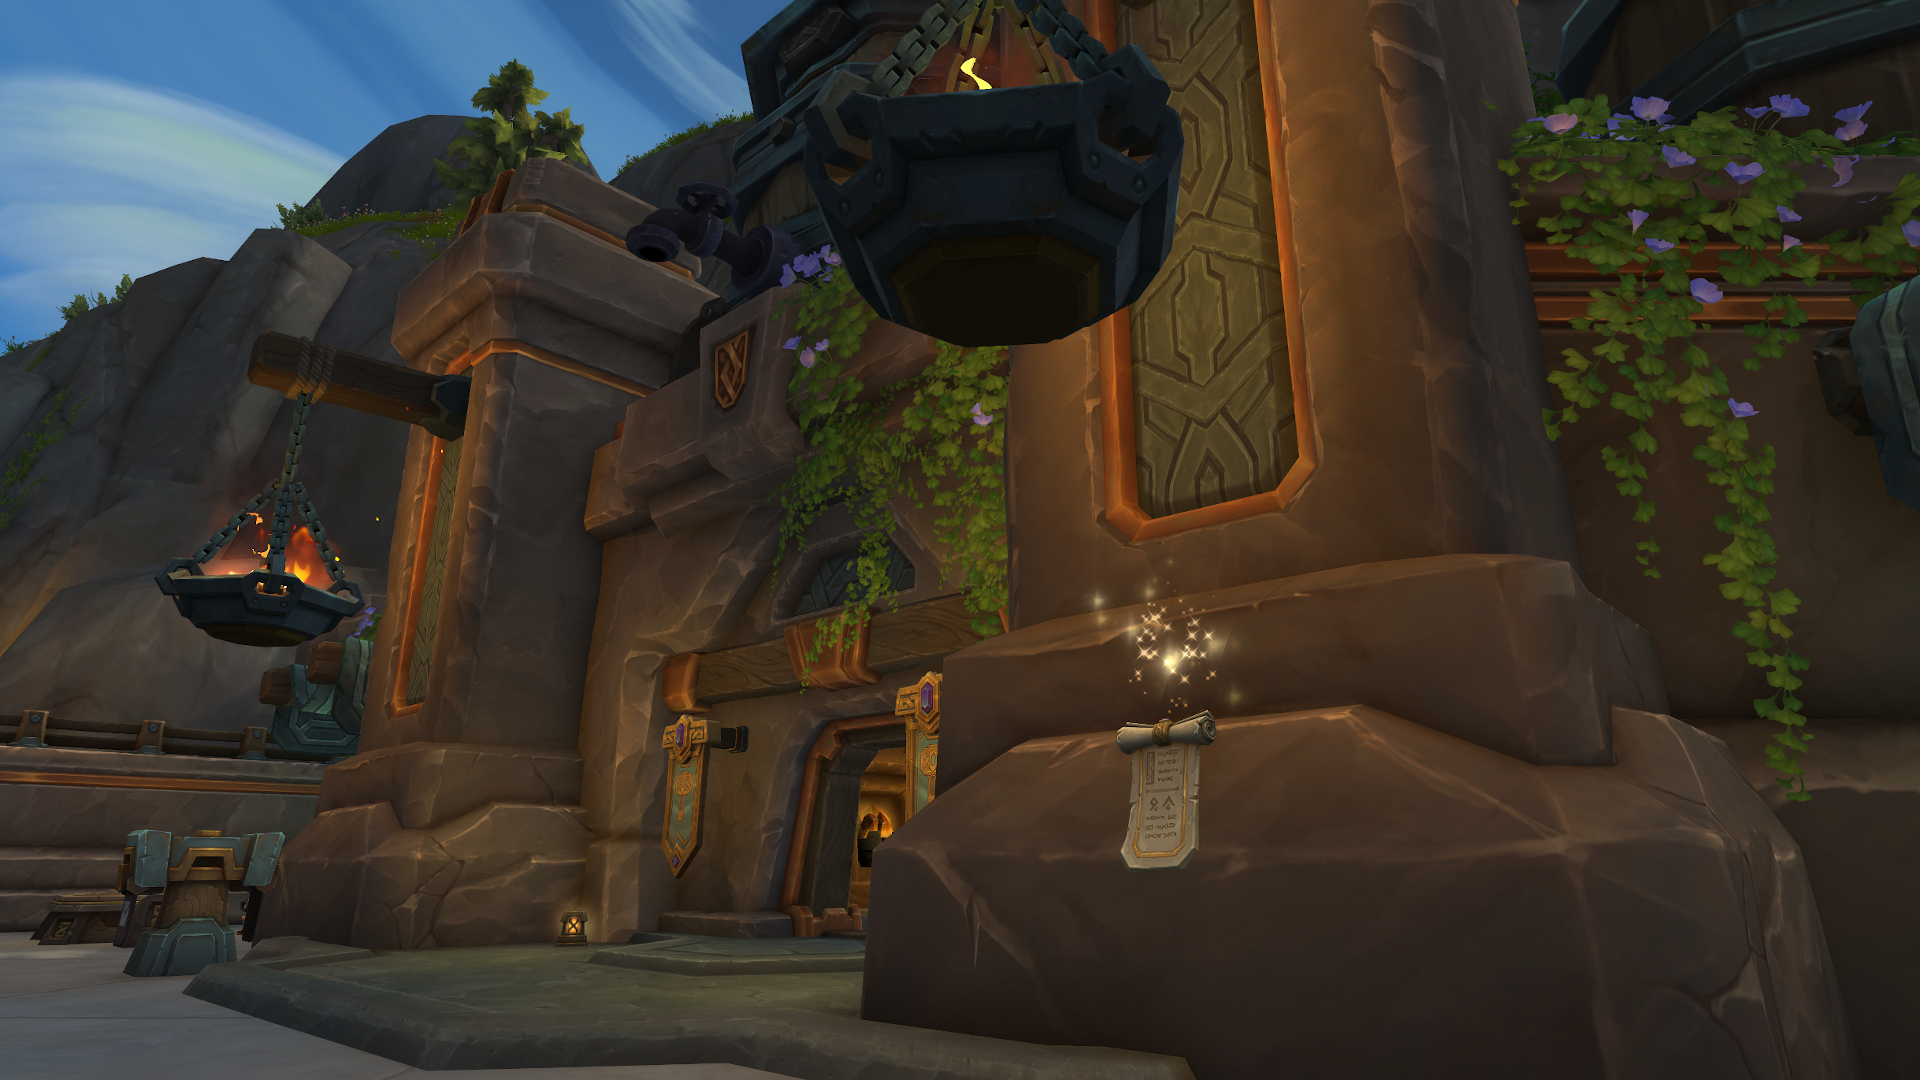
Report to the Councilward
Peacekeeper Kragad now sends you to to the Councilward’s Rise, a high ledge on the north side of the city, where you’ll find Councilward Merrix’s office (55.8, 7.7). The Councilward is not in, so click on the Open Ledger on the table downstairs. You’ll get a bunch of Resonance Crystals for your trouble. You’ll also get 500 reputation with the Council of Dornogal the first time this quest is completed by a character in your Warband. You won’t get a follow-up quest here; you’ll have to locate the next part on your own (or let us point you to it by continuing this guide!).
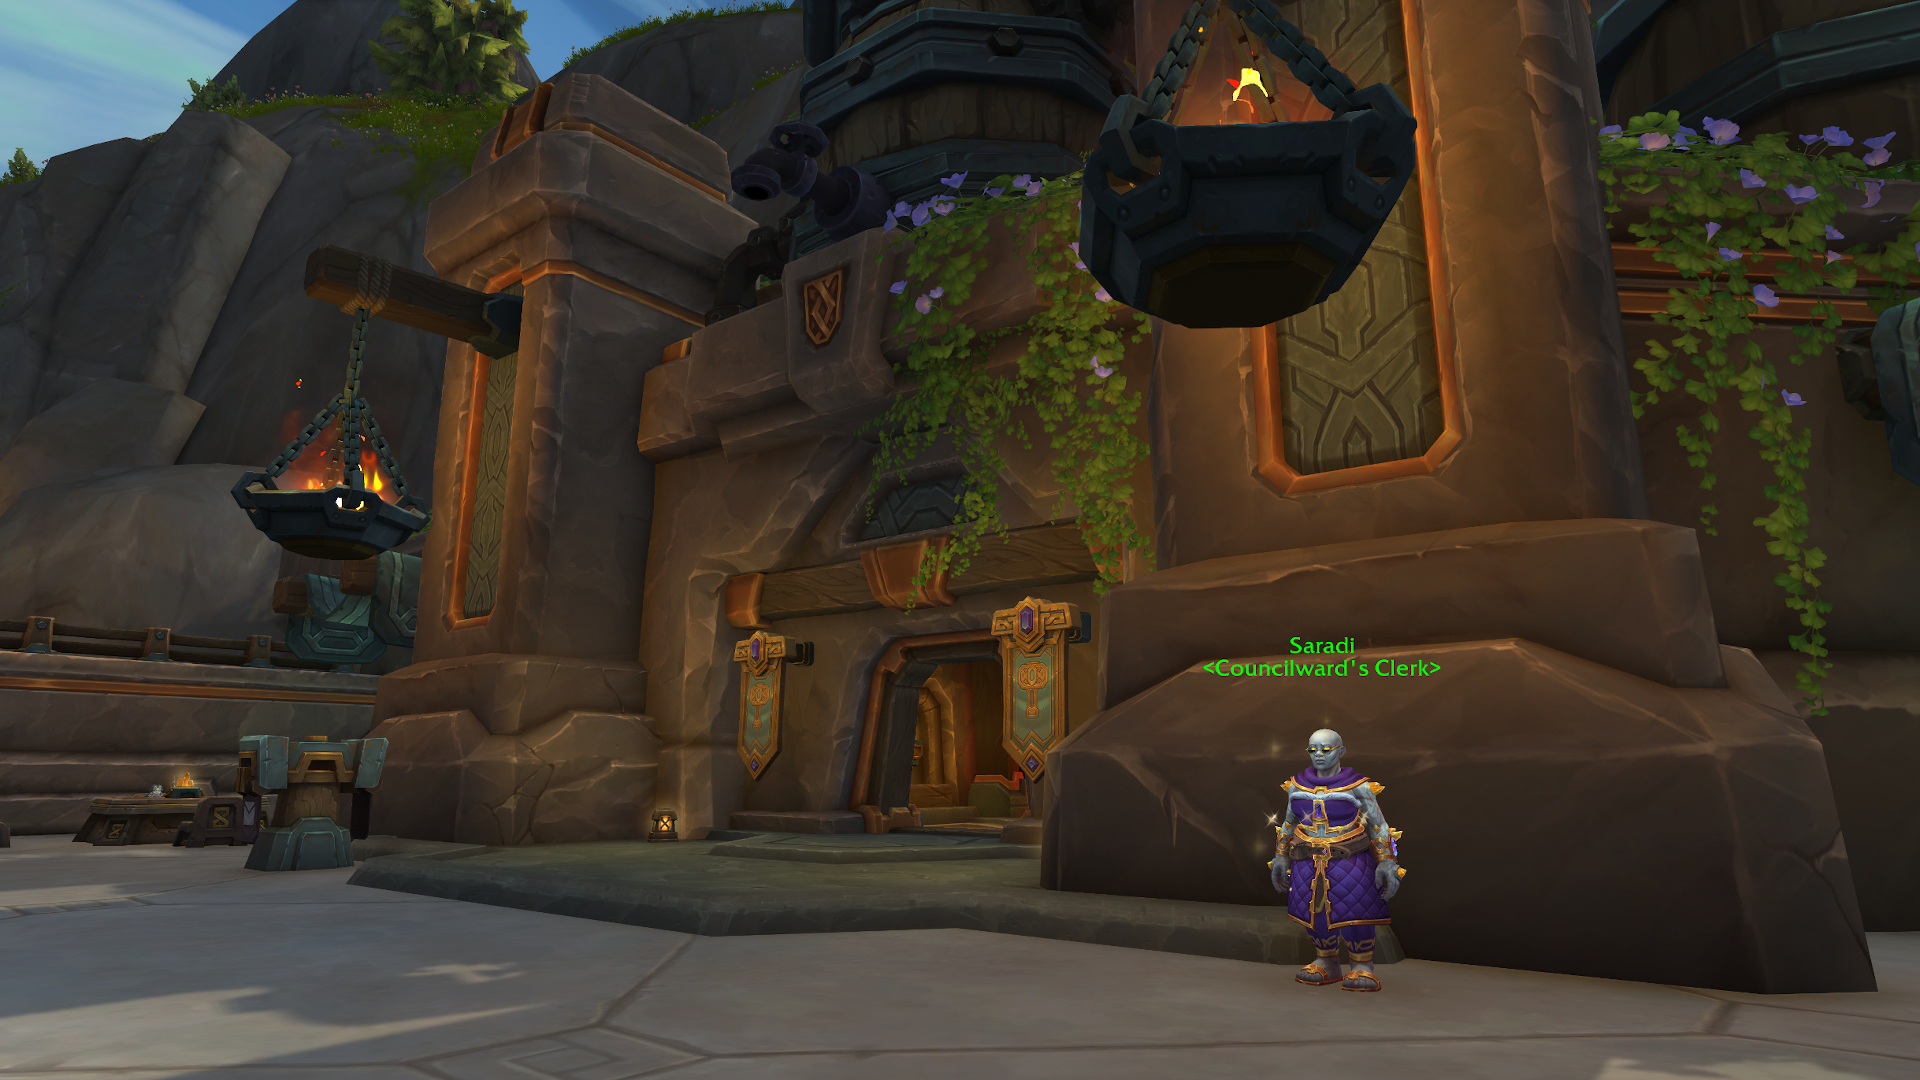
The Councilward’s Summons
Before this quest will appear, you must complete part of the main story campaign in The Ringing Deeps, up through the quest The Machine Speakers.
When the prerequisite quests have been completed, a new quest will become available just outside of Stonelight Rest, the Dornogal inn. This quest is offered by Saradi, the Councilward’s Clerk (46.0, 47.2). She’ll poof away after you accept.

Dornogal’s Benefactor
Return to the Councilward’s Office (55.8, 7.7) and you’ll find Merrix has returned. Speak with him to progress the quest. He’ll send you to deliver supplies to the residents of Dornogal. First you’ll head to the Steam Vent on the Keepers Terrace in the northwest corner of the city (entrance: 32.9, 25.5) and speak with Aufta inside. Next you’ll be directed to Gostrof in a corner of the Forgegrounds behind the general goods shop (58.5, 62.1). Now back down in the central Forgegrounds to speak with Trader Harthan among the miners (52.3, 52.2). When you’re done, locate Merrix near the Auditor’s Hall on the Keepers Terrace (49.3, 26.3).
Security Through Trade
Merrix sends you to meet Bevrusi at the mailbox outside the Dornogal Auction House (55.6, 50.2). You’ll need to view her wares to continue, but you won’t be able to buy anything yet.
The Market Reeve of the Forgegrounds
Bevrusi asks you to meet with Vokgret outside Stonelight Rest, the Dornogal inn (45.1, 48.9). Get close and she’ll ask you to fetch her a cinderbrew. Head inside the inn and purchase a Fresh Mug of Cinderbrew Mead from Ronesh, the Innkeeper. Return to Vokgret and progress her dialogue, and she’ll send you to meet Loldren in the Inscription shop at the south end of the city (48.0, 72.4). He’ll ask you to help him with some paperwork. Interact with the Auditor’s Manifest on his desk and select whatever options you like. Then head nextdoor to the Jewelcrafting shop to speak to Nernabel (entrance: 50.1, 72.5). Progress her dialogue and head to the large central building in the Forgegrounds to loot a Sizzling Magma Core (50.4, 63.8). This will cause an Enraged Magma Fury to spawn. Bring the item back to Nernabel, and then head back to Vokgret outside the inn.
Opals and Runes
With all that running around out of the way, return to Bevrusi outside the Auction House (55.6, 50.2). You’ll now have what you need to purchase the Speakeasy Passrune from her. Do so, and then find Merrix in yet another new location outside the Corridors in the Stoneshaper’s Atrium (60.5, 33.1).
The Machine Speakeasy
Head into the Corridors, the building behind Merrix, and follow the stairs down until you find him again. Talk to the Speakeasy Runeguard to enter the hidden door and go down the stairs to speak to Obstorn. He’ll turn hostile, and Merrix will not help you fight him. Defeat him and you’ll be able to turn in the quest to Merrix for another batch of Resonance Crystals. You’ll also get 500 reputation with the Council of Dornogal the first time this quest is completed by a character in your Warband. You won’t get a follow-up quest here – read on for where to find the next part!
Sedition
Before you can continue with this portion of the quest, you’ll need to finish the main storyline quests in The Ringing Deeps.
When The Machine Speakeasy and the main story in The Ringing Deeps have been completed, you’ll find an Angrily-Scrawled Poster pinned outside the door to the Stonelight Rest inn (45.9, 47.2). Pick up this quest from it and head up to the Councilward’s Office (entrance: 55.8, 7.7) to meet with Merrix.

Damage Mitigation & Dispelling Rumors
You’ll receive these two quests simultaneously. One requires you to disperse Murmuring Peacekeepers, who you’ll find in small groups all along the Keepers Terrace. Interact with one of them to disperse the whole group. One may occasionally turn hostile and will disperse when defeated. The other quest requires locating and removing Seditious Posters in the same area. These are posted on walls and look like the poster you obtained the Sedition quest from. When done, return to Merrix in the Councilward’s Office.
Forcing My Hand
Merrix asks you to help him prepare his Steelvein disguise. Pick up the items he needs around his office and hand them to him in order: the Bundled Cloak on the hearth, the Accessory Chest near the stairs, the Gilded Knuckles that Saradi is holding out, and finally the Titan Device on top of one of the shelves.
Bad Business
Head down to the Ringing Deeps zone and meet Merrix/Steelvein at Overseer Ardgrin’s office below the Hallowfall Gate (42.4, 23.9). Together you’ll confront Ardgrin, whom Merrix will fight while you handle the two Sparking Haulbots. When they’ve all been defeated, speak with Steelvein to finish the chain.
Completing this quest awards 500 reputation with the Council of Dornogal the first time it is completed by a character in your Warband. It also grants 25 Resonance Crystals and a piece of Uncommon gear for your class.
Seven Soldiers
This short 4-quest storyline starts in Freywold Village and continues at the Glimmering Shore..
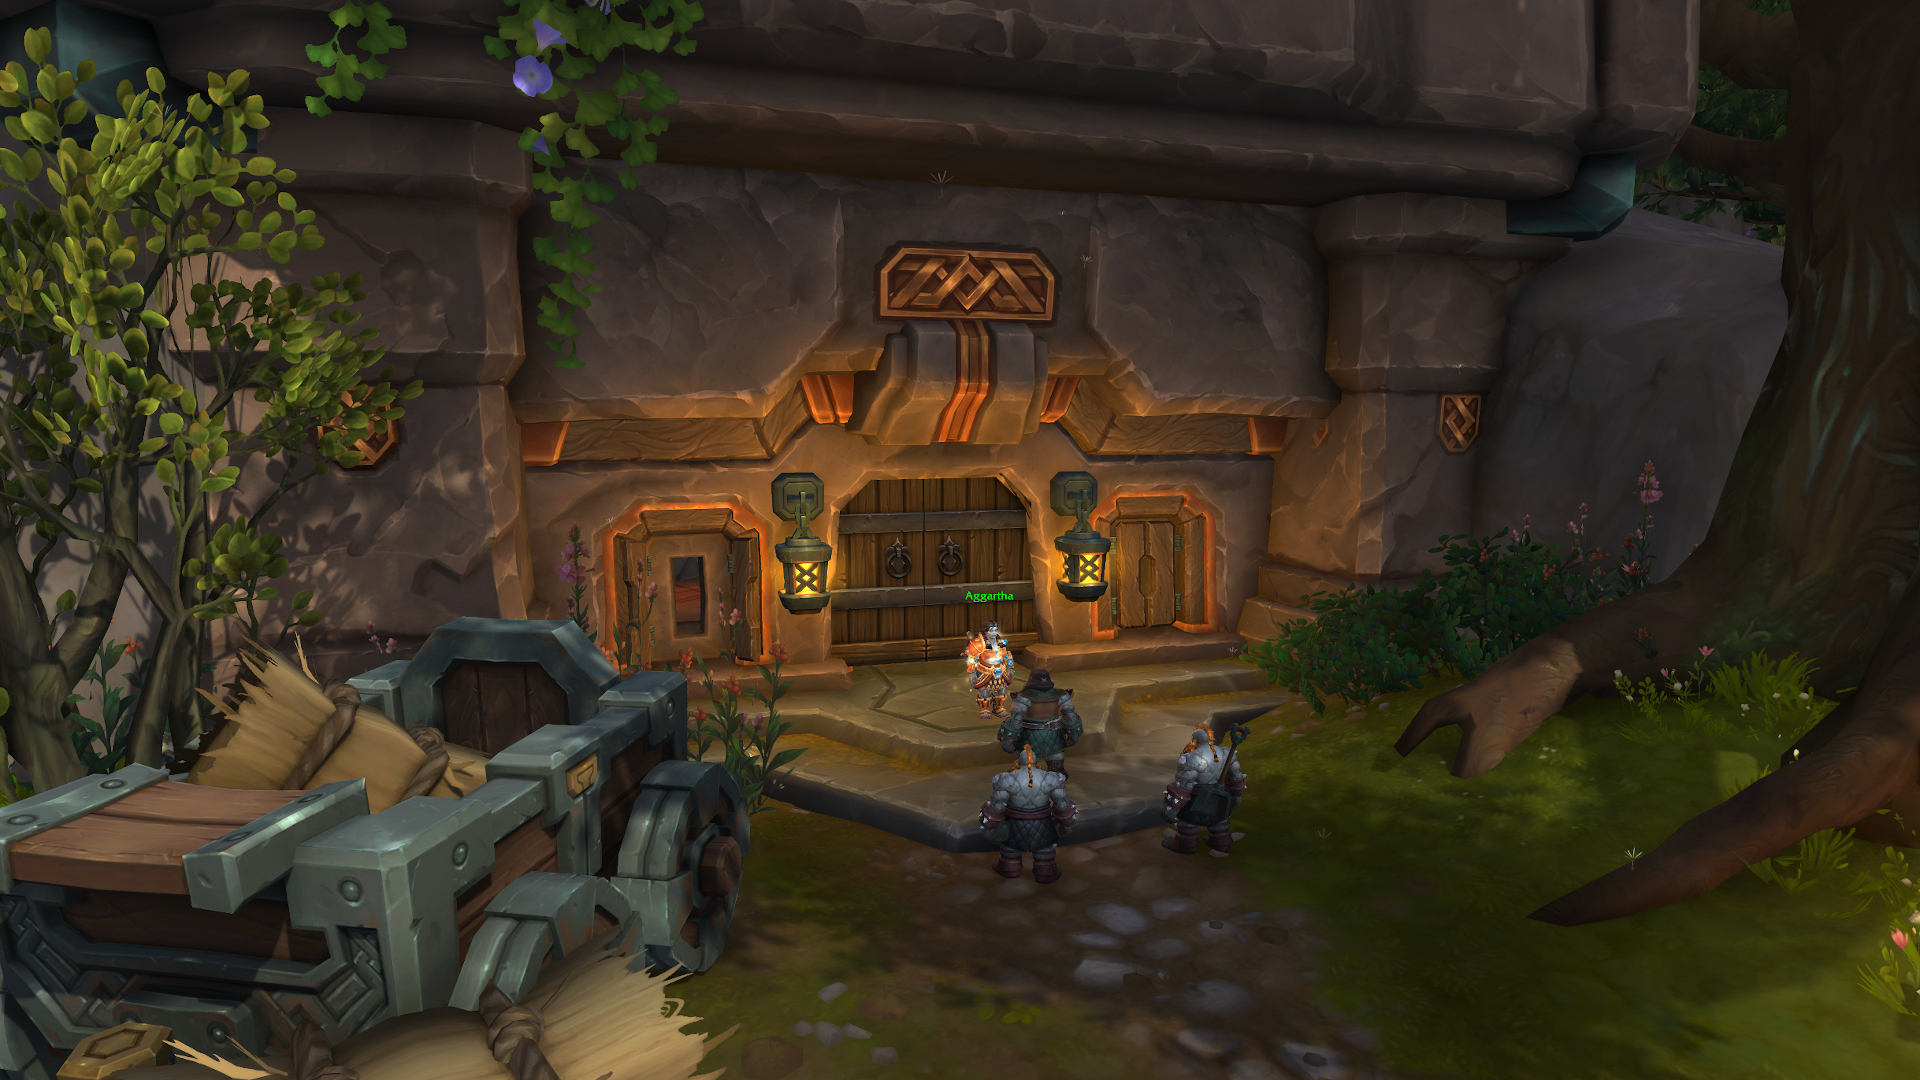
Weapons and Warriors
This quest can be acquired from Aggartha, who is standing outside a closed building in Freywold Village with a small group of distraught Pearl Farmers (42.7, 71.7). She’ll task you with recruiting Earthen warriors and collecting Weapons Crates. You’ll find some around the village nearby and the rest up the hill in and around the tower at Dhar Durgaz. When you’ve found them all, head down to the Glimmering Shore to meet Aggartha at the Earthen camp there (49.8, 76.7).

Pilfered Pearls & Frontline Farmers
You’ll pick up these two quests together. Pilfered Pearls can be looted from the Pearlfin gorlocs in the area. You can distribute the weapons by interacting with the yellow Weapons Crate outlines that are marked on the map. When you complete these tasks, return to Aggartha nearby.
Heart of a Hero
To finish out this storyline, head out to the large island on the Glimmering Shore and defeat the three named gorlocs: Burgle-gurgle, Murgle-whurgle, and Purgle-lurgle. They’re not particularly tough, but each one is clustered with some other gurlocs as well as an elemental. When you’ve killed all three, head back to the shore and speak with Dorbund to finish the chain (50.5, 78.6).
Completing this quest awards 500 reputation with the Council of Dornogal the first time it is completed by a character in your Warband. It also grants 25 Resonance Crystals and a piece of Uncommon gear for your class.
Lost Lord of the Storm
This storyline consists of six quests and starts in Dornogal, with most of the quests taking place in Rambleshire.
To Rambleshire
You can pick up this quest from Rooktender Otwin at the dungeon entrance to The Rookery in the northwest corner of Dornogal (32.8, 33.6). Once you have the quest, head to Rambleshire, which is the northernmost flight point marked on the Isle of Dorn map. Head down the path to the village entrance to locate Rooktender Lufsela, who is standing next to a stormrider named Shraubendre (61.4, 31.7).


Sleepy Sheep & Power Predators
These two quests can be obtained together. For the first quest, look rock outcropping behind the quest giver for a Highlands Lodestone that you can pick up. Then interact with Shraubendre to use it. Now you’ll be able to interact with the Lethargic Mosswool sheep nearby to shock them. They don’t seem too bothered by it, fortunately. For the other quest, look for Stormtop Shalemaws in the fields and hills outside the village. Defeat 10 of these and head back to the village to find Rooktender Lufsela now near the sheep pen (59.7, 29.0).
Lost Lord of the Storm
This quest is offered by Head Rancher Stenspor who appears next to Rooktender Lufsela. You can optionally speak with some of the Ranchers around the village to question them about Durzan’s location, or you can just head under the bridge to the west to find him beside the river (55.6, 28.8). He’s surrounded by Shadow Vanguard nerubians who you will likely need to deal with in order to free him. Click on the Nerubian Webbing at his feet to remove it and return to Head Rancher Stenspor, who has moved a little ways to Durzan’s pen in Rambleshire (58.7, 30.2).
Their Moss, Our Gain
Remember those Mosswool sheep that you rounded up earlier? Now you’re going to sheer them. Interact with the ones that have flowers sprouting from their coats. Some will not like this and will turn hostile. Collect wool from eight sheep, and then head over to Durzan and place it all on the yellow outline in front of him.
Thunderhead Butt
Rooktender Lufsela will give you the final quest in this chain. Accompany Durzan up the hill and help him fight off any enemies along the way. A group of Shadow Vanguard nerubians will ambush you about halfway up. Make it to the top and he’ll leap up the peak with his brother. Head back down to Rooktender Lufsela in Rambleshire to get your reward.
Completing this quest awards 500 reputation with the Council of Dornogal the first time it is completed by a character in your Warband. It also grants 25 Resonance Crystals and a piece of Uncommon gear for your class.
Hope, An Anomaly
This chain of four quests starts in Freywold Village.
Prairie Fever
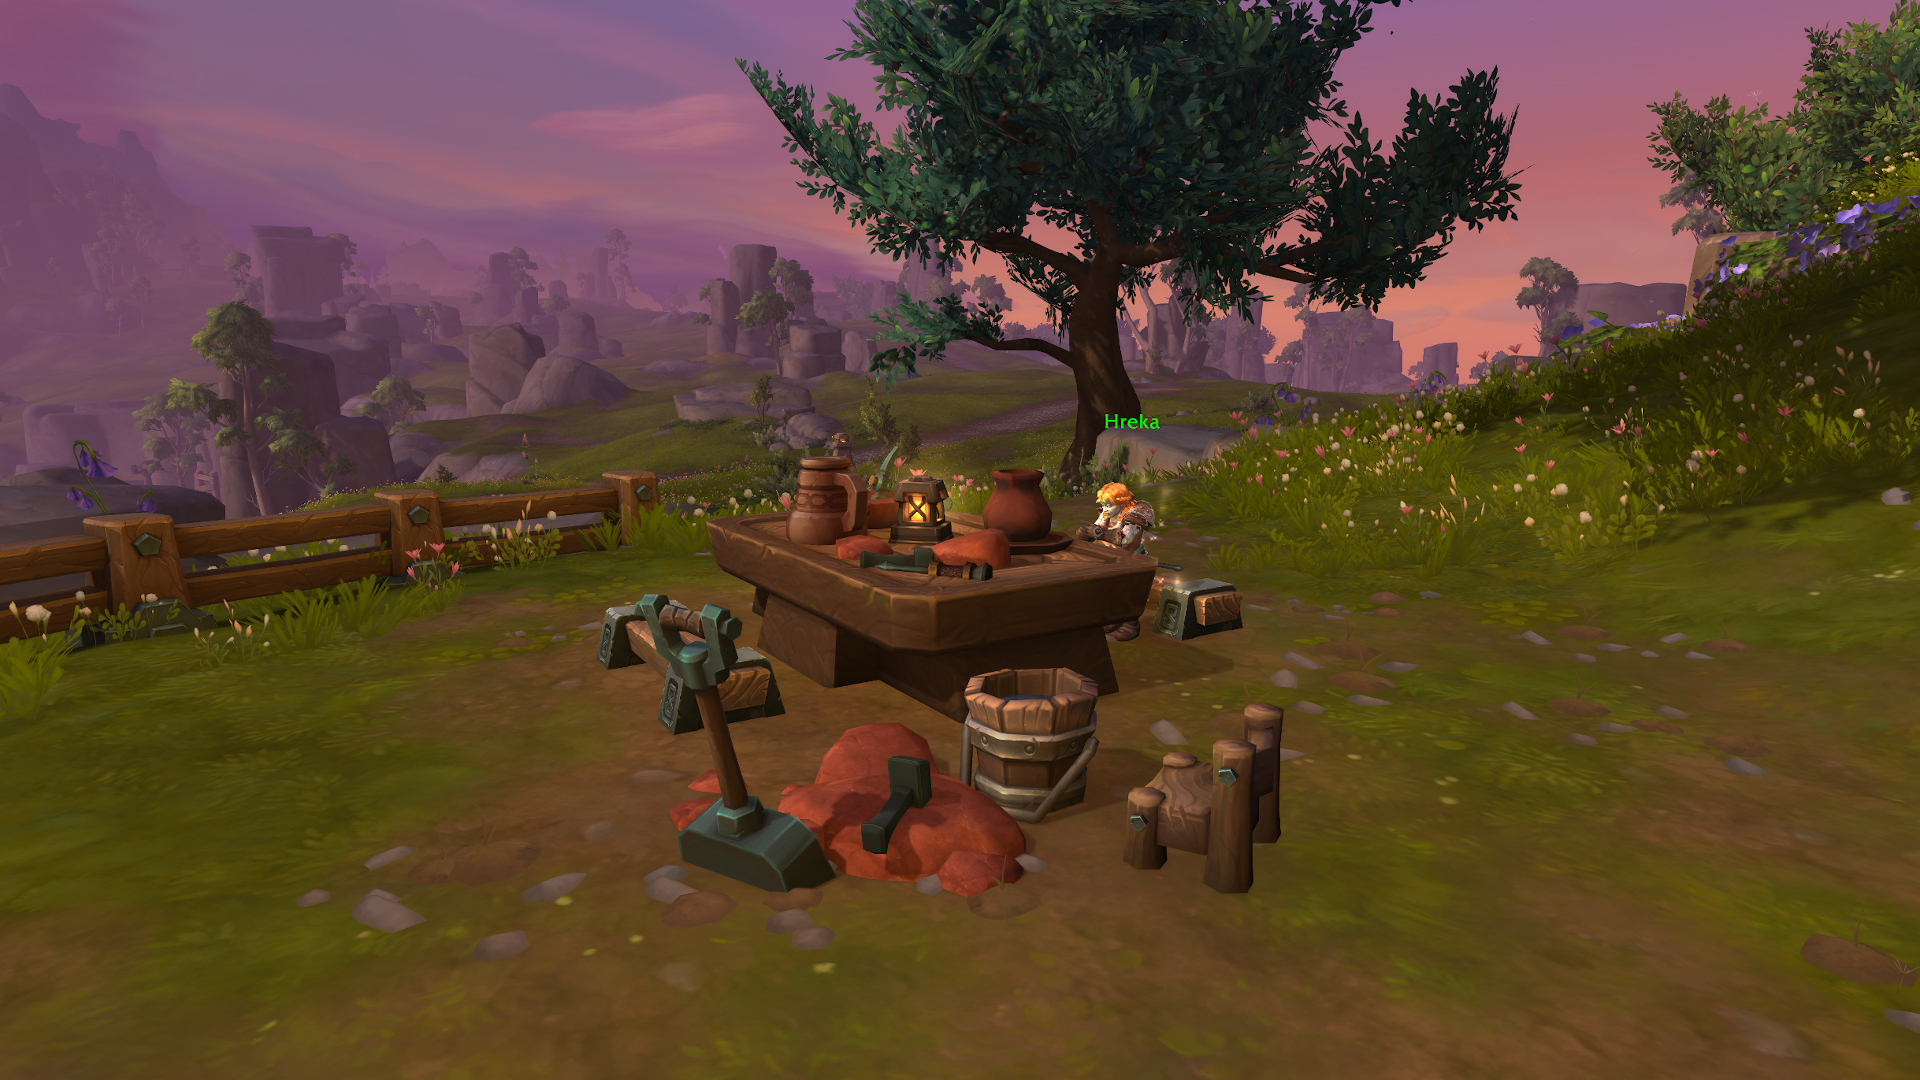
This quest can be started by speaking with Hreka, who is found at a pottery table under a tree in Freywold Village (41.7, 70.8). Then head to the other table nearby and interact with the Pottery Jars to pick them up. Take them further into the village to deliver them to Kodun (entrance: 42.2, 73.1).

Monsters in the Dark & Buried, Not Forgotten
These two quests can be completed together. Head into The Orecreg to the west and enter the Gemvein Tunnels (entrance: 35.0, 75.5). Fight the fungi inside to loot Modhina’s belongings. Follow the tracks directly down to find Modhina’s corpse and defeat the Ashen Stonestalker. Then return to Kodun in Freywold Village.
Hope, An Anomaly
Hreka will appear behind you when you turn in the previous two quests and offer you the final quest in the series. You’re tasked with helping her to make a pot. First, click on the Forge Vessel in the fireplace. Then interact with the Ball of Clay on the table. In the same spot, interact with the Unfired Pot. Then click the Unfired Pot in the fireplace. With that, the storyline is finished.
Completing this quest awards 500 reputation with the Council of Dornogal the first time it is completed by a character in your Warband. It also grants 25 Resonance Crystals and Hreka’s Pot-Making Kit.
The Hermit
This storyline consists of six quests and begins at Crossroads Plaza, with most of the story taking place at Durgaz Cabin and Ironwold.
Lost Delivery
This quest begins by interacting with a Dropped Package at the entrance to Crossroads Plaza (55.5, 56.5). You’ll then be directed to Durgaz Cabin, the easternmost flight point on the Isle of Dorn map, to deliver the package to Harvester Farnee (67.0, 43.9).

Honey and Clay the Pain Away
Next to Harvester Farnee is Harmot, who will now offer this quest. Pick it up and interact with the Earthen Mortar on the nearby anvil. Then click on the Pot of Fire Honey beside the doorway. Run over to the anvil and use the Throw Fire Honey special ability. Then interact with the Earthen Mortar again. Click on Shalehoof to apply the mixture and then turn in the quest.
Pulse Within the Earth
Harmot sends you down the hill to Ironwold to place Tremor Stones at four marked locations. Each one you place will summon a Seismic Rumbler, and they will immediately use a knockback ability, so be careful where you stand. When you’ve placed all four stones, look for Harmot beside the lower pool (67.0, 47.4).
Playing in the Mud & Lots and Lots of Fire Honey
One of these quests is offered by Harmot while the other is offered by Harvester Farnee, and they can be completed at the same time. Go east to the edge of Cinderwold and defeat the Coalesced Living Honey to loot an Enormous Glob of Fire Honey (70.7, 44.1). Then head south to the Restless Estuary on the coast and loot Elemental Silt Mounds for Elementally Charged Silt. The silt can also be obtained by defeating the earth and water elementals in the area and combining the items you loot from them. With the items in hand, return to the two quest givers in Ironwold.
To Wake a Giant
To close out the storyline, Harmot asks you to apply the Elemental Salve to the Slumbering Mountain Giant in the center of the pool. Just click on it to do so, and it will knock you back to the shore where you can turn in your quest and receive your reward.
Completing this quest awards 500 reputation with the Council of Dornogal the first time it is completed by a character in your Warband. It also grants 25 Resonance Crystals and Earthmender’s Signet.
A Titanic Expedition
This storyline begins in Rambleshire, with most of the quests taking place on the southern island of The Three Shields.
A Titanic Expedition!
You can get this quest from Rannana Korren in Rambleshire (58.8, 28.3). To complete it, head to The Three Shields to the small southern island to meet him there (77.9, 30.3).


Not a Heating Pack & “Cataloguing”
These two quests can be picked up at the same time, one from Rannan Korren and the other from Tuberros. You’ll need to head to the gorloc village nearby on the same island to kill 12 Shimmerfin gorlocs and collect 7 Titan Artifacts, which look like pale glittering orbs.
Because It’s Shiny
When you turn in the two quests above, the third member of the NPC group, Tharessa Sunstrand, will offer this one. Head up the shore and kill the named gurloc, Gramhwarl, to loot the Titan Artifact for her.
It’s Probably Nothing
Rannan Korren offers this final quest, which directs you to interact with the Titan Orb next to him. Pressing the middle button followed by the right button will activate the orb. When the orb flies away, you’ll be able to turn in the quest and get your reward.
Completing this quest awards 500 reputation with the Council of Dornogal the first time it is completed by a character in your Warband. It also grants 25 Resonance Crystals.
Remember Me, Earthen
This storyline is required to unlock the Earthen Allied Race. This is one of the longest quest chains for the achievement with 14 required quests plus an optional breadcrumb and an optional bonus objective. You can pick up the breadcrumb quest at Crossroads Plaza, or you can head directly to the Fallside Outpost to start.
To Mourning Rise (optional breadcrumb in Crossroads Plaza)
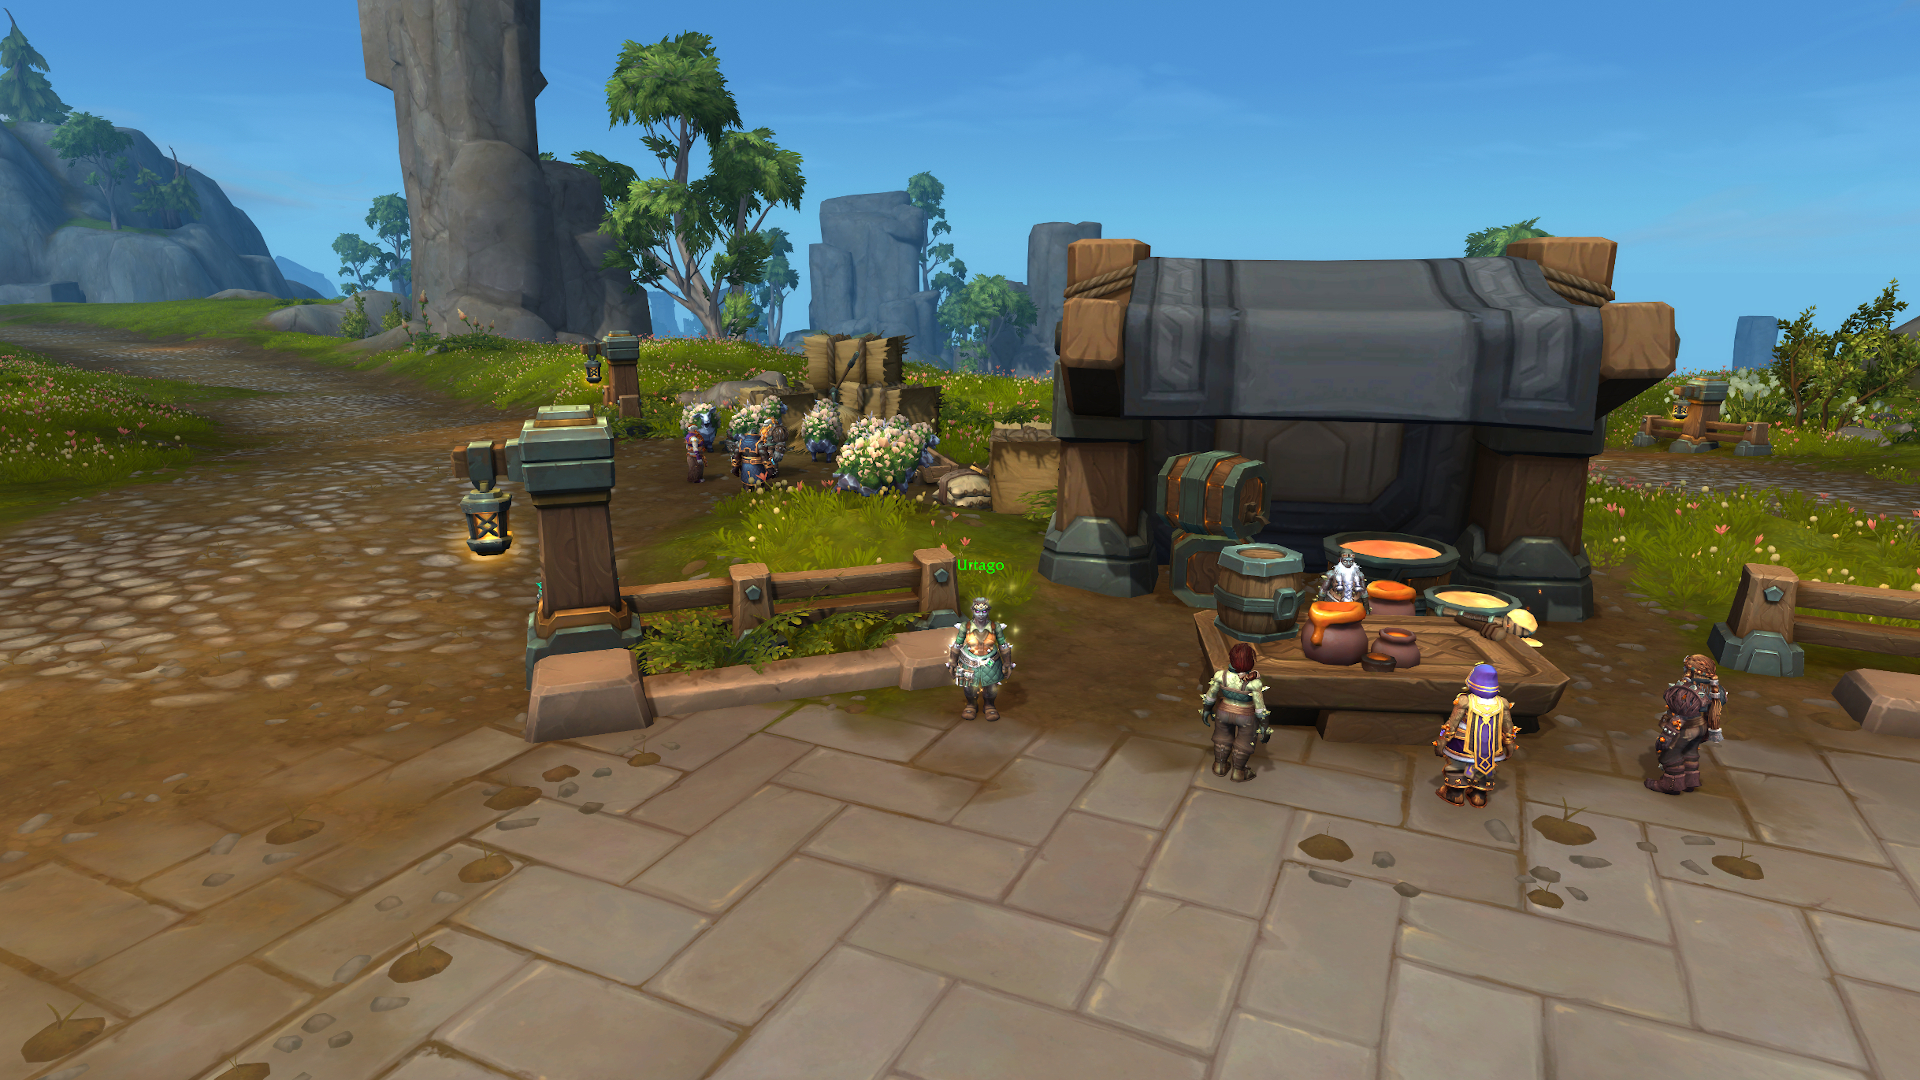
You’ll find Urtago on the east side of Crossroads Plaza (55.8, 56.1), looking for help. She’ll ask you to meet her at Fallside Outpost to the north. Head there to turn in this optional breadcrumb quest and start the storyline (57.5, 42.9).

Before I Depart
You can skip straight to Fallside Outpost and pick this quest up first if you choose. It’s offered by Korgran, who is standing in front of the building with his apprentice, Urtago (57.4, 43.0). He’ll send you to the Mourning Rise to the east to meet Urtago at the top of the first set of stairs (61.7, 41.6).

Honor Their Memories
You’ll find deactivated Earthen on pedestals throughout Mourning Rise. Your task is to place gifts in three marked locations beside deactivated Earthen. The Earthen Figurine must be placed at Caretaker Bagdur’s statue (62.0, 41.8), the Deck of Cards by Caretaker Radok (62.1, 41.4), and the Precious Gem by Caretaker Okdan (62.5, 41.0). Along the way you’ll need to fill up the Kobold Infestation progress bar by killing Candlelit kobolds in the area.
You No Take Plunder! & Laws Apply to All
Urtago will give you both of these quests at the same time. You will once again be killing Candlelit kobolds. For the other quest, you’ll be picking up Pile of Earthen Belongings inside the three buildings on the central tier of the rise. Then find Urtago again on the stairs leading up to the top level (63.3, 42.6).
The Great Collapse & Cutting the Wick
This is another pair of quests that are completed side by side. You’re moving up to the third tier of the rise now to kill three named kobolds and destroy three of their tunnels by using Explosive Sticks. Workmaster Nast is at the south end (63.3, 45.0). The first two tunnel entrances are on either side of him. Hairless the Menace is at the other end (64.7, 42.5) with the third tunnel not far away (64.2, 42.9). Workmaster Earwax is up the stairs at the very top of the rise (64.2, 43.9). Return to Urtago on the stairs when you’re done.
Who Runs this Fine Establishment?
Urtago will now ask you to meet her at a cave slightly to the north of the rise. Enter the cave and defeat Grand-Heister Bokk inside (entrance: 62.5, 39.2). Then speak with Urtago just outside the entrance, and return to Fallside Outpost to speak with her again.
One More Tradition
Korgran offers this quest when you and Urtago return to Fallside Outpost. You’ll find Veins of Ore in the area between the outpost and the Mourning Rise that you can loot for Clump of Ore. In the same area you’ll find Stormfang mobs which you can kill to loot the Charged Cores. To turn them in, meet Korgran inside the building at Fallside Outpost.
The Forging of Memories
Korgran wants your help forging a lantern. Speak with him when you’re ready to start. He’ll ask you to interact with the three objects nearby: Charged Core, Ore Barrel, and A Pile of Coals. Click on the appropriate one when he calls for it. Do this several times and you will complete the quest.
This quest awards Schematic: Stonebound Lantern, which can be used with Engineering to craft the Stonebound Lantern toy.
The Last Journey
When you start this quest, Korgran will become confused. After a scene between he and Urtago, you can speak with her outside the building to complete the quest and start the next one.
The Lost Earthen
Urtago asks you to meet her in the hills to the east (61.0, 43.9). You’ll find Korgran’s Lantern nearby (61.4, 43.7). Click on it and he will appear. Speak with him and he’ll walk over to Urtago, and then you’ll be able to turn in the quest and start the next.
A Change of Tradition
Urtago asks you to meet her and Korgran on the shore at the Restless Estuary (69.8, 56.8). Do so to pick up the next two quests.
Tools of Declaration & Cleansing Ashes
These two quests can be done at the same time. Head a bit west to get off the shore and up into the grassy hills. Look for Shalehorn mobs, who you can kill to loot Pristine Horn. You’ll can loot the white Ashenfold flowers on the ground in the same area. Return to Urtago on the shore when you’re done.
As He Departs
Urtago asks for your help performing the departure ceremony for Korgran. Click on the Incense in front of them, and then speak with Korgran to give him the horn. The ceremony will conclude on its own, and then you’ll be able to turn in the quest. Korgran will walk into the water and deactivate, and then you’ll be able to start the final quest in the series.
This quest awards a Horn of Declaration.
The Weight of Duty
Speak with Urtago once Korgran has deactivated to start this quest. Then head back to Fallside Outpost to meet her inside the building there. Speak with her again and she’ll give you a series of small tasks to perform around the workshop: pick up the New Placard from the pile on the opposite wall, then interact with the Forge Tongs on the hearth to heat it. Cool it off in the vat of Quenching Oil just outside the door. Then go toward the waterfall and place the Tempered Placard in its spot on the table. Talk to Urtago one more time to finish the storyline and receive your reward.
Completing this quest awards 500 reputation with the Council of Dornogal the first time it is completed by a character in your Warband. It also grants 25 Resonance Crystals.
Brotherhood in the Skozgal Wood
Before you can start this quest chain, your Warband will need to complete the main storyline quests in Khaz Algar up through the Hallowfall zone. Then you’ll be able to start the first quest at Crossroads Plaza. There are 12 quests in this chain.
A Sassy Arathi
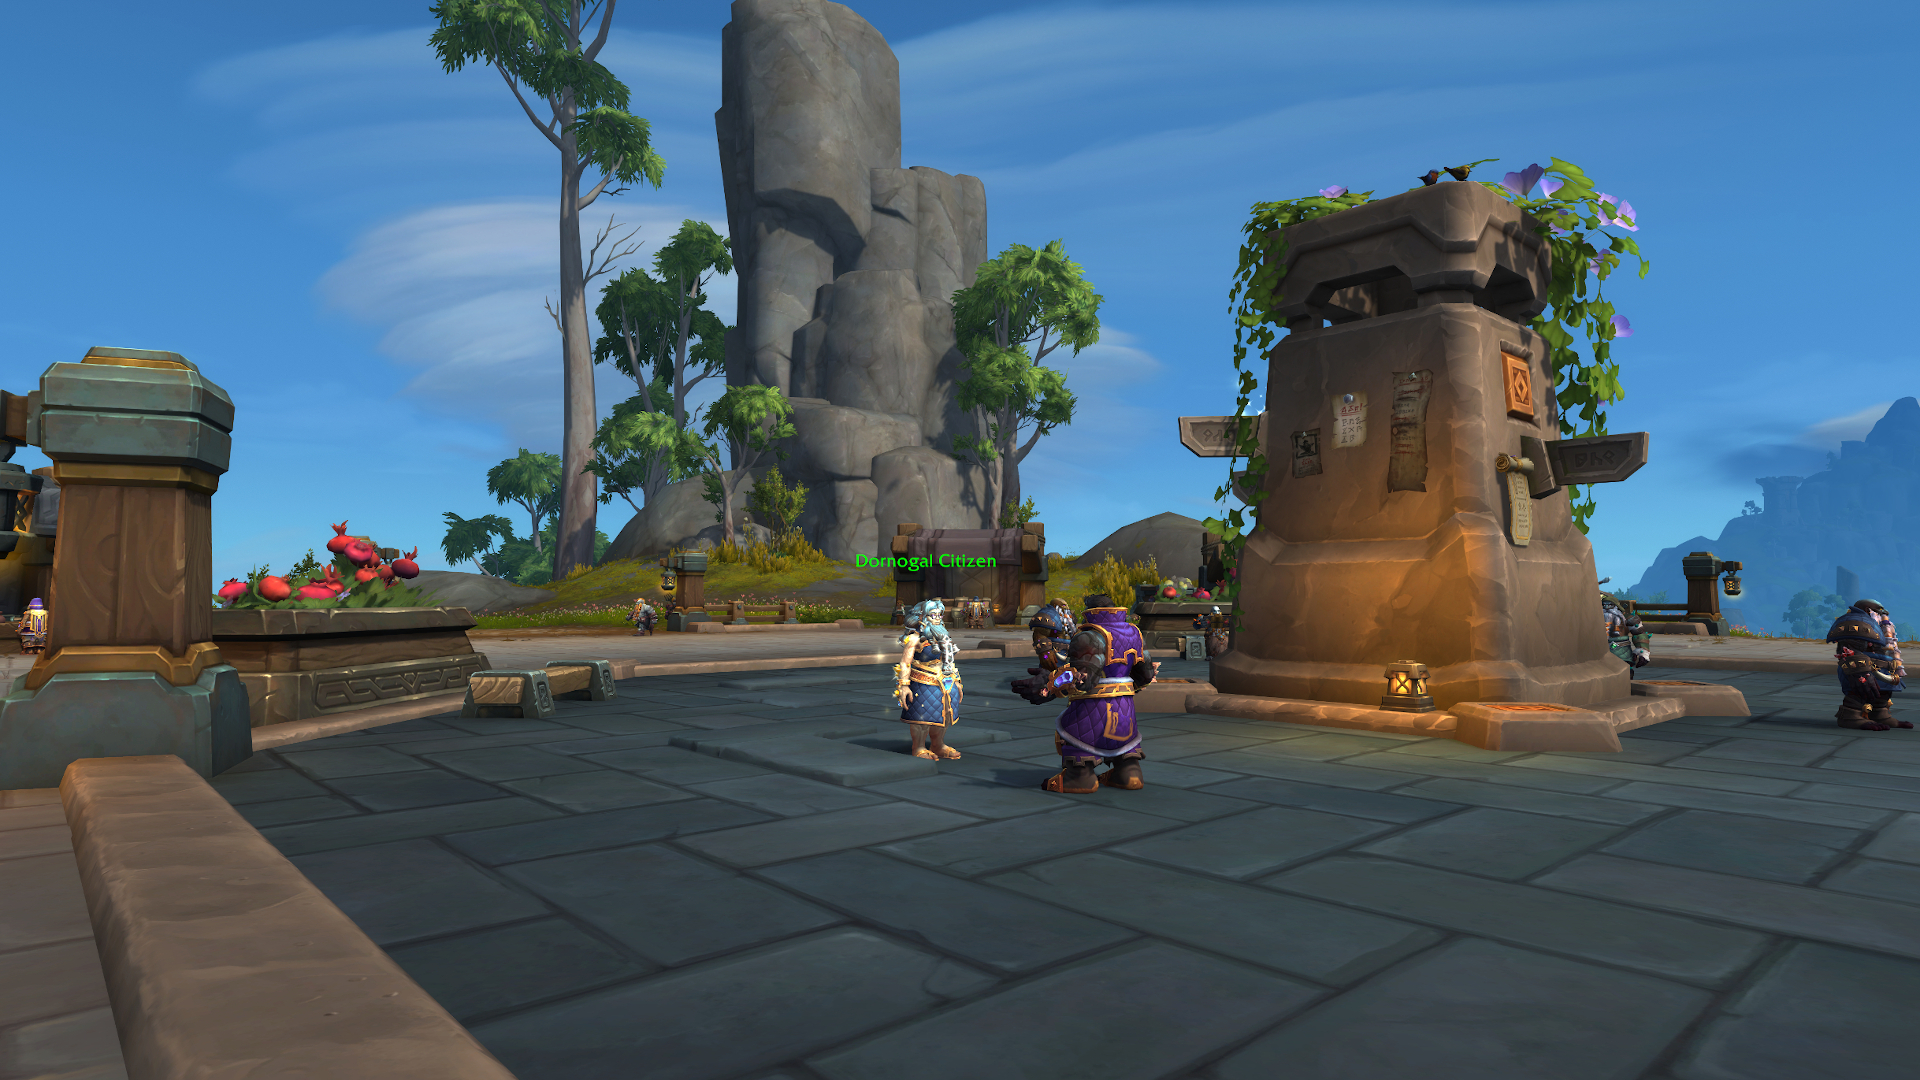
When you’ve completed enough of the main storyline in Khaz Algar for your Warband, you’ll find a Dornogal Citizen near the middle of Crossroads Plaza (55.4, 55.8). She’ll give you this quest pointing you to Peacekeeper Leif at the Stoneshaper’s Atrium in Dornogal (54.3, 19.3).

An Oddball in Dornogal
Peacekeeper Leif tasks you with interviewing three nearby Concerned Dornogal Citizens. One can be found in a house down the stairs (entrance: 55.0, 24.5). One is relaxing on one of the heat vents in the central pool (56.8, 28.1). The third is inside a house at the top of the northern staircase (52.3, 12.3). When you’ve spoken to all three, head to the Stoneward’s Rise in the far northeast corner of the city to find Peacekeeper Leif inside one of the buildings (65.7, 17.0).
Found Around the Unbound
Peacekeeper Leif wants you to chase him down once again, this time near Freywold Village in the south of the Isle of Dorn (42.7, 71.0). Head there to meet him and pick up the next quest.
The Pillage of Freywold Village
Now you’ll need to investigate the village for clues. The first clue can be found inside the General Goods store, where you’ll see an Arathi Journal on the front desk (entrance: 41.9, 73.5). Then you’ll need to head downstairs in the same building, all the way down to the bottom room, where you’ll find a Conspicuous Arathi Candle. Defeat the Nightshade Ambusher who appears. Then head outside and go north of the village to find an Arathi Soldier behind a rock pillar (43.9, 75.9). Deal with two more Nightshade Ambushers and head back to Peacekeeper Leif at the entrance to the village to turn in.
The Abductors’ Obstructors
Peacekeeper Leif is not done making you run all over the map yet – head to Rambleshire in the north now to find him creeping in the bushes (57.6, 30.0).
Holy Fire in Rambleshire
The Peacekeeper is joined by Lamplighter Kaerter, who offers this quest. He’ll give you a Flashfire Thurible that you can use to flush out Nightshade Abductors who are hiding in stealth around the ranch. The NPCs and animals will signify if there is one nearby with an Unnerved debuff and an alerted symbol above their heads. Kill 6 of them and loot the Nightshade Letter from one, then find the Lamplighter near the bridge southeast of the village (62.1, 30.7).
A Time to Kill at the Lumber Mill
Head east to meet your quest givers at Skolzgal Mill (67.0, 31.2). Turn in this quest and you’ll get two more.
Ungirthin’ the Earthen & Concealed in the Weald
You’ll get these two quests at the same time, one from Peacekeeper Leif and the other from Lamplighter Kaerter. You’ll be fighting Shadowsilk nerubians around Skolzgal Mill. Scattered around the area you’ll also find Abducted Lumberjacks who you must free by clicking on the Lumberjack Restraints they’re chained to. This may cause a Shadowsilk Jailer to appear and attack you, and these mobs also count toward your progress with the kill quest. Then find Peacekeeper Leif in yet another new location to the north to turn in (65.9, 24.7).
A Lamplight for the Shipwright
Head up the hill to find the Nightshade Hideout in a cave (entrance: 64.0, 22.9). Speak with Shipwright Isaebela inside. You’ll be wrapped in a spiderweb alongside Lamplighter Kaerter. Then you’ll have to fight two Shipwright Bodyguards. Click on the webbing to free the NPC when you’re done, and then head back down the hill to turn in (66.0, 23.9).
Best Friends, Same Ends & Up to No Good Down in Silkwood
These last two quests are obtained together, one from Peacekeeper Leif and one from Lamplighter Kaerter. Head down the cliffside to find a cave called Silkwood Grotto on the coast (64.7, 19.9). Inside you’ll click on three Silkwood Explosive Barrels to collect them. Defeat Shadowspinner Azarak and Shipwright Isaebela along the way, and then set the Pile of Explosive Barrels at the marked tunnel entrance before you leave. You’ll find your quest givers outside on the shore to get your reward.
Completing this quest awards 500 reputation with the Council of Dornogal the first time it is completed by a character in your Warband. It also grants 25 Resonance Crystals and an Uncommon piece of gear appropriate for your class.
All Ore Nothing
Here’s one more storyline that starts in Freywold Village. There are 7 quests in the chain and most of them take place in the Opalcreg.
All Ore Nothing
Look for Germira at the end of the mine rail in Freywold Village (41.0, 72.1). She’ll ask you to head to The Opalcreg, which you can find by following the rail to the north. Find Alvegar hiding near the mine entrance to continue (45.9, 62.8).

Third Mine Blind
Meet Alvegar at the top of an open chasm that looks down into The Opalcreg (47.3, 61.6). Talk to her to turn in the quest and start the next one.
Hit Rock Bottom
There will be a glittering Parachute right next to the quest giver that you can use to slowfall down the chasm. You can also just fly down. Reaching the bottom will mark the quest as complete. Then you’ll need to find Cenderragg in one of the nearby caverns to continue on.
An Opal of Mine & Web Beats Rock
You’ll obtain both of these quests from Cenderragg and they can both be completed as you climb up through The Opalcreg. Click on webbed Opalcreg Workers to free them and click the Opal Ore nodes to loot them. You can also loot Opal Ore from the nerubian enemies throughout the mine. Ascend the cavern to find Cenderragg near the top and turn in the quests.
A Sedimental Moment
You just need to talk to Opalcreg Workers inside the Opalcreg and choose any dialogue option you like in to inspire them. Then return to Cenderragg.
Beetlejeweled
Head just outside the mine to face Kix’arak, The Overseer. When you’ve defeated them, return to Germira in Freywold Village to complete the chain and receive your reward.
Completing this quest awards 500 reputation with the Council of Dornogal the first time it is completed by a character in your Warband. It also grants 25 Resonance Crystals and an Uncommon piece of gear appropriate for your class.
Author

I've been playing World of Warcraft on and off since vanilla, usually as a healer or caster and often as a guild leader. I play both retail and classic. I also love RPGs, sandboxes, and sims.